A few weeks ago I put together a Sewing Camp for Kids – and it was really tons of fun! I loved all of it! It was a great experience for the kiddos as well as myself, and I already have plans for more next year. I wanted to share some tips and tricks with you that I learned from this time around.
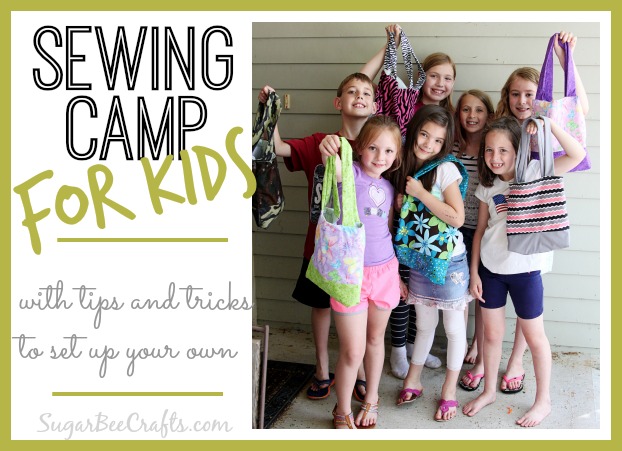
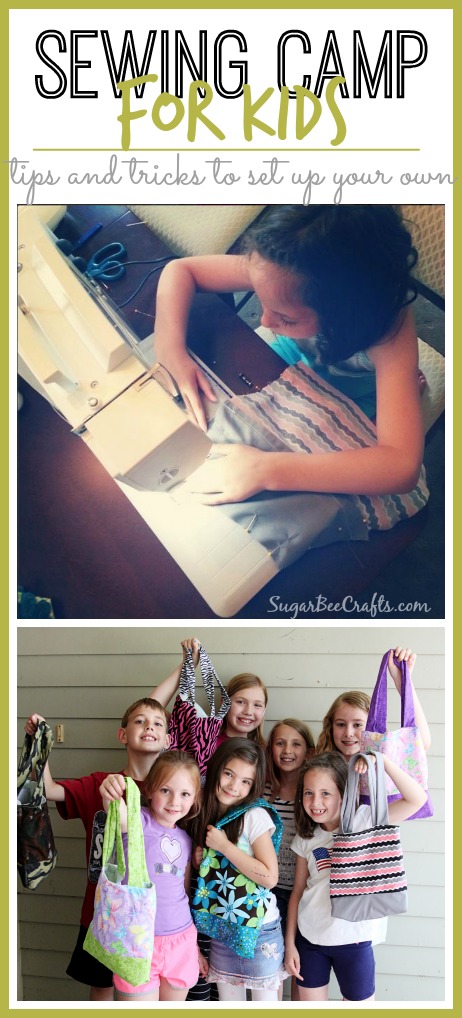
I love sewing and I love sharing that excitement with kids to help them realize their own sewing dreams 🙂 I think this is a dream gig for me – working with the kiddos, AND teaching sewing, it’s a win win. It helped to have more than just my kids involved – for some reason, you can drum up more patience when you’re working with a group of kids versus just your own (or is that just me?!). As I held camp this year, I thought of various tips and tricks that I wanted to share with you, in case you want to start up your own camp (and you should, it’s tons of fun!). I also want to showcase the projects we tackled, hopefully the post won’t get too long… Here’s a great image if you’re the pinning type…
PICKING FABRIC
This is HUGE. My number one MUST for sewing with kids – let them pick their fabric. I think it makes them really vested – they “own” the project and really like what they make, because they were involved from the beginning. I know most of us dread taking kids with us to the fabric store, but for this, it’s a must. And it really turns out fun seeing them carefully select what fabrics they want, etc.
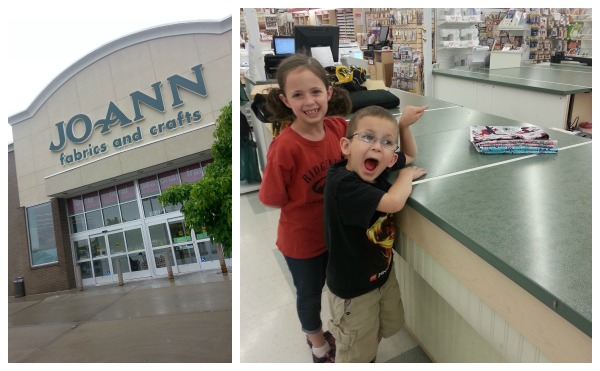
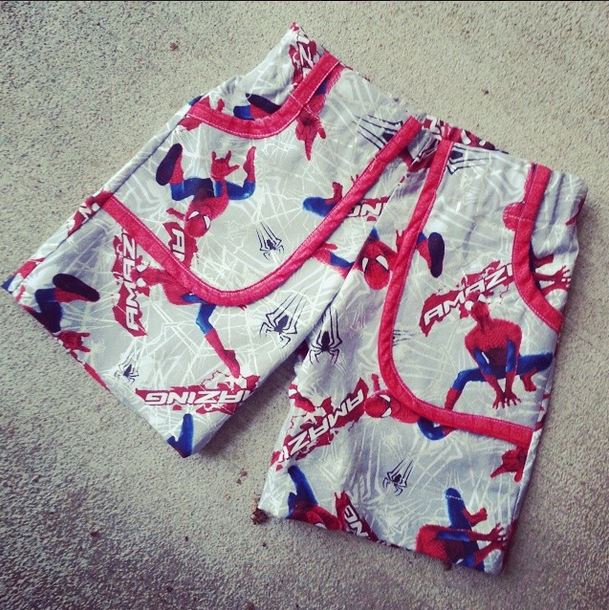
I took my kiddos to Jo-Ann Fabrics and Crafts, (I was provided fabric for this post but all opinions are my own) – of course – – it’s my go-to fabric store. And actually, if you live close enough, they offer some awesome kid sewing classes. So much variety to choose from – the kids were super excited to hand their fabric over on the cutting counter. Lucky for my youngest, they had licensed prints of Spiderman – it’s exactly what he’d been talking about for days.
PARENT COMMUNICATION
I made sure to clue in the parents of where I like to buy fabric, how much was needed for each project, etc. I let the parents know to let their kiddo pick out the fabric instead of just buying some for them – I really want the kids to have the experience of planning the projects right from the beginning.
And along this topic, I made sure to email the parents each day to tell them of progress and what the kids were learning.
SET UP
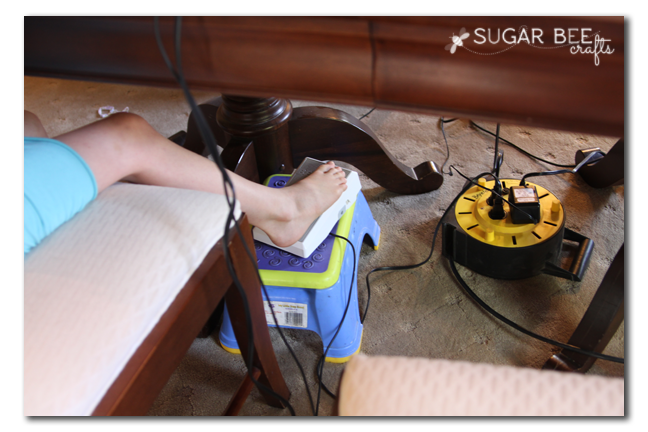
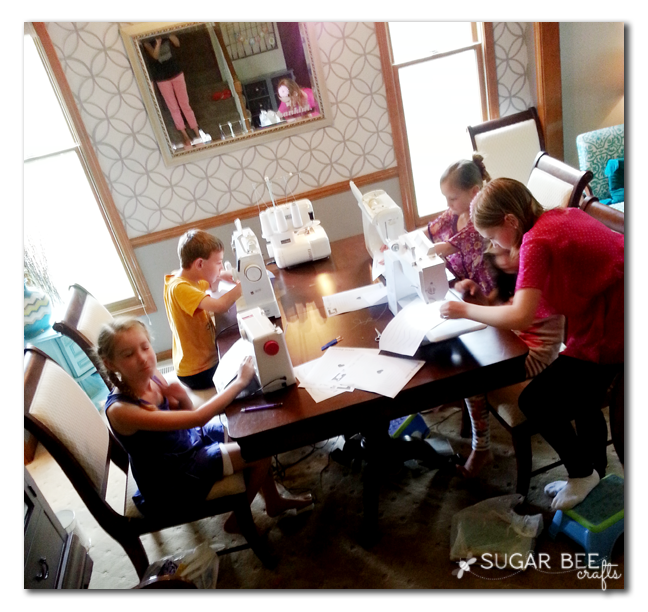
Your class area needs to be ready to go. I have several sewing machines, so those were on one table. I had another table set up for cutting and piecing. Also, be sure to make thing kid-friendly. I set my class for ages 8-12, and some of those 8 year olds still can’t touch the floor when sitting in a chair. And you need to be able to reach the pedal, on the floor – – to combat that issue I used footstools to raise the pedals just a little:
SUPPLIES
To keep it simple for the parents, I provided everything except for fabric. That included elastic, thread, heat-n-bond, etc. Along with basics like scissors and seam rippers and pins. You’ll want tons of pins (I didn’t realize HOW MANY! kids love to use a ton) and several pairs of nice fabric scissors – next year I’ll have more of both of these.
NON-PERFECTION
This is the hardest part in teaching kids to sew – not taking over! The goal with beginners is to make something useable and instill a love of sewing – it’s not perfection (some people may not agree with me…). I think perfection can come later, but for now, if the kids are okay with wonky sewing lines, then I needed to be too. As a teacher you need to be able to stand back and let them do it. Not do steps for them. But let them make it all, so in the end they can say “I made this all by myself!” Even if you’re cringing inside about how it’s not lined up perfectly or it’s not a straight line, etc.
SAMPLES
It’s hard for kiddos to just envision what they’re going to be making, so I made sure to sew up a sample to show them as I introduced the project. The would refer back to the sample as they created the project for themselves as well.
PROJECTS
Our camp was 5 days – a week long. Each project built on the day before. I wanted projects that would appeal to boys as well as girls. Our main projects:
Day 1: Pillowcases (learn straight-line sewing), Day 2: Bags (more straight-lines, with piecing and pockets), Day 3-4: Shorts (building on straight-line sewing, throwing in a few curved lines, learning garment assembly)
You will also need filler projects – things for some kiddos to do while they’re waiting for a machine to open up, etc. We had a hand-embroidery project, Wordsearch (using sewing terms, of course!), etc.
Each day I would start with a short lesson, covering a sewing topic/technique that we would use later in the day (like how you sew with right-sides together, or what a casing is, etc). To start off very first on the first day, we sewed mazes on paper (like HERE) to learn how to go straight, turn corners, etc.
After they were confident on the machines, I threaded them and we jumped right in. Pillowcases is a great first project – it showcases fun fabrics, and it’s just a few straight lines.
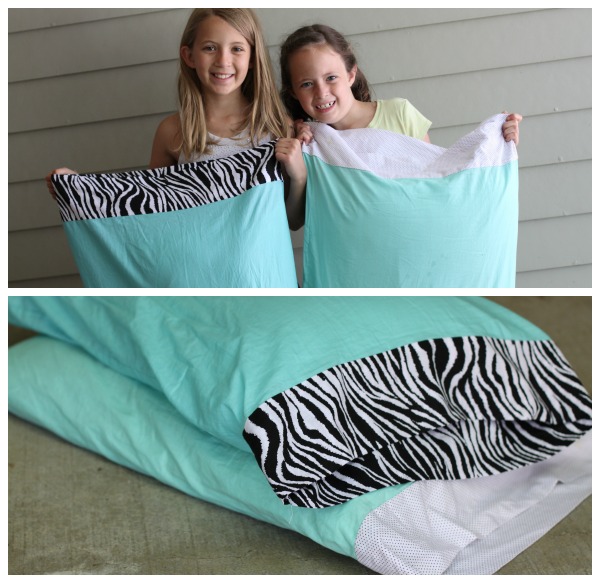
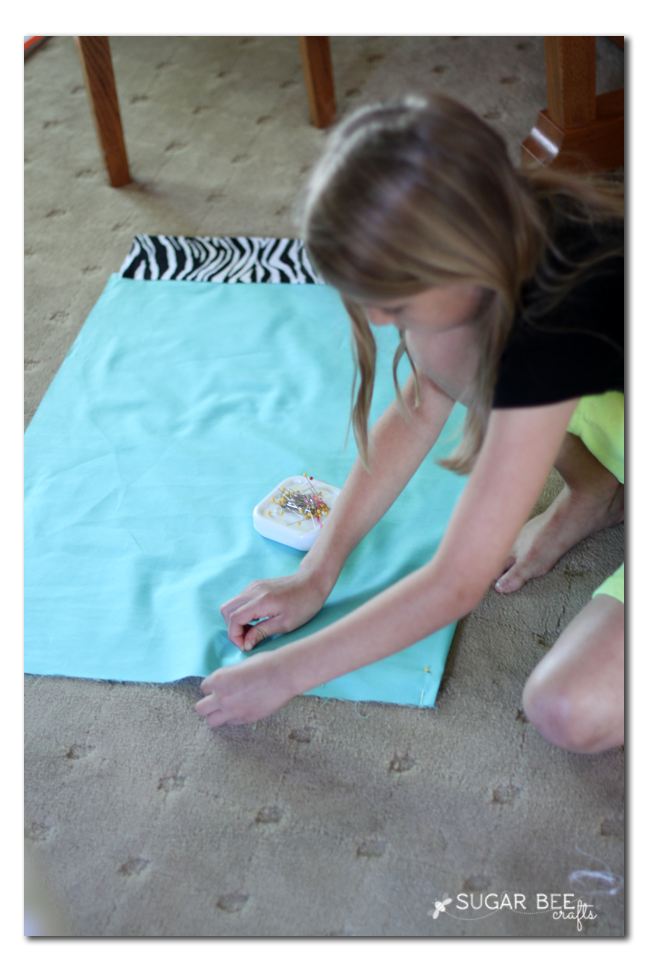
We made them using the magic method with hidden seams on the trim – – there’s a good tutorial here: Magic Pillowcase Tutorial but it’s a little tricky to understand in just pictures. I put together a quick video tutorial (just a few minutes long!) to give you a better visual on the trick to it:
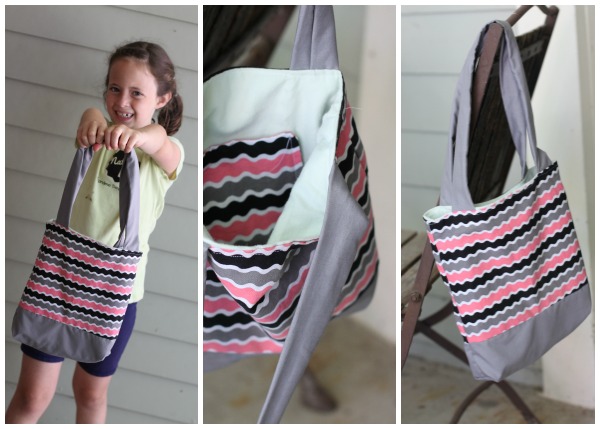
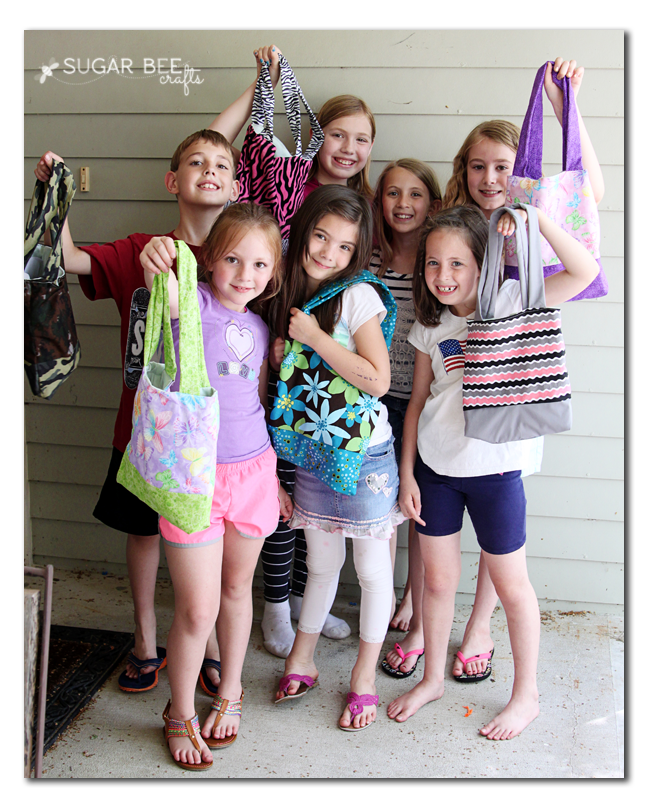
The next day, we conquered bags. I made up for the pattern for this one myself, and hope to have a tutorial coming soon. They learned how a lining works and how to make a little pocket. The bags were designed to hold a folder, but if the kids took a huge seam allowance, they probably wouldn’t (should have thought of that!). I had them piece together the outside of the bag to learn that technique.
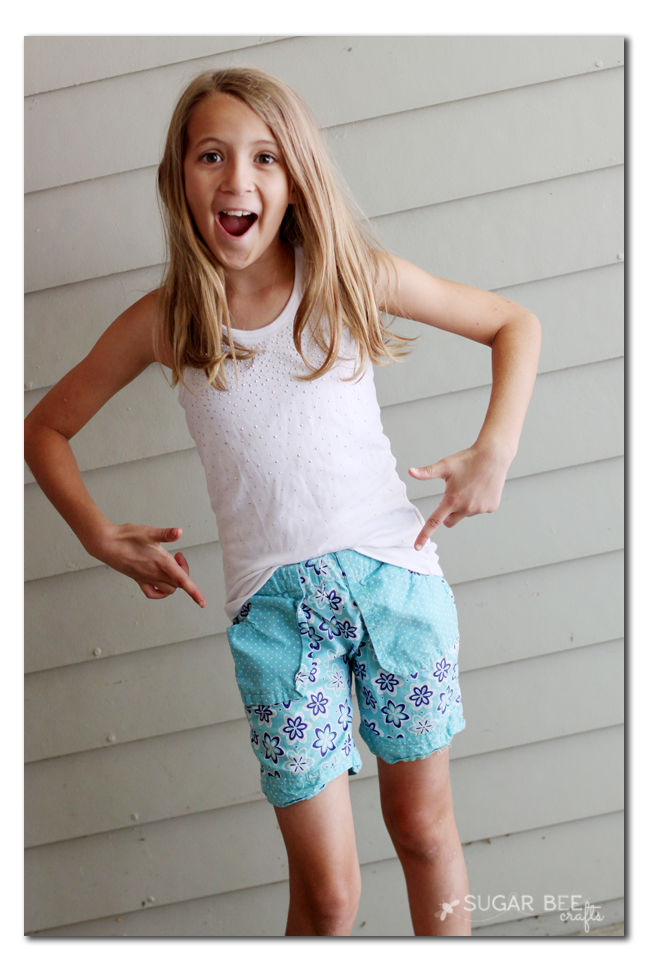
And then the big finale – shorts! I used the Kids Shorts pattern and modified it to add a band around the bottom for some fun contrast (and extra sewing practice). The first day we cut out the pieces, assembled the bands, prepped the pockets, etc. The next day we assembled, did the casing, and hemmed the shorts.
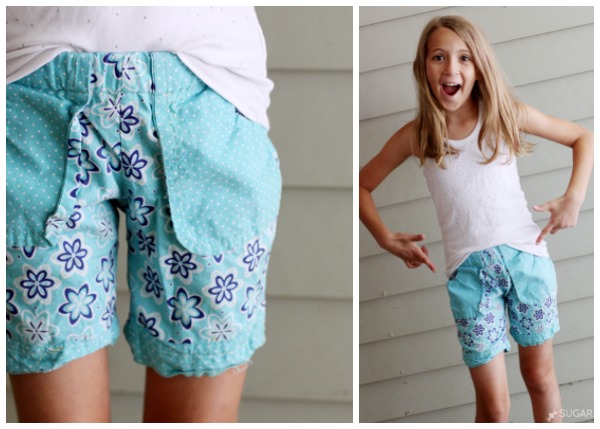
They are FAR from perfect, but they are so proud of making them all by themselves!
I set aside the last day as a free day to finish up projects from the other days, but we ended up getting them all done on their assigned day. So I let them think of their own project and we tried out appliques – most of them made small pillows.
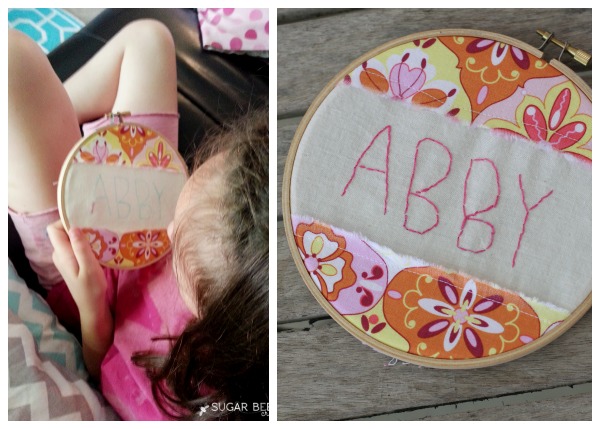
The filler project was hand-embroidery – I think every kiddo needs to try out hand sewing. They really loved this project and and wanted to make more. I will post the tutorial for it as well (hopefully soon!) – – it was a big hit:
And that’s my wrap-up! If you plan on your own Sewing Camp and you have questions, don’t hesitate to ask me! It’s a lot of info to cover so I’m sure I left out details. Just know that it was tons of fun and I really loved it and so did the kids – –
So head out to JoAnn Fabric and Crafts and grab some fabric and get started!! have fun!


Great tips Mandy! It looks like you did a wonderful job and the kids have fun 🙂 Thanks for sharing!
Your blog is looking great btw!
xo
H
Heather Painchaud recently posted…S’mores Popcorn Recipe
Thank you for linking to my pillowcase post. I love the fabric the girls chose for their pillowcases. And all the bags turned out darling. Those kids have some skills!!
Leanne recently posted…Clothespin Art
it’s a great tutorial! they LOVE their pillowcases and of course are now planning a whole room design around them 🙂
I loved this post. I have always wanted to do a kids sewing camp, but never knew how to lay it out logistically. How much is reasonable to charge for a class like this, how many hours a day did you have them and how big is the class. It is always the logistics that trip me up.
Thanks for sharing your experience with us.
Lisa Langford
http://www.pinsnstitches.com
lisa langford recently posted…Sew Mama Sew Giveaway #2
I charged $100 for the week, and it was 9-12noon for 5 days. I looked around at other sewing camps and decided that was a great price for this sort of thing. My class size was 5 kiddos (and then 2 of my own kids, but I helped them last and told them that they would be able to finish their projects later when the class was over). You should do one – it was really fun!! Next year I’ll probably do a couple of classes, and split the kids according to age/skill level
I see this was posted 4 yrs ago, hopefully you will get this. Absolutely love the idea of doing a sewing camp for kids. Did you provide snacks/drinks? Did you have sewing machines for everyone or did they have to provide their own. I’m in Alaska and I’m really excited to do this.
I did provide snacks and I provided the machines -I think I had 4 set up, and then it was about 2 kids per machine and they could take turns.
Do you have the tutorial for the bag?
This post was perfect for me. I especially relate to the “cringing inside”. I’m glad to have your tips as a guide. It gives me more confidence to try it, Thanks, very much!
So glad I came across your blog, I would love to do this next year, I’m based in Ireland so getting fabric is my biggest challenge as it cost’s approximately €18 ($24 dollars) a metre for decent fabric so I need to keep my sewing projects to more small scale ones or else by the time I rent a space to run the class it will end up costing me money. I can’t believe you fitted so much into the week. I would be looking at taking approximately 7-9 kids in my sessions and would be charging approximately the equivalent of $100. Would love to hear any suggestions for more small scale projects.
I’d love to get some info on that hand embroidery project. LOVE! Did you ever post a tutorial? Thanks for all of the amazing ideas. I’m teaching a kids sewing class that starts in a couple of weeks and this has been so helpful!
We are going to be doing infinity scarves as well 🙂
Beth recently posted…Halloween Fun
I could have sworn I posted about the embroidery project, but I can’t find that post anywhere, so maybe I just wrote it in my head?!?! I’ll put that on my to-do list!
Any chance you posted the hand embroidery tutorial?
I still need to do that! On the to-do list for sure!
What a find! Thanks. I was justed to teach my 3 young nieces to sew along with my daughters and this was just what I needed. Wish me luck….5 little girls with brand new sewing machines.
yes, good luck!!
I love this! Thanks for taking the time to lay it all out. I’ll be teaching my son and daughter this summer!
Did you ever do a tutorial for the bag you made? Can I get the link? I’m searching your archives and there’s a lot of bags!
sorry, I don’t think I have one for that particular bag – I need to get that done!!
I want to use this in a few weeks time when my grand-daughters come to stay. However , when I clicked on “here” to access the paper mazes all I got was adverts for companies selling paper!
Can you help me?
oh no! It’s supposed to link to these, hope that helps: https://www.skiptomylou.org/sewing-practice-sheets/
My wife is hoping to set up a sewing class for our three oldest daughters at some point this summer. I appreciate your tip about the importance of setting up a separate table for the cutting and piecing of fabric and another space for the sewing machines. Before she attempts to start this up, she’s hoping to surprise our girls with nice thimble cages as a fun gift.