
I’m so excited to be guest posting at Sugar Bee Crafts today. My name is Denise and I’m a craftaholic and DIY addict. You can see more of my posts at A Sprinkle of This . . . . A Dash of That.
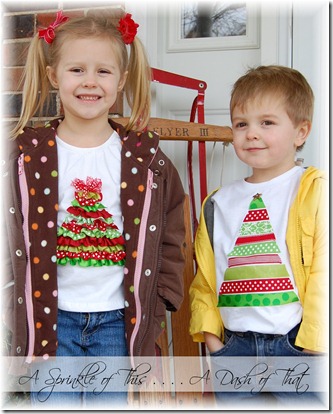
For about three years now I have made shirts for my kids for Thanksgiving, Christmas, and even a few Halloween and Easter. Christmas is my favorite. Our subdivision always hires a Santa and a horse drawn sleigh to drive the kids around the neighborhood. I love getting a photo for our Christmas Cards at the same time. 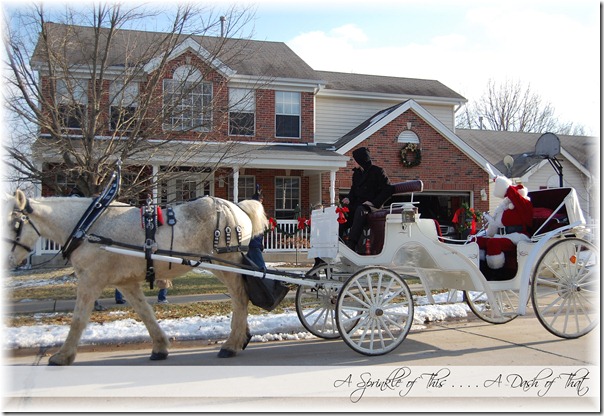
Before I get to the Santa shirt tutorial here are a couple from the last couple of years.
For 2010 I sewed reindeer shirts with matching ruffle socks.
I used this tutorial.
For 2011 I sewed Christmas tree shirts.
This year I decided to make a Santa shirt.
Supplies
- choice of fabric for santa hat
- flesh colored felt
- black flet
- choice of furry or fuzzy fabric for beard and hat trim (I used Designer Fur because it said it was handwashable)
- sewing machine and thread
- Pattern (click to download)
Start by tracing your pattern pieces onto the back of the fabric and cut out. I used this tutorial for my santa hat. Once your pieces are cut out you can start assembling Santa. I started by sewing the eyes onto the face and then sewed the face and hat onto the shirt. Make sure you place the beard and hat band on to make any necessary adjustments before you sew anything. To control some of the shedding with the fur I did spray them lightly with a clear coat. Not sure how well this will wash but I’m only planning to handwash it and this is the reason I chose a black shirt.
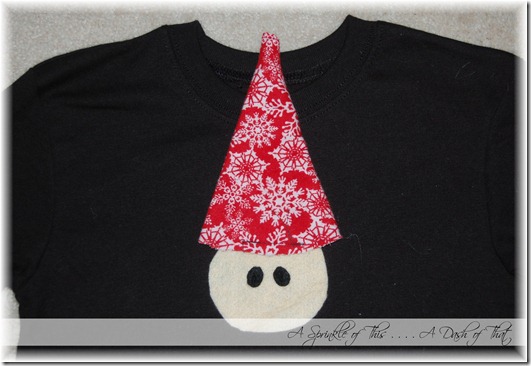
Next I sewed on his beard, hat band, and mustache. To sew on the furry pieces I just tacked them on in a few places. I lifted up some of the fur, sewed a few stitches, and moved onto a new place.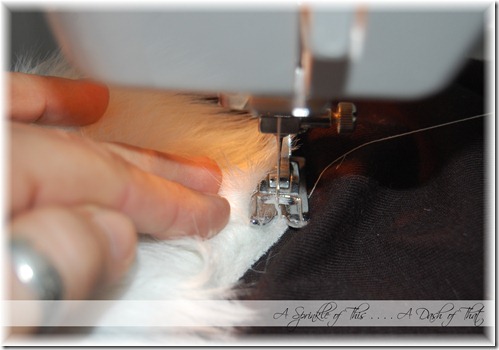
In the photo below you can see the thread where I tacked on the beard and hat band before I cut them off.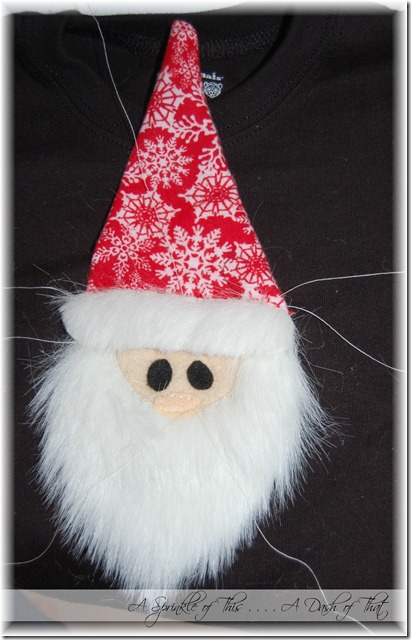
Then I tacked the had down somewhere in the center so it wouldn’t fall completely over, folded it over, stitched down the point, and added the fuzzy ball.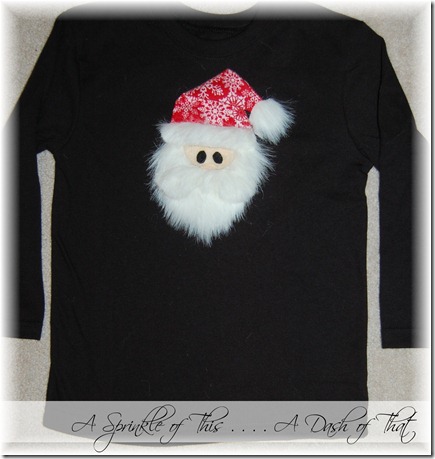
I decided it was still a little plain so for a last finishing “girly” touch I added a ruffle to the bottom made from the same fabric as the hat. I cut a strip about 5” wide the width of my fabric and folded it in half.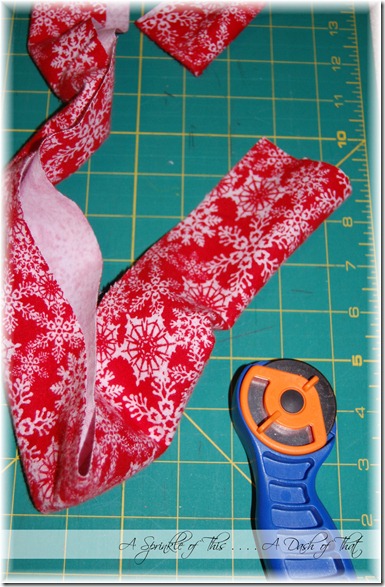
Then I ruffled it on my sewing machine using the longest stitch length and highest tension 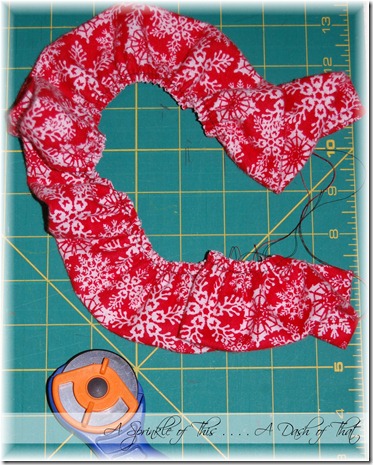
For the final step I sewed it onto the inside of the bottom of the shirt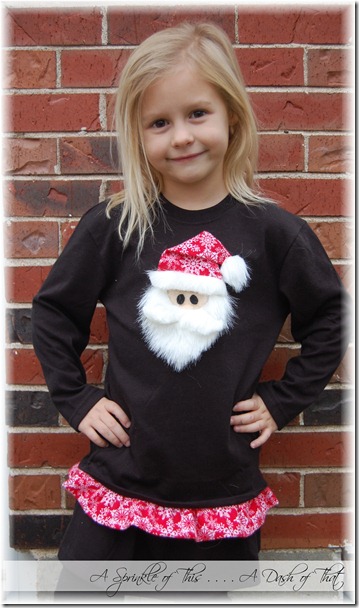
I think this shirt would look perfect with the Santa hair clippie I made a couple of years ago.
(Not the best photo but the wind was blowing)
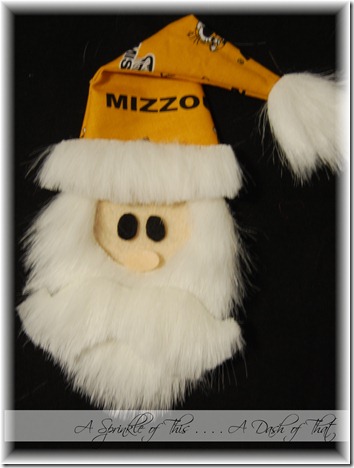
My son’s shirt will look similar but his Santa will have a Mizzou hat instead of red snowflakes. I haven’t actually sewed this one yet but I have all the pieces cut and ready to go.
I’m thinking about turning these adult socks into some leg warmers with the furry cuffs at her ankles. . . . I’m not sure they go with this shirt but she has another one that has the same pattern on the sleeves.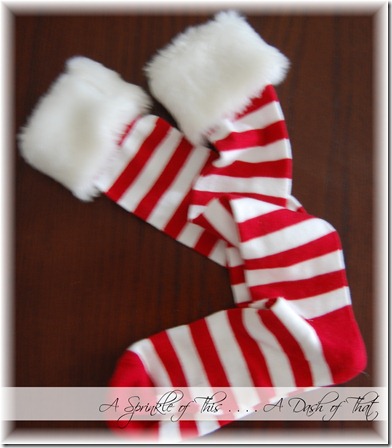
Please e-mail me if any of the steps are confusing or you have any questions.
For more projects like these visit me at A Sprinkle of This . . . . A Dash of That.
I’ll leave you with a preview of some of my most popular posts (just click on the picture to be taken to the post):
A great keepsake gift:
A fun teacher or friend gift:
Tons of organization tutorials: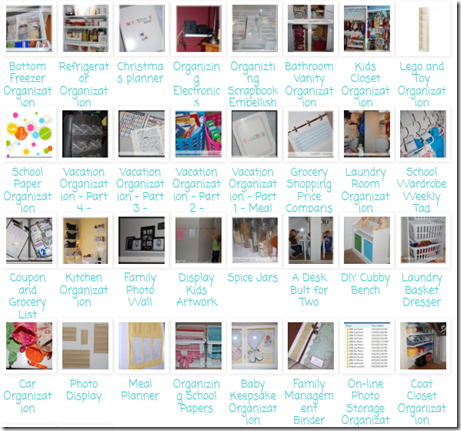
Thanks again Sugar Bee Craft for allowing me to guest post!


 </ a>
</ a> 
 </ a>
</ a> 

I love this!
Thanks!
OMG can you say “super cute?” This is precious!
This comment has been removed by the author.
Thanks for the nice comment. Made my day 🙂
I love it, so cute and such a great idea to make shirts every year.
Thanks!