


Snowmanlover’s Letters to Santa Gift Card/Candy Card Tutorial!
HI! I am Barbara Gornick from Snowmanlover’s Paperie! I am so very honored to be a Guest on Mandy’s Sugar Bee Crafts Blog!

I am an Independent Stampin’ Up! Demonstrator and blog daily, sharing ideas on how to make Cards and fun Paper Projects! I absolutely love my “job” and get to play with paper all day! I reach most of my customers, via my BLOG. I am from the Midwest and transplanted in Dallas, but my customers are from all over the Country! They can either order on my Online Store or become involved in one of my Long Distance Hostess Clubs, Ribbon Shares, Card Kits, Etc. or just enjoy my Blog for inspiration! I love sharing my love of Stampin’ Up! and Card Making and Paper Crafts!
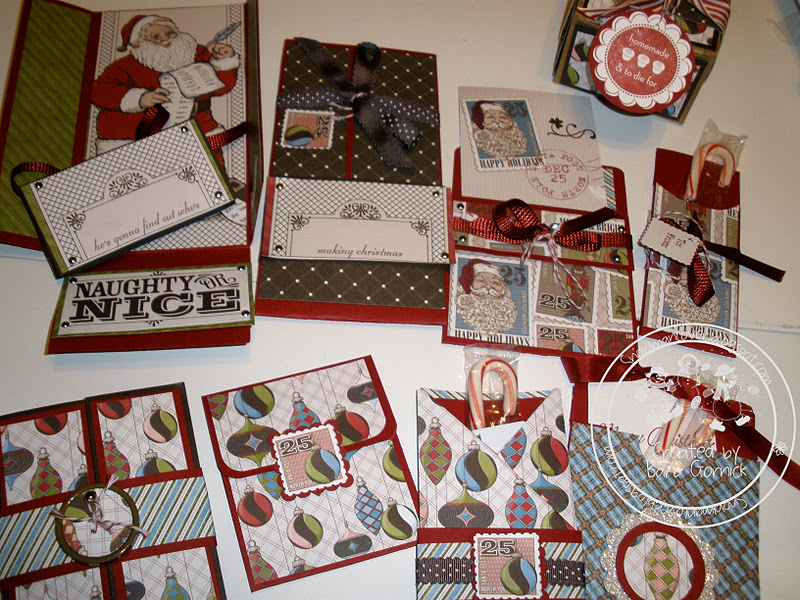
I have created a Tutorial with 7 different Gift/Candy Cards and a bonus box!
Today, I am going to give you a “Sneaky Peek” and share with you how to make the the 1st Card from my Letters to Santa Tutorial. All supplies featured, are from Stampin’ Up! and can be purchased Here at my store!
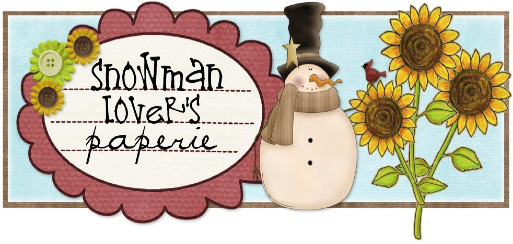
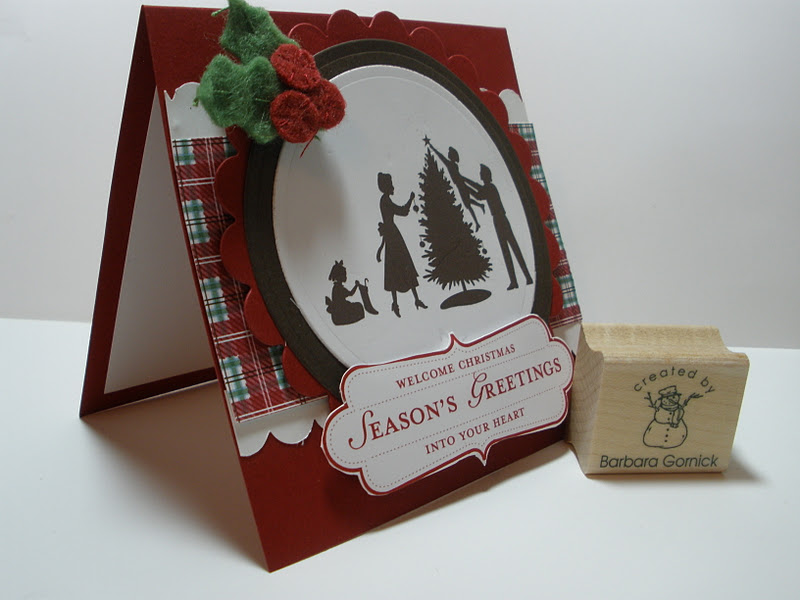
I call this my “Snowmanlover Pop Open Card”
It is really super easy and fun to make and is sure to surprise it’s recipient!
It is really super easy and fun to make and is sure to surprise it’s recipient!

First score 1 sheet of 8.5 x 11 Cherry Cobbler Card Stock at 2″ and 6 1/4″ going down

Next turn the card stock 90 degrees and score at the 8″ mark. Where the scored lines meet, cut those out. I have scored them with an “X”.

It should look like this

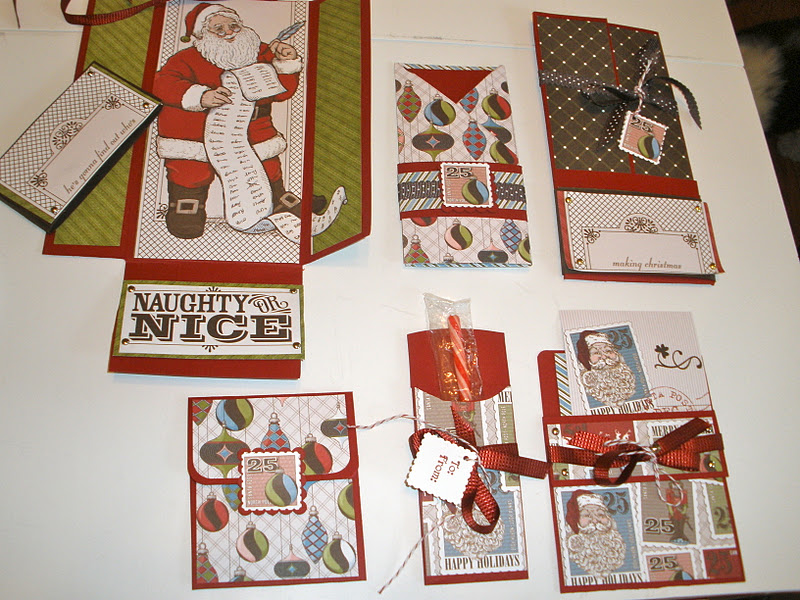
Next take your 12×12 patterned piece of Double Sided designer paper from the Letters to Santa Designer Paper pack, using the piece with the Santa…

and cut it like this. The Santa part is 7 3/4″ x 1 3/4″.
Next cut the side pieces from the extra paper at 7 3/4″ long x 1 3/4″ wide
So it looks like this when adhered with tape runner adhesive

Add the “Naughty and Nice” with some Silver Brads

When you flip the flap up, add the other side of the double sided green Santa paper. I cut it at 2x 4 ” and placed it on the flap

Now you need to create a “Belly Band” to enclose the card
For the Belly Band cut a piece of Early Expresso Card Stock at 2 1/4″ x 9″. Wrap around the card and fold as you go and you can also score the lines.
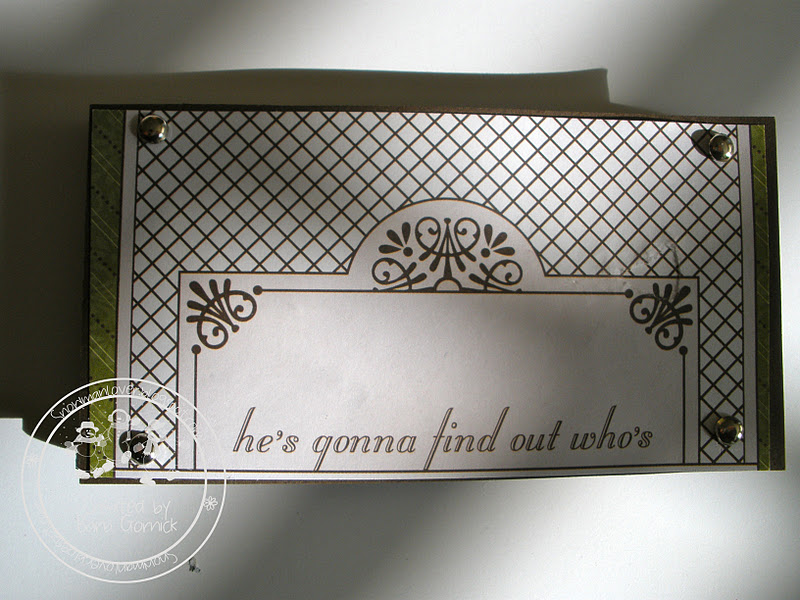
Cut out the “he’s gonna find out who’s” at 2×4″
Add Silver Brads. Adhere with Adhesive.
To close up your card, close your side flaps, then the fold the bottom flap up and add the belly band around the bottom part

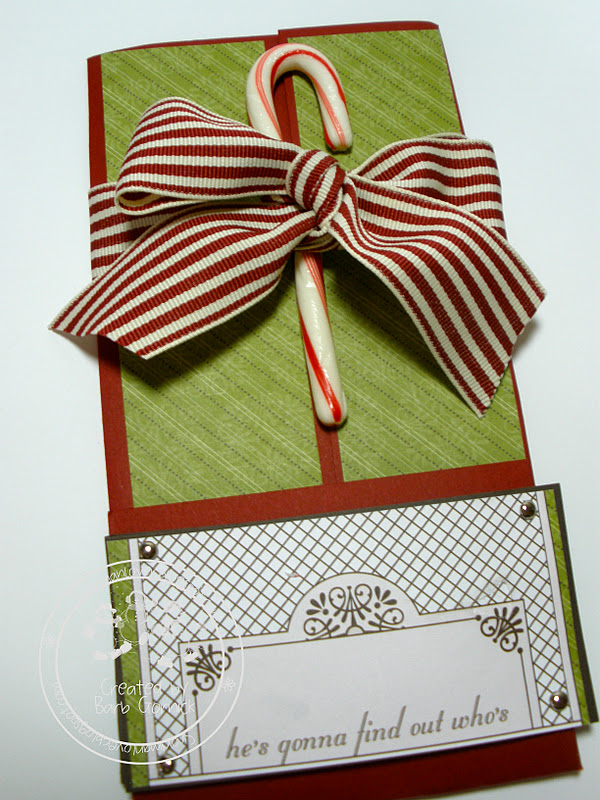
Just tuck a Gift Card inside or add some candy to the outside and tie a gorgeous bow around the card!
All supplies needed for this card:
Letters to Santa Designer Paper #111349
1 sheet 8.5 x 11″ sheet of Cherry Cobbler Card Stock # 119685
1 sheet 8.5 x 11″ Early Expresso Card Stock # 119686
26 ” of Cherry Cobbler 1 1/4″ Striped Ribbon $125056
Silver Brads #104336 (optional)
Simply Scored Scoring Tool # 122334 (optional)
All supplies can all be ordered at https://www.snowmanlover.stampinup.net
Simply Scored Scoring Tool # 122334 (optional)
All supplies can all be ordered at https://www.snowmanlover.stampinup.net
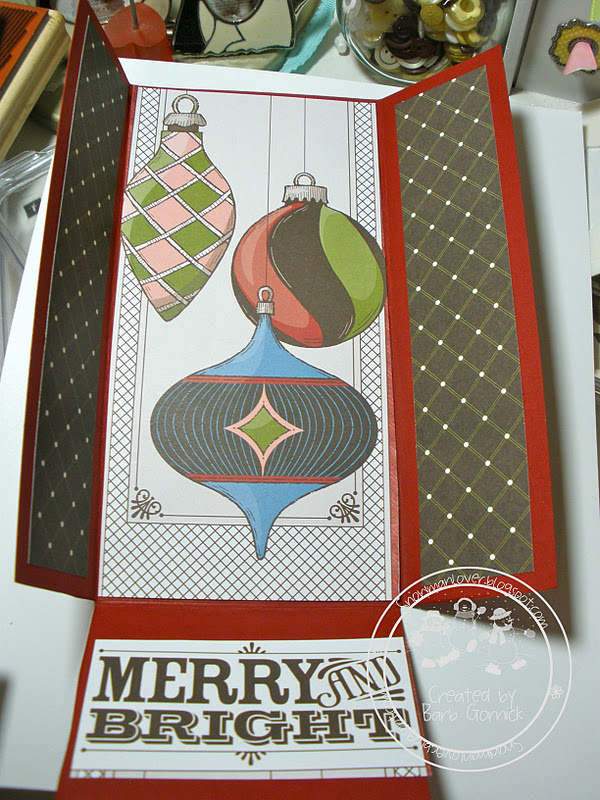
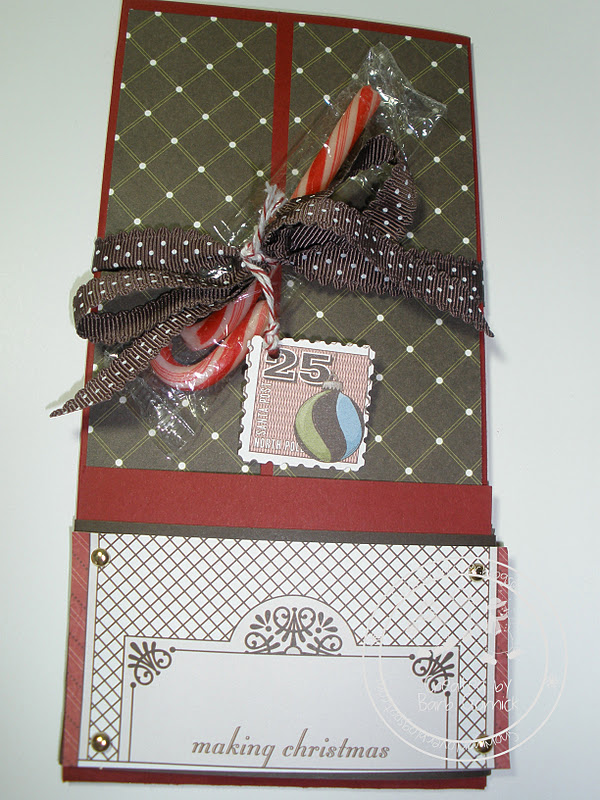
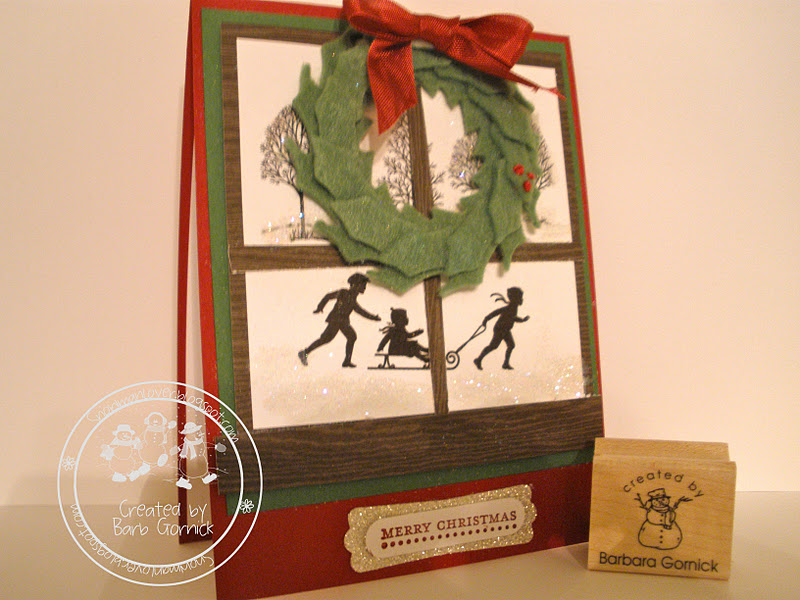
Here is another example of my “Snowmanlover Pop Open Card”, using another sheet from this darling, Letters to Santa Designer Paper pack from Stampin’ Up! I used the sheet with the large ornaments on it. Each package of Designer Paper comes with 12 double sided sheets of paper in 6 designs.

Thank you for stopping by and checking out my “Snowmanlover Pop Open Cards”
From that link, you may purchase my Tutorial for the 7 different cards plus one bonus box, if you would like.
I truly hope you come visit me on my Snowmanlover’s Blog, often! I try to update my blog daily and on Sundays, I have a “Simply Sunday” post featuring non craft related topics with yummy recipes and at times just a bit of whimsy!
You can check out some other great Christmas Cards made from more Stampin’ Up! Designer Packs and other fun projects by clicking HERE!

I also want to share with you, that you can get a Big Shot Machine or $100 for FREE with signing up on my team! That offer ends TODAY, November 11th! Details are HERE!
Thank You for stopping by and Thank YOU, Mandy!

Thanks for checking out this post from www.SugarBeeCrafts.com – – click on over to read it in its entirety – you’ll love it!
Thank you so much, Mandy!! I am so excited to have mine ‘air”!!
The problem with handcrafted cards is that I feel SO guilty throwing them out later. Couldn’t they come with an expiry date on the back, after which time one is required to pitch them? lol Lovely cards. See what I mean!
Oh I save every card ever given to me or my kids, hand made or not but the handmade ones are always my favorites to receive
Hello I just came across your blog Via Pinterest I saw your rag rug tutorial…I just posted about it… I can’t wait to give it a try..Also I just became your newest follower 🙂
https://shoprubyjean.blogspot.com/
SUPER CUTE Idea!!!
Aimee @ ItsOverflowing.com