Have you ever used a jelly roll? It’s fabric pre-cut into strips and makes things so easy! I have a tutorial for a Ruched Strip Skirt that I shared over at The Ribbon Retreat a couple of weeks ago that I’d love to share with you.
Today’s project uses a Jelly Roll, which is a pack of coordinating strips of fabric. It’s pre-cut into exactly the same size strips, so it makes this project super easy.
I love the feel of fall that this skirt has, the bold statement it makes, and the ease of construction it took to put it together. Let’s get started…
Grab a Jelly Roll – – here’s what I used:
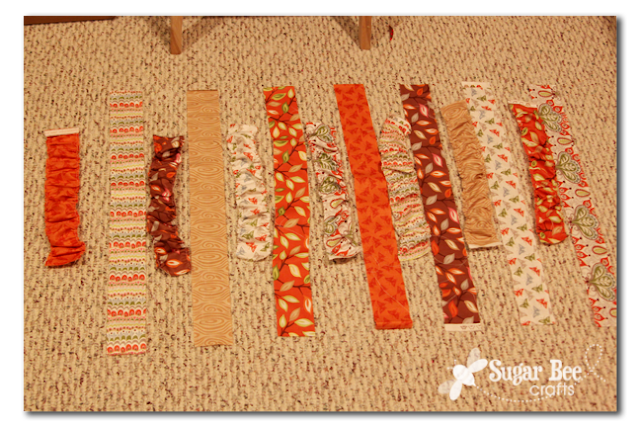
Pick which strips you’d like to use. I used 7, cut in half, so 14 halves total in the photo below. I ended up adding 2 more strips to fit my daughter, so 16 halves for a 7 year old.
You are going to ruche every other strip. It’s not hard. Basically you gather and ruffle the strip – the difference between ruching and ruffling is that you gather and ruffle both sides, going length-wise, as shown. If you need tips on how to gather and ruffle, I go in to detail on my Ruffled Clip post. When gathering the sides, I made the length of the entire strip 14 inches. You can adjust that according to the size of your child.
After every other strip was ruched, I cut the other flat strips to 14 inches, so they’re all the same length:
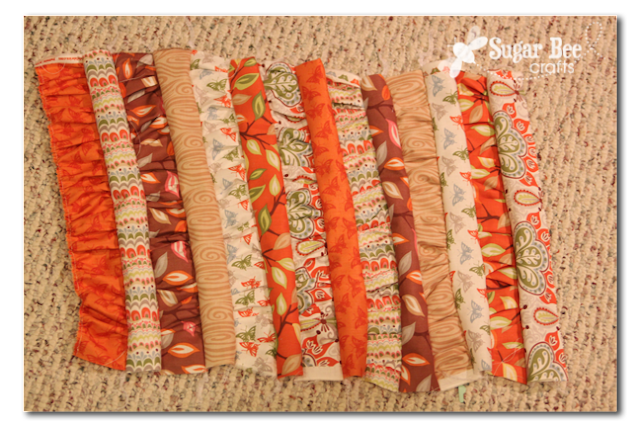
Then sew the strips together by putting them with right sides together and sewing down that entire edge. You will sew a ruched strip to a flat strip, then keep on working on down until you have all the strips sewn to each other.
Once they are all sewn together it will look like this – you will then need to press each seam:
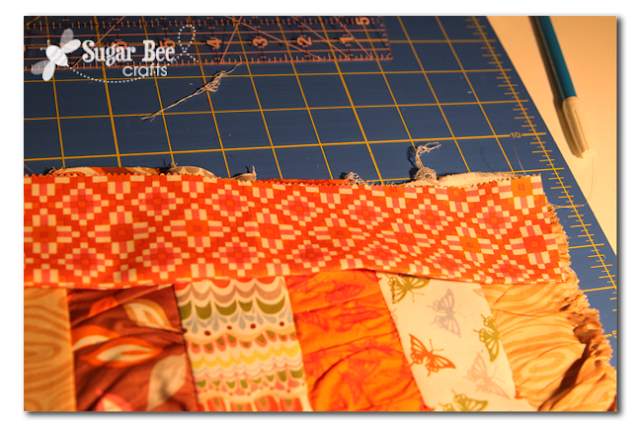
After pressing all the seams, you may find that as a whole the piece is a little wonky – mine resembled a rhombus – so trim the top and bottom edges to even it out.
Now, on to the waistband. Grab 2 other strips and sew them right sides together then press the seam open and then fold the piece so that wrong sides are together. Ignore my awful ironing-board cover – it’s on my to-do list for sure…
Take the waistband and put the raw edge against the top edge of the skirt and sew into place. Then when you flip up the waistband you will have an open casing:
Pull a piece of elastic through and secure on each end.
Then you can add a couple of more strips if you would like to the bottom of the skirt. I added a strip that was ruched and then a flat strip – the back of my skirt now looks like this (I took this picture before I put the elastic in) –
Now just match the edges up, right sides together, and sew up that seam. It will catch and give extra hold to the elastic. Then hem the bottom of your skirt and you are done – wahoo!!
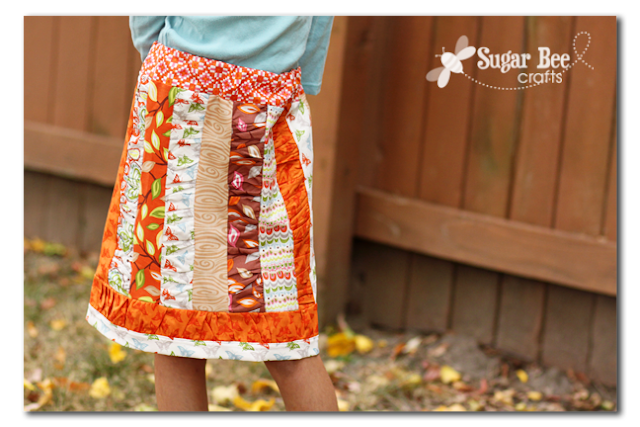
Here is a closer view of the ruching detail – it’s on every other strip but it can be seen on some colors better than others:
I love how it turned out! I wanted a skirt that resembled a pencil skirt so it’s a big high on the waist and goes to the knee – – you can alter the length and add more strips if you’d like a shorter, fuller skirt.
If you have never tried a Jelly Roll, you need to! This skirt would have been super time consuming if I have to cut all the strips, but with them pre-cut I could get right to the fun part – sewing!


So cute! I REALLY need to learn how to sew ;). I wamt to make a cute skirt too!!!
I love that ruched strip on the hem – makes the skirt!
That is gorgeous, love, love love it!
i LOVE this skirt!! I so wish I was a sewer. I do occasionally sew, but I usually end up using the word, “Dagnabit!!” through the whole process
This is so cute! I don’t sew at all but might put this on the list for my mother in law 😉
My favorite use of a jelly roll I’ve seen in a long time, it’s absolutely adorable! I wear a skirt every day and I want one!
Very cute! The fabric and these photos scream fall!
Adorable! Thanks for the clear and easy tutorial. I always see those jelly rolls and wonder what I could do with them and now I know! I’m always drawn to the pretty prints! Thanks for the inspiration!
This totally grabbed my attention when I was visiting at nap Time Crafters…
I have NEVER seen ruffles done horizontally on a skirt! What a fabulous idea! You are sooooo creative. Your daughter is BEAUTIFUL!!!!!
Thanks for sharing!
Crystelle
https://www.crystelleboutique.com
great idea and super cute! i love all that orange.
Thank you for the awesome tutorial! I totally made one for my daughter and it turned out super cute, come check it out if you’d like. https://jesscarleton.blogspot.com/