this is a sponsored post in collaboration with Waverly Inspirations as part of their blogger team
I love seeing the fabric for the Waverly Inspirations challenges as they come – and I love showing them to you! As you can imagine, this round was pretty fall colors that you’re going to want to go out and grab. They will work perfectly into your Thanksgiving Tablescape and these Reversible Placemats are the perfect project for that. I have a step-by-step tutorial for the simple sewing project, so you can whip some up in no time! And yes, you read that right – they’re REVERSIBLE!
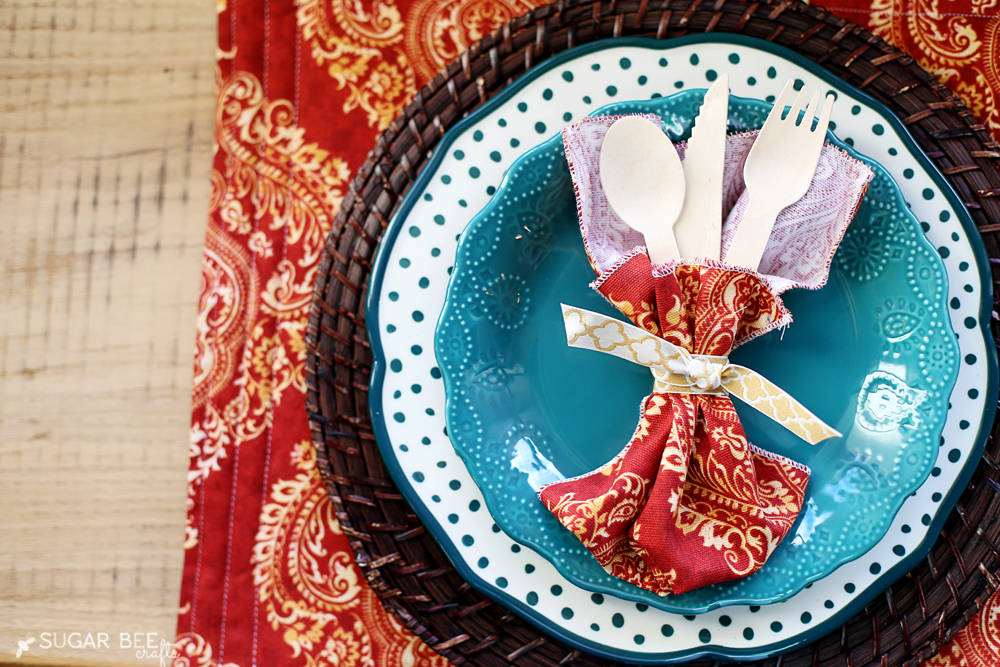
I just love how the fabric plays well with the new fall dishes from Walmart as well (I’m smitten with the Pioneer Woman’s line!!)
Reversible Placemat
Let’s get started! You’ll need:
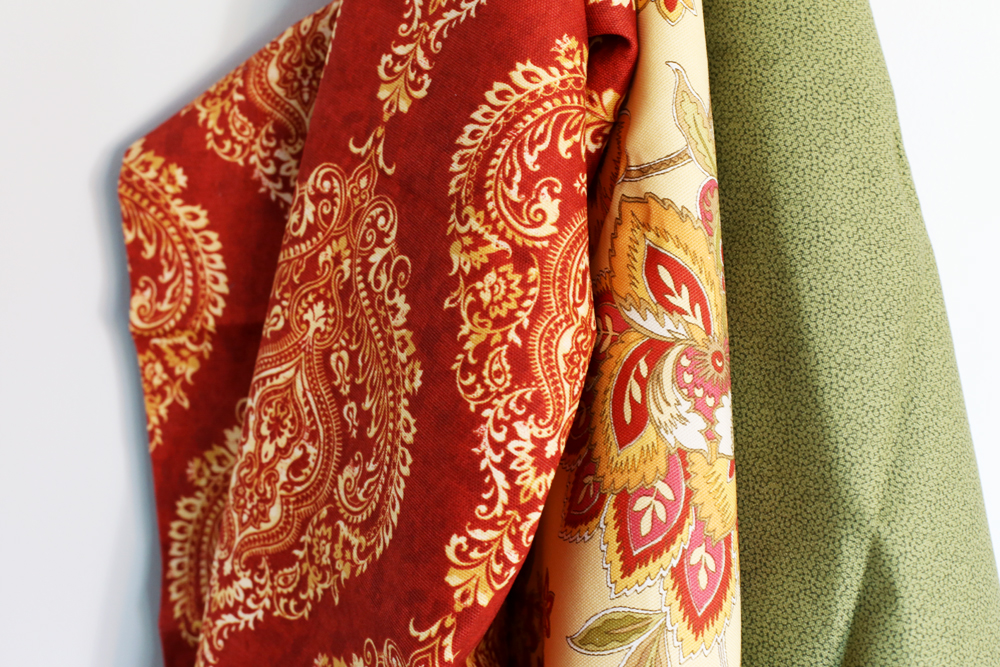
–fabric, 2 pieces coordinating in the size you’d like your placemat to be – I used fabric from the Waverly Inspirations home decor fabric line at Walmart
–batting (also in the size you’d like your placemat to be)
–ribbon for tieing the napkin (also from Waverly Inspirations)
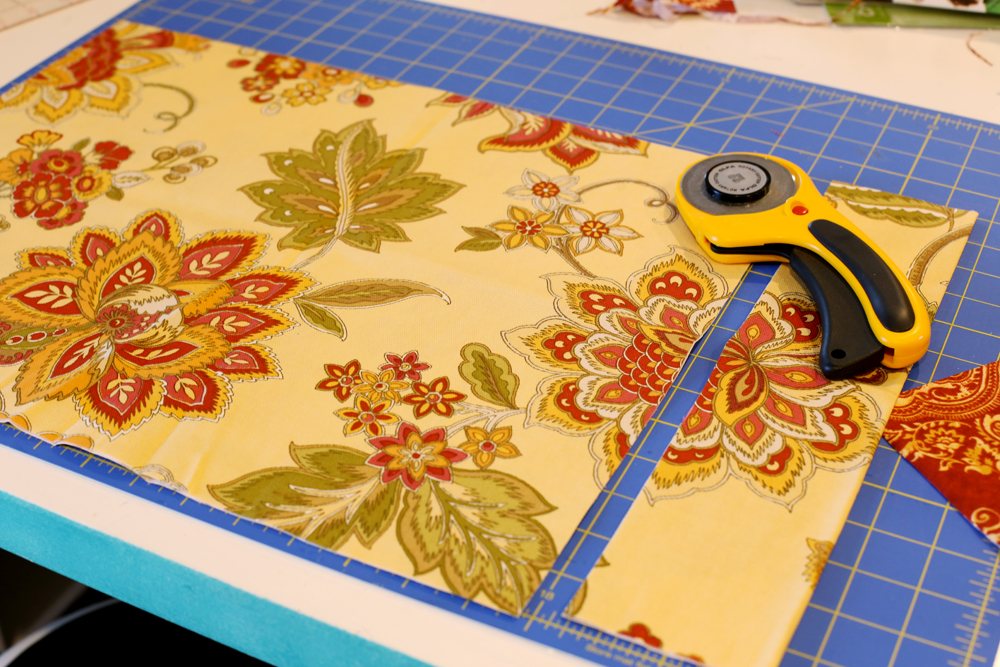
First, cut your 2 pieces of coordinating (but different) fabric inot the size of your placemat. Mine is 14in x 18in.
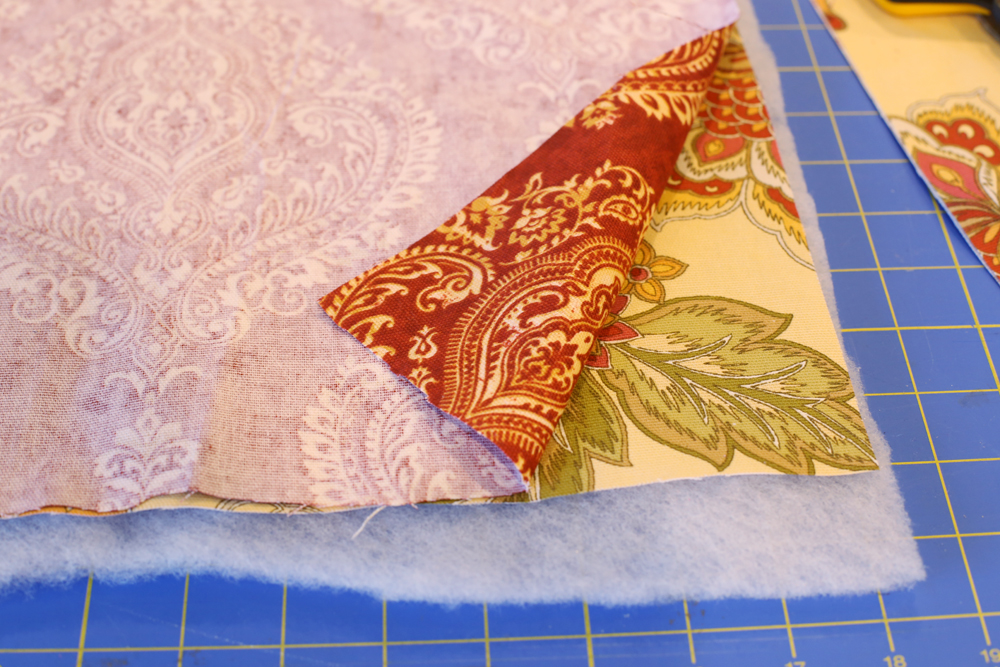
Now, create a “sandwich” of layers, with batting on the bottom, then the two fabrics on top, with them right sides together, as shown:
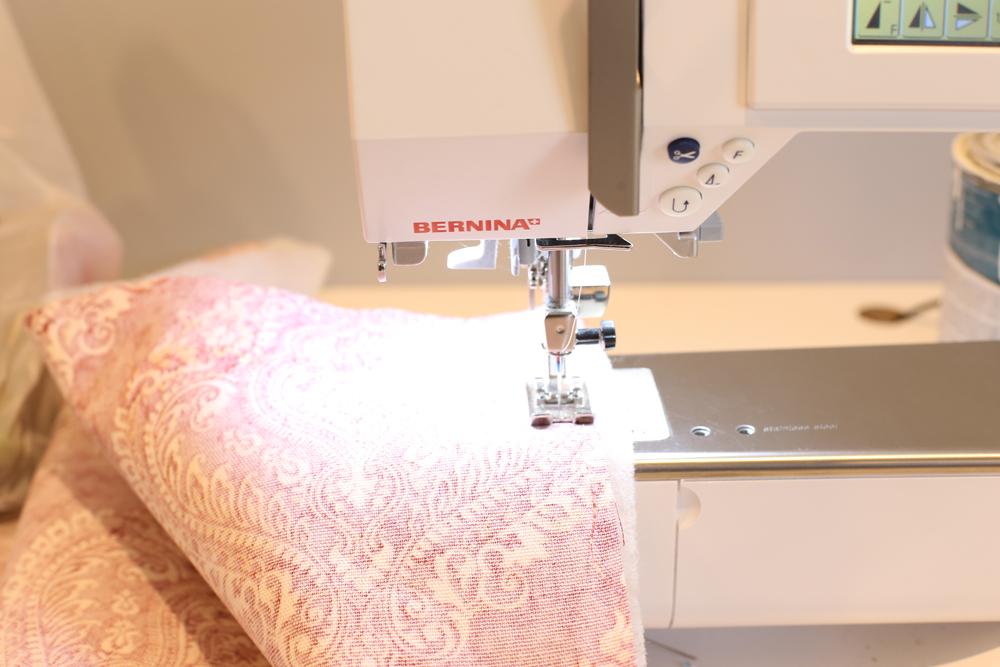
Now sew all the way around the outside edge, leaving a 3-4in gap unsewn for turning.
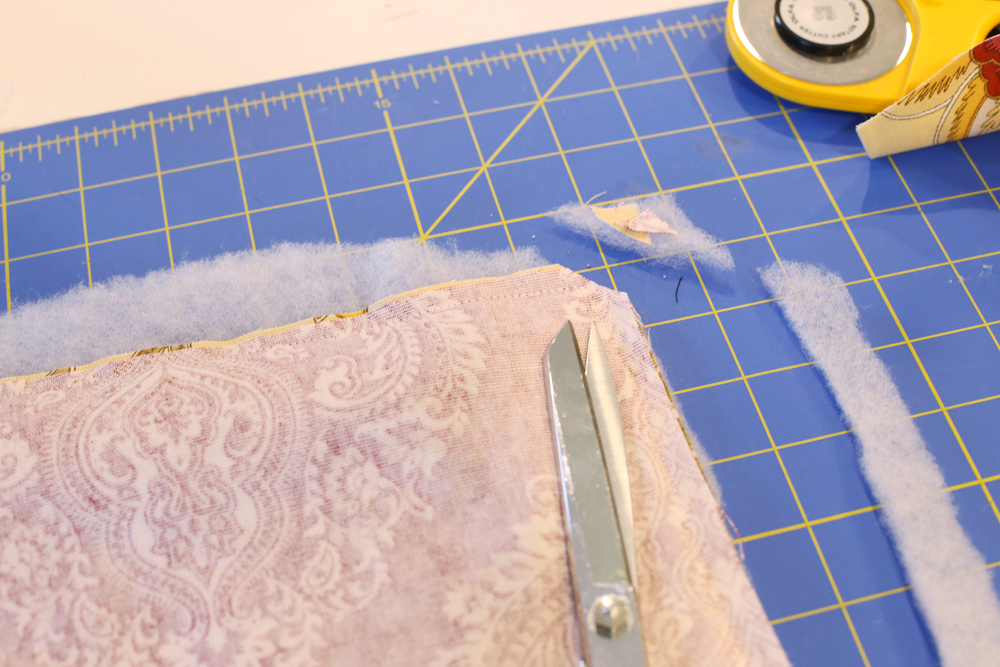
Once sewn, trim the excess batting and snip off all the corners at an angle as shown:
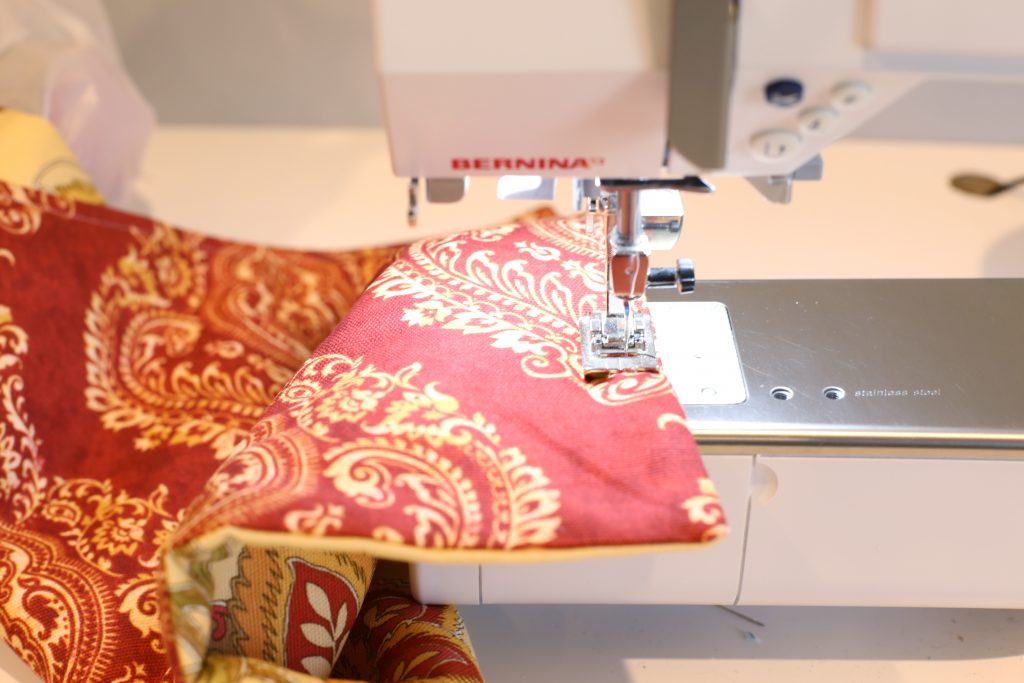
Then through the opening, you will turn the whole placemat right-side out. After that, topstitch (which is sewing on top of the fabric) all the way around, pretty close to the edge so that you can sew the opening closed as you do so.
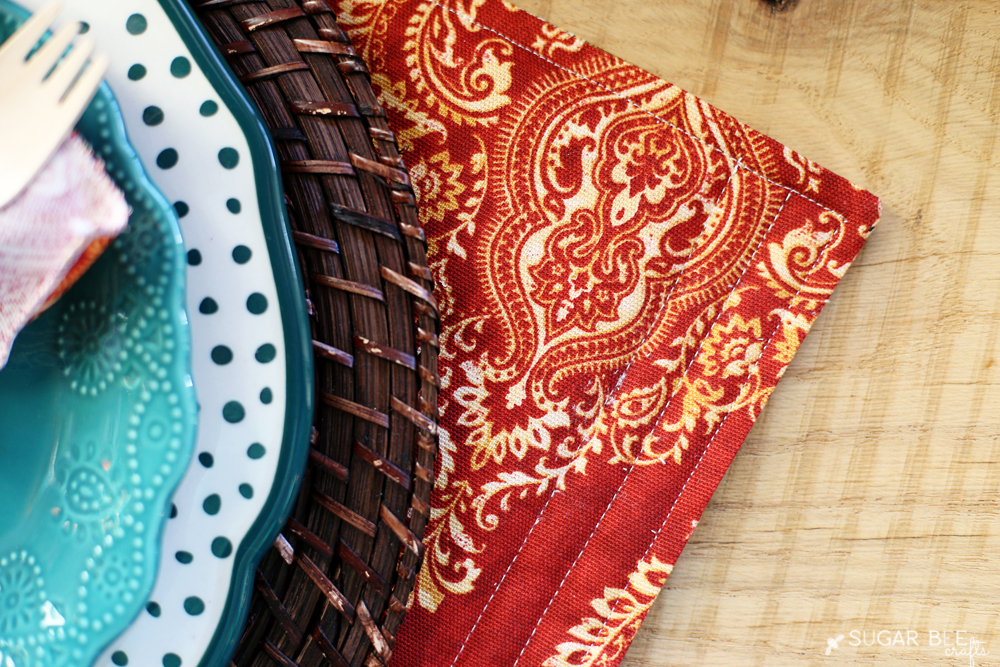
I then added a few lines of topstitching, or quilting, to the ends of the placement for interest – you can see all the topstitching here:
DIY Cloth Napkins
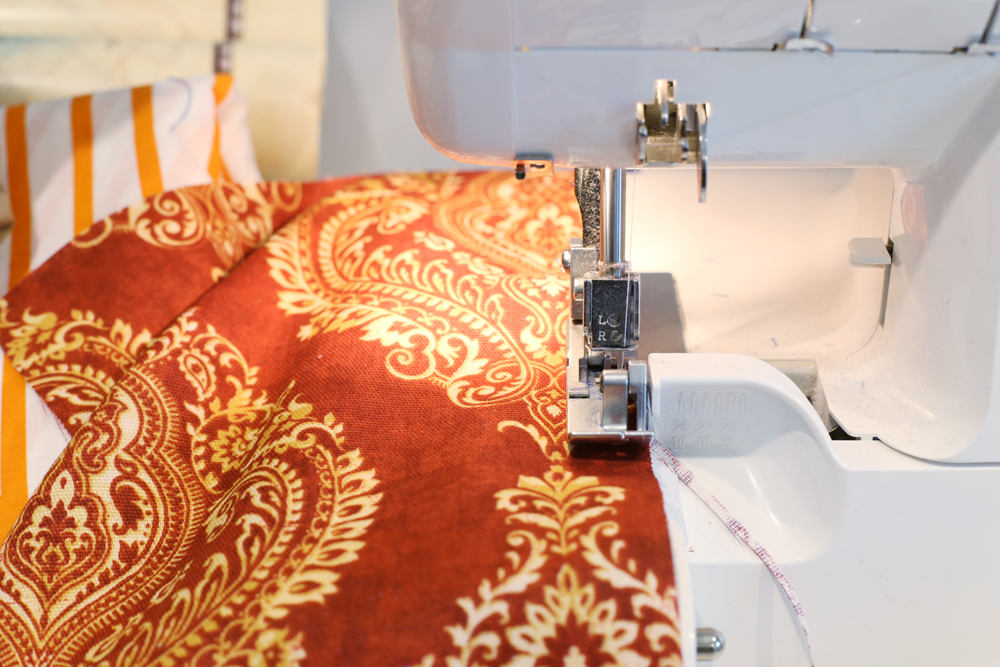
Then for the napkins, I used a size that was half as big as the placemat, and simply serged around the edges. You could also turn under all the edges. Easy peasy!
Place Setting
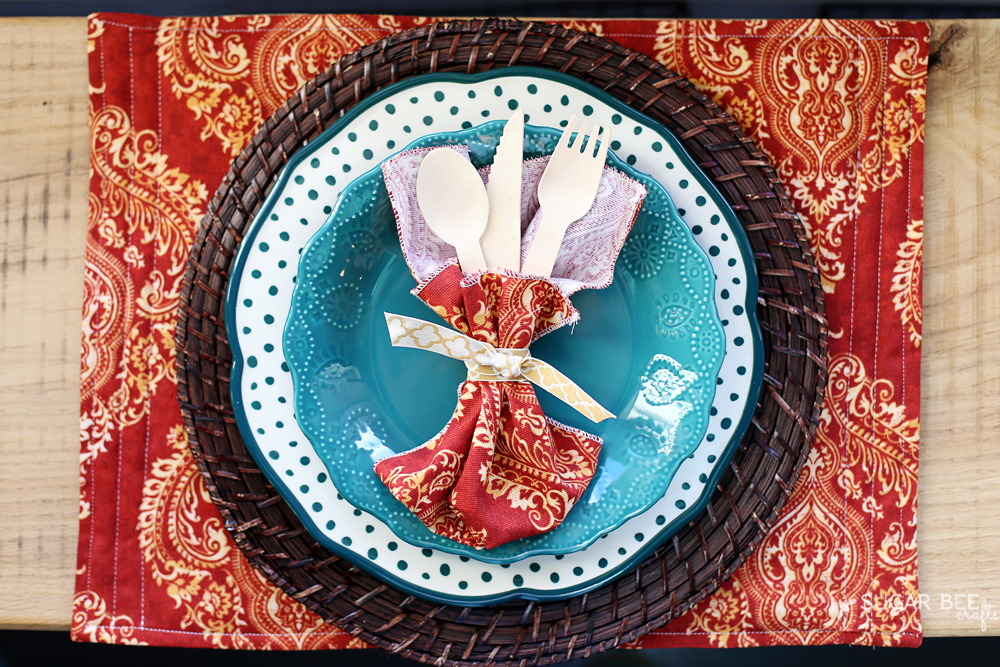
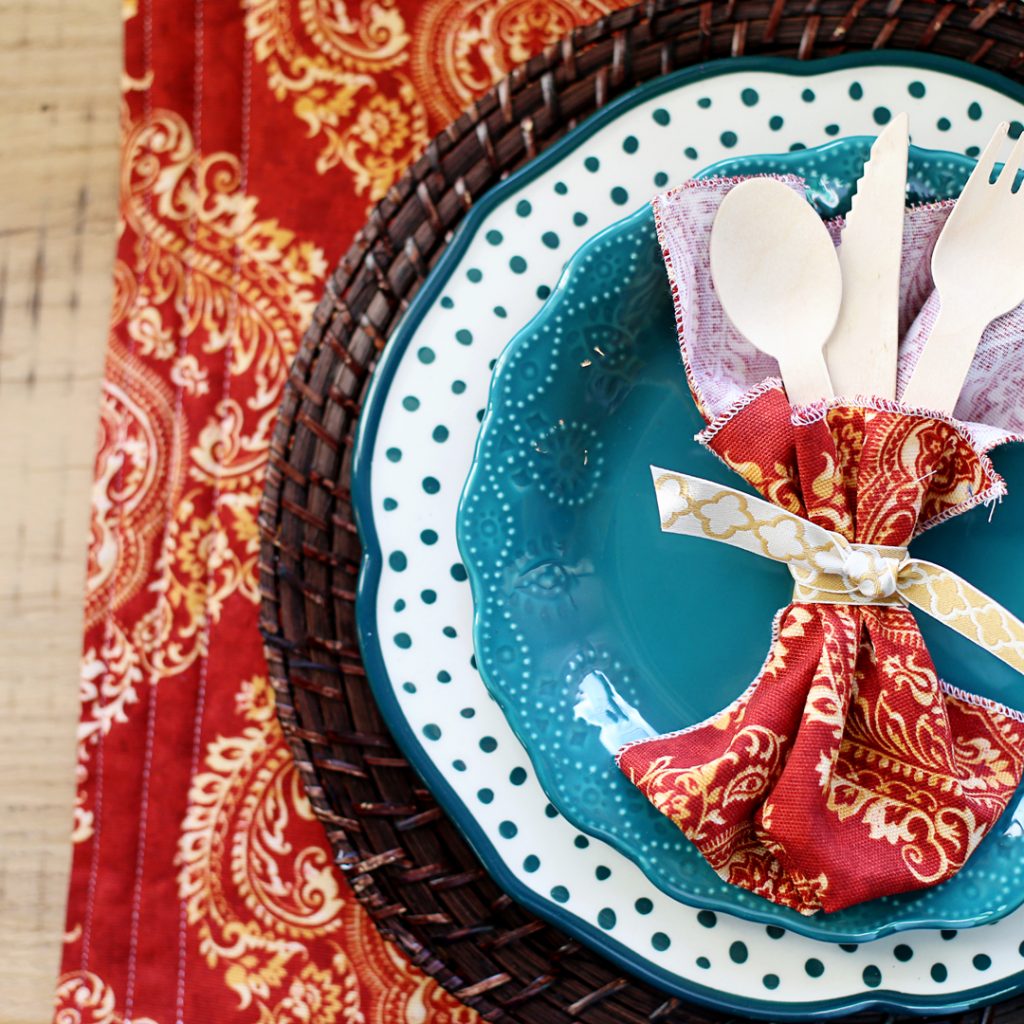
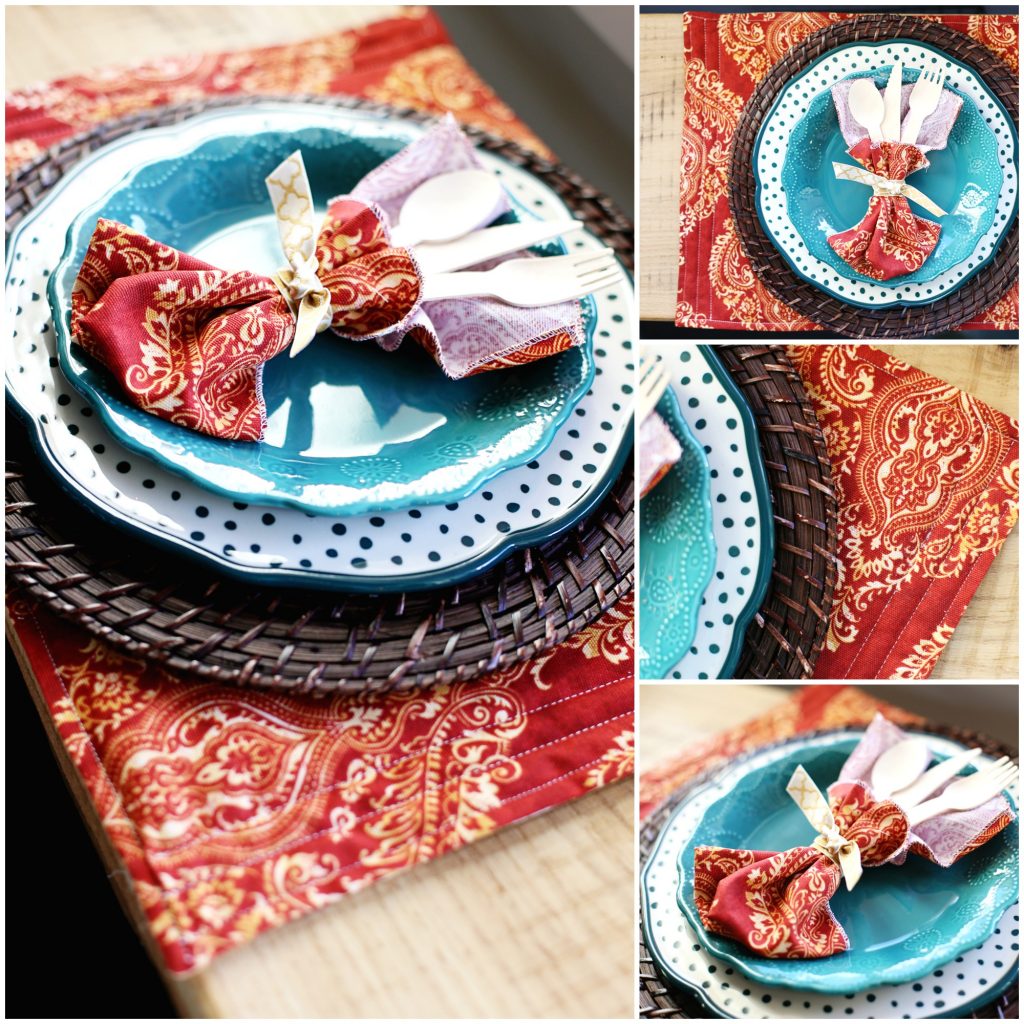
To use in a tablescape, choose the side of the reversible placemat that you want up (you could even mix and match them!), then layer with a a charger, dinner plate, and salad plate. To top with the napkin and utensils, simple tuck the utensils into the napkin and tie with a ribbon.
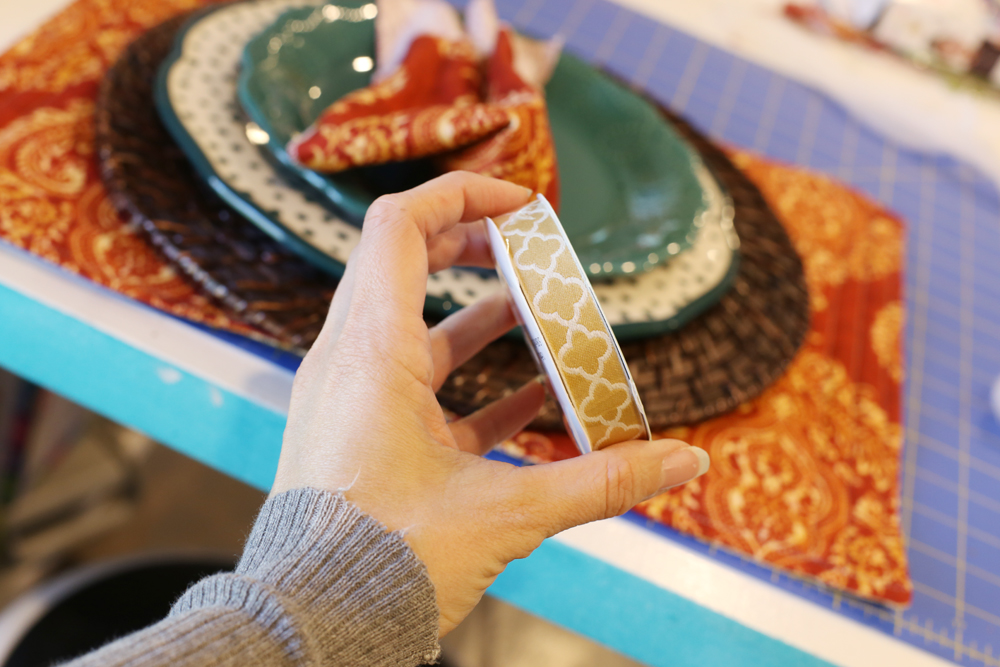
The ribbon is a simple touch, but I think it really brings everything together!
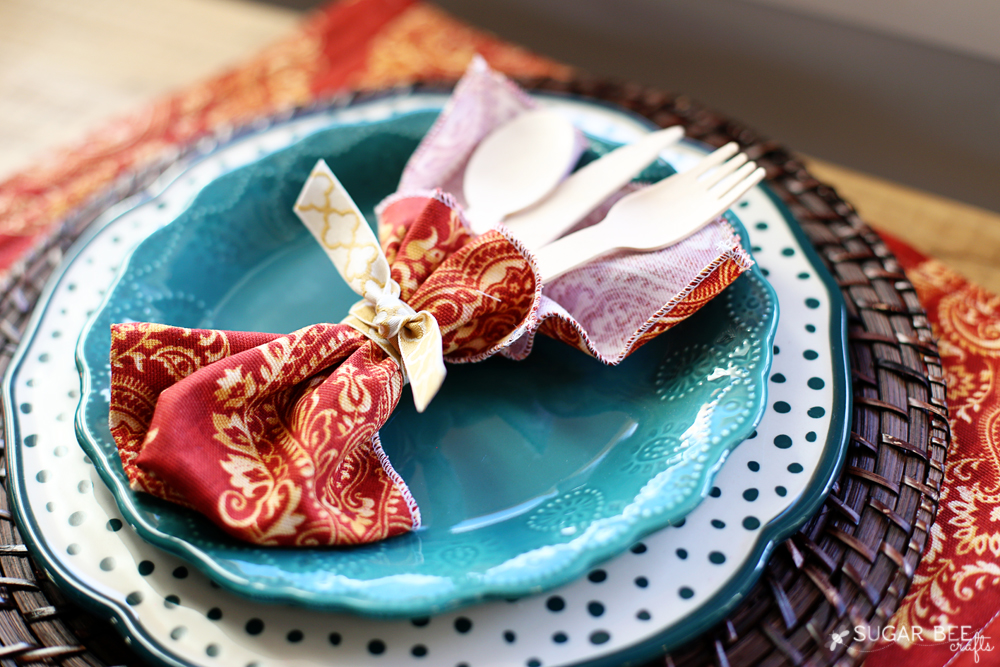
Stand back and enjoy the product of your creativity 😉


I’m in love with these placemats! Think I’m gonna have to make some for my Christmas table!
Lianne @ makes, bakes and decor recently posted…Christmas Decoration Haul 2016