this post is part of the Michael’s Makers team – all opinions are my own
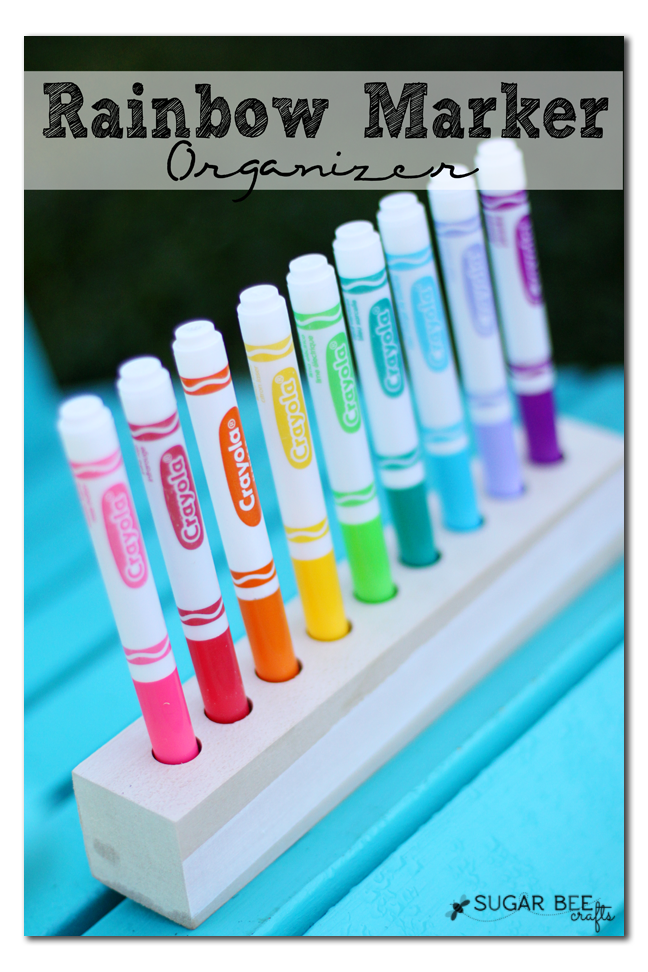
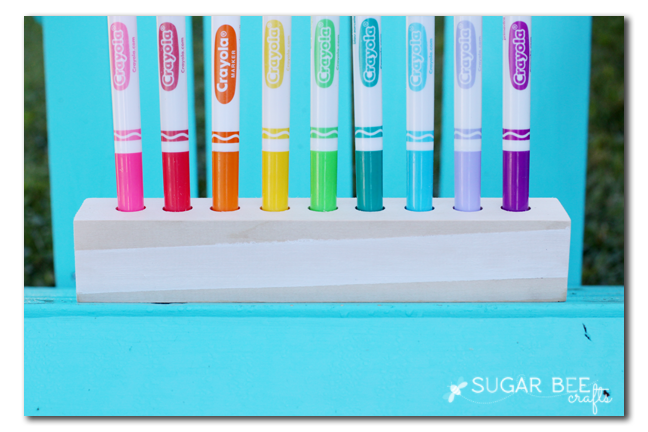
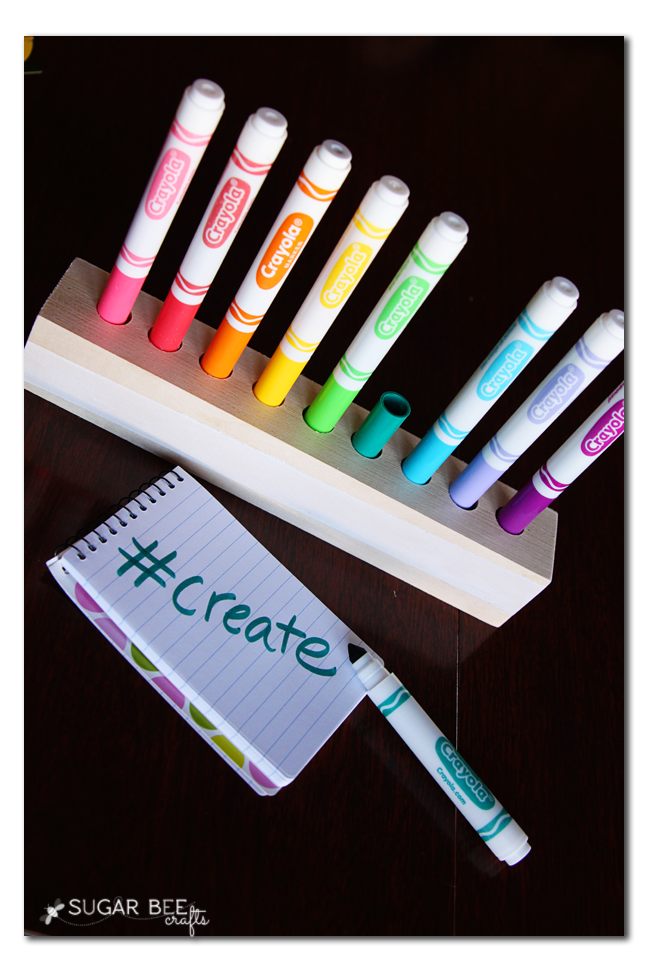
Back-to-School is in full swing! Are school supplies already taking over?? I have a great solution – make your own Rainbow Marker Holder! This is a fun and functional project – the best kind 🙂
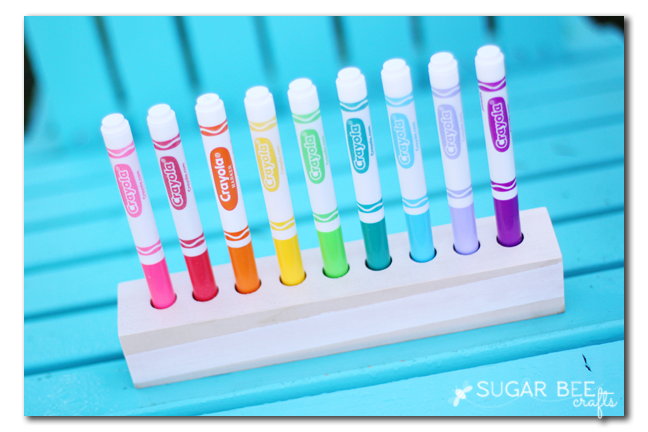
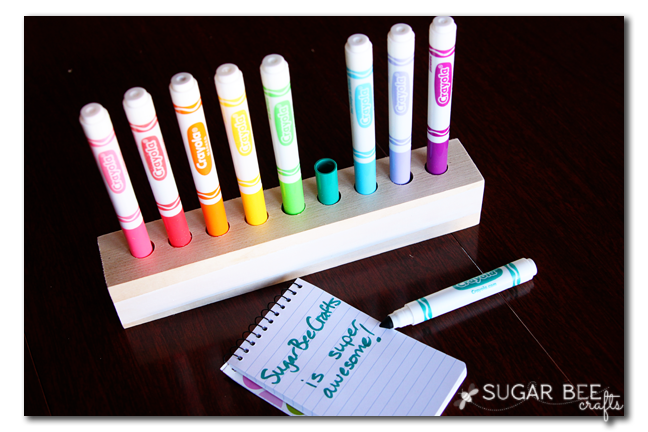
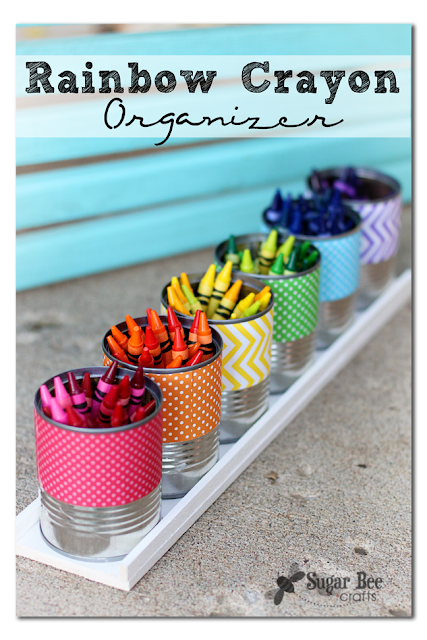
Last year I made a crayon organizer, which is great, but now the markers needed organized. I love this because you’re no longer loosing the lids!
I grabbed the supplies for this project from Michael’s and knew it’d be a great back-to-school project.
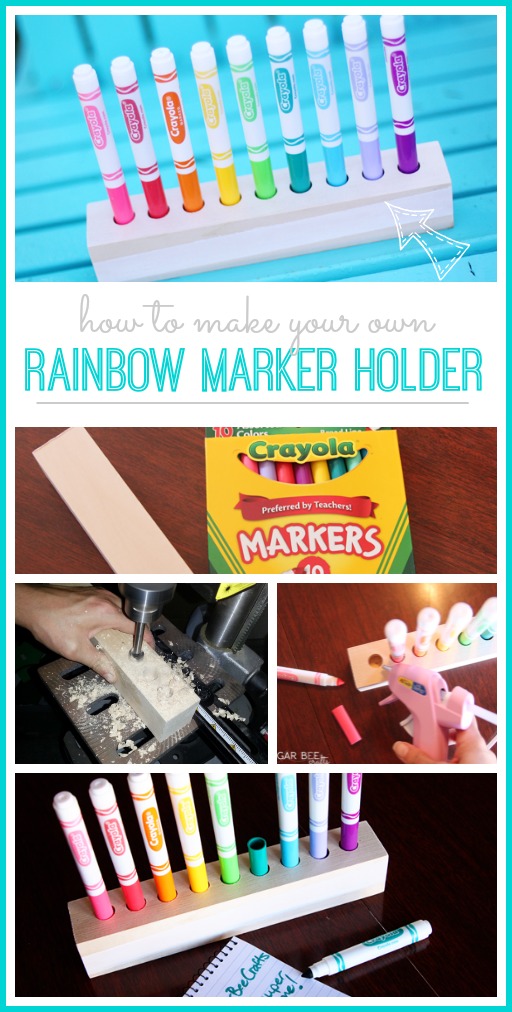
Let’s get started! You will need:
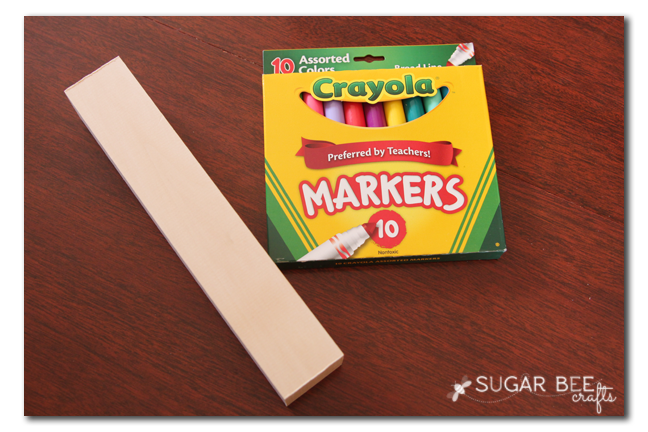
–block of wood (in the unfinished wood section of Michael’s)
–pack of markers
–paint if desired
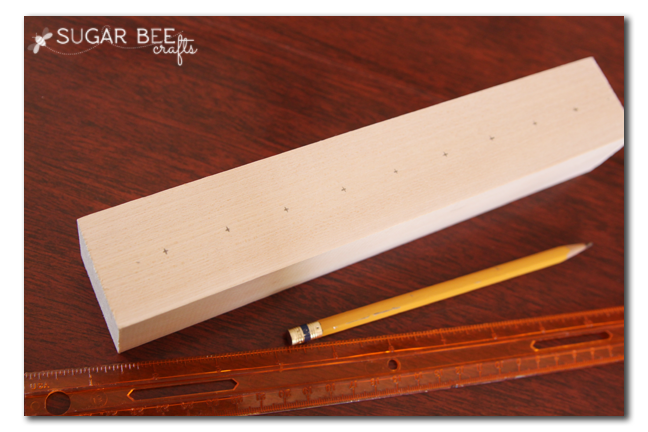
–drill and bit the size of the marker, ruler and pencil for marking holes
First up, mark your holes. Mine are spaced every inch:
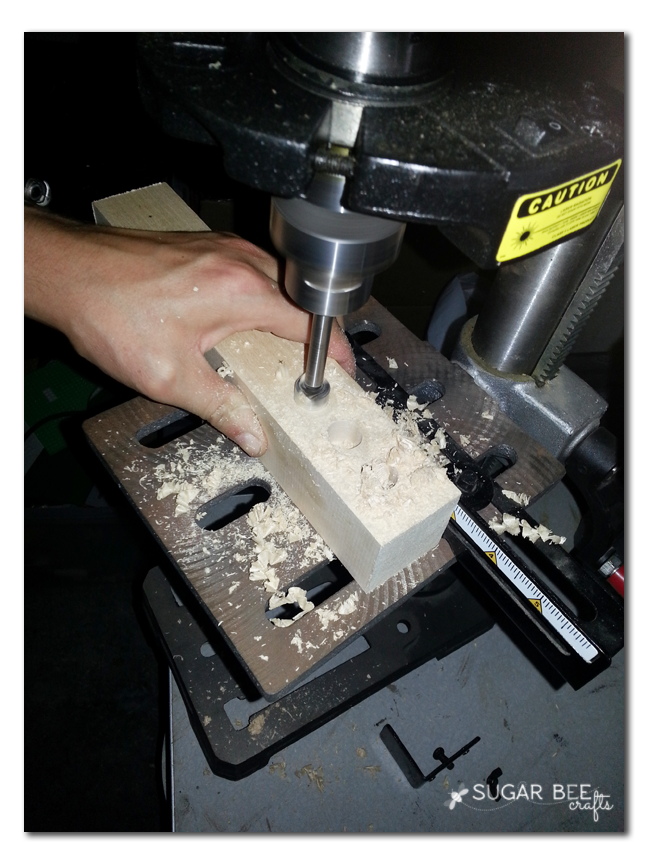
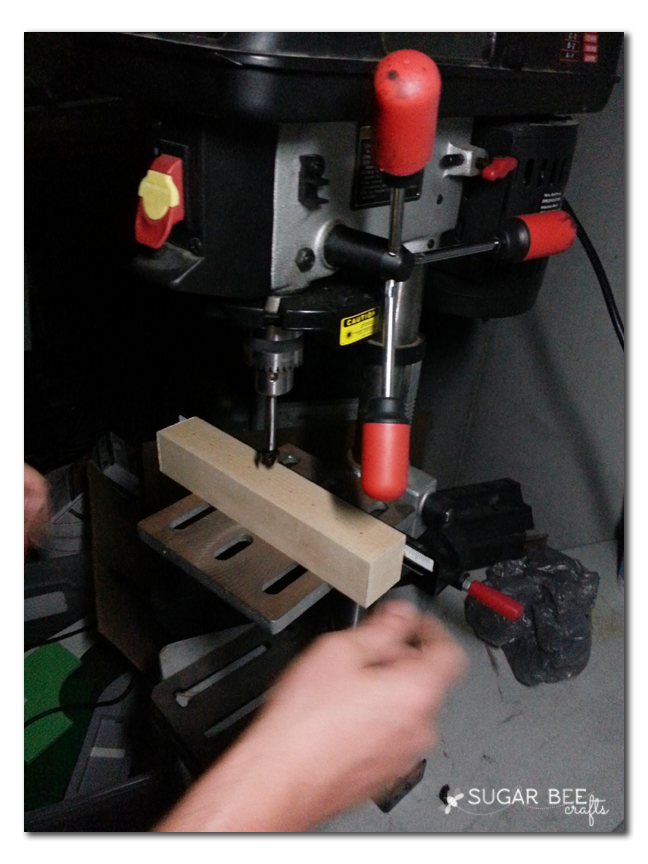
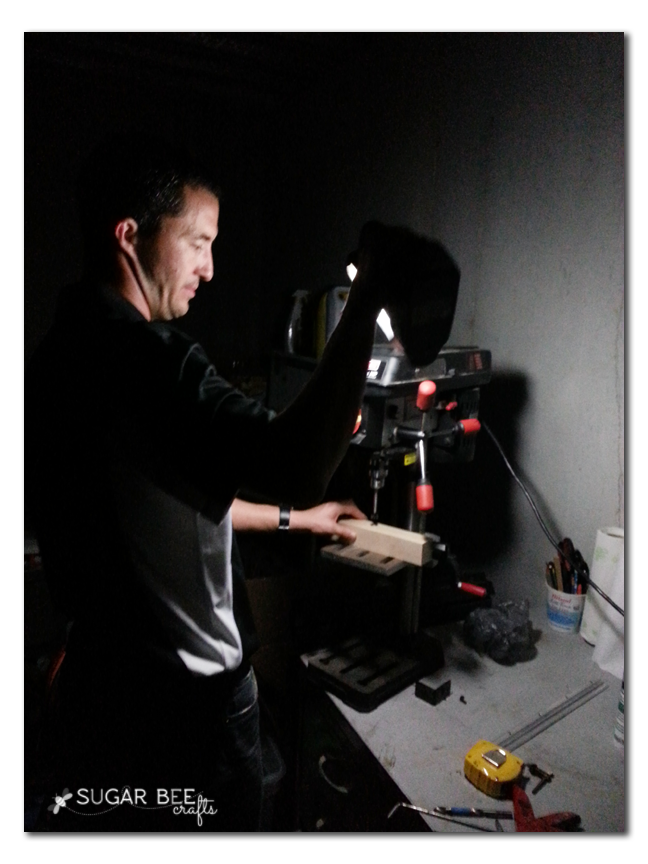
Next up, drilling! All our stuff is in storage since we’re in the middle of a move, but Trevor was nice enough to pull the drill press out. In the dark storage area.
We used a 1/2 inch forstner bit, which means it drilled a hole with a flat bottom, but a regular drill bit and drill would work as well.
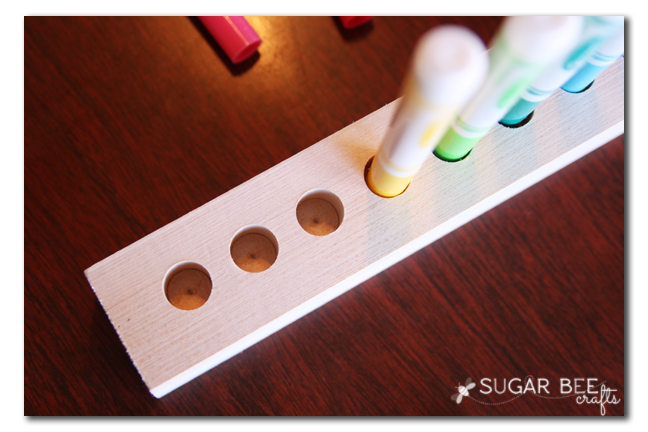
Next up I wanted to add some interest to the wood base. I probably would have painted it, but I forgot to grab craft paint at Michael’s, and all mine is in storage. And then I though stain – also in storage. I rummaged around and found some whitewash, so that was the winner. I couldn’t find my masking tape, but duct tape worked to tape off a slanted line:
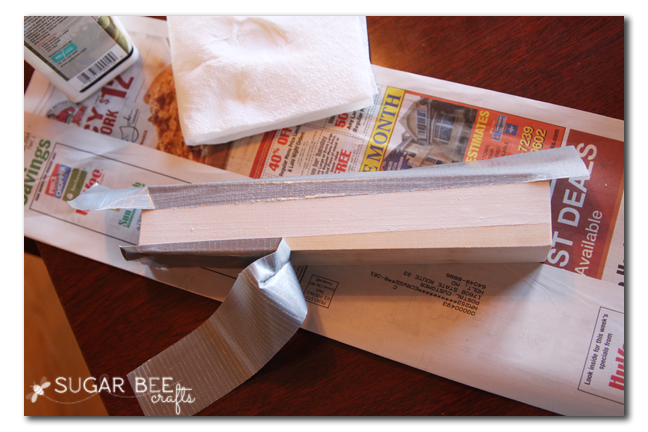
You can come up with tons of fun ways to personalize the base. This is just one idea of a million.
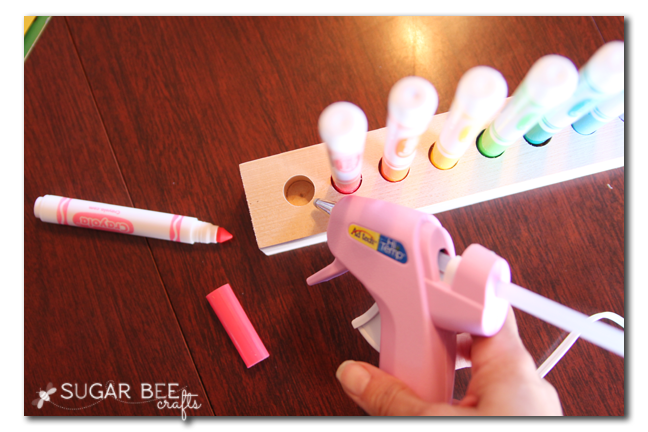
Now, this is optional, but if you want the lids to stay in the base, you can generously fill the hole with hot glue and adhere the lid.
Use, and enjoy creating with your markers out and accessible and neatly organized!
If you like this project, you might also want to check out the Rainbow CRAYON Holder Organizer:
And check out the other projects from the Michael’s Makers Bloggers:


[…] Marker Holder | Crayon Holder | Ruler Burst | Party Decor […]