


The following review is part of the Jo-Ann Fabric and Craft Stores® National Craft Month campaign. I received product for this review; however, this is my personal, honest opinion based on my experience.
Did you know that Nautical is a hot trend this spring? I have really gotten on board lately (yep, pun intended!). I was browsing in Jo-Ann for a project and was drawn to several things Nautical. First up, I’m going to show you how to make a Nautical Chain Bracelet. Materials for this project were provided by Jo-Ann – Jo-Ann makes spring crafting easy during National Craft Month with a $5 off $25 or more purchase coupon and a Spring Crafting Inspiration Website. (just follow those links for the coupons and ideas) #craftmonthlove
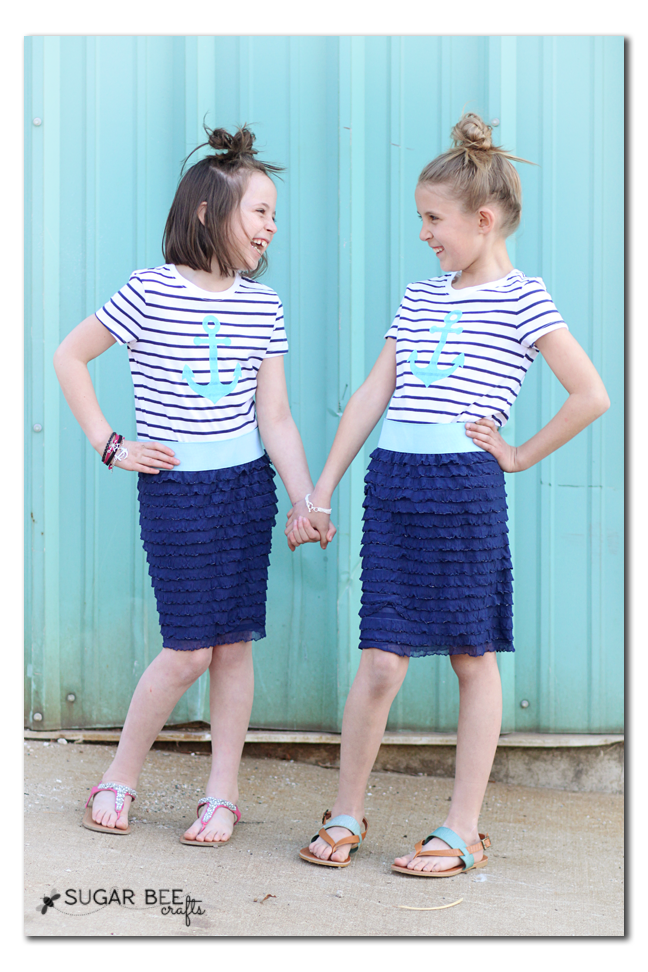
I put together several tutorials on how to make nautical-inspired projects. They are a Nautical Chain Bracelet, DIY Anchor Stenciled Shirt, and the 5 Minute Nautical Ruffle Skirt.

I thought it would be a crazy long post to have all the projects together, so this morning I’ll be showing the bracelet. Come back this afternoon for the tutorial on the Stenciled Shirt and 5-Minute Skirt.
Even if you’re a jewelry-making novice, you can do this!


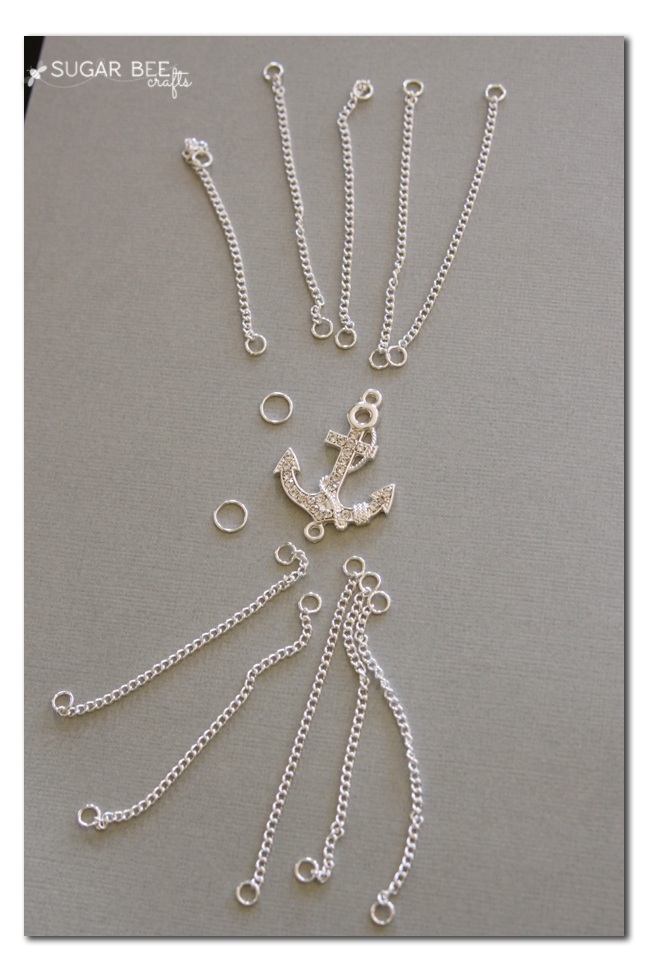
I found all of my supplies at Jo-Ann in their jewelry section. You’ll need:
–Anchor Connectors (that means there is a built-in ring at the top and bottom)
–Clasp or Closure (I used the one where the stick goes through the circle because I thought it had a nautical feel to it – not sure what it’s called!)
–2 O Rings (I for sure didn’t need the jumbo pack I grabbed)
–package of 10 chain lengths as shown

Obviously it was these Anchor Connectors that I based this whole project around – I loved them and came up with a way to showcase them.

Lay out your connector. You’ll be attaching 5 chains to the top and 5 chains to the bottom. I ended up not using O Rings for this (even though they’re pictured). You can just open the mini O Ring that’s already on the chain and attach it directly to the Anchor Connector. To open an O Ring, you use pliers to “twist” it – push one side one way and one the other way to open up the slit. Then squeeze back together after you attach it.

So it’ll look like this:

The chains were a little too long for my wrist, so I used wire cutters to cut each chain.
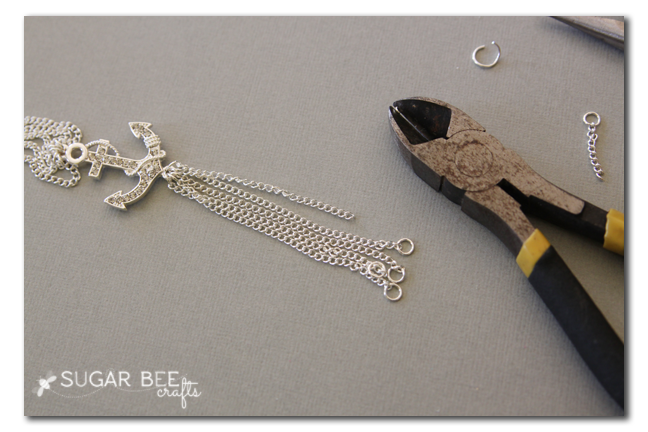
Then I used an O Ring and hooked on all the loose chain ends and the closure piece, like so:
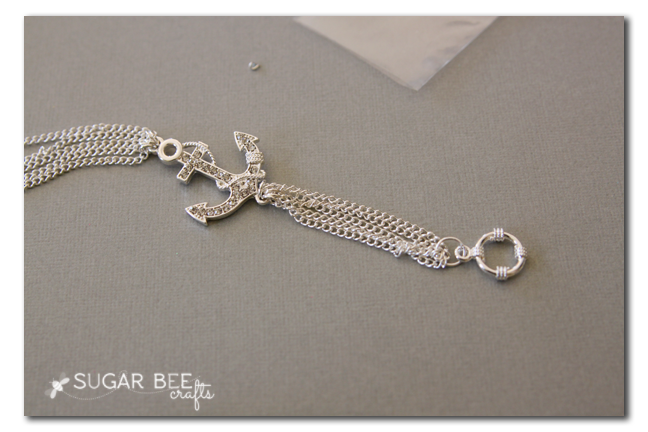
And that’s all there is too it!! It’s really simple yet really awesome.

I already happened to have another nautical bracelet so it was perfect – one for each girl to wear during the quick photos.

And speaking of the girls and photos, here is the tutorial on stenciling a shirt (you can do this!) – with an awesome picture like this, you’ll have to tune in for sure:

And you’ll also get to find out about these 5 Minute Ruffle Skirts – because everyone loves a 5 minute project!
Mandy…I love this bracelet! I can’t wait to go pick up the stuff to make my own! Thanks for the tutorial! 🙂
My husband is in the Navy so im always sporting the anchor 🙂 I will def. be making this! Thanks!!!
I love this bracelet! I’m pinning it and will definitely look for the pieces the next time I’m at Joann’s. Also love the stenciled shirts!
I’m obsessed with anchors lately, and i feel like I was obsessed before I noticed it EVERYWHERE! cute bracelet (and girls shirts)
I love this! I will be making this for my mom for mother’s day.
How dare you use an image of my original jewelry to draw traffic to your blog. Remove this pin immediately:
https://www.pinterest.com/pin/93238654759967953/
Thanks for your concern – I didn’t pin that image, so I’m not able to remove it. I’m not sure why someone pinned that image with it directing to my post – my project isn’t related. I think you can “report” the pin to have it removed. Thanks!