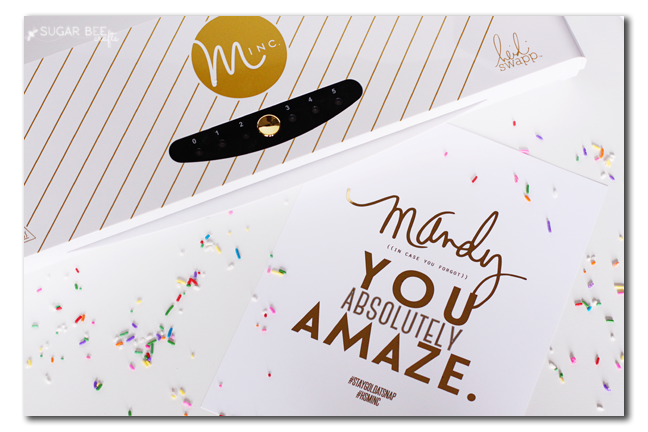
Have you seen the new Minc Machine yet?? I was sent one to try out and it is amazing. It’s SUPER fun! It’s a foil machine, and I’m going to give you a quick run-down today. I just flew back from the whirlwind of the SNAP creative blog conference (more on that to come, for sure!) and they had a Minc demo going – so fun to see how excited crafty people get over new crafting tools! The Heidi Swap team had even made every attendee a fun foiled printable – how awesome is that?!
In case you’re a video type of learner, here’s a quick timelapse of how the machine works…
The Minc is a foil machine. Basically you run something printed on a laser printer through with your choice of foil set on top, and the machine will adhere the foil to wherever the ink is – the personalized printables possiblities are endless! Minc Foil Applicator and Starter Kit MSRP is $149.00 and Minc Foil MSRP is $9.99 (foil is 12”x10’). You can find Minc Foil Applicator and accessories at Hobby Lobby, Jo-Ann, as well as locally owned craft stores and online shops.
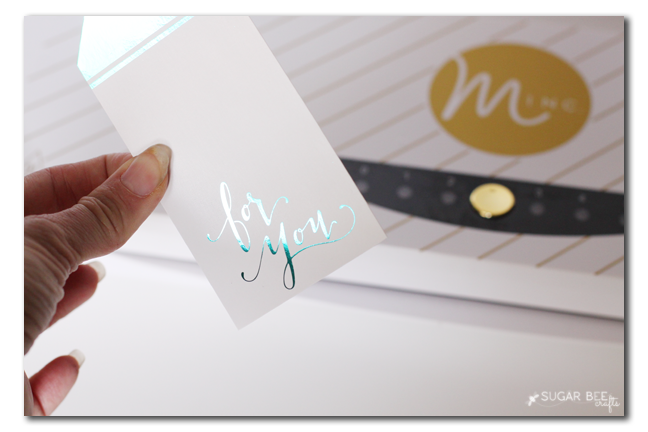
It functions in a similiar manner to a laminator, if you’ve ever used one of those. But better because it has four pressure rollers (most laminators have two) to evenly distribute pressure across a 12×12 surface and a heating element that covers the entire 12”, as opposed heat focused at the outer edges (also common in every day laminators)
You can use your own prints, but there are also tons of pre-printed materials and accessories available. I did a quick tutorial with the chipboard shapes pack – it’s so fun, and just begging to be foiled!
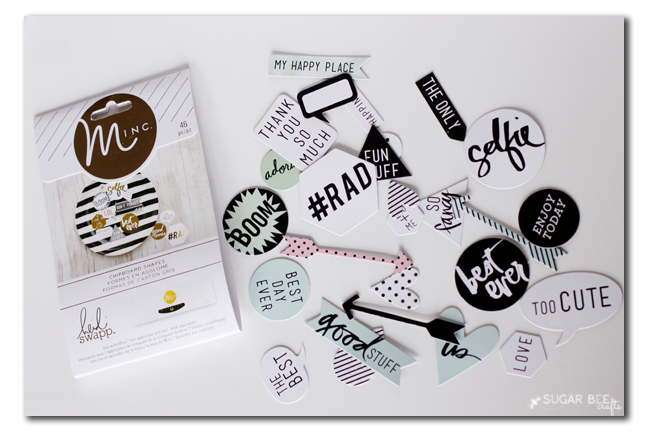
The Minc is a fairly light weight and compact. It measures about 19.5” x 5” so it doesn’t take a ton of storage space and it can accept a 12 inch wide sheet, wahoo! There are adjustable heat settings that allows for foil transfer on sensitive materials like vellum, all the way to more robust chipboard and even thin wood veneer.
Since this was chipboard and thicker I used the thickest setting. Then you use regular scissors and cut a piece of foil large enough to fit over the project you want to foil. I am going to foil this chipboard circle that says “best ever” – – since the ink is actually in the negative space, it is what will be foiled and the words will stay white.
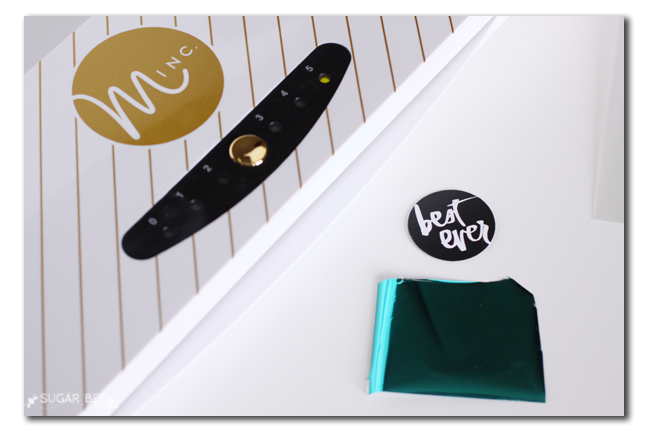
You put the foil over the item, then place that inside the clear sheet sandwich. Then simply feed that clear sheet into the machine. The rollers will slowly pull it through the Minc machine.
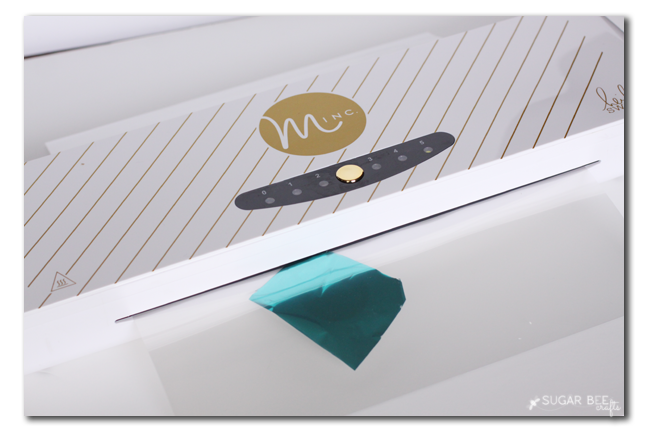
It’ll come out the other side of the machine and you can open the casing and pull your project out – – the foil adheres to the back ink and pulls away from everything else (no weeding or anything!) – super cool!
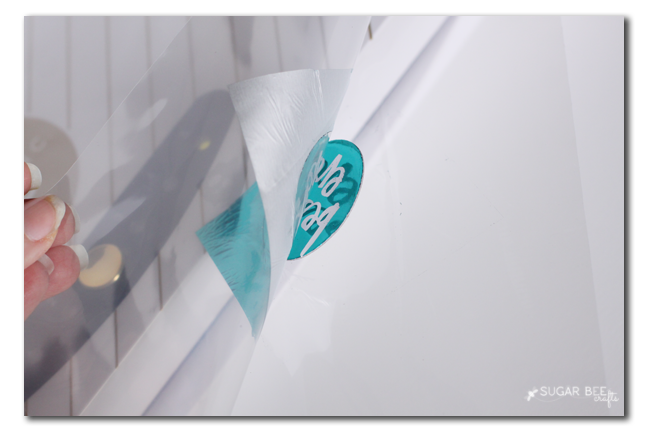
I wish you would see it in person – it’s so hard to get a photo of shiny foil! It’s deep rich awesome color and catches the light perfectly.
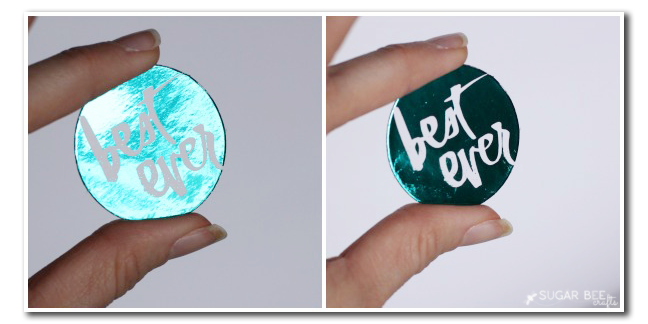
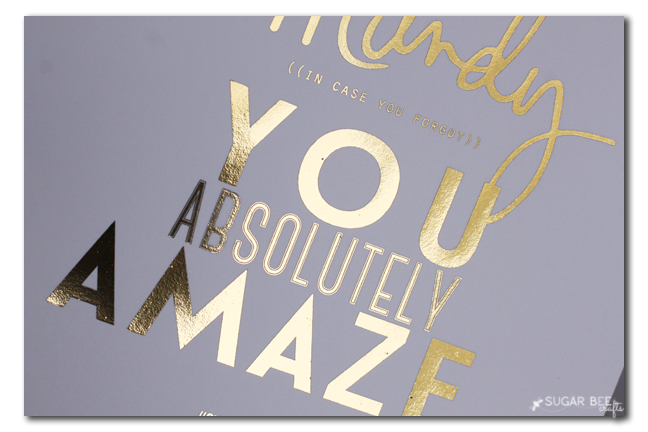
There are tons of color options, like the teal I used above or the ever popular gold as in the print I received at SNAP.
I will dive into tons of projects, so stay tuned to grab all kind of ideas of things you can make and foil! Be sure to check out the Minc Machine


Minc Mini Foil Applicator
[…] fty, sewing, and DIY – she feels that if she can do something, you can too, and […]