


Two awesome posts in one day – lucky you!
Ever heard of ETI Envirotex Lite and Resin Crafts??
Well, I hadn’t, but it was love at first project – wow!! Here’s the jist: Envirotex Lite.Envirotex Lite is a 2-part epoxy resin that when fully cured creates a very hard and shiny top coat that is more durable than any other finished top coat out there. I have used it plenty of times, and when used according to manufacturer’s directions, yields beautiful results.
Basically, it’s this clear pour-on stuff that gives a coating – like millions of layers of clear coat paint, all in one shot.
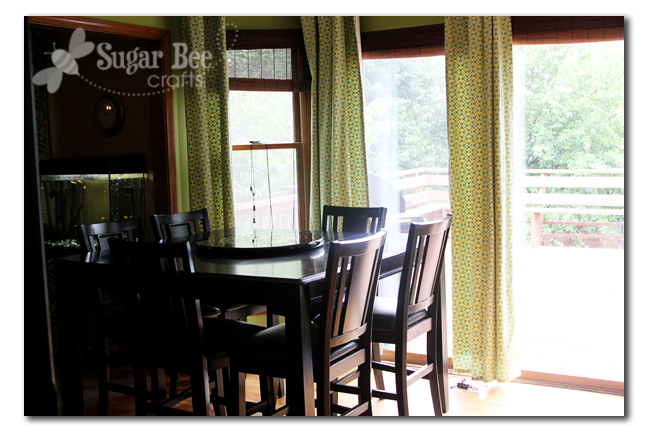
We have one of those square tables – I love it, but it’s hard to reach across and the kids aren’t the most
reliable about passing things (does anyone else have multiple spills at dinner – ugh!). Our table: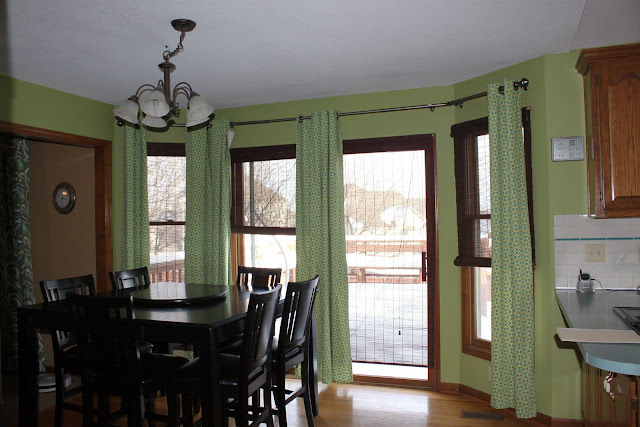
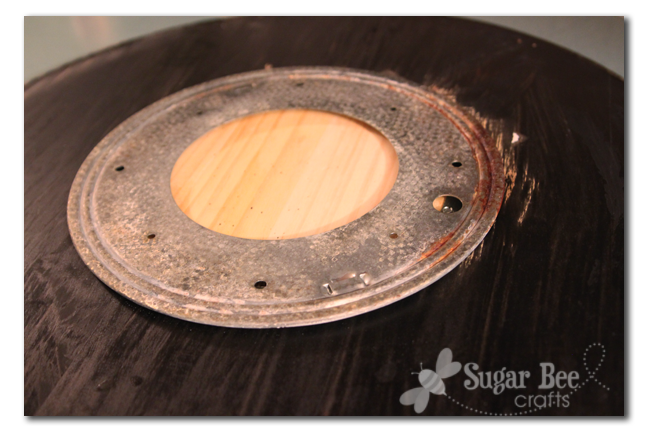
So we made a lazy susan – it’s a HUGE hit! And it was so easy – – you just buy a “lazy susan” and screw it onto the bottom of a round piece of wood (we bought a round table-top for our wood piece):
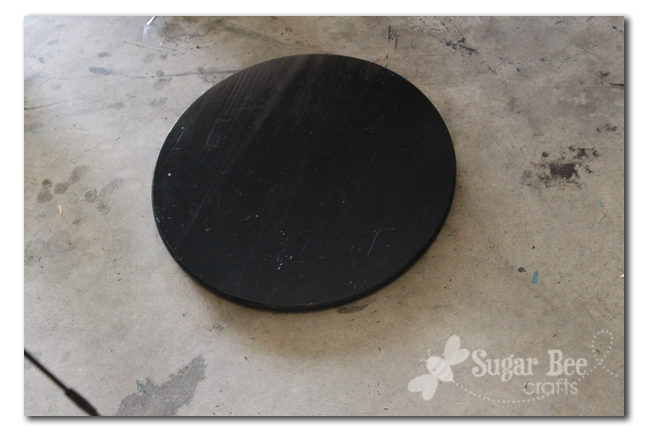
Well, we’ve had it for awhile, but it’s kind of plain. Adding a stencil – awesome!! and the ETI stuff will seal in the stencil so it won’t scrape off, etc. Before:
during the painting (matches the walls):
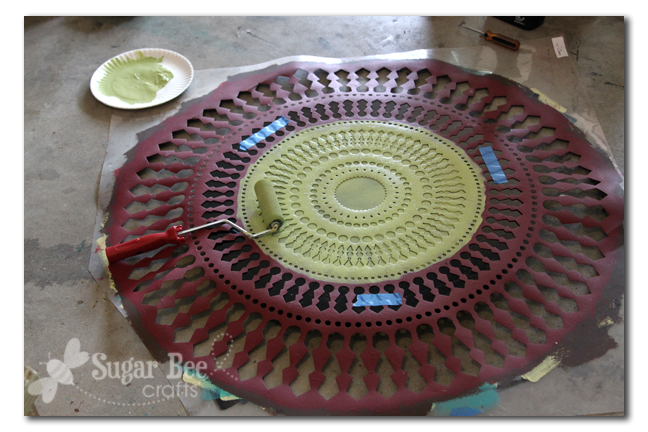
Stencil on and dry:

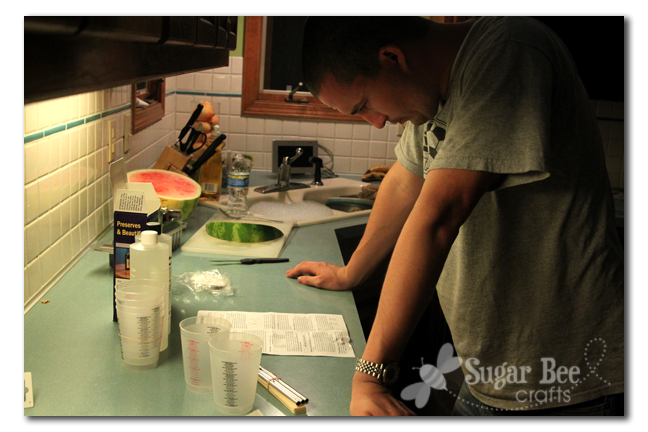
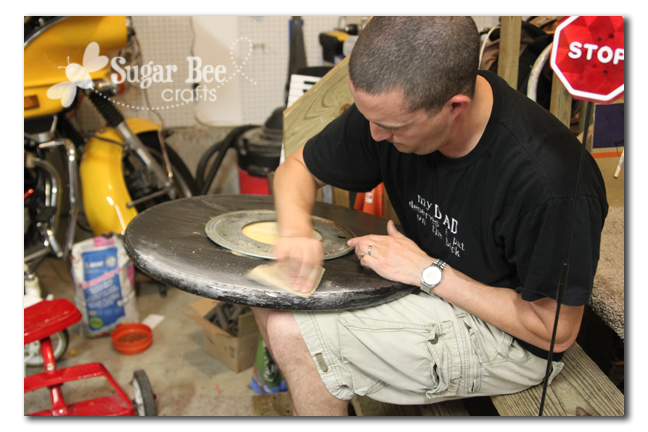
Now, time for the ETI Envirotex – – read the instructions – they’re detailed and have hints and helps:
Pour it on (no picture of that – since it’s kind of big it took 2 of us) – then spread out with a brush:

Wait about 5 minutes and air bubbles will float to the top – – use a propane torch (only about $14 at Walmart) to heat the surface and the bubbles will open and disappear.
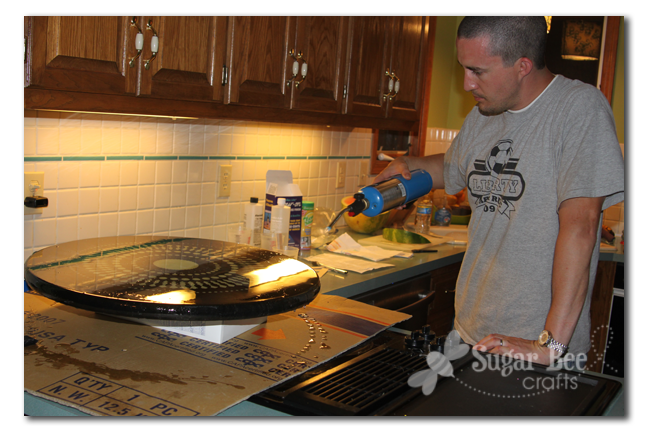
It was amazing to watch the smooth glass-looking surface come through – – can you see some bubbles in this shot?:
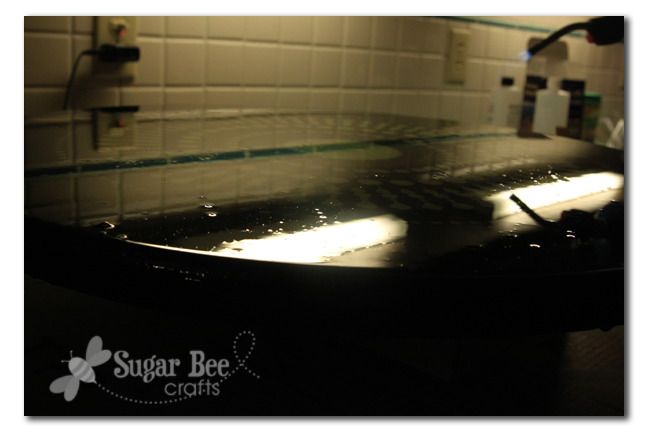
Then you let the stuff drip over the sides, etc. We wiped some drips off, but some needed sanded off after they dried:
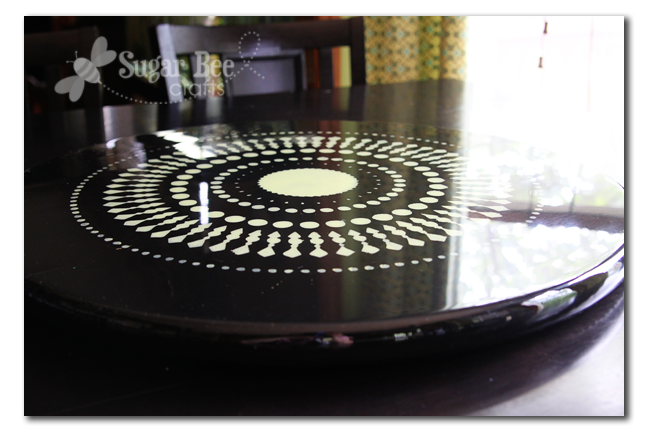
And that’s it – – I wish you could see this in person – – it looks so great!! On our table:
The view from above:

Can you see the shine?? My kids keep reaching out to touch it, because the finish is so awesome – – See the pink dot on the edge – that’s my reflection, it’s so clear and shiny…

hiya , love your lazy susan x it turned out fab , i have ben dying to try out that resin for ages now and i think you hae given me the push i needed , i am heading over to the resin blog now for more inspiration thanks so much for sharing
xmaggiex
love this!! now i want some of that resin haha
That is SO cool! I have a lazy susan on our wedding registry… Now I know what to do in case I don’t get one! haha!
That looks awesome! I love the stencil you used!
very beautiful:)!
That is so cool. Thanks for the tip. With children it really helps having a finish that is super durable.
Looks amazing!!! I would love if you could link this up to my Delicately Constructed Friday!! Thanks so much!
Have a great weekend!
Michelle
http://www.delicateconstruction.blogspot.com
Whoa! Are you kidding me with this? WOW! That turned out fantastic! What a great idea. And the finish is flawless. I love everything about it. It’s so shiny! And the torch? Now that’s just brave. Great job!
Wowzas! That’s AMAZING!
Wow – that turned out amazing!!!! Great job!!
xoxox
Jen
Mandy, Ooo, ooo, ooo! I have one of those plane jane lazy susans that I’ve been meaning to do something with. This is the perfect idea! Now I’ll have to buy more Resin since i used up all of mine on the window project. thanks for sharing.
Brittany
So excited to have found this post. I am always making lazy susan’s for an artisan group I belong to. I really liked your epoxy hints. I have used a similar product on a tray but have never heard of the blow torch trick. Thanks so much for that. I was also curious about your stencil. I really like it for various projects. I was hoping you tell me where to find it.
Pam @ BeColorful
Love the new look of your lazy susan. Perfect match for your kitchen.
Love it with the stencil and how great that it matches the walls! What a good hubby to help out. 🙂
Great job! Do you and your hubby do projects together? Or is it mostly you? I love when my hubby and I get to do projects together.
http://www.amandalynnedesigns.com
Oh My Goodness! This is amazing. I love black and white, and you can never go wrong with shiny. I love this!!!!!
Really gorgeous! Love your choice of stencil and the color too!
Beautiful! And I love the idea of having a lazy susan on the table. I’ve wanted to do that for years!
I would love to see this again at my link party. It will be a weekly link up Friday through Sunday. Hope to see you there. You can find the button for it on my blog now if you like.
Ok, this is probably a Dumb question, but where did you get the lazy susan part? I’ve been wanting to do that for our table too, but didn’t know where to look for the lazy susan.
Thanks so much.
Paige
Wow that is so cool! I have a lazy suzan that we bought with our last table set. I sold the table when we bought our new one but kept my suzan =) It doesn’t match now and needs to be refinished so this has me very excited! What a fun project idea! Please stop by and join my party this weekend at https://designergarden.blogspot.com/2011/06/vip-party-18.html
Um, we didn’t say you could use your husband. Hahaha! Just kidding. He’s a great helper! I LOVE your lazy susan. That stencil is super cool too. Glad you are getting so much use out of it! xo
Aaahh I want a lazy susan so bad! This is super cute, really classy design!
I have been searching for a lazy sue… I LOVE this! So, where did you buy the lazy susan to start with? All of the ones I find are glass. #2 the table top purchase?
Thanks, fabuloso darling!
Wow, this is just AWESOME!! Thanks so much for sharing.. You’re inspired me. 🙂
Hey Mandy — Curious, did measuring cups come with the Envirotex kit?
I’m pretty sure it did – – the kit had cups with measurements on them, if I remember right!