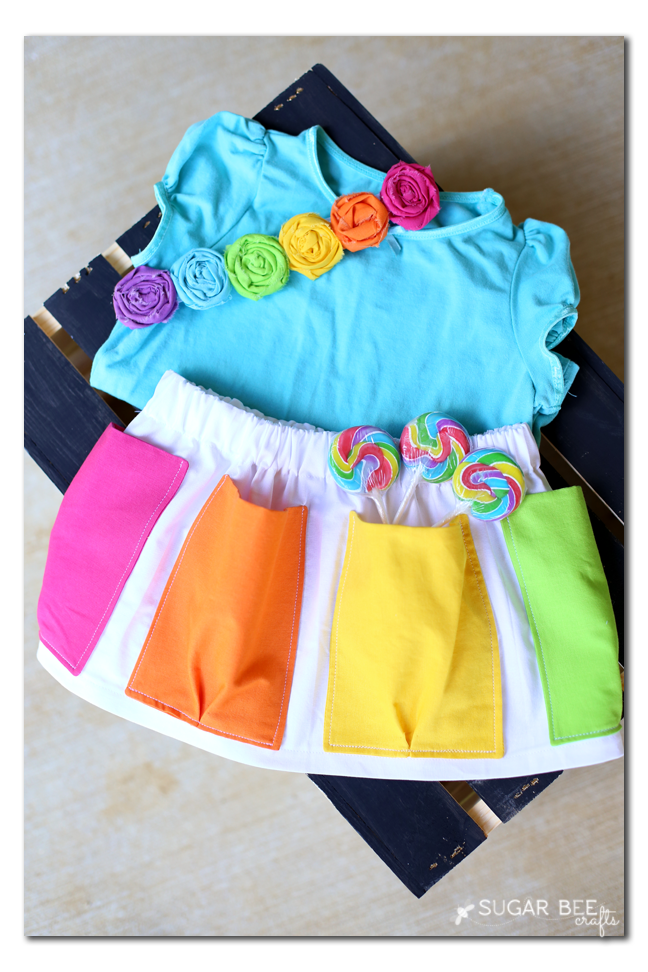
Have you ever heard of Skirting the Issue cause? It’s headed up by Simple Simon, and it’s a movement to make skirts for girls in foster care for back-to-school. And so all month long bloggers are able to come up with fun skirt tutorials. I’m aiming for the kindergartens out there (although I sized down for my niece) – cause every kindergartener needs a ton of pockets to hold all their treasures. And so today I bring you the Rainbow Pocket Skirt.
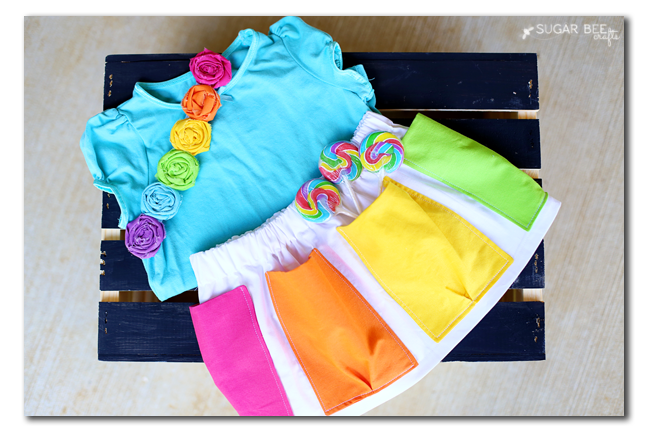
I just love how fun it is! Bright bold colors is what I went for, but really, the large pockets can showcase any type of fabric pattern or color. It’s a simple sew that you can tackle! And I’ve got a tutorial for you today.
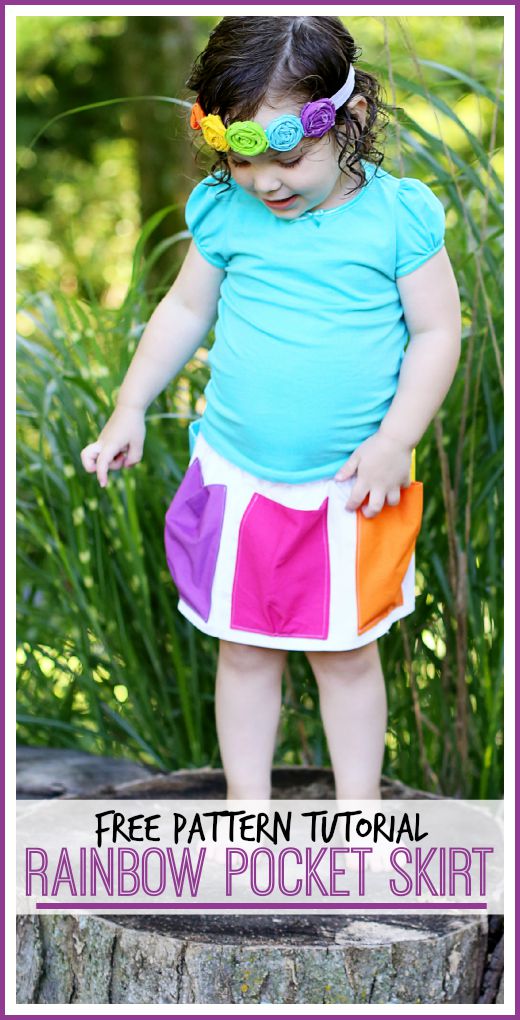
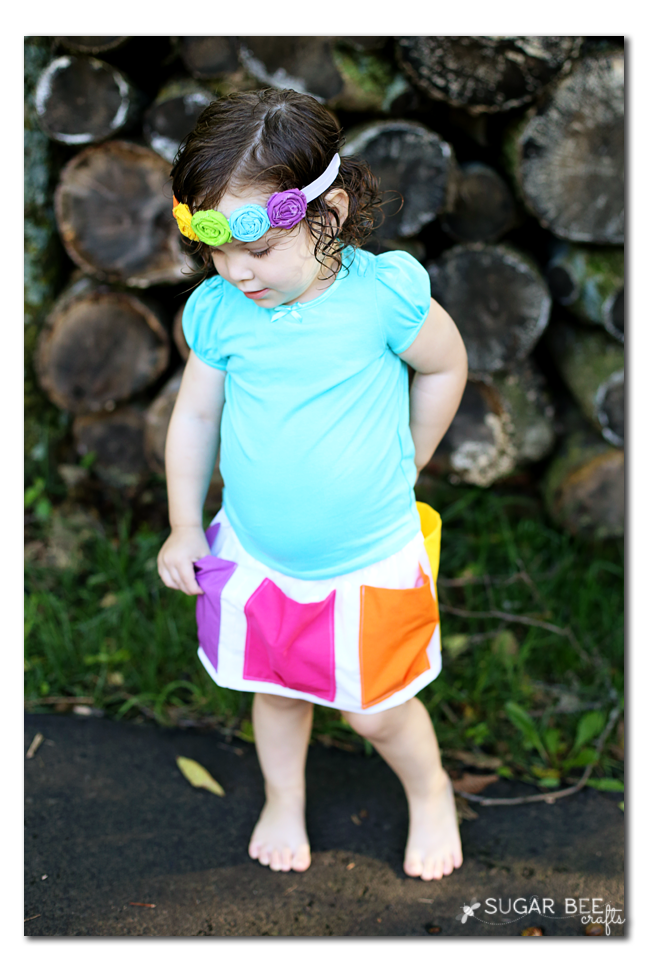
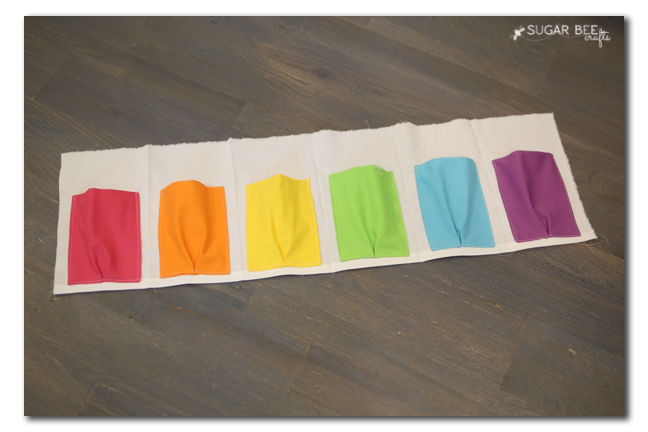
It’s hard to tell in the pics (maybe I should have done a video?!?) but the pockets go all the way around. There is no front or back to the skirt, so you can twist the colors around however you’d like.
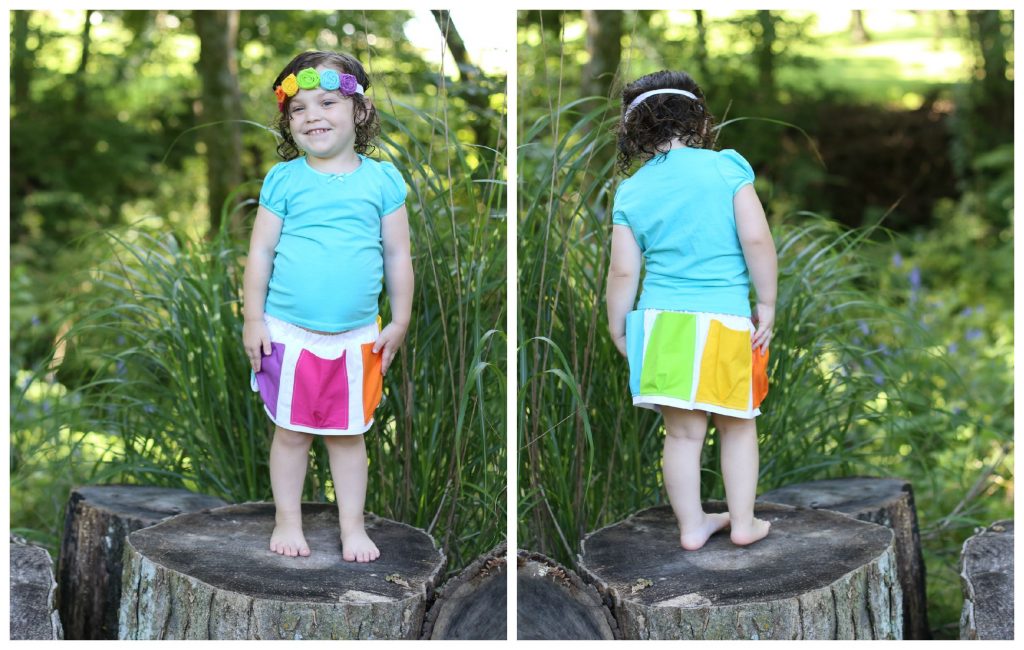
Here’s another view for ya – I wanted pockets that popped out a little, and created that by adding in a small box pleat at the bottom of each pocket – it makes them so roomy, they’re begging to be filled with fun stuff!
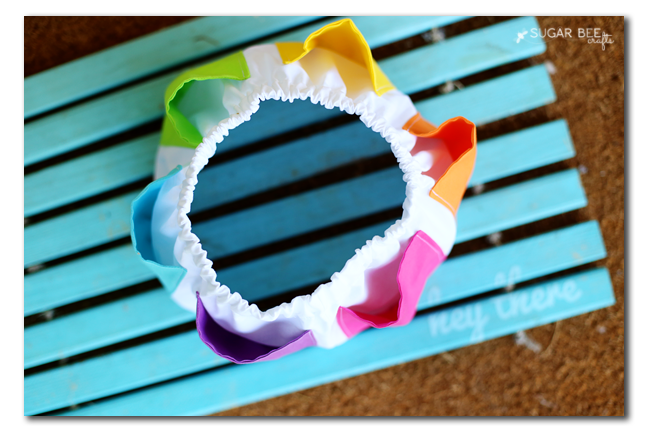
I took about a million pics 😉
So let’s just right in to the tutorial – – you’ll need:
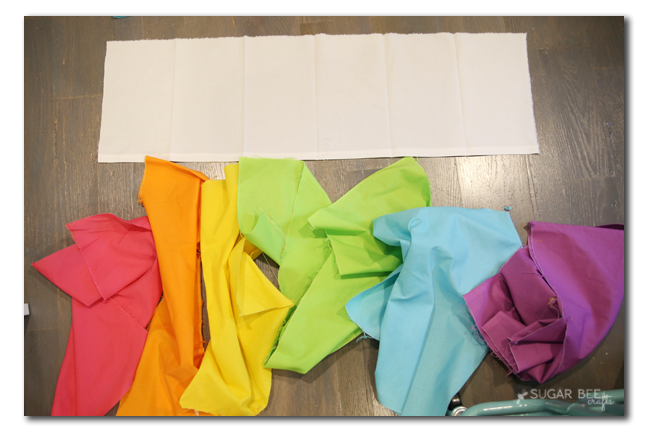
–a fat quarter of fabric (or less, if you’re digging out scraps) of each color of pocket. I had 6.
–background fabric – mine is white
–elastic for the waistband
Measure your background fabric according to your child’s measurements. The width will be their waist times 1.5 – my niece is 3, and her waist was 22 inches, so my piece of fabric is 33 inches wide. The height is from the waist to the knee, plus 2 inches, so mine is 11 inches. Next fold that rectangle piece of fabric into enough sections for the amount of pockets you want (again, I had 6 pockets) – I ironed those folds in so as to mark out the sections. I also went ahead and pre-hemed the bottom edge of the fabric.
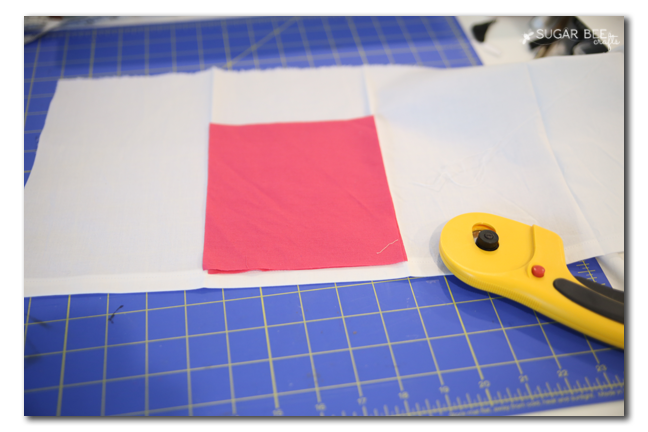
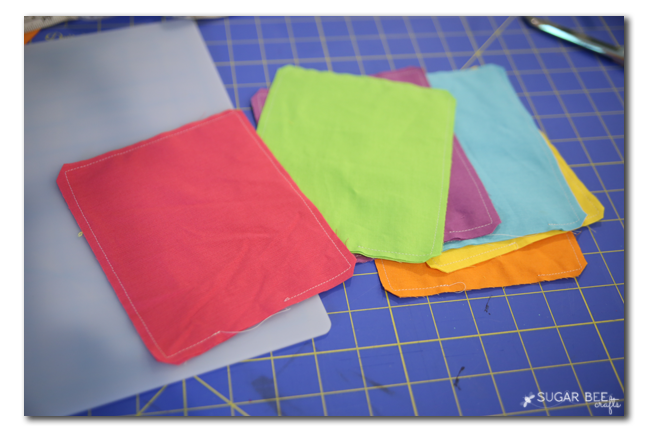
Next you’ll want to cut 2 rectangles of each color of pocket fabric to fit inside those ironed sections. I think mine were 5.5 inches wide.
Then, with right sides together, sew all the way around the edges of those 2 pieces of pocket fabric. Leave an opening at the bottom unsewn. After sewing, clip the corners. Then you can turn the pocket fabric right-side out through the opening. Iron after turning them to give that crisp look.
 I added a box pleat at the bottom of the pocket. This is where the opening was, and it gets sealed as you sew. Fold your pocket in half to determine the middle, then make two tiny pleats at that point, as shown below.
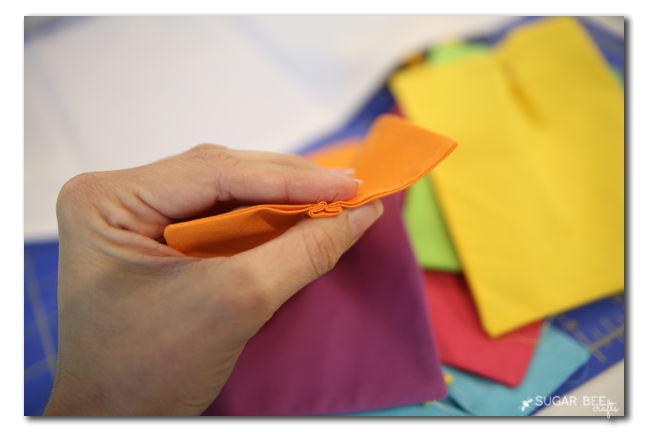
Pin into place. You can sew the pleat at this point, but I just winged it when I attached the pockets.
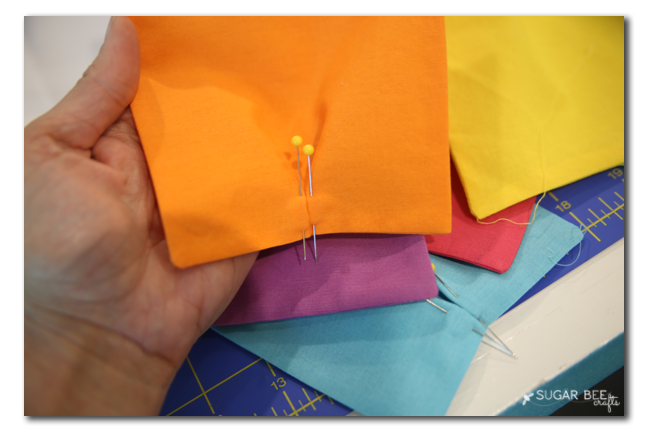
So next pin the pocket to the quadrant. Remember to make the top spacing from the edges the same as the bottom spacing. The pleat is at the bottom.
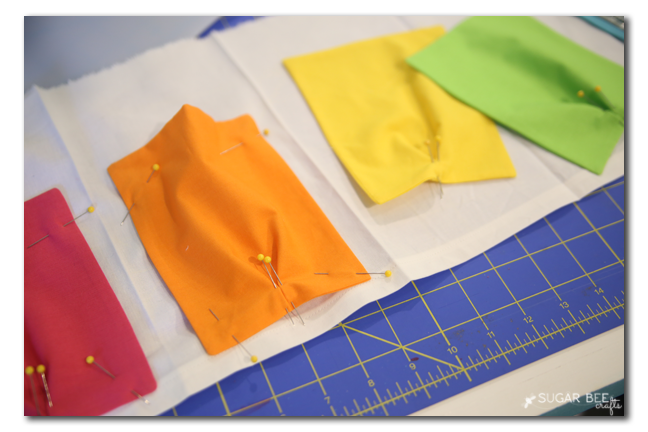
Sew the edges and bottom of the pocket to the background fabric. Leave the top open – that’s what creates the pocket. Repeat for all the colors.
After all the pockets are attached, with right sides together, sew together that one side seam.
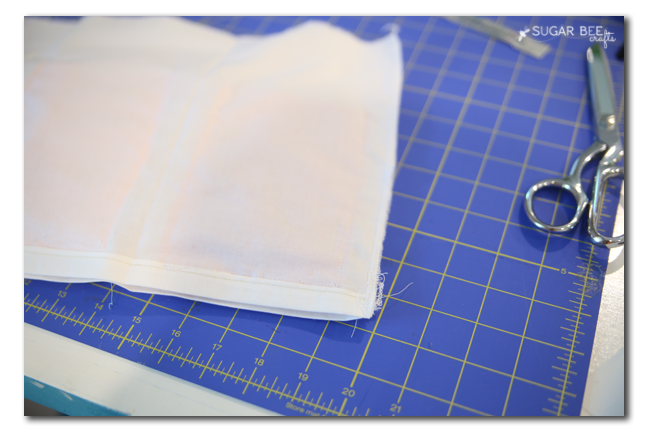
Then you’ll want to create a casing along the top edge and insert your elastic. The skirt will gather a little, but not a ton.
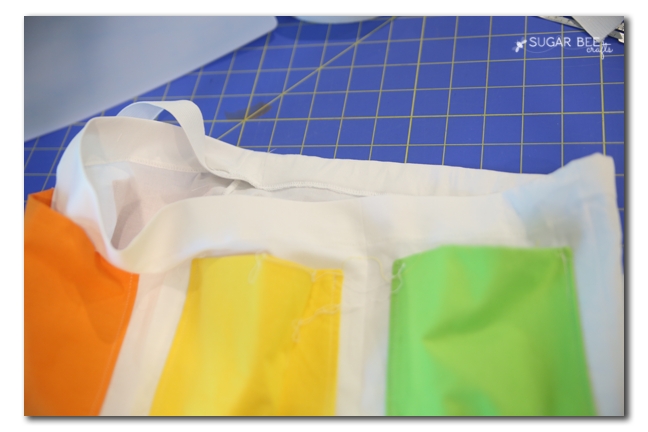
That’s all there is to it! See, you can totally make this!
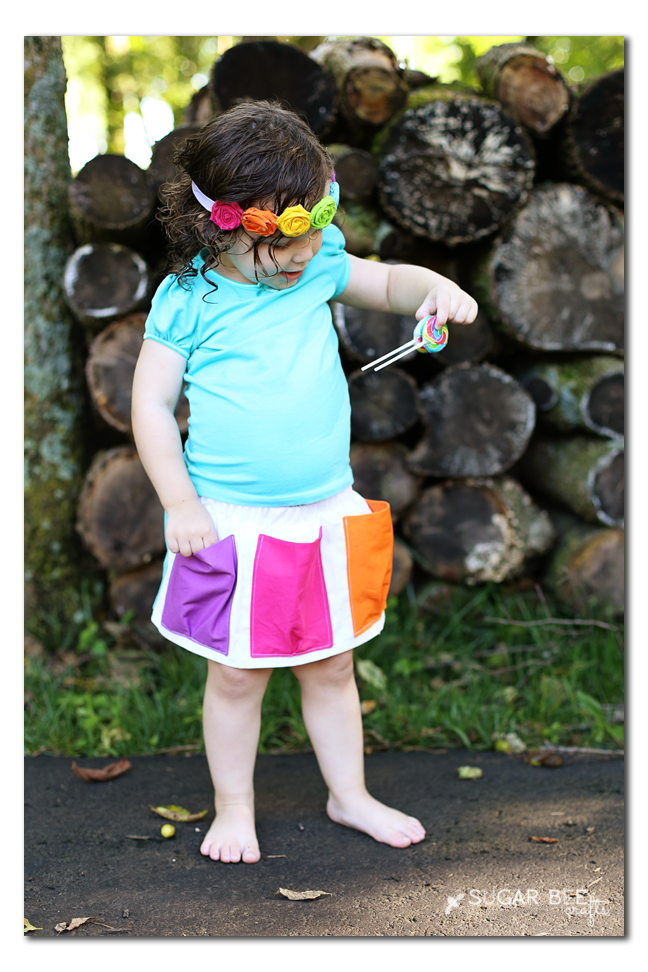
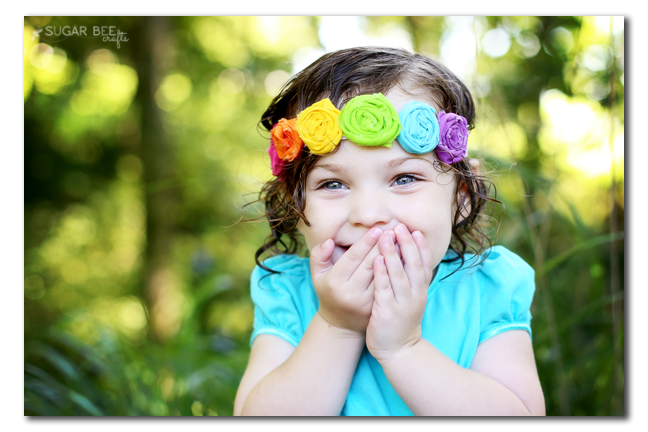
If you’re wondering about the tutorial for the cute and simple headband, you can find that here: Rolled Flower Headband
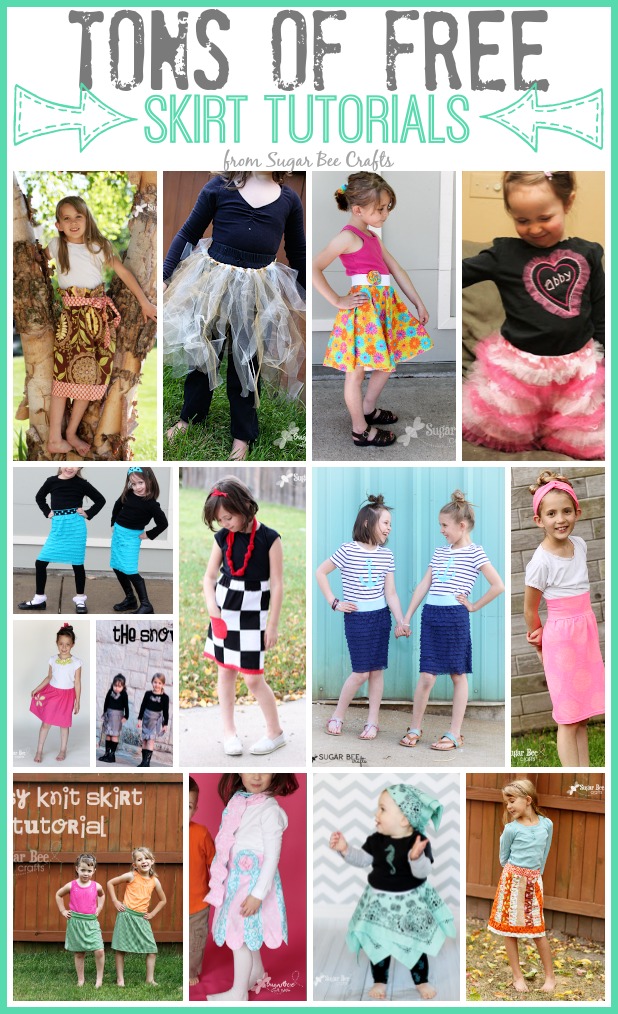
And if you’re looking for other FREE Skirt Tutorial Patterns, I gathered them all up in one spot here:


This is too adorable!!
Georgia @ Silver Spiral Studio recently posted…Vintage Victorian Fashion Illustration
This skirt is too cute. My kiddo would love it. Do you find that filling such large pockets pulls the skirt down from the weight?
I’m not sure, she never loaded the pockets a ton, so we didn’t have that problem. Probably also depends on how tight the waistband is 😉