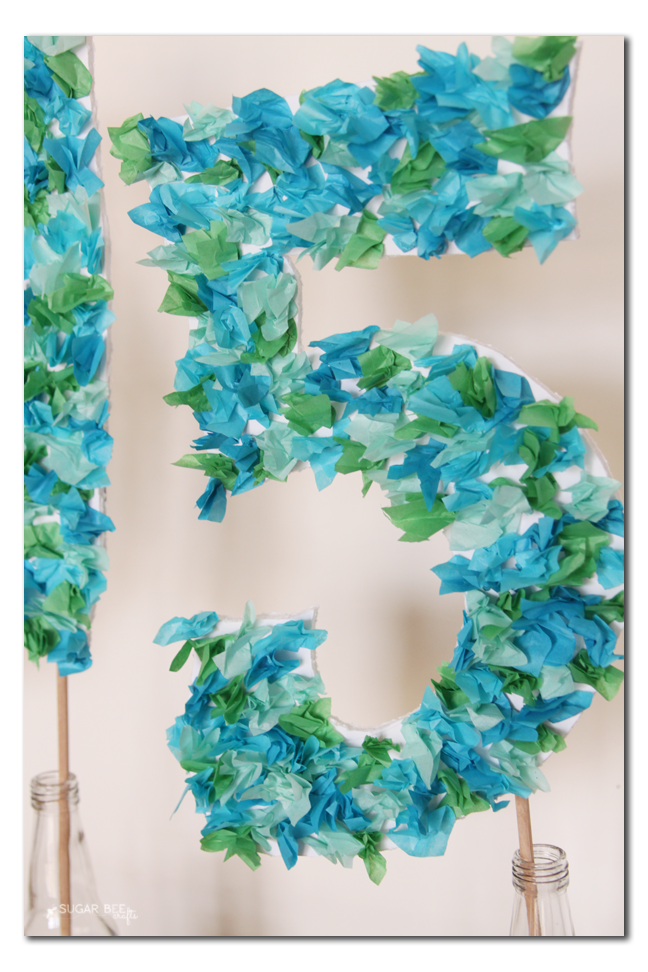
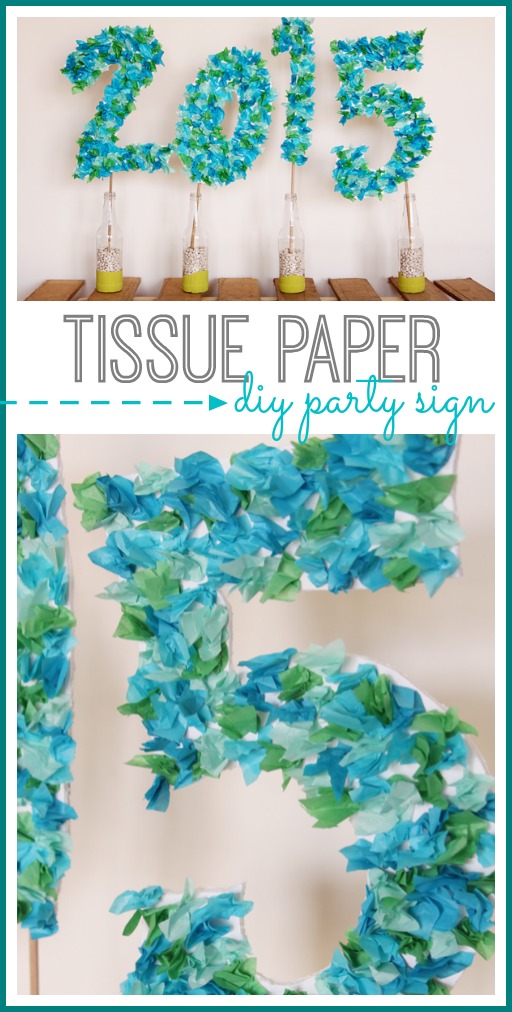
Yesterday you got a sneak peak of my Tissue Paper Number Sign – I kinda love it! It throws back to elementary school crafting at it’s finest, but I think it’s super awesome. I love that it’s simple and thrifty and awesome.

Seriously, you can do this! (and so can your kiddos – recruit them to help!)
Tissue Paper Party Sign
First up, gather your supplies – you’ll need:
–something to cut it (I highly recommend a hot knife – I couldn’t find mine, and I was kicking myself!)
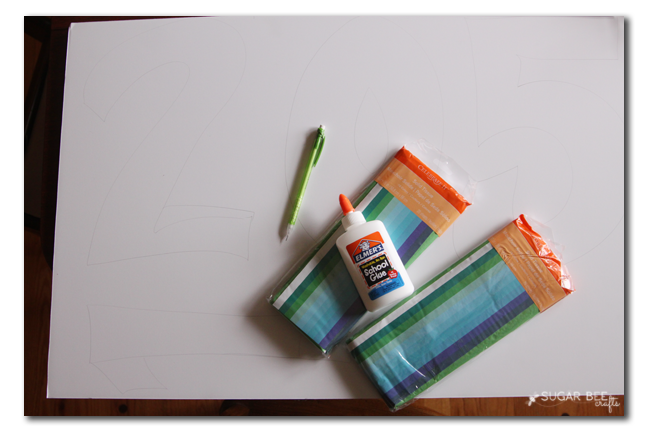
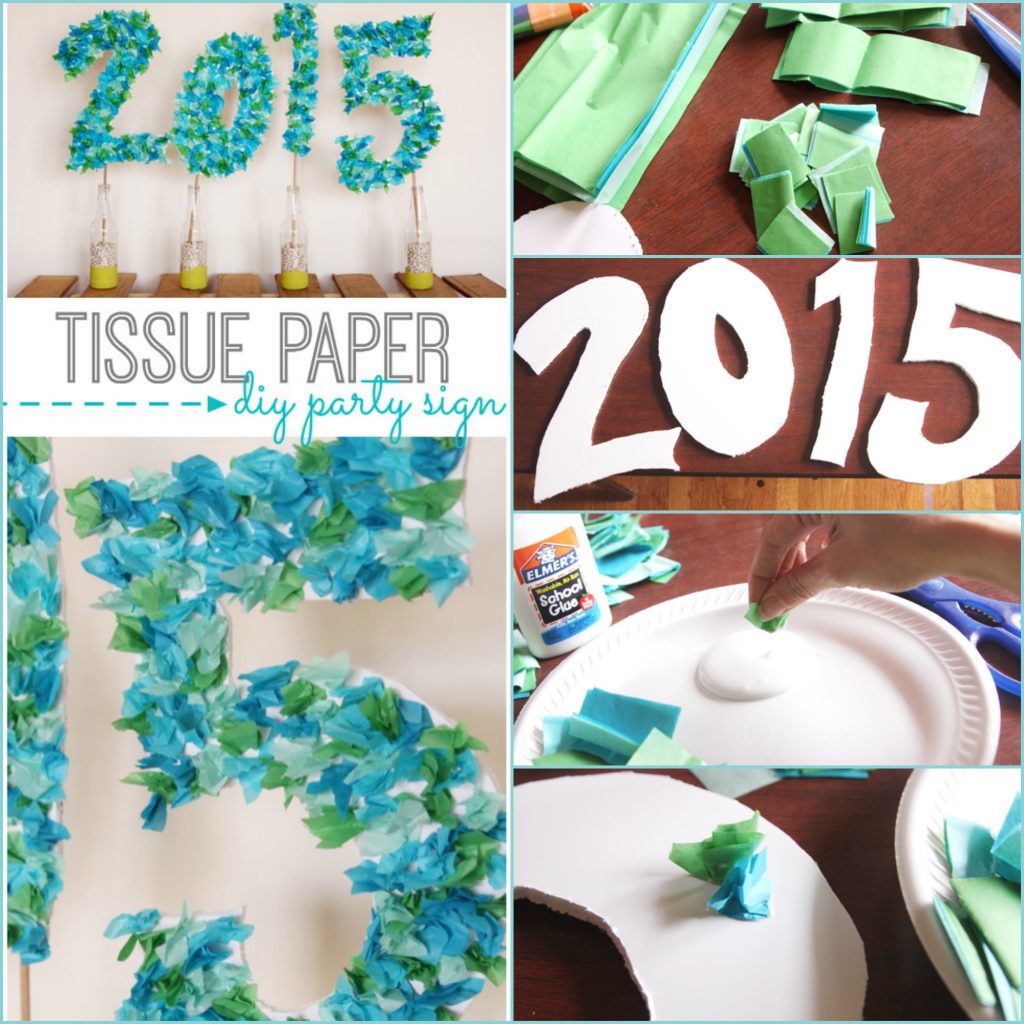
I freehanded the numbers onto the foamboard. They weren’t great, but that’s okay – you don’t have to erase mistake lines cause they’ll get covered up. Then cut out your numbers – like I said, hot knife is where it’s at and I wish I had used mine.

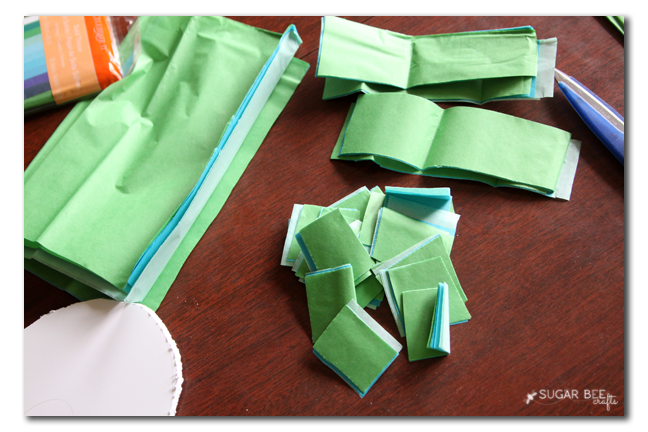
Cut your tissue paper into squares – they don’t have to be exact or anything. Mine were maybe 2 inches? But I just guestimated and cut.
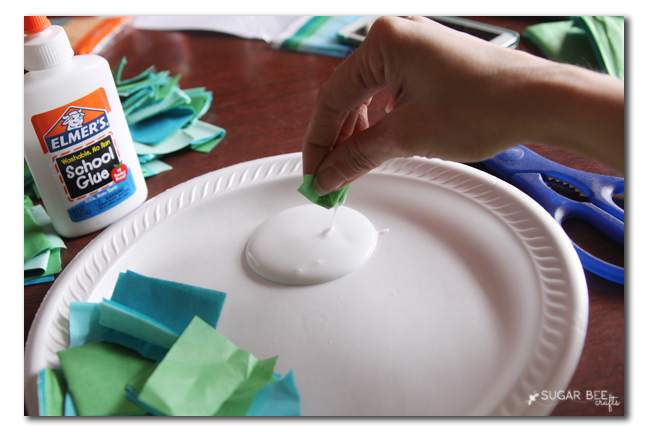
Now, the fun part. Grab a square of tissue paper, hold the middle and fold the sides up on themselves. Dip that middle part into a puddle of glue…
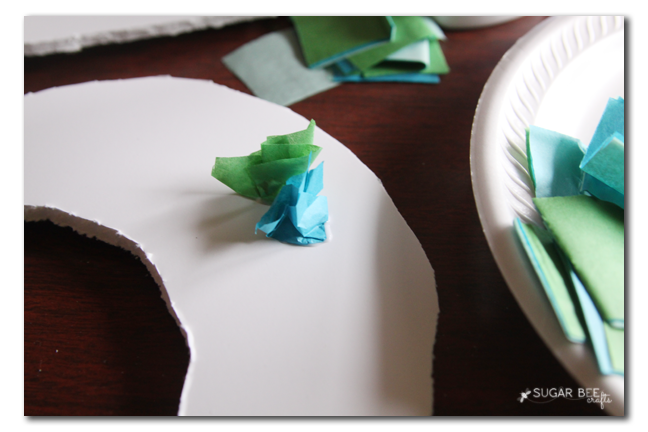
And then push that onto your foam board. Repeat a gazillion times, alternating colors, etc. Enjoy, it’s fun!
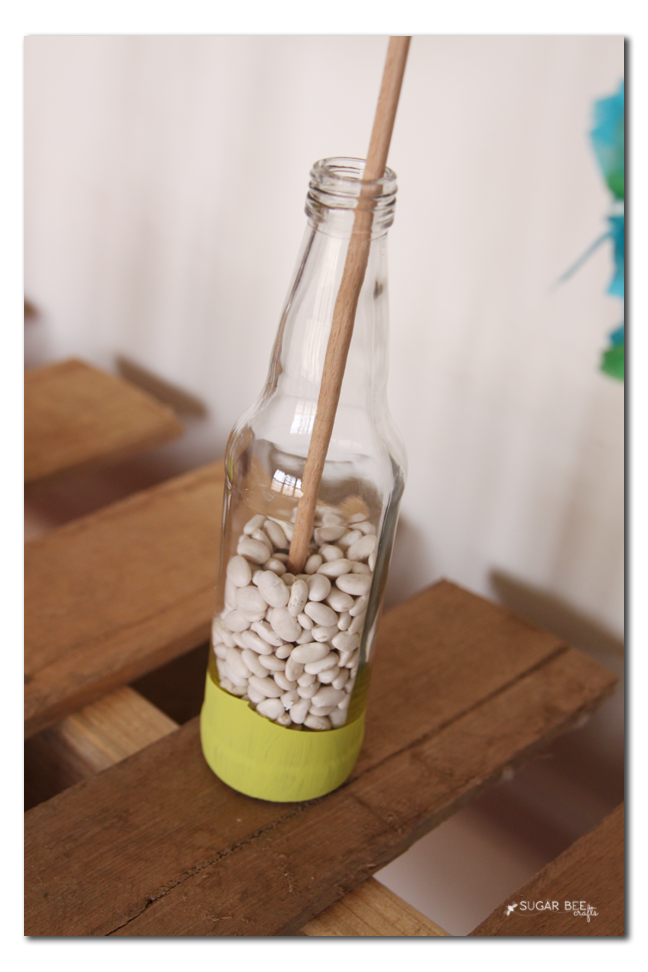
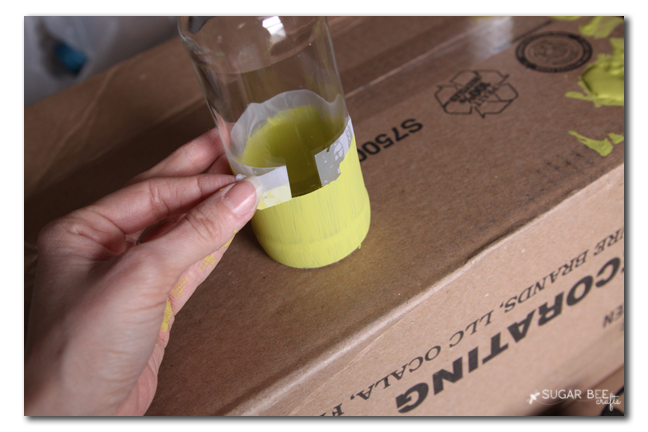
To display, I just used sturdy tape to tape a dowel rod to the back, then put the dowel rods in jars filled with beans. To make the jars a little fun, I painted the bottom in a dip-dye look.
I think these have tons of possiblities – “BABY”, “Congrats” , you name it, any short-ish word or number, you can make a sign for. Go give it a try!! Have fun making your Tissue Paper Party Sign!
UPDATE: here’s another fun DIY Graduation Party Centerpiece Idea:
Love VIDEO TUTORIALS? I have that too!



How large did you cut your numbers? Was 1 package of each color tissue paper plenty? Thank you!!
I fit all 4 numbers onto one piece of foam board, that’s how big there were. And I can’t remember for sure on the tissue paper – I had 2 packages of multi colors. Hope that helps!