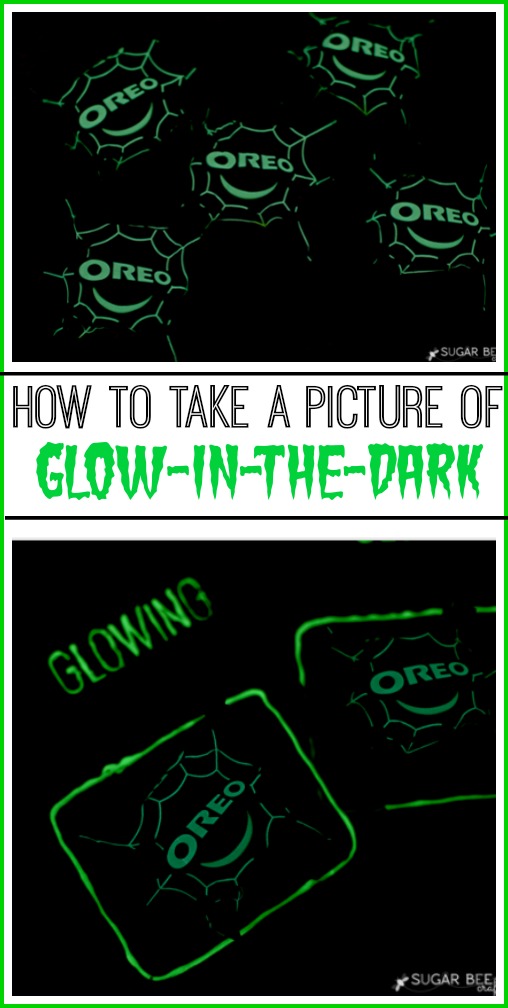
the other day I needed to take a photo of a glow-in-the-dark project, which I had done in the past but I forgot how to do it – so I tried looking it up, but it was all complicated mumbo-jumbo. I figured it out, and I wanted to give a simple list for the everyday person with a DSLR camera 😉 So here ya go, How to Take a Picture of Glow-in-the-Dark projects and crafts
1. “Charge” your glow project – I think the direct natural light works best. Just set it there while you’re getting everything else ready.
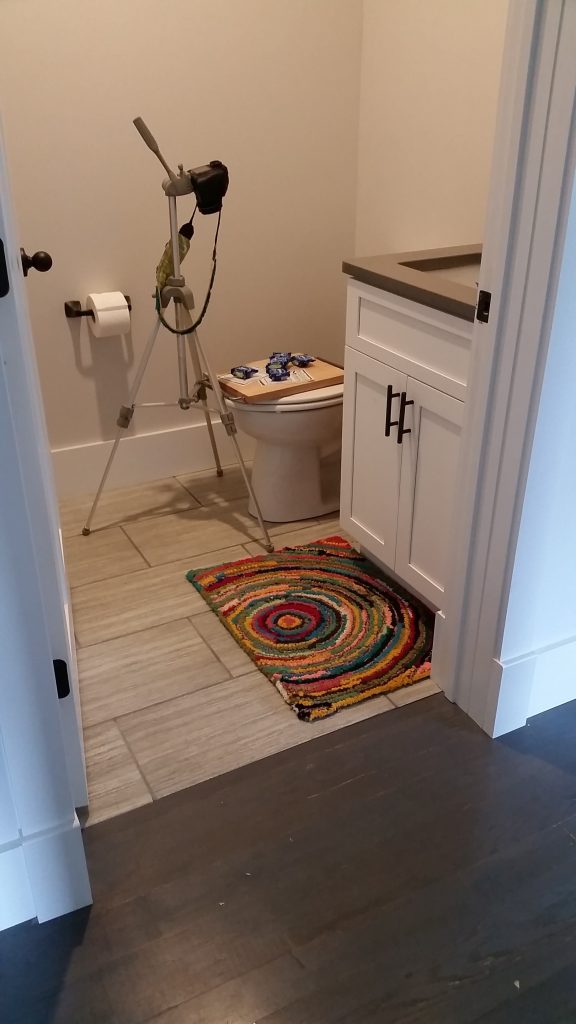
2. You’re going to need a tripod or something to set your camera on – it will be blurry if you try to hold it.
3. Find a dark room that doesn’t have any light coming in – bathrooms (without a window) are an ideal spot (I know, it’ll seem weird!)
4. Set your camera – you’ll need to be on manual (you can do this!). the “f” number needs to be low, like 2.8 (or 5.6 if that’s as low as yours goes) – this will open up the lens so it can pull in light. You’ll need a kind of high ISO, like 800 or 1000. And then your other thing you adjust, the speed that the camera takes the picture, needs to be really slow, like 2″5. So that instead of a quick “click”, you’ll hear it click and stay open for a second and then close. {heads up, if you have a DSLR, I HIGHLY recommend a 50mm lens. Like don’t own a camera and not own a 50mm. You can get the 50mm 1.8 to start with (I have the 50mm 1.4) }
5. Set everything up in the dark room (with the light on still), and shut the door.
6. Focus your camera on the item (it won’t focus in the dark). You can do this by pushing the shutter button (what you use to take a picture) half-way down, that’ll focus it. Then hold it there in the halfway position.
7. Turn off the light. Push the shutter button down the rest of the way. It’ll take a slow picture, which will capture the glow.
That’s it!! You can do this!
{post may contain affiliate links}


