I shared a sneak peek of this on Instagram and mentioned that I made this cute hat WITH MY FINGERS and you all went crazy wanting to know, HOW?! Well today is the day your dreams come true – I am going to show you How to Make a Chunky Finger Looping Hat. It’s true, you DON’T have to know how to crochet, you DON’T have to know how to knit. You don’t need any special tools. So easy and so fun!
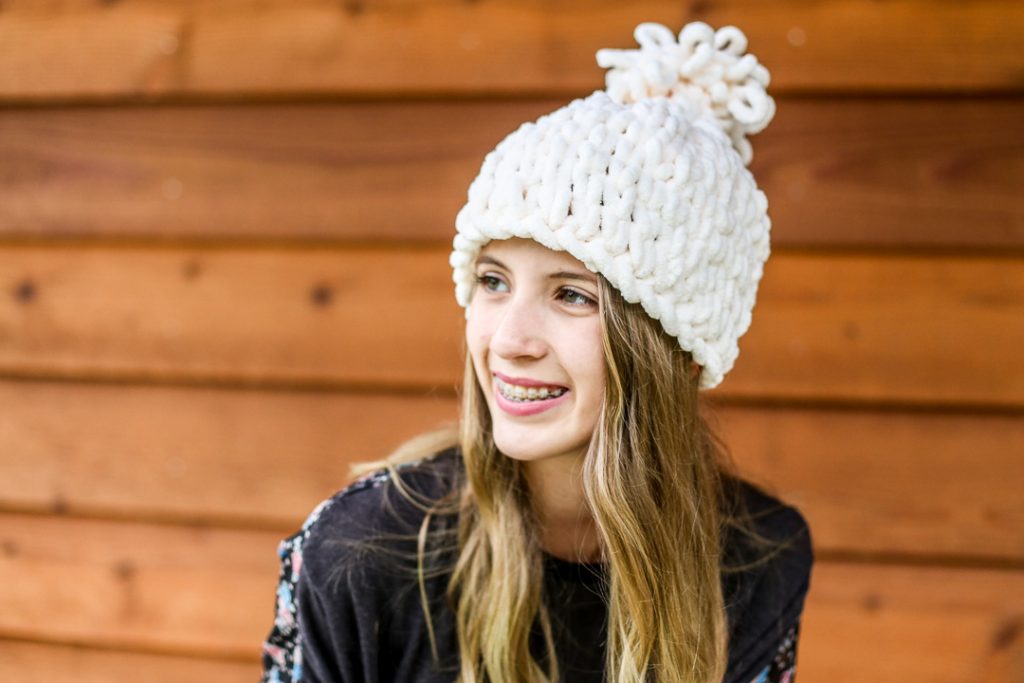
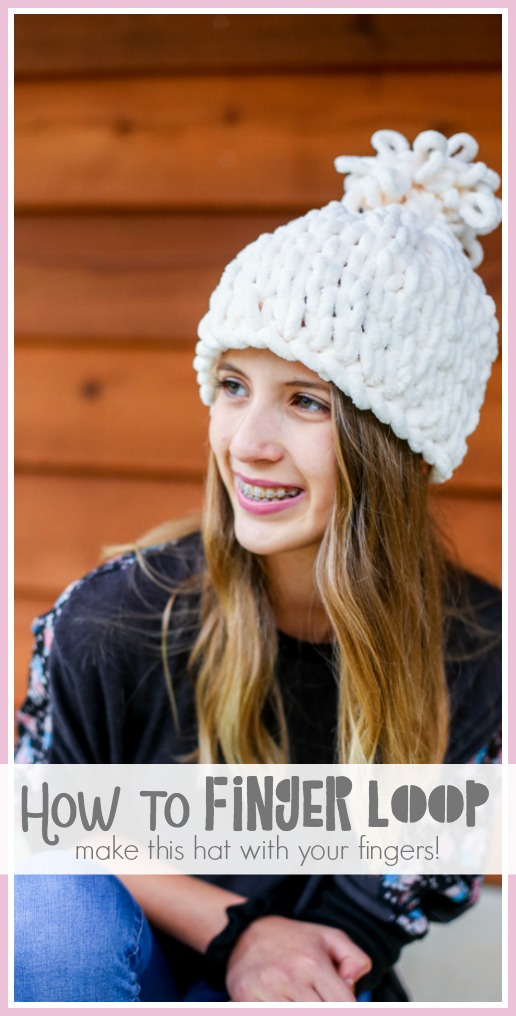
The new Red Heart LoopIt Yarn is so awesome!! Here are some images to pin in case you want to save this post for later:
 .
. 
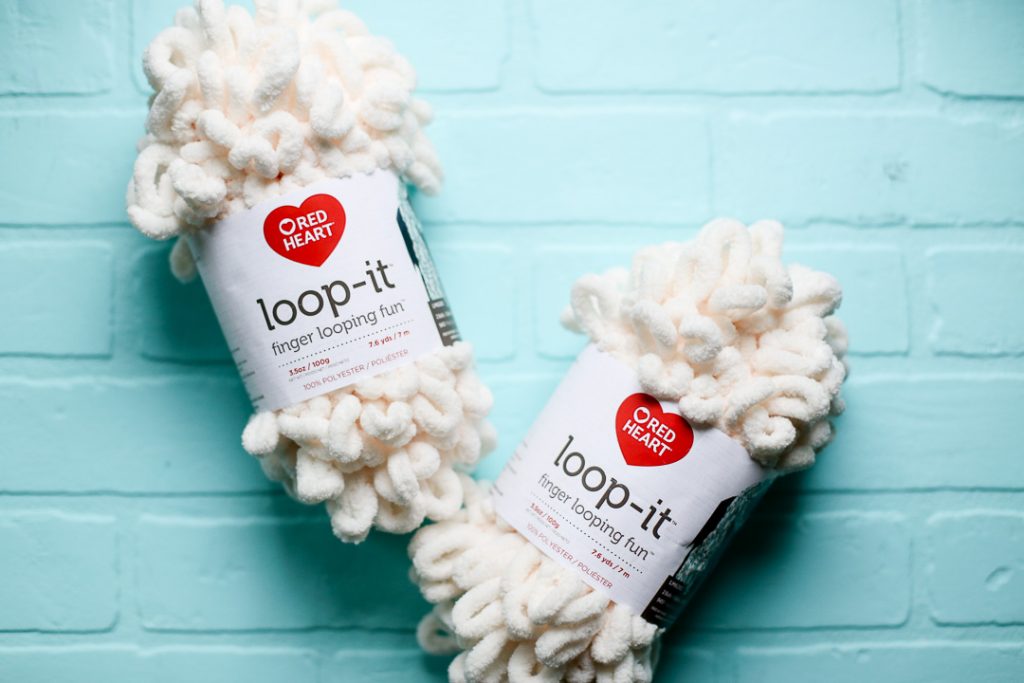
What is Red Heart Loop-It Yarn?
It is a special yarn type that has loops along a strand. It is chunky and soft and awesome. The loops provide a unique way of making yarn projects without any tools at all – really!! You can use your fingers for loops – no special skills required, anyone can do it!
Is Finger Looping the Same as Finger Weaving?
They have a similar process, but they are different. Finger weaving uses your fingers to build your project upon and limits the projects you can make (normally belts and headbands). Finger Looping using a special yarn with built-in loops to open up endless possibilities in creating projects.
How to make a Finger Looping Hat
You’ll need:
–one skein Red Heart Loop-It yarn
–scissor (my go-to scissors)
Yes. That’s It!
I am not the strongest at “patterns” – I really love just working through a project. So I put together a video to show you how I work through this project. And then if you like a pattern, I have that too, on down!
How to Make a Finger Loop Hat
Finger Loop Hat Pattern Instructions
The loops lay along the strand of the yarn. The yarn coming from the ball/skein I will refer to as the Working Yarn.
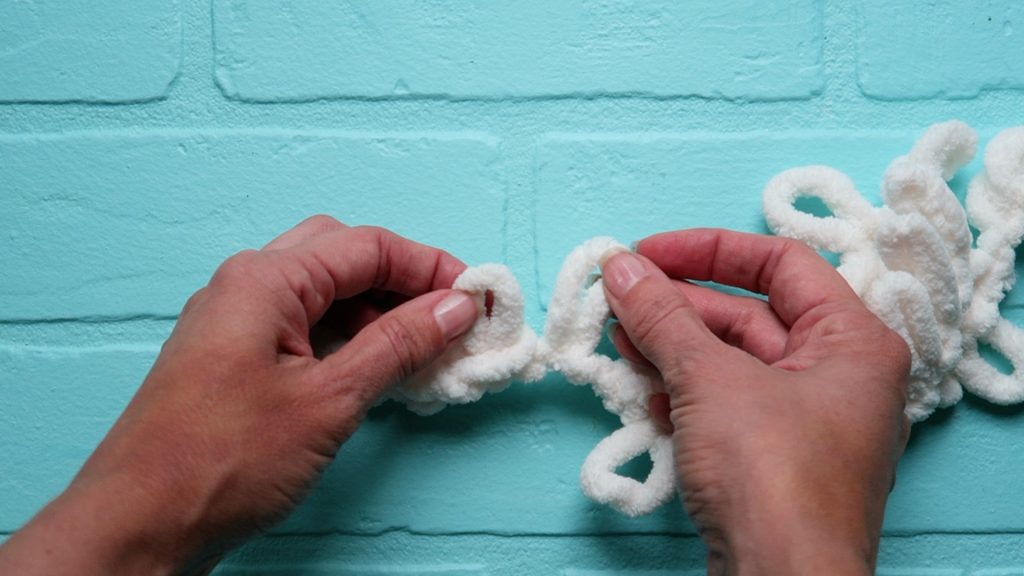
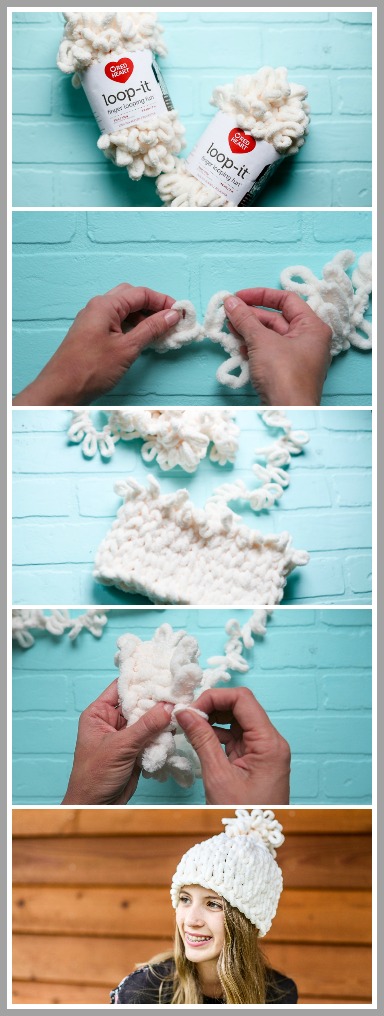
First we want to create a border for the edge of the hat. Take the loop 2nd from the end of the strand and push it from back-to-front into the first loop. So now it becomes the first loop. Then repeat, take the 2nd loop and push it from back-to-front into the new first loop. Keep repeating this (you can see it on the video). As you do so a “braid” chain will form. Keep going until that chain edge is long enough to wrap around your head (that’ll be the size of your hat). Guestimate for an adult is 30-35 chains.
Work in the round. Put your edge in a circle form. Use your working yarn to push loops into every top “loop” of the chain. This is the hardest part! Once you see what I mean, you’ll be able to figure it out quickly (again, this is in the video).
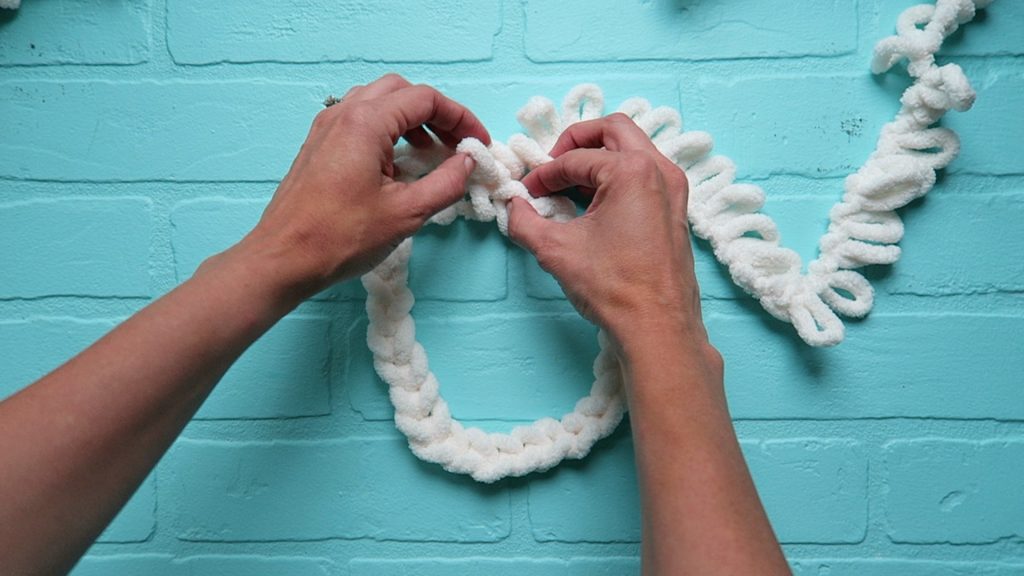
Then just work your way around the circle, over and over again, round and round, pushing the working yarn loops in to the open loops in your project. Depending on the size of your hat is how many rows you’ll make. I made 6 rows.
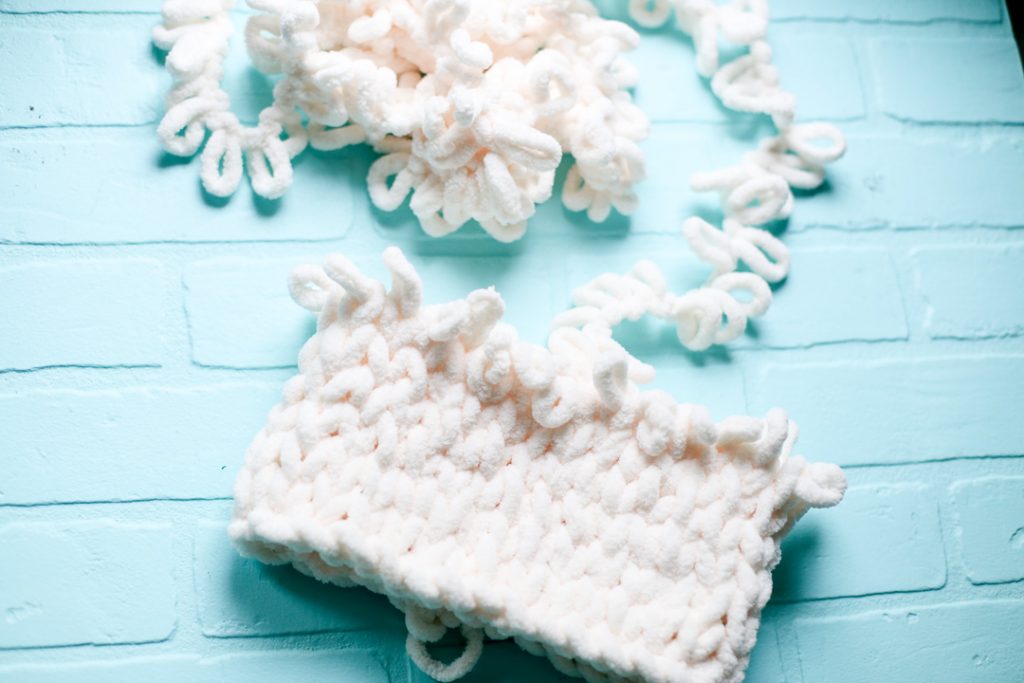
On row 7, I used one loop from the working yarn but put it through TWO loops on my project. Then the next stitch I did regular. Then the next stitch I put 2 loops on again and repeated that pattern for that whole row. This helped decrease the stitches and make the hat smaller at that section (we need to make it smaller as it gets to the top of the head)
Row 8 I made as a normal row, one for one looping.
Row 9 I repeated the pattern from row 7.
After Row 9 I just did the double looping thing over and over until it reduced down to one loop on my project left. I snipped off my working yarn and pulled it through that loop and bam, done!!
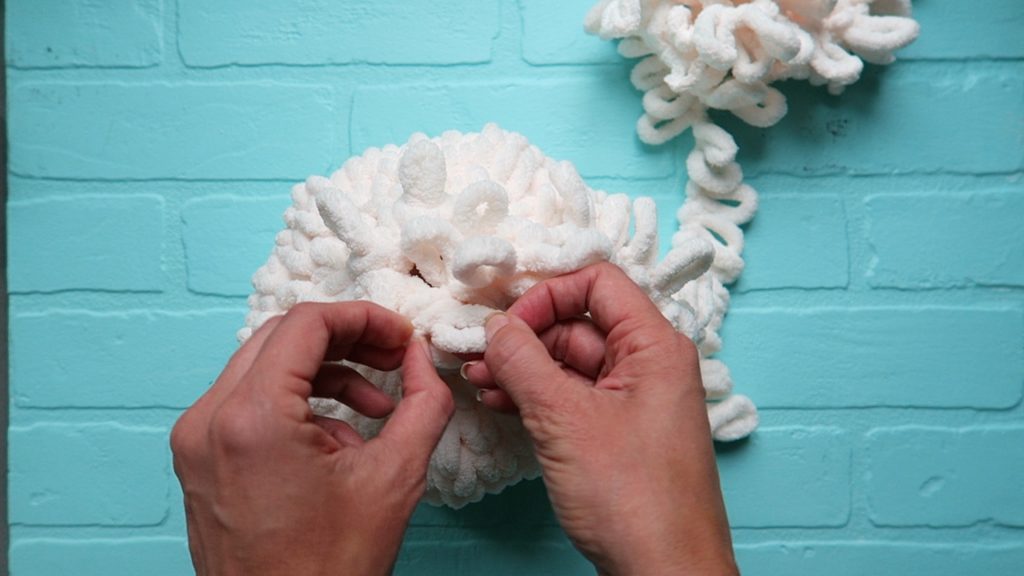
I used some of the yarn to also make a fun pom pom for the top – isn’t it the cutest?! And it doesn’t look at all that I made it so easily with my fingers.
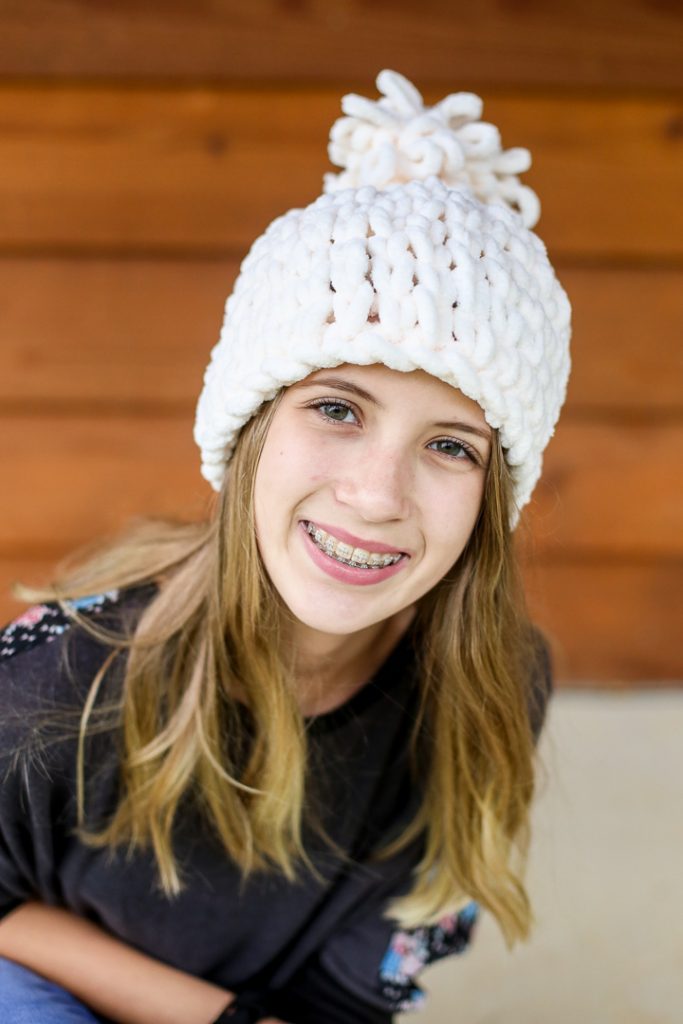
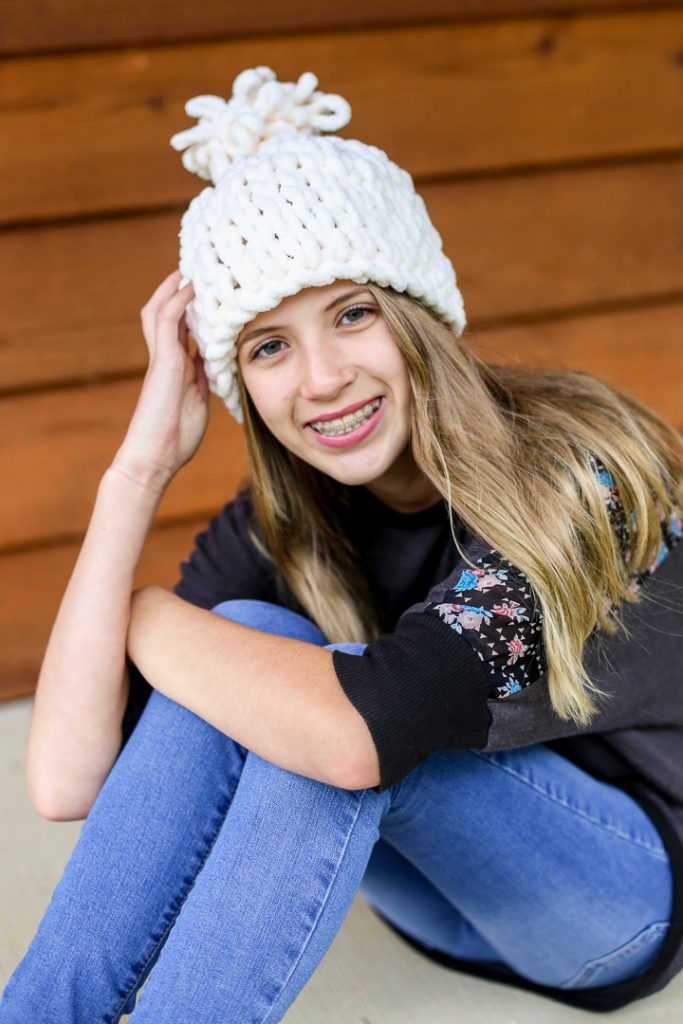
I can’t wait to see what projects you make!! We can be Chunky Finger Looping Hat twins! #redheartyarns #whileiwasyarning


Hi Mandy! I am so excited to make some of these! Does it take a whole skein to make an adult size cap? What if one of the adults has a large head? Thank you for your video! I will be checking your page often!!!
I only used one skein (and had a little extra), so I think you should be good!!
Help, can’t find the video anywhere! I’d really like to see how you make that pom-pom! 🙂
the video is here on the post under the subtitle: HOW TO MAKE A FINGER LOOP HAT
– I just kind of made up the pom pom! wrapped it around my fingers a few times and cut the loops. Good luck!
How did you connect the chain to make the round? Did you just double the last chain and put the loop through both of them?
I cannot wait to make this! I bought the yarn today!!
HI Mandy!
I’m sooo happy that you shared this with us! You’re so incredibly generous to put these free tutorials together, when we all know that being a momma to four children must be exhausting. Every since you posted your finger loop scarf tutorial, I have been busy looping away to make Christmas scarves for my family, friends, and those less fortunate (my sweet niece is always asking me to stop at every corner that someone is sitting at holding a sign, and give them one of the bags she helps me make filled with necessities). Since I am a crocheting failure, I was just going to purchase matching, knit hats. I’m thrilled that now I can make them myself!
Thank you again for your generosity!
Bless you and your family,
Julie P
Spokane Valley, WA
Why is my loop it blanket not exactly square? close but not perfect
hmmm, I’m not sure – maybe it was pulled tighter on one side and then got looser? or vice versa?
How can I get these bennie directions in writing so I can save them?
Thank you so much! Vickie Patterson
How big round should a child’s hat be?
would you mind posting a video and a written description of how to make the pom-pom
Thanks!