Wow, the school year always flies by so quick!! Are you planning or helping someone plan a graduation party? If so, you’re going to need some big numbers – and you can totally DIY them! Yep, then you can tell everyone that you made your own Graduation Party DIY Centerpiece, and they’ll know that you’re going to be successful in this crazy world 😉
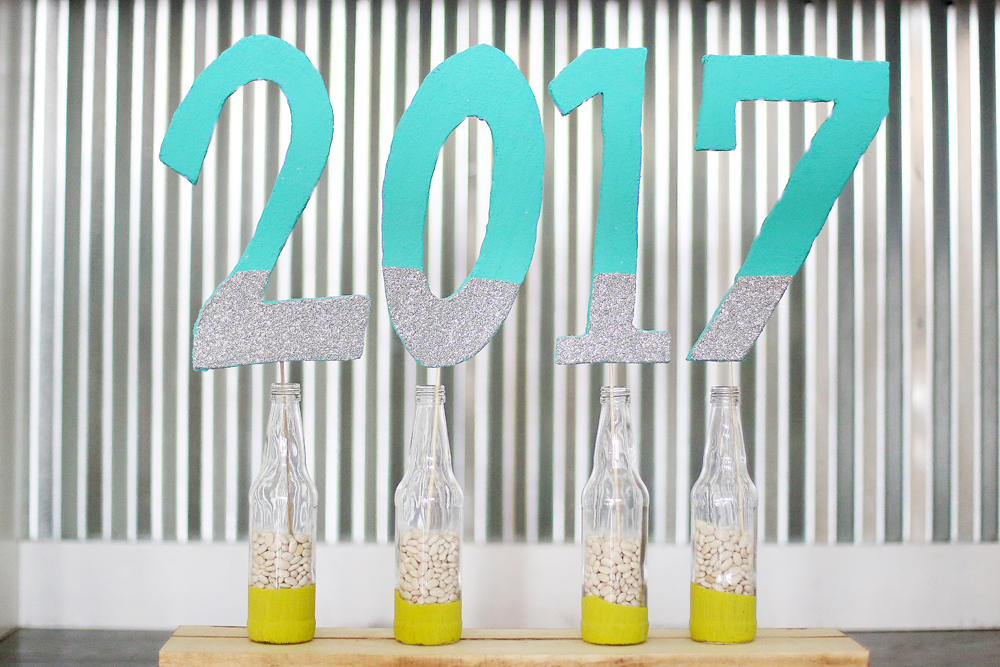
The great thing about foam is that it’s SO versatile and easy to work with in creating custom things. Today I’m going to show you how to create numbers, but you can use the same tutorial to make letters spell out a name, etc – think of all the possibilities!
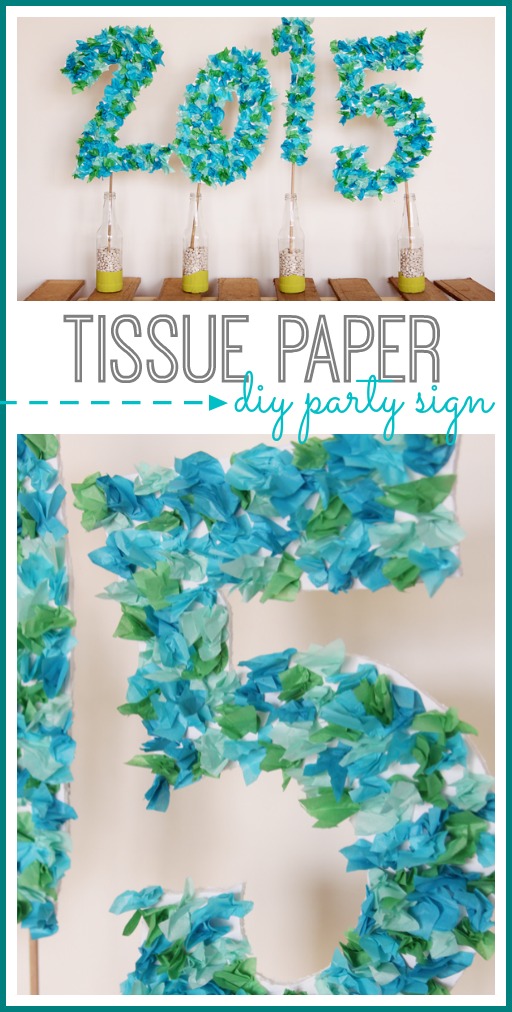
(also, if you want a tissue paper look, I’ve done that in the past – it’s cool too!! details here: Tissue Paper Party Sign)
I love how fun these bold numbers are and you can make them in whatever colors will fit best with your theme and decor.
Graduation Party DIY Centerpiece
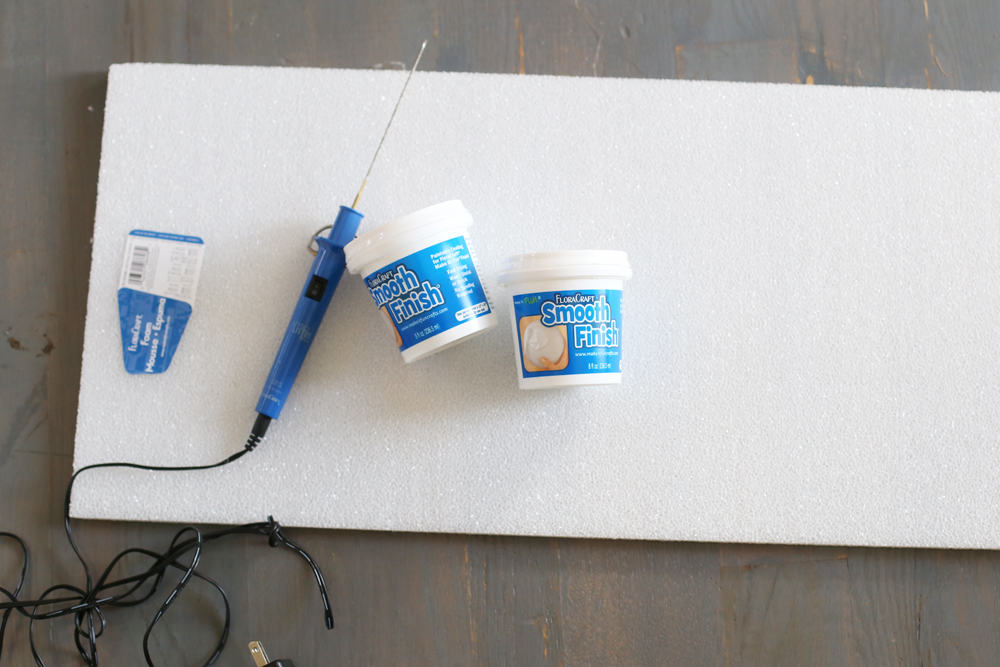
You’ll need
- FloraCraft® Make It: Fun® Foam: Sheet, 1″ x 12″ x 36″
- FloraCraft Smooth Finish® (I LOVE this product!)
- FloraCraft® Make It: Fun® StyroCutter® Plus (I LOVE this product too!!)
- Acrylic Paint
- Mod Podge and Glitter (optional)
- Dowel Rods
- Bottles
- Vase Filler (I used beans)
- Black Marker
Instructions:
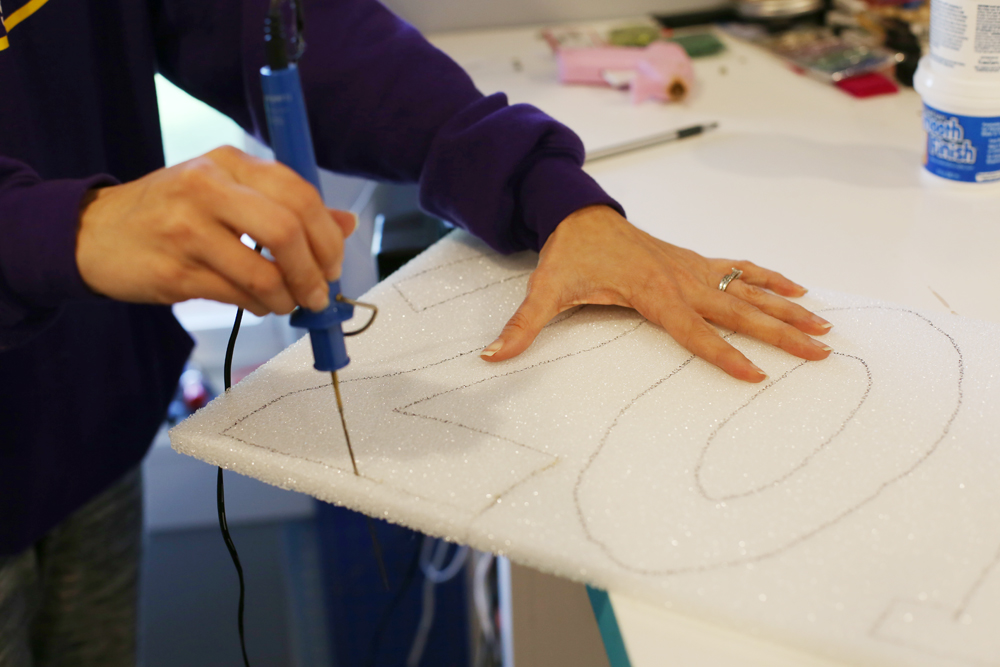
First you’ll want to plan our your design. I used a marker and free-handed the numbers “2017” as shown.
Then use the foam cutter to cut on the lines you drew. The cutter will “melt” as it cuts, it’s like magic! Just go slow and steady. Read the instructions on the packaging carefully for how to use the StyroCutter and tips for the best result!
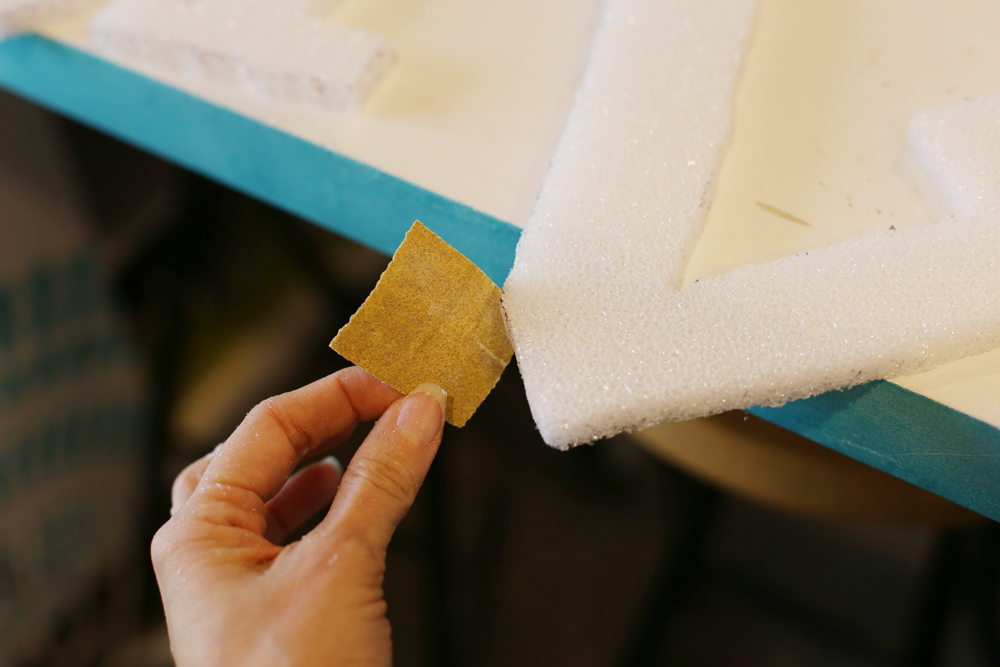
Next up you can use sandpaper to sand any rough edges or wavy spots.
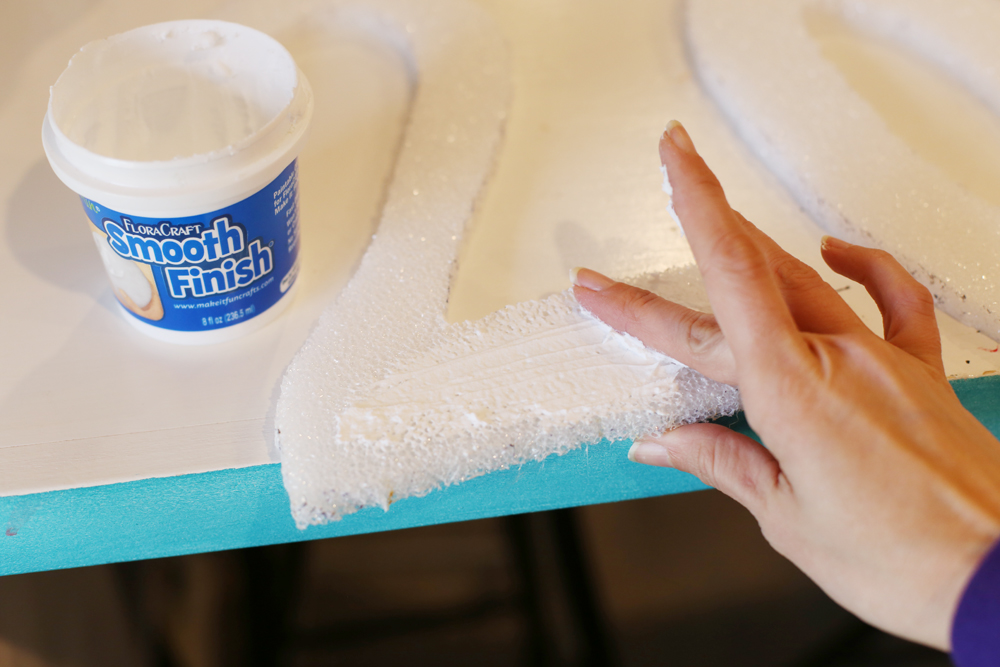
Once your numbers are cut, you can cover them in Smooth Finish. This will fill in the foam and give it, well, a smooth finish! You can use a small spatula, but I just like to use my fingers and really rub and work it into the foam. Let dry completely.
Once dry, they’re ready to paint – any color you want!
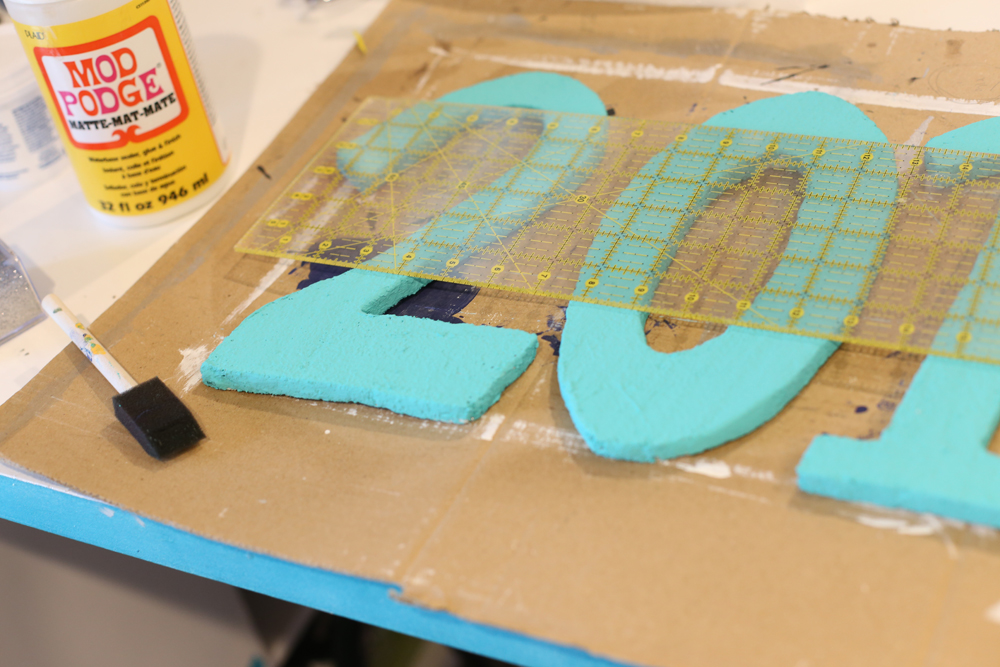
After the paint was dry, I added glitter. I wanted it to look like the bottom of the number was dipped in glitter. First I used a ruler to section off the bottom half of the number. I then painted mod podge onto that bottom section.
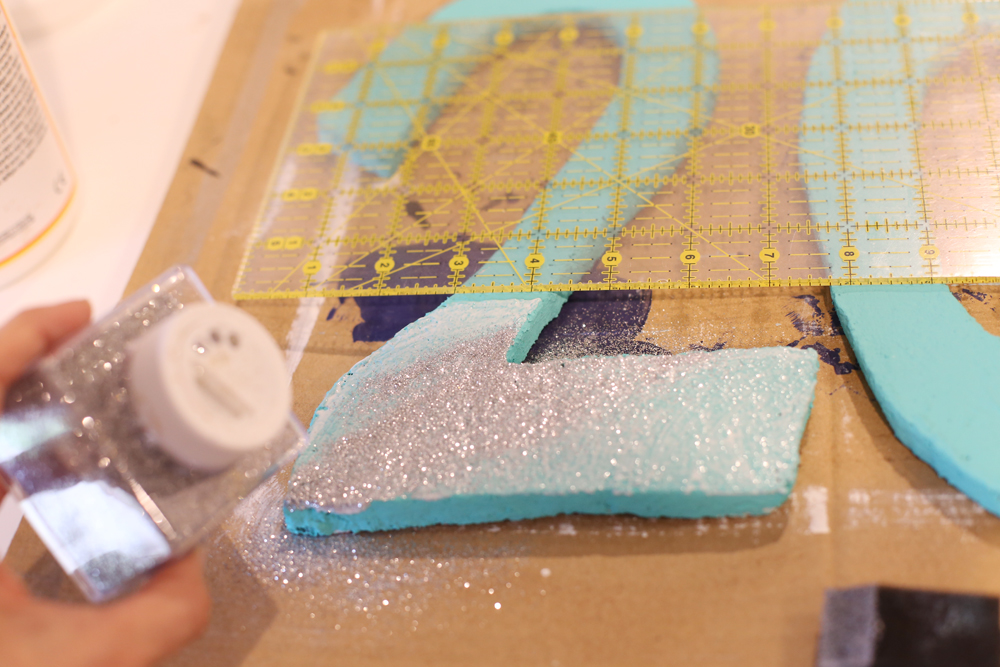
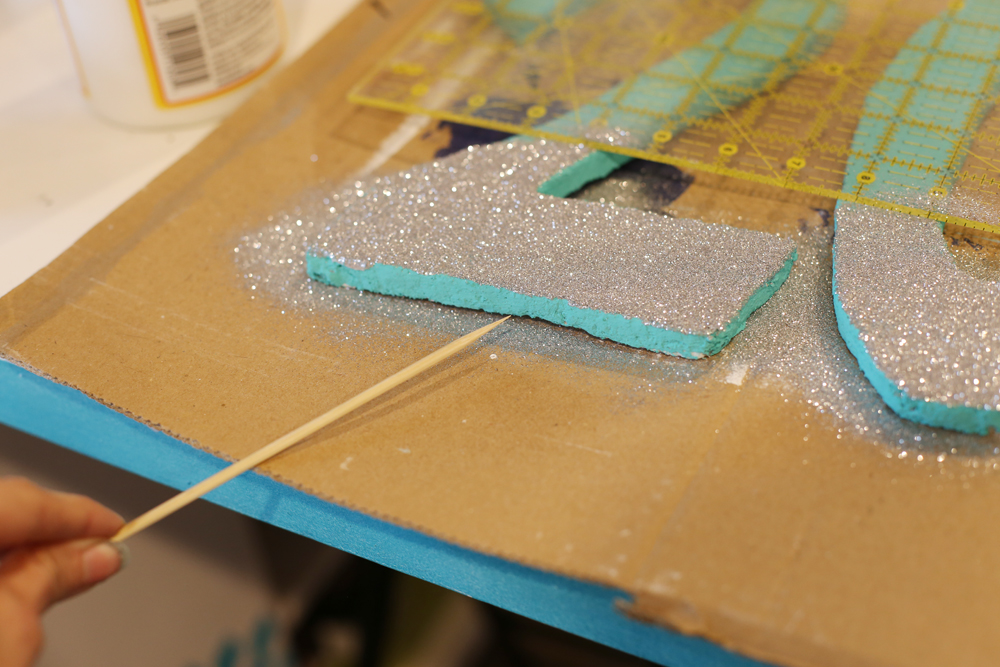
While the glue was still wet, I sprinkled on the glitter. Let dry then shake off the excess.
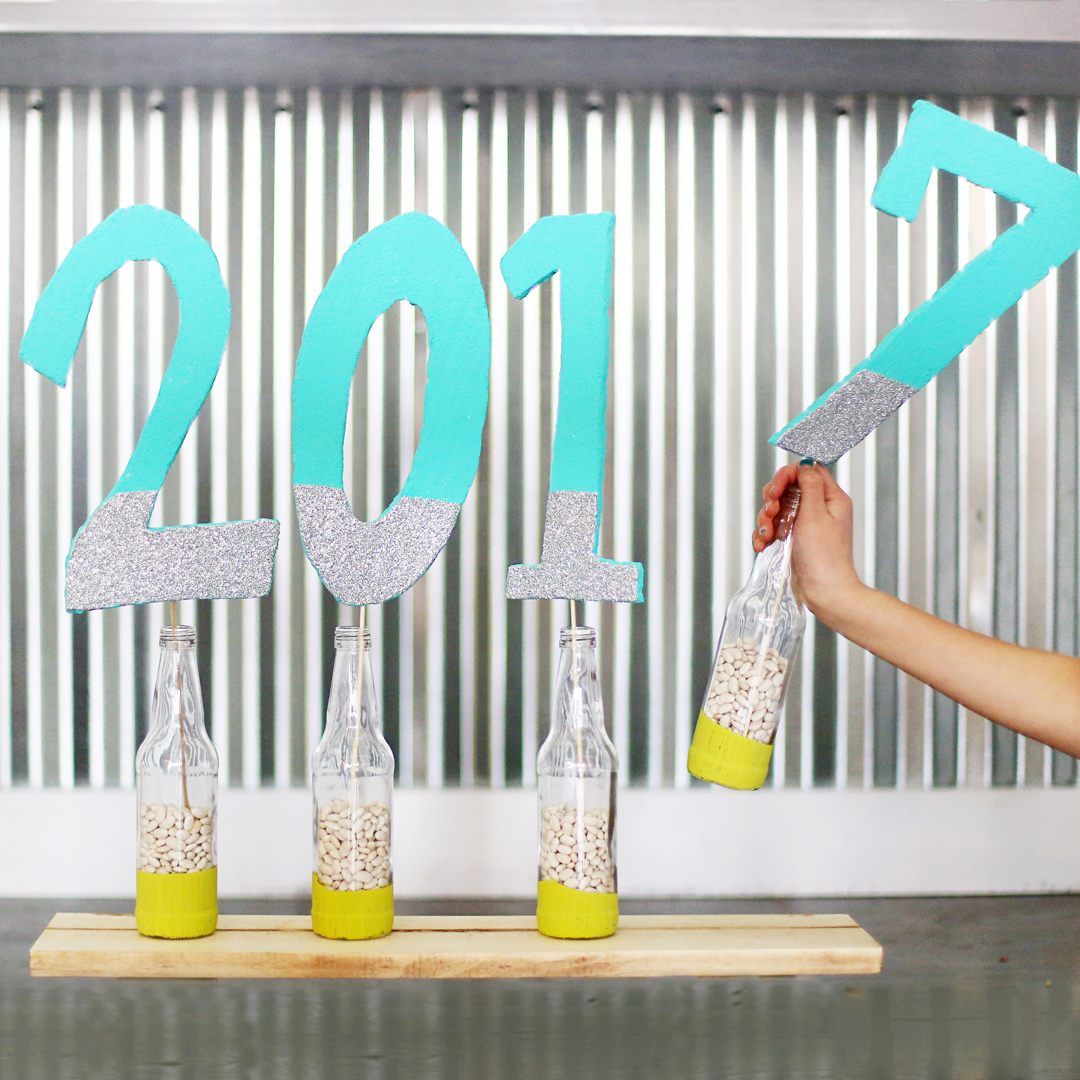
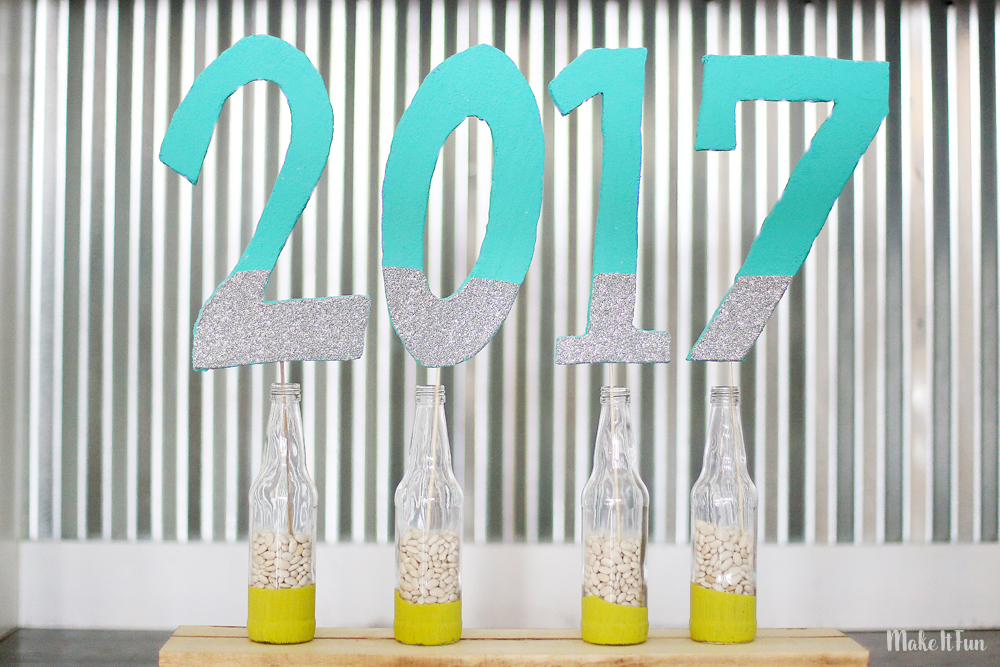
To display the numbers, I used a small dowel rod and pushed it into the bottom of the numbers.
Then simply placed them in bottles filled with beans. I love how it turned out!!


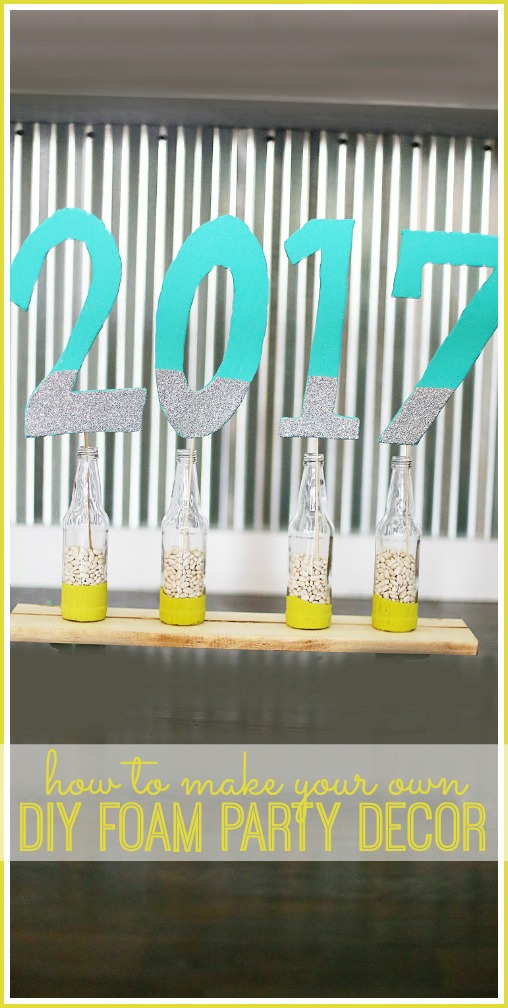


What a great center piece! I’m not very crafty but you make this look so easy that I want to try it out:) Thanks!
Visiting from Eighteen 25 Show and Tell