


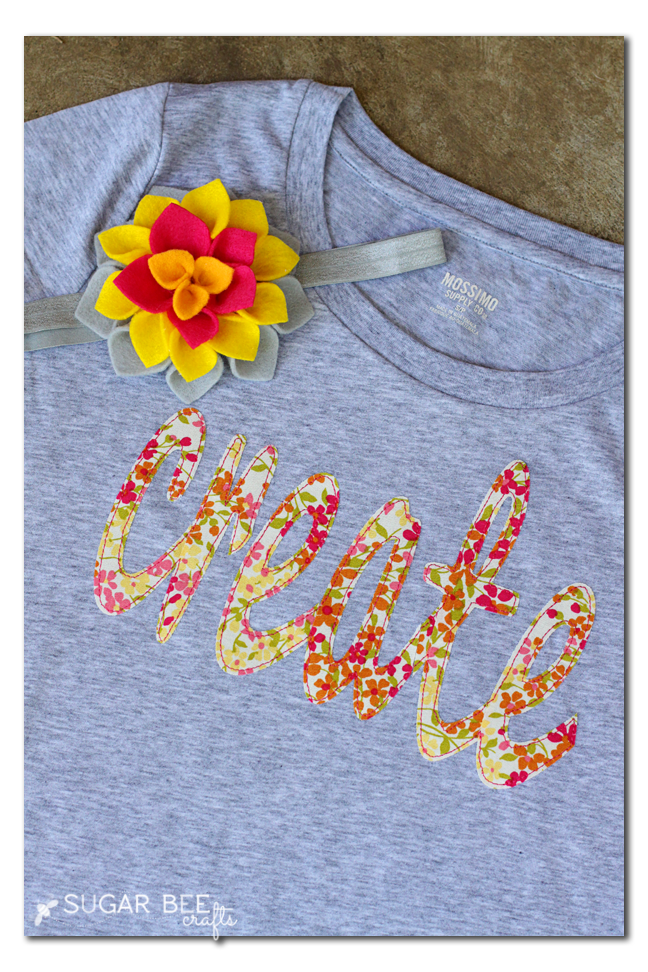
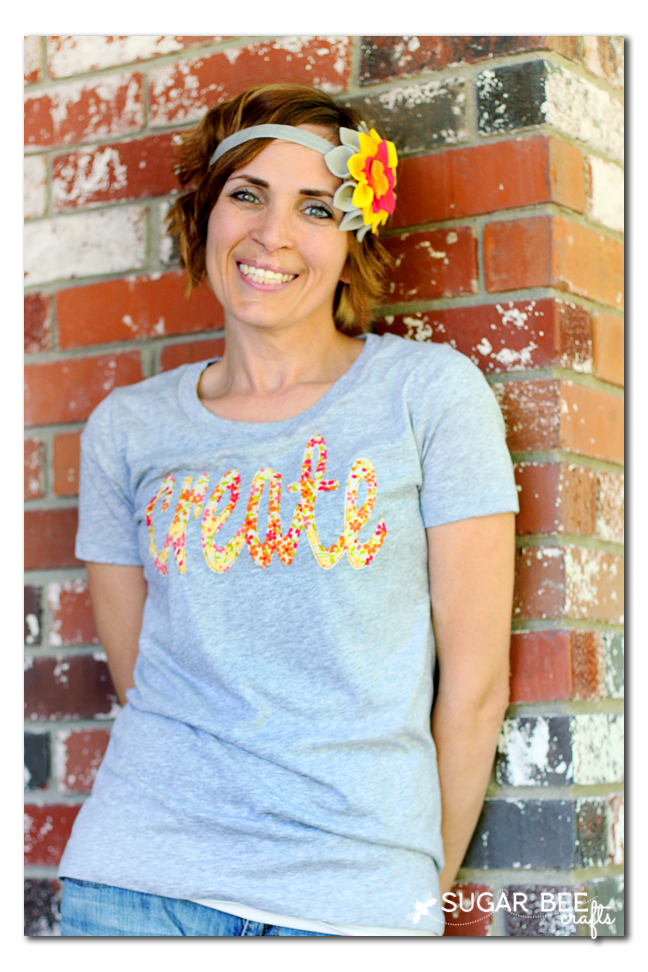
There is a fun competition over at Cricut, and I’m trying to be the next Cricut Design Space STAR! The first challenge is “fashion” and I came up with a couple of projects, a Felt Dahlia Headband and a Floral CREATE Graphic Tee. I’m on a team with 10 other fabulous bloggers, and we all made our projects around the theme “yellow”. It was a super fun challenge! Can you believe these projects were made with a Cricut machine?!
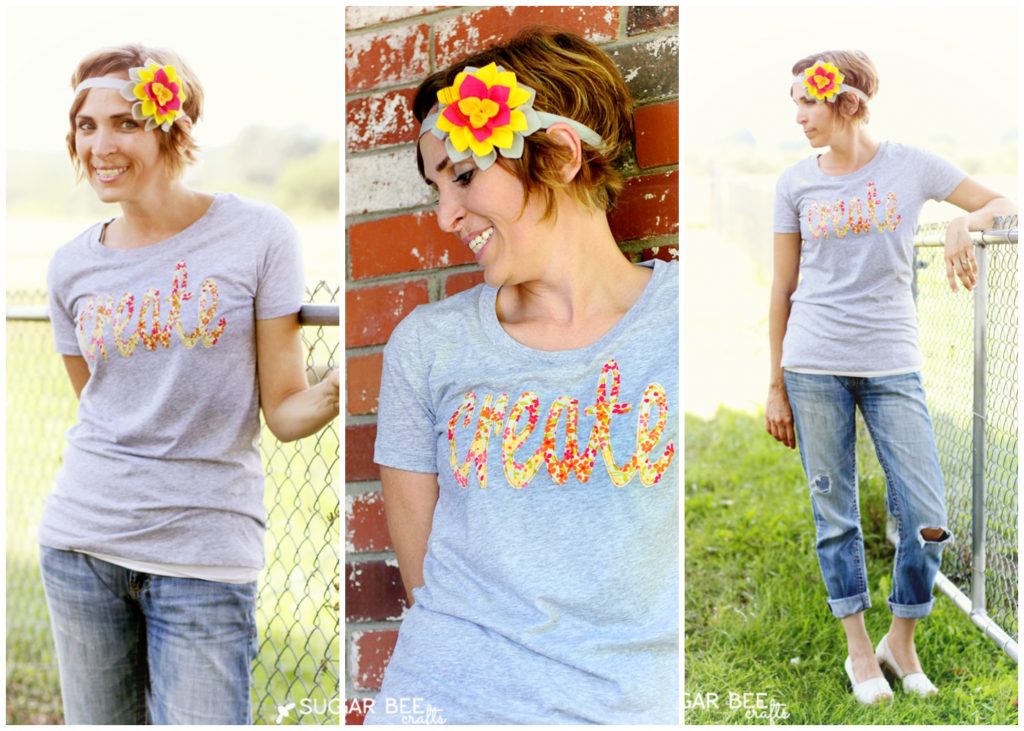
I was able to try out a new Cricut Explore and I wanted to put it right to the test! I jumped right in to try fabric and felt, two of the tougher things to cut (in my mind). It’s a lot of info to cover, so I’m going to break it up into two separate project posts – here first I will cover the Floral CREATE Graphic Tee and then in a post later this afternoon I will walk you through the Felt Dahlia Headband and my tips for cutting felt on your machine.
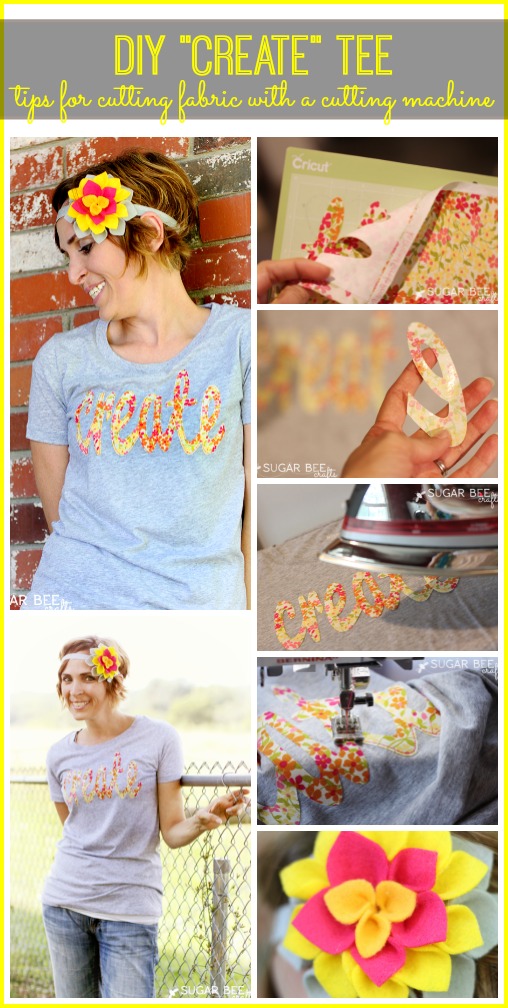
I have been wanting a floral graphic word tee for a while, and this was my perfect nudge to get work creating one! You’ll need:
–Cutting Machine (I used the Cricut Explore)
–fabric (I got 1/2 a yard, but I think 1/4 will do)
–heat n bond (or comparable – it’s interfacing that bonds fabric to fabric)
–optional: sewing machine for finishing stitching (stitching is optional)
TIPS for cutting fabric with a cutting machine:
–iron heat n bond to the back (I used the “lite” version) – this stiffens up the fabric, making it more like paper and easier to cut. Be sure to iron firmly in place.
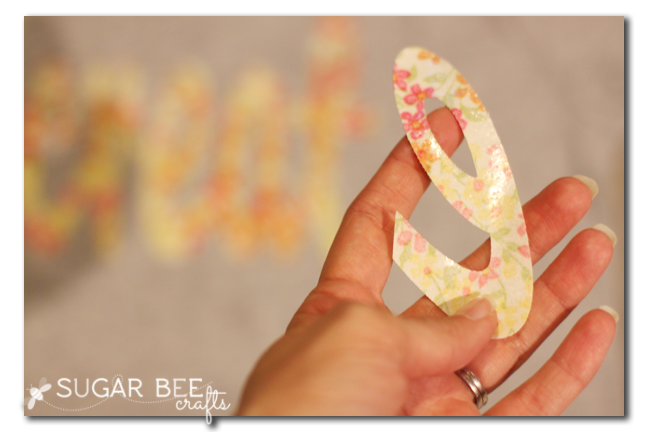
–peel off the backing of the heat n bond – in the picture below I didn’t peel the backing, which worked the first time, but gave me trouble the second time. The reason you want to peel off the backing is so that you can really get your fabric to adhere to the cutting mat – if you leave the backing on, it adheres to the mat but then your fabric slides on the backing and the cut is drug around.
–after you peel off the backing, it will leave a glue-type coating on the back of your fabric – place that side onto your cutting mat and press firmly. When you go to peel off your fabric, the backing glue stuff should still stay on the fabric (if you ironed it down good). I was a little worried that it would stick to the mat, but it didn’t.
–turn your machine to the “fabric” setting on the dial and cut out your design – it makes a nice clean cut:
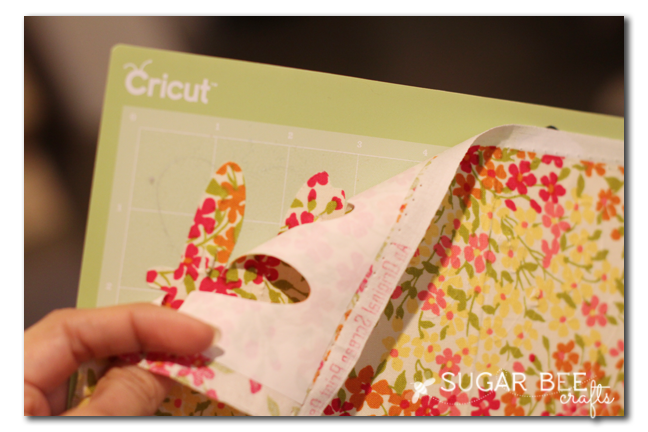
You can see the glue layer on the back of the fabric, just like we need:
Arrange your design onto your shirt:
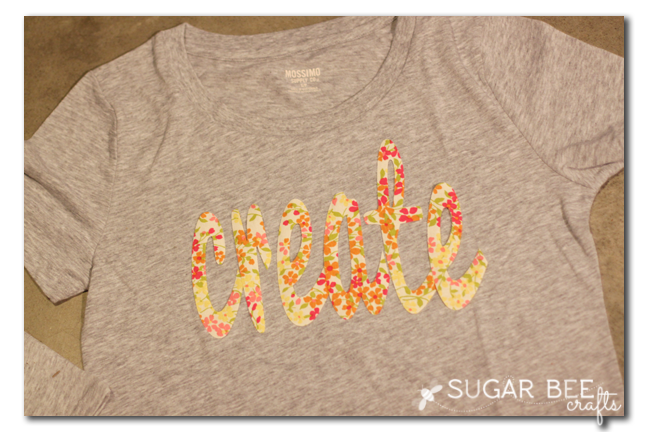
Then simply iron into place:
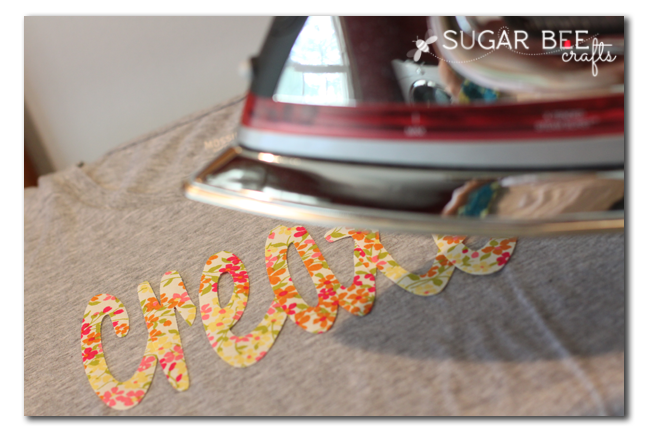
At this point you could be done. The bond is strong enough as-is. I think that stitching along the edge of the design gives it a finished look, so I went ahead and sewed the edges. This is for looks, not functionality.
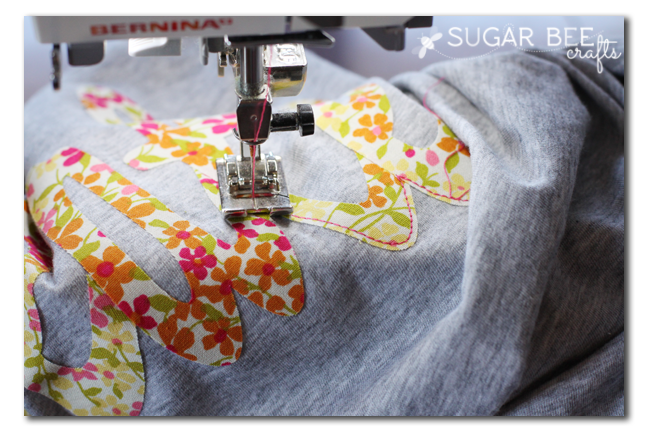
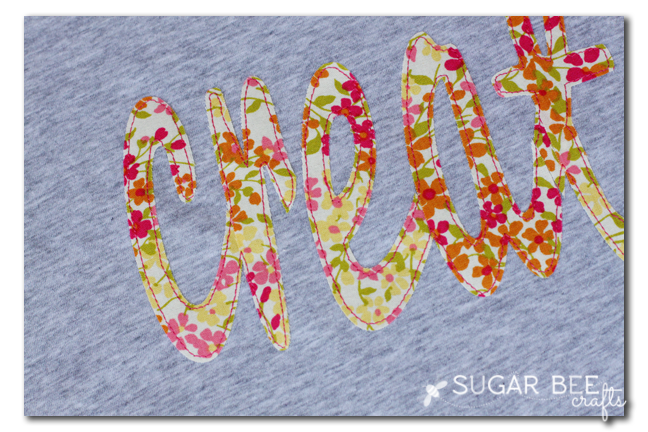
Here’s a closer view of how the stitching came out – makes the letters pop just a little more:
That’s all there is to it! You can make this! If you don’t have a cutting machine, you can choose a simple word and cut it by hand for the same look.
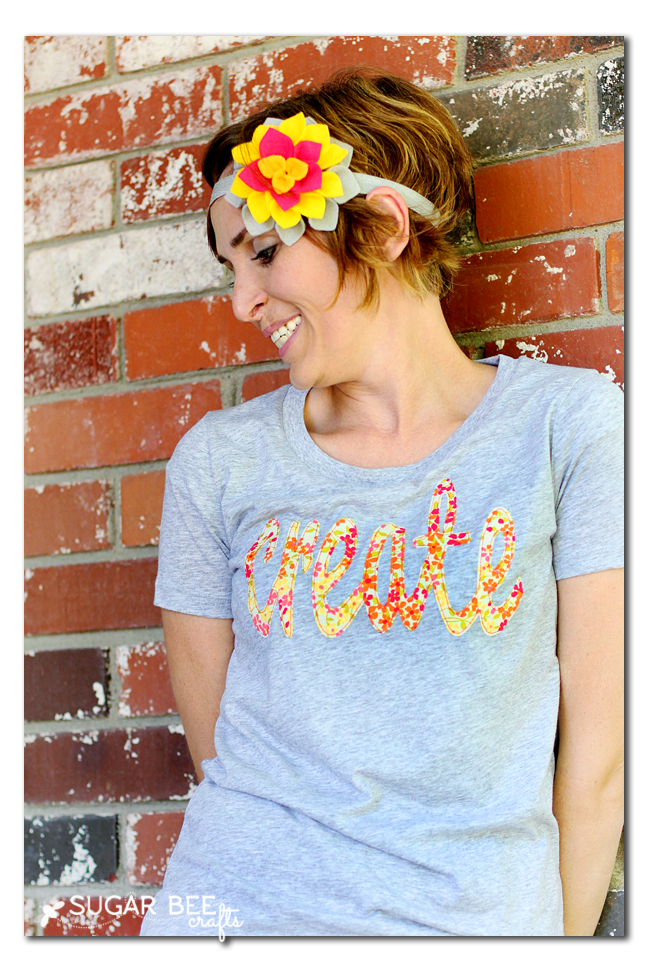
If you’re looking for the headband tutorial, that’s here: Felt Dahlia Flower Headband
This shirt is adorable and now I want a Cricut more than ever. So cute!
Shannon recently posted…The Timeline Project – Goal Setting
I just got a Cricut and am trolling for ideas. This is so super CUTE!
Gwen recently posted…Chocolate Pina Colada Breakfast Shake
Have fun learning your new machine!