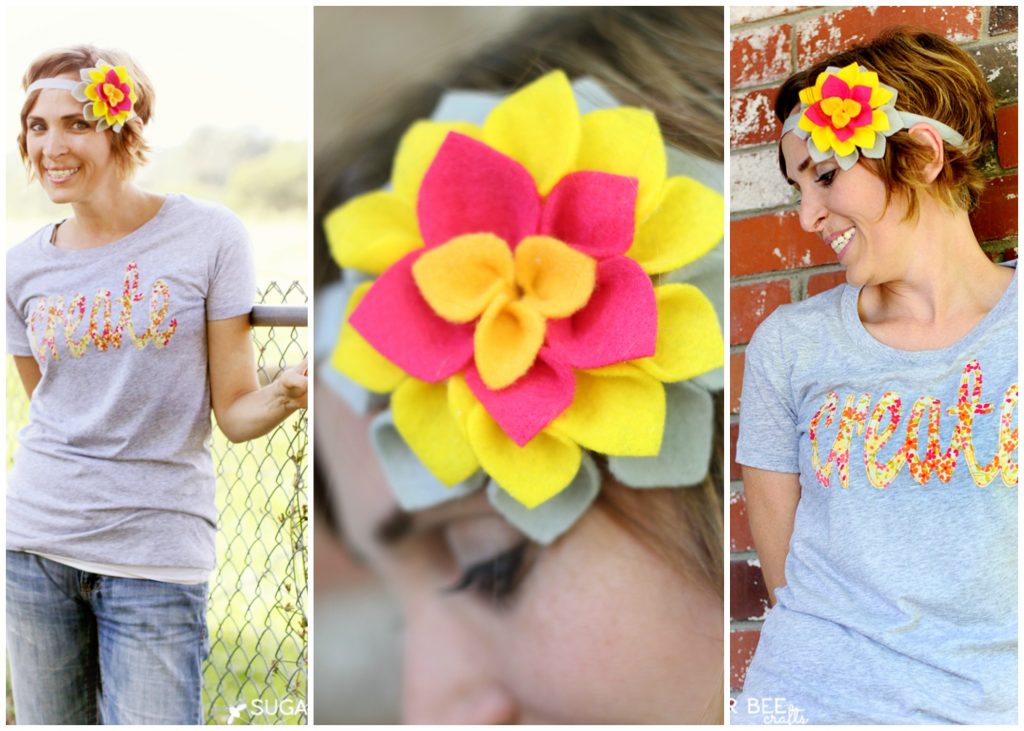
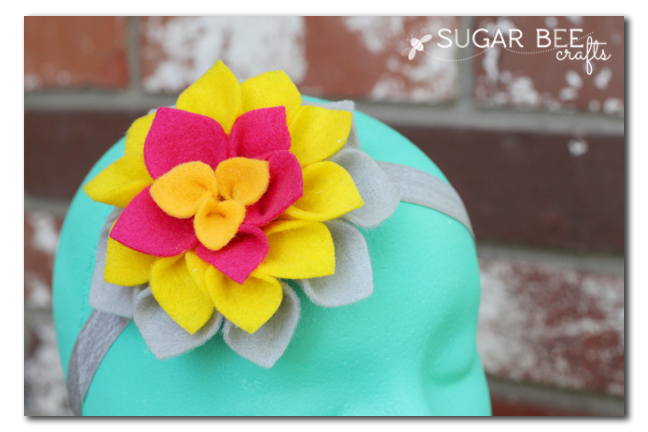
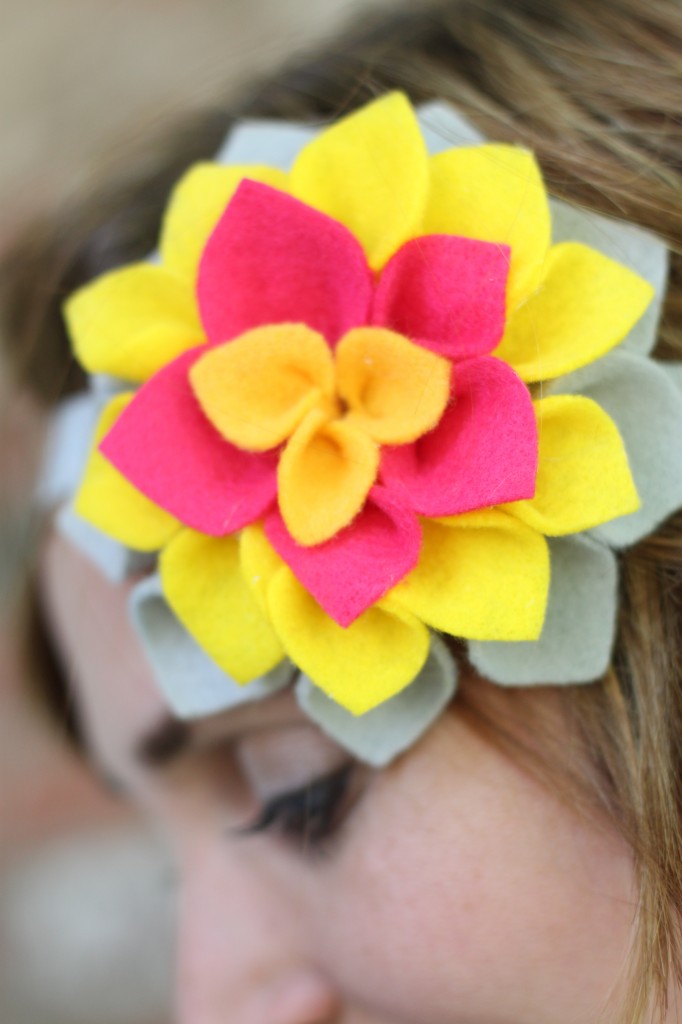
As mentioned earlier today, I’m here to bring you a fun tutorial for a Felt Dahlia Flower Headband – I absolutely love how it came out! And even more, I love that I could cut all the felt petals with my Cricut Explore – I was excited to give cutting felt a try!
I’ve always wanted to make Felt Dahlia Flowers, but the cutting seemed daunting – it was nice to find a solution to avoid hand cutting (although this is totally doable with hand cutting if you need that option). And I’ve got some tips for you on cutting felt with your cutting machine:
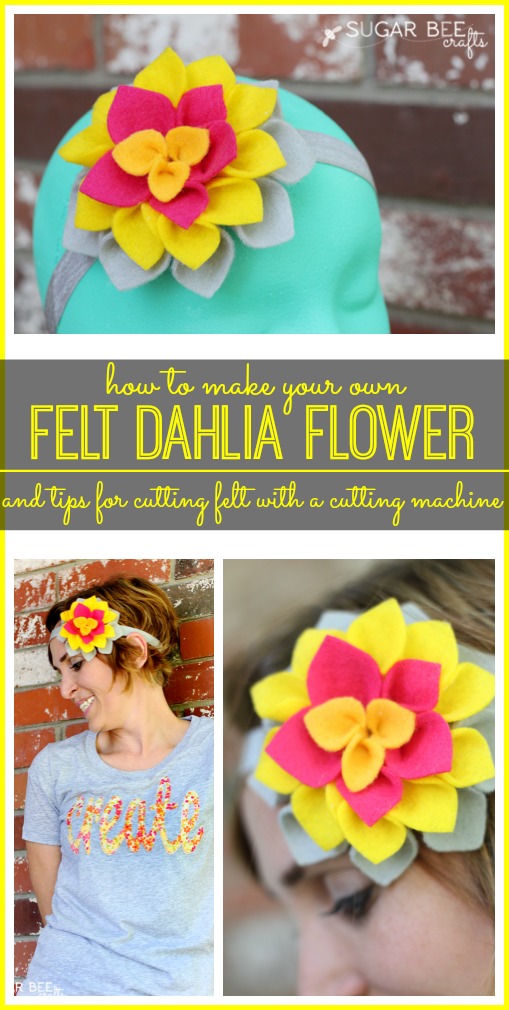
Let’s get started – -you’ll need:
–Cutting Machine (I used the Cricut Explore)
–template (I hand-drew mine and uploaded it into the software)
–felt
–hot glue
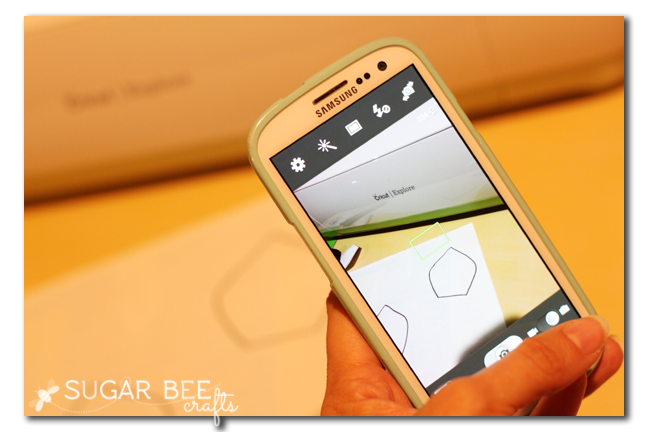
Alright, to get started, you’ll need petals in 3 sizes in the shape you’ll see below. I knew the exact shape I wanted and didn’t find it in the available files, so I just created my own template. Pretty easy, and I’m sure there are lots of ways to do this, but I simply drew the shape I wanted on paper. Then I took a picture with my phone and emailed it to myself and downloaded it to my computer:
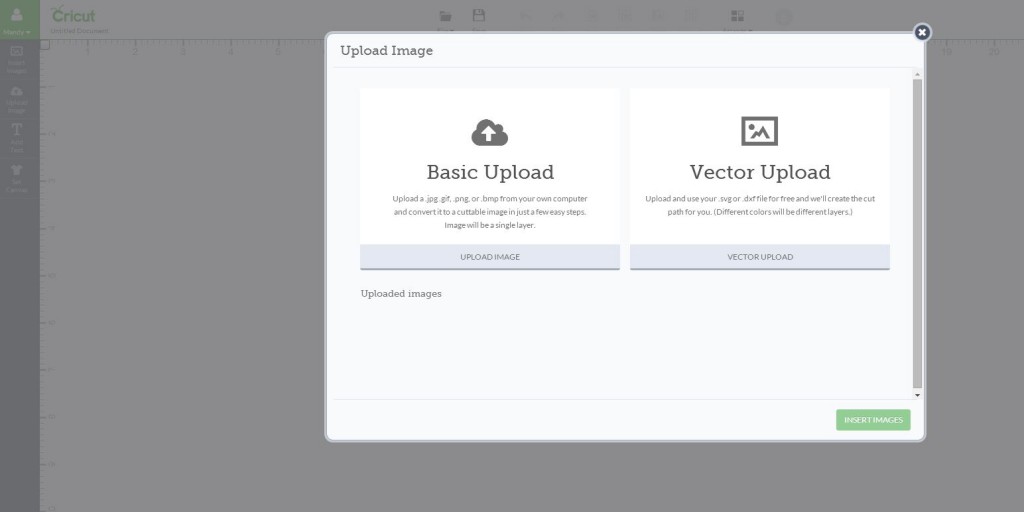
Then I uploaded it into the software using the “basic upload” option – you can upload jpg files:
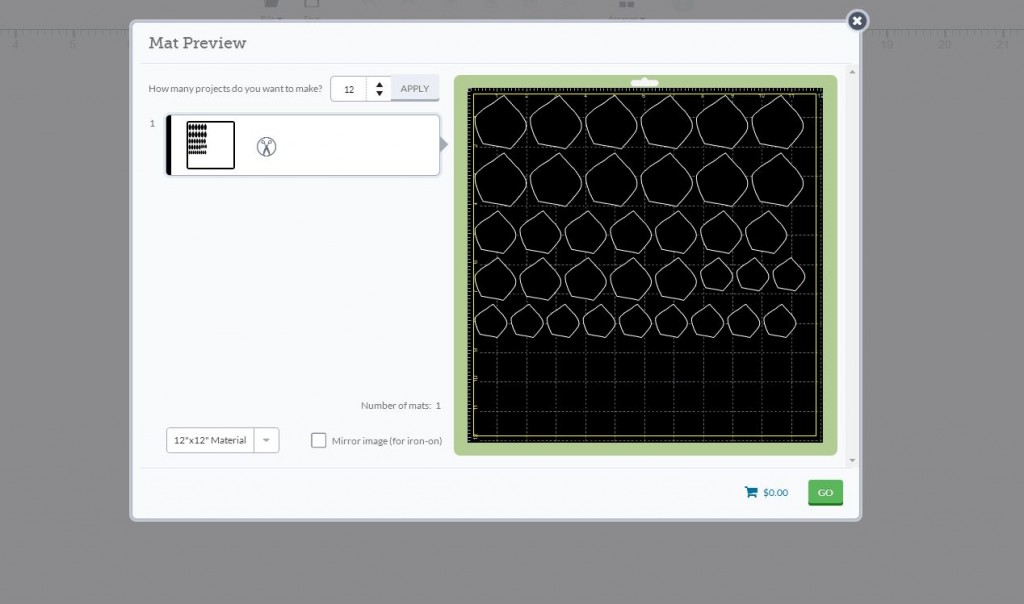
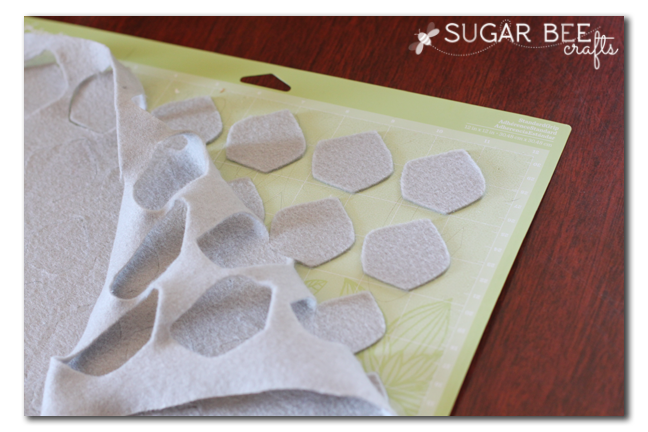
The software created a cut line for my shape. Remember, I need the shape in 3 different sizes – easy peasy, I just copy and pasted the image a couple of times and changed the sizing on those, so I had a small medium and large petal (3 shapes total). Then when I went to cut it, I opted to cut the design 12 times and it fit everything together for optimal cutting:
Tips for Cutting Felt with a Cutting Machine:
–one tip, you can iron interfacing on the back of the felt – this will help it have clean cuts. But I didn’t want anything on the back of mine because I was folding it and both sides would show. So I wanted to see if I could get it to cut felt without interfacing – the answer is YES!
–I did not use the deep blade housing (although that might help). I just used what the machine came with. I set the dial to “custom” and picked “felt” from the dropdown box. Then I picked advanced settings and changed the amount of passes to 5. That means that it would trace the cut 5 times.
–And it worked! I was super excited! You do need a pretty new, sticky mat. After several cuttings, my mat was less sticky in the top corner and that area drug the felt instead of cutting, so be sure your mat is sticky.
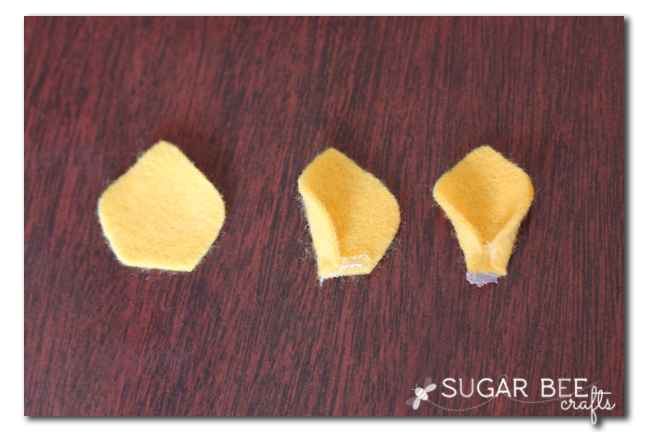
Okay, on with the project! Using a line of hot glue on the base of the petal, fold each side in to the middle as shown below. Repeat for many petals (depending on how big you’d like your flower)
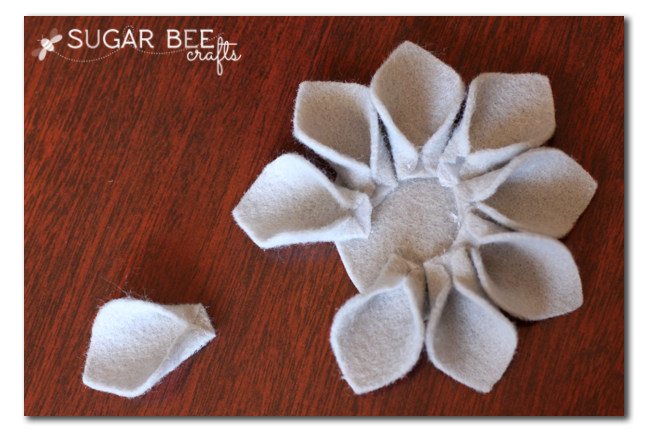
Cut a circle of felt as a base and use hot glue to attach the outer row of petals as shown below. Then repeat inner layers with smaller sizes of petals.
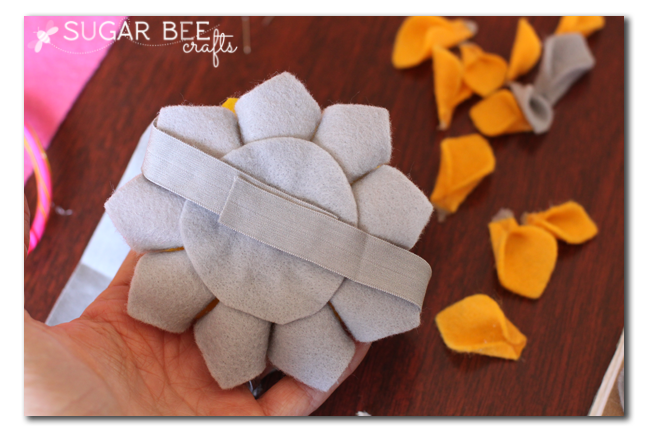
To attach to a headband, simply use hot glue to attach it to the back:
That’s it! Wear and enjoy!
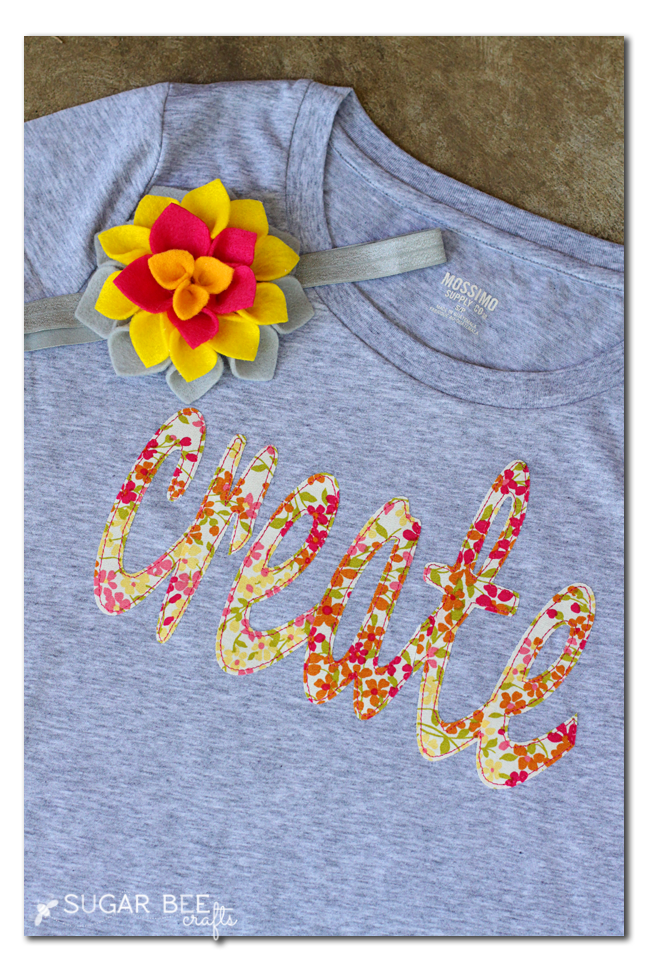
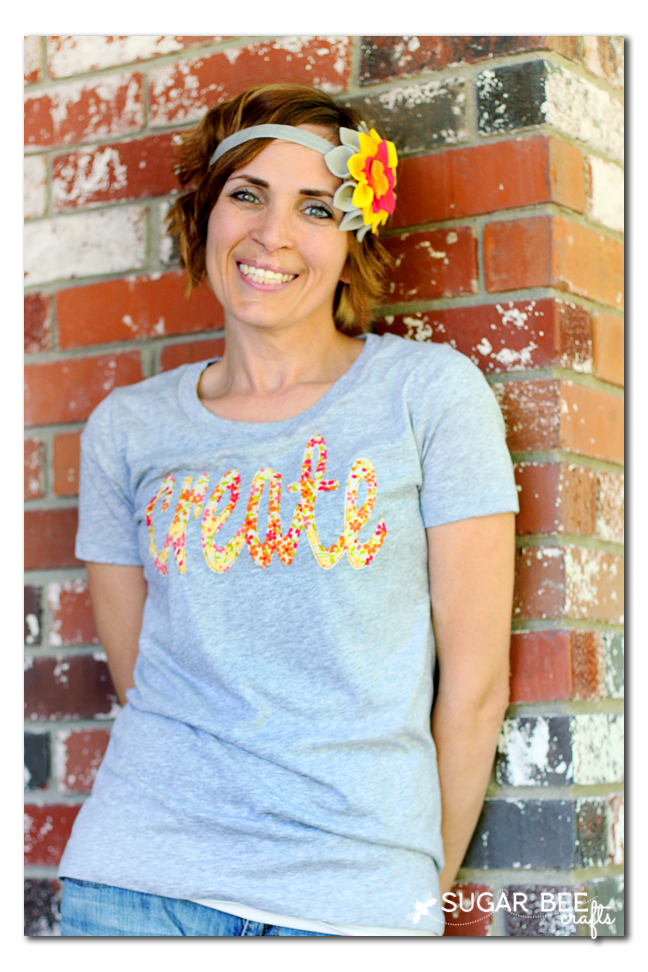
And if you want a tutorial on the CREATE graphic tee, check that out as well!


Totally do-able! Love the colors (and that you hand drew it!)
Love all colors of felt you used. They go very nicely together. I’d have to draw shape of petal out and then hand cut all sizes of petals, could be rather daunting job but if I really want to make one, will be worth it. Seems like the hardest part is getting the petals all cut out. Wish I had a Cricut Explore or a Silhouette. Great tutorial, very helpful even tho I don’t have a machine to do the hard part. Enjoy making things on your machine. Happy week0000000000000000000000000000000000000
yep, hand cutting is totally doable! I bet you could get it done while watching a movie one evening, etc. Good luck with it!
Totally wasted a sheet of Felt trying your heat-bond free method. Cut up two mats as well. Even changed the pressure. Only thing I can think different is you must have used the cheap thin Felt from the craft store and not a wool/Acrylic Blend. I actually bought the Cricut based on this very article.
Any tips? I’d love to hear them.
I tried the green mat, and the purple. I tried less pressure, less passes, more passes….freezer paper backing,”…everything. And every time all it did was pull and rip the Felt.
So sorry it didn’t work for you. I did use the craft store felt, not wool felt. That might be the difference. Here’s a post that uses the heat-n-bond method from a different blogger, and it worked for them, they might have different suggestions for you: https://www.sisterssuitcaseblog.com/how-to-cut-felt-with-the-cricut-explore/