Hello everyone, It’s Becky from Patchwork Posse! I blog about lots of easy sewing projects, and I’m the home of the 52 Quilt Block Pick Up and the Yearly Round Robin.
I am so excited today to be here and talk about keeping your little fingers warm.. I am a big fingerless gloves wearer.
I am pretty sure I have more than enough pairs, but I love everyone of them. They come in so handy {pun totally intended}. I sometimes even where them when sewing!
But, hey it’s a little chilly out there right now! Nothings better than toasty hands. Along with that comes with the frustration of not having fingers free to answer calls, text and keep in touch with others, or perhaps stitching a bit!
The solution– Fingerless Gloves!
Fingerless Gloves Tutorial
These can be made for any age. Because you are tracing your own hand, they are even made to fit. Everyone in my family has their own pair and there is a basket by the door in the winter to house them all. Perfect for grab and go.
Materials Needed:
felted wool sweat or fleece– if using a wool sweater, make sure it has been felted really well. When you cut the glove, the finger area will be raw and will ravel if it isn’t felted properly.
Fleece works great too. The raw edge will not ravel and you can pick from some fun prints, or make a matching scarf.
Instructions:
1) Trace hand on paper
2) Draw a line across the top {where the fingers are} where you would like the glove to end. The thumb will also need to be shortened and cut across the top.
4) Lay your fabric- right sides together. You will need to make sure the fabric is stretching from side to side. If using a felted sweater you can lay the template so the cuff of the sweater is at the bottom of the glove.
5) Pin the template on top of the layered fabric
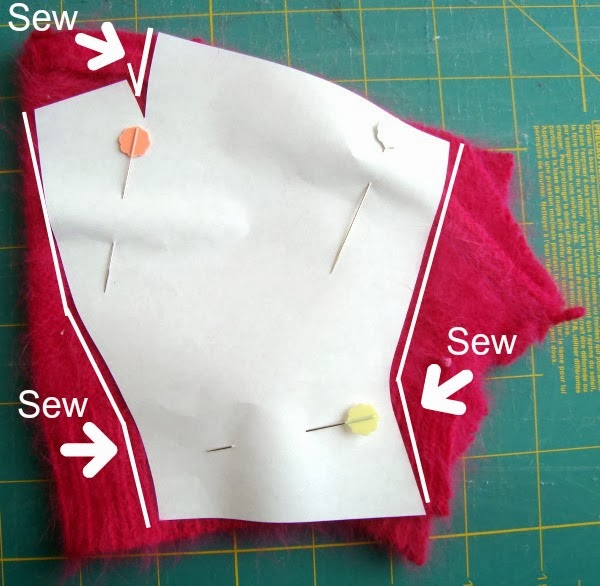
6) Sew just outside of the template–
* Stitch down both sides, and then a little V stitch in between the thumb and the finger area.
7) Cut out, turn right sides out and try on. Sew another line if you need to make it fit better.
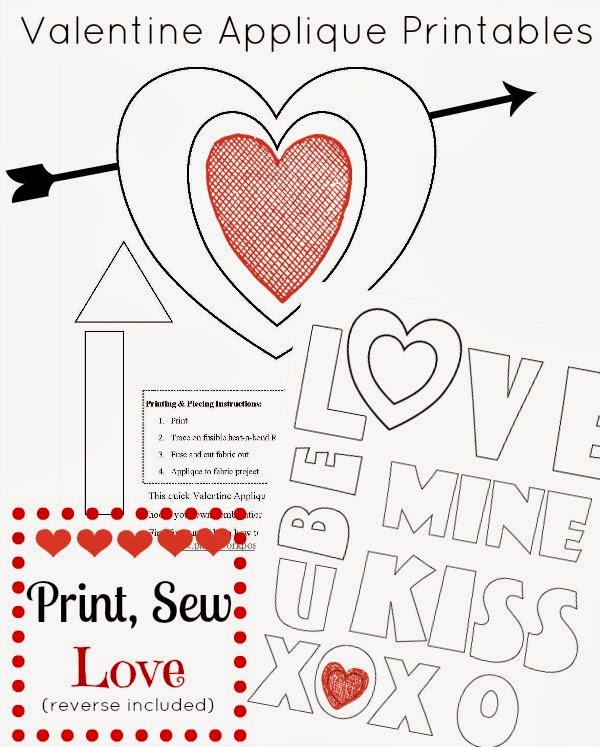
To give it a little more spunky fun…..add a few applique shapes. Cut out and stitch with a running stitch along the side. The stitches will need to be a little bigger so they will stretch with the glove when putting it on.
Each glove has one part of the arrow–


The applique is so cute!! I’ve linked to your tutorial on Craft Gossip:
https://sewing.craftgossip.com/tutorial-fingerless-gloves-from-an-old-sweater/2014/02/08/
–Anne
Thank you Becky