


Hi Sugar Bee Crafts friends! I’m Rachel, and I blog at Family Ever After. I’m so excited to share with you the advent calendar that I finally finished!!!
Mandy, thank you so much for letting me share it here on your amazing blog!

Well, its December 2, and my Advent is finally finished!!!
Good thing I still have most of the month to put it to good use!
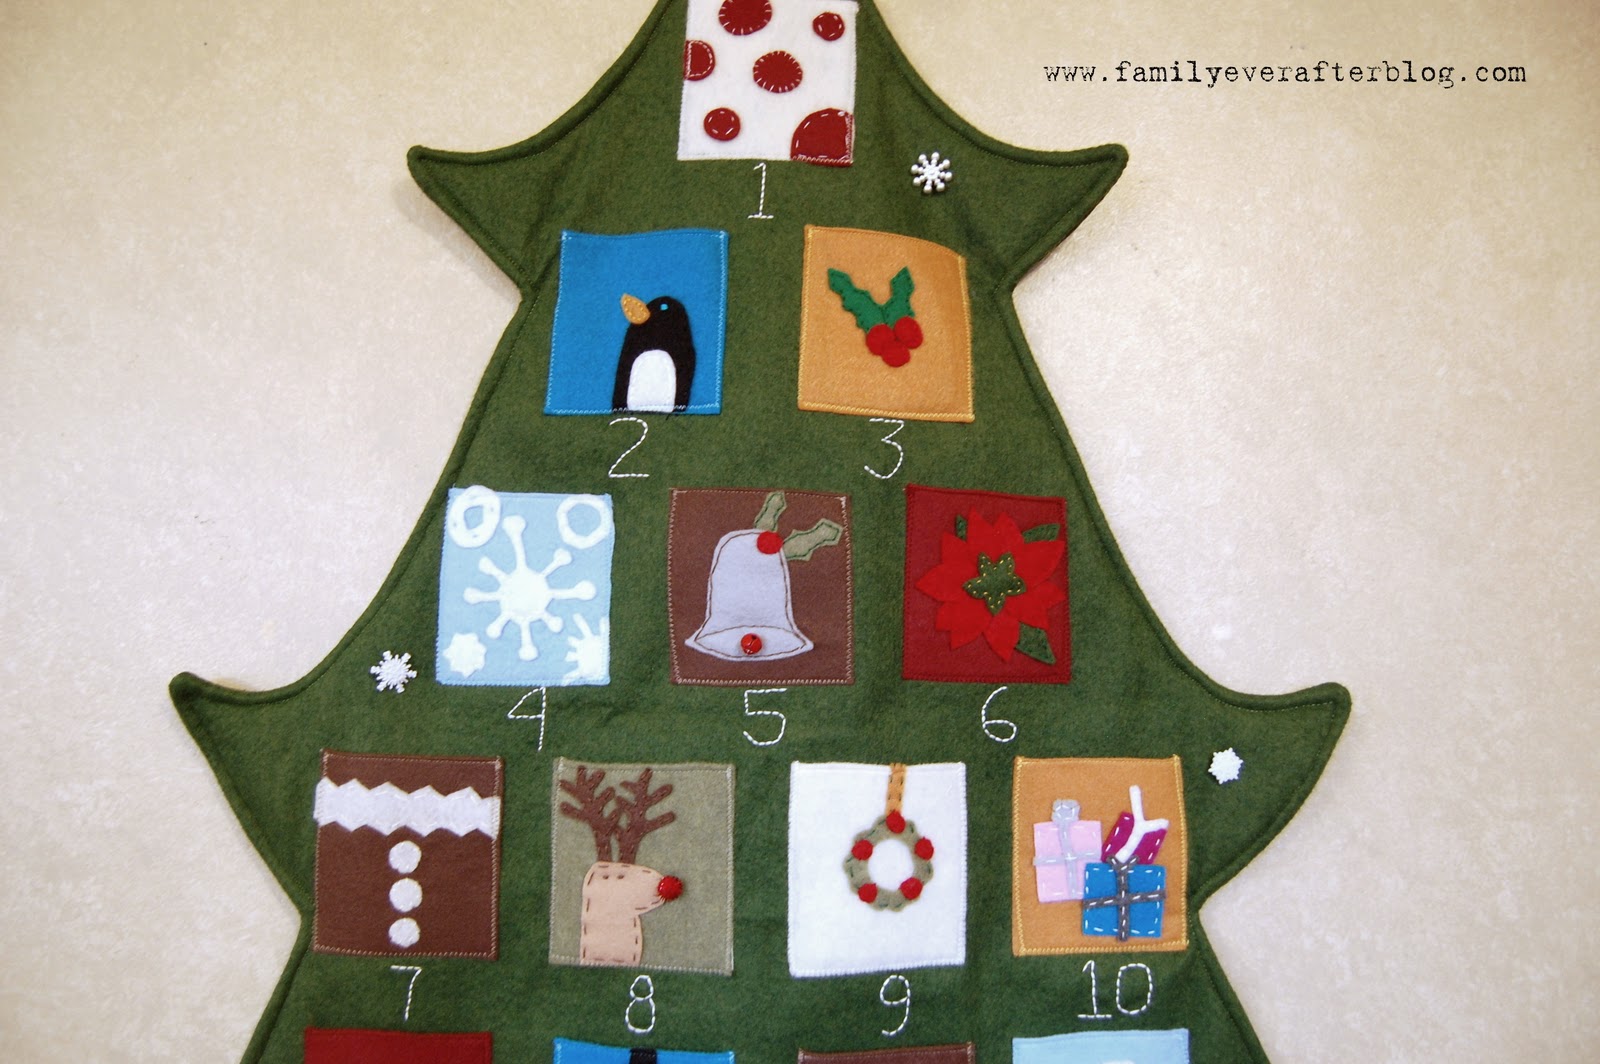
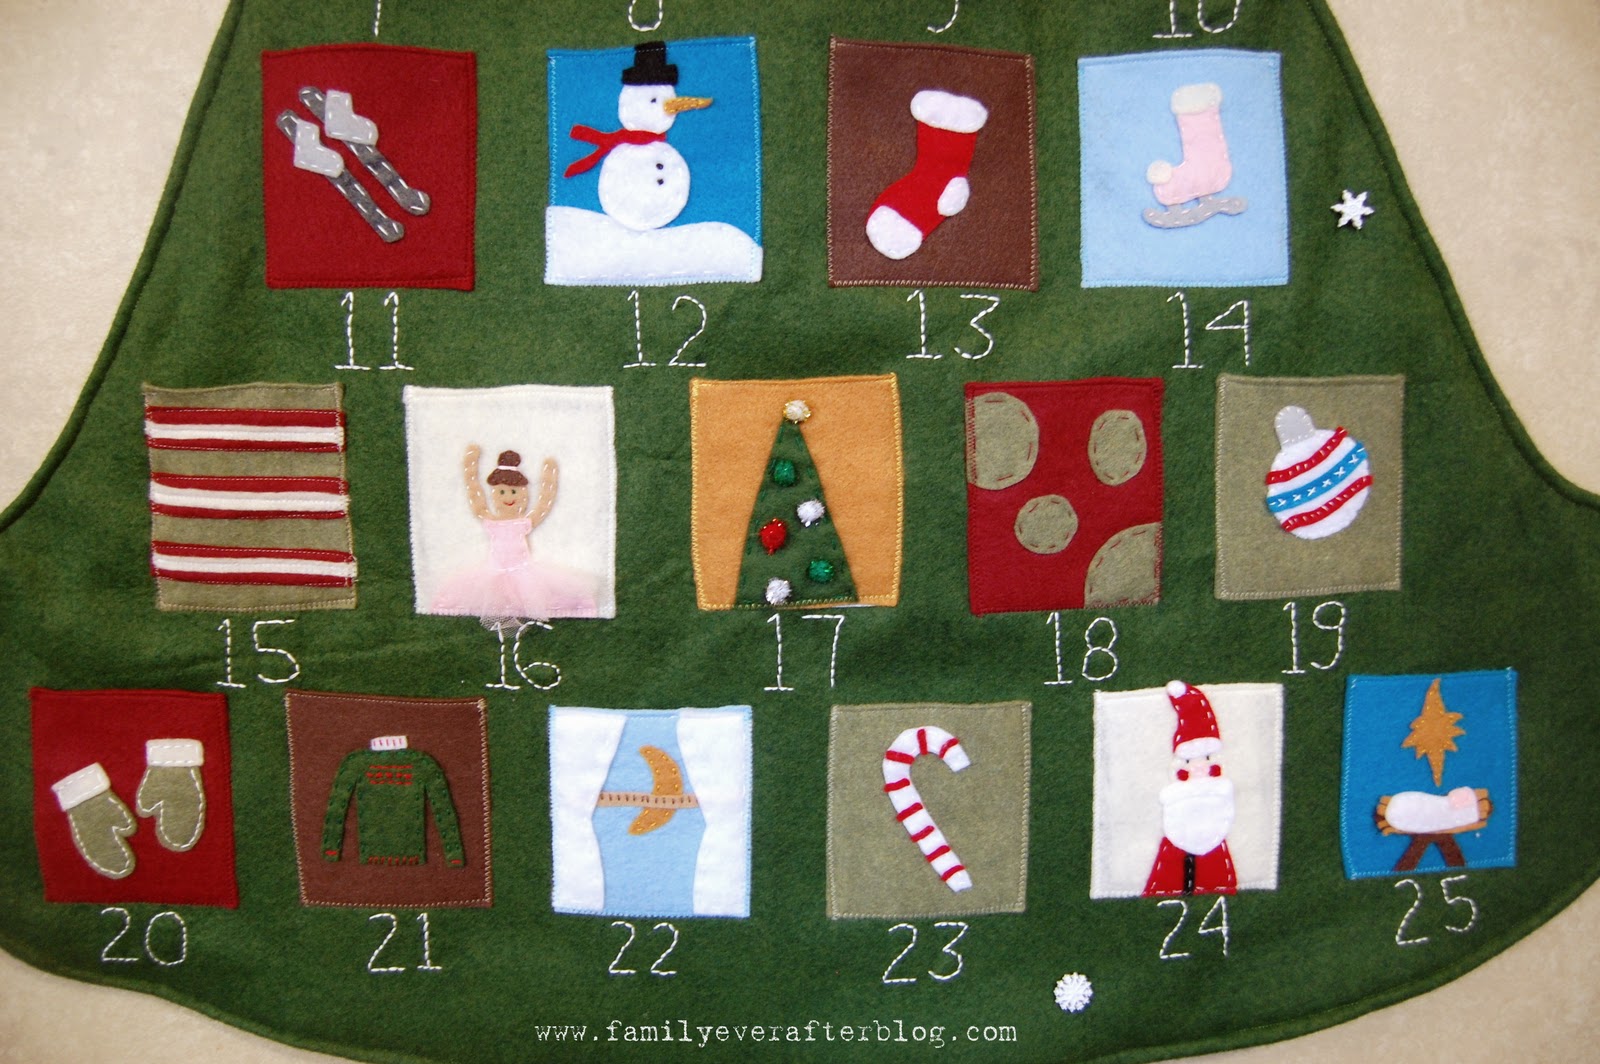
Here it is………..

I have been doing a Sew Along on my blog with tutorials for this project. They can be found here:
Before I get on to Part 5 of my tutorial, let me share with you a few thoughts….
Here is my inspiration. This beautiful calendar was sold at Pottery Barn a few years ago. They don’t sell it anymore, which is why I decided to make it. However, I found a few on eBay, but the price was $70. Pottery Barn’s price was even more. Originally, I thought this price was outrageous. It cost me roughly $20 to make this. But in all honesty, now I understand the high price. Why? Because it took me nearly 30 hours to make this!!! If I had known it would take me so long, there is no WAY I would have made it! I think I could have been just as satisfied with a store-bought calendar on 50% off, or a much easier homemade idea. Of course now I’m so excited to have it, and to use with with my family for years to come. I’m just glad its done!!!

So now that you’ve been warned, here is the rest of the tutorial!
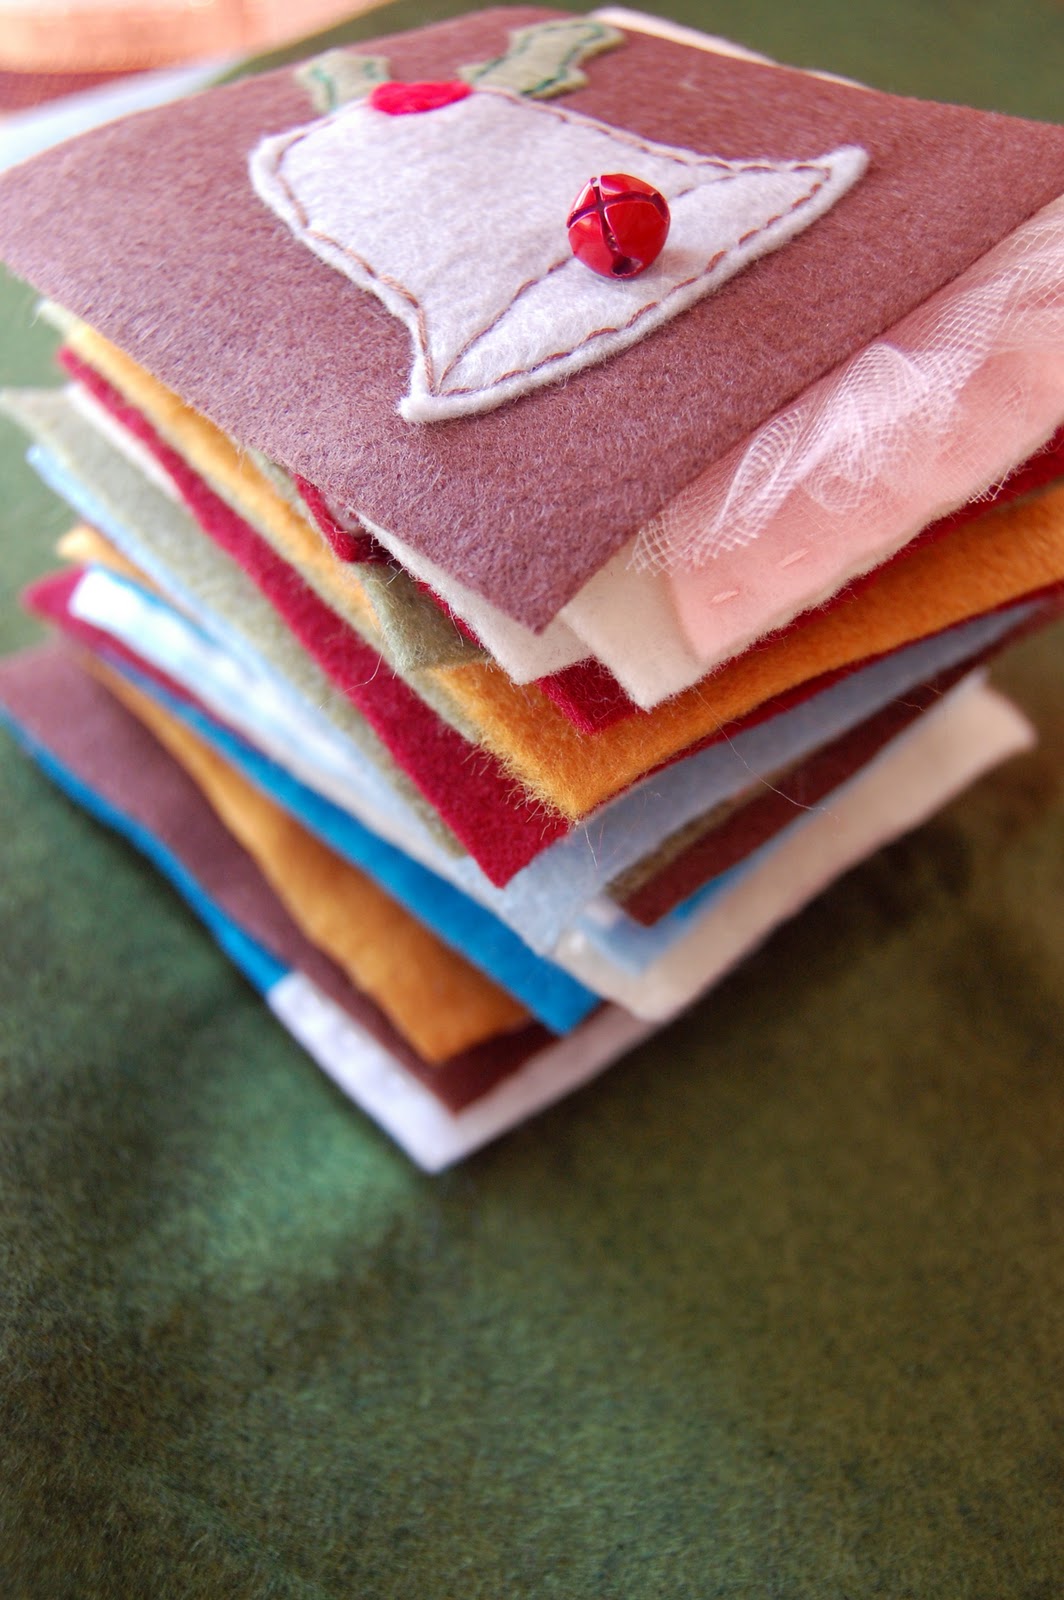
1. After all the squares are embroidered, iron interfacing to be back to protect your stitching.
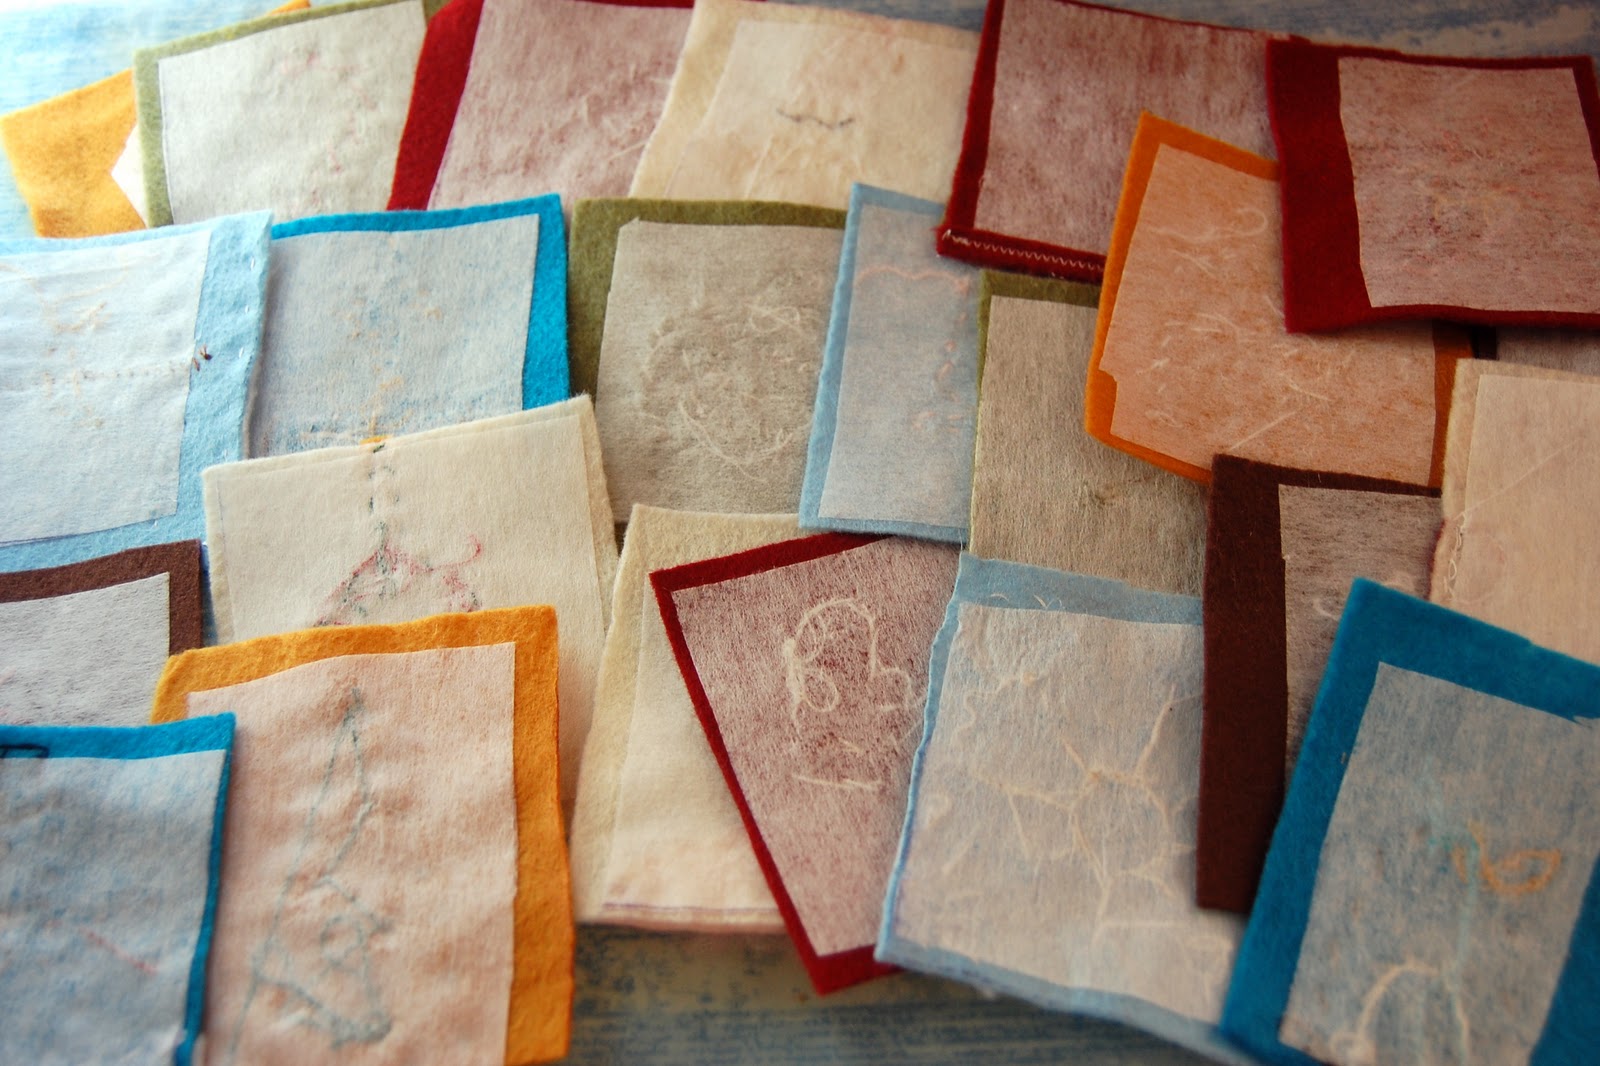
Here’s my stack!
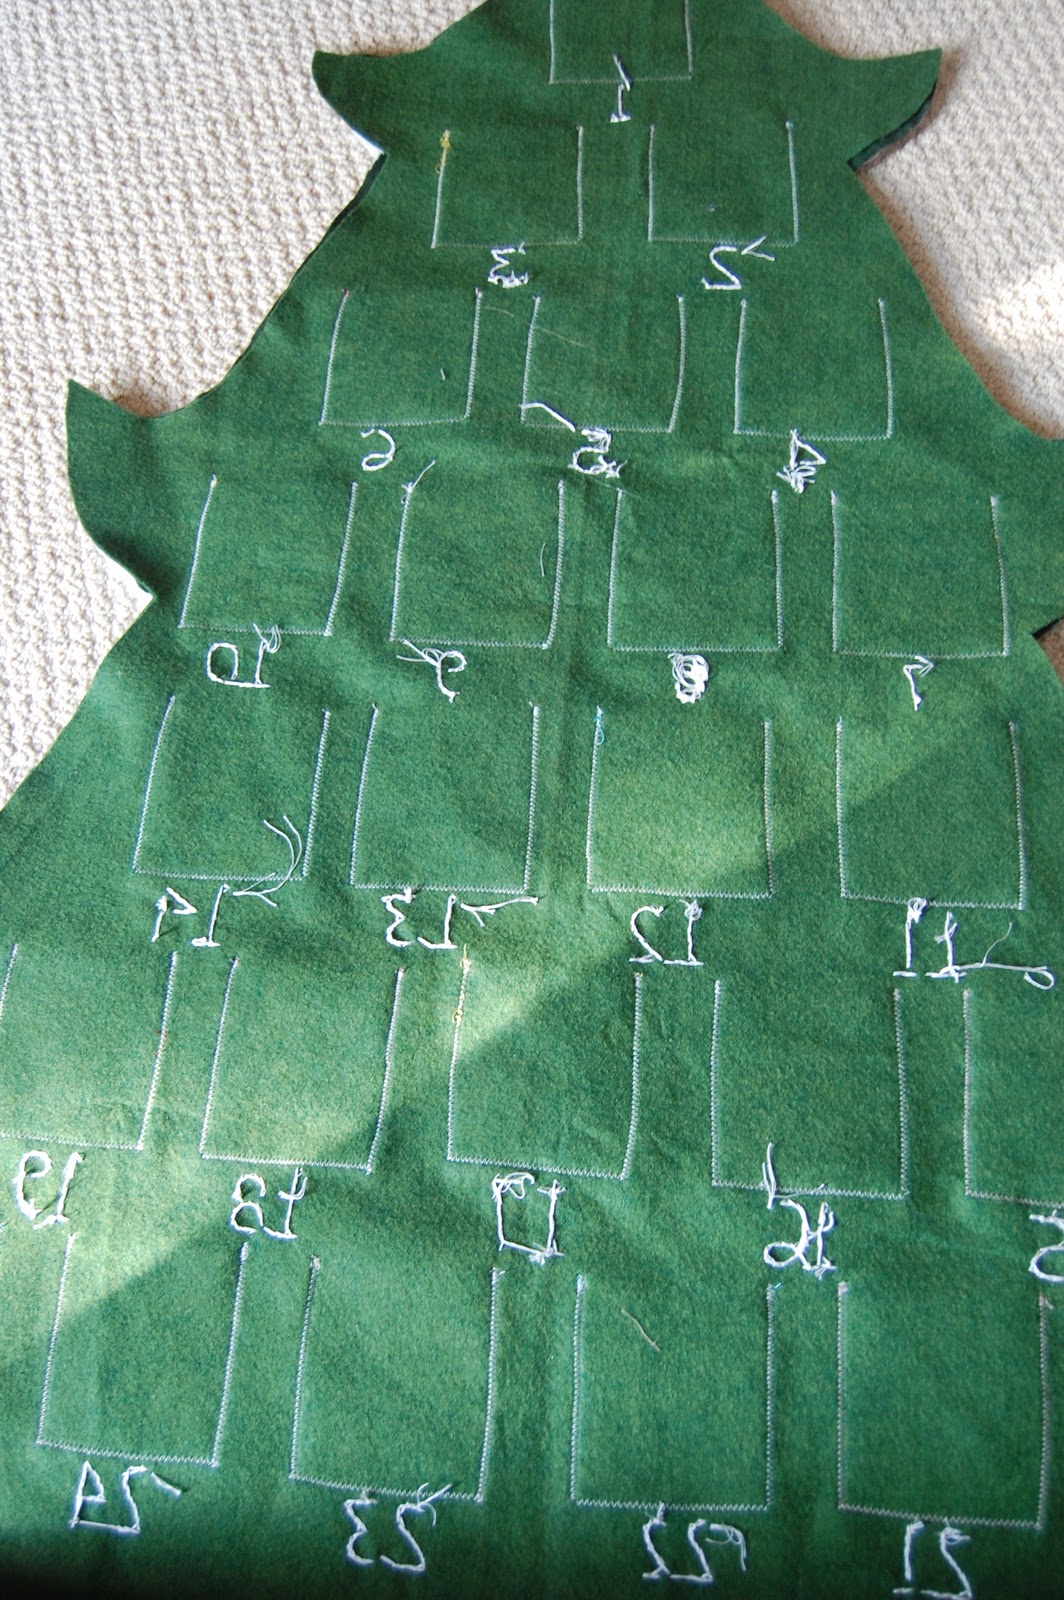
3. Arrange the squares on your tree. Then pin those puppies so they stay put. This is a big job! I zig zag stitched mine, but if you’re feeling ambitious, you could hand sew them all. (Pretend the numbers aren’t here yet).
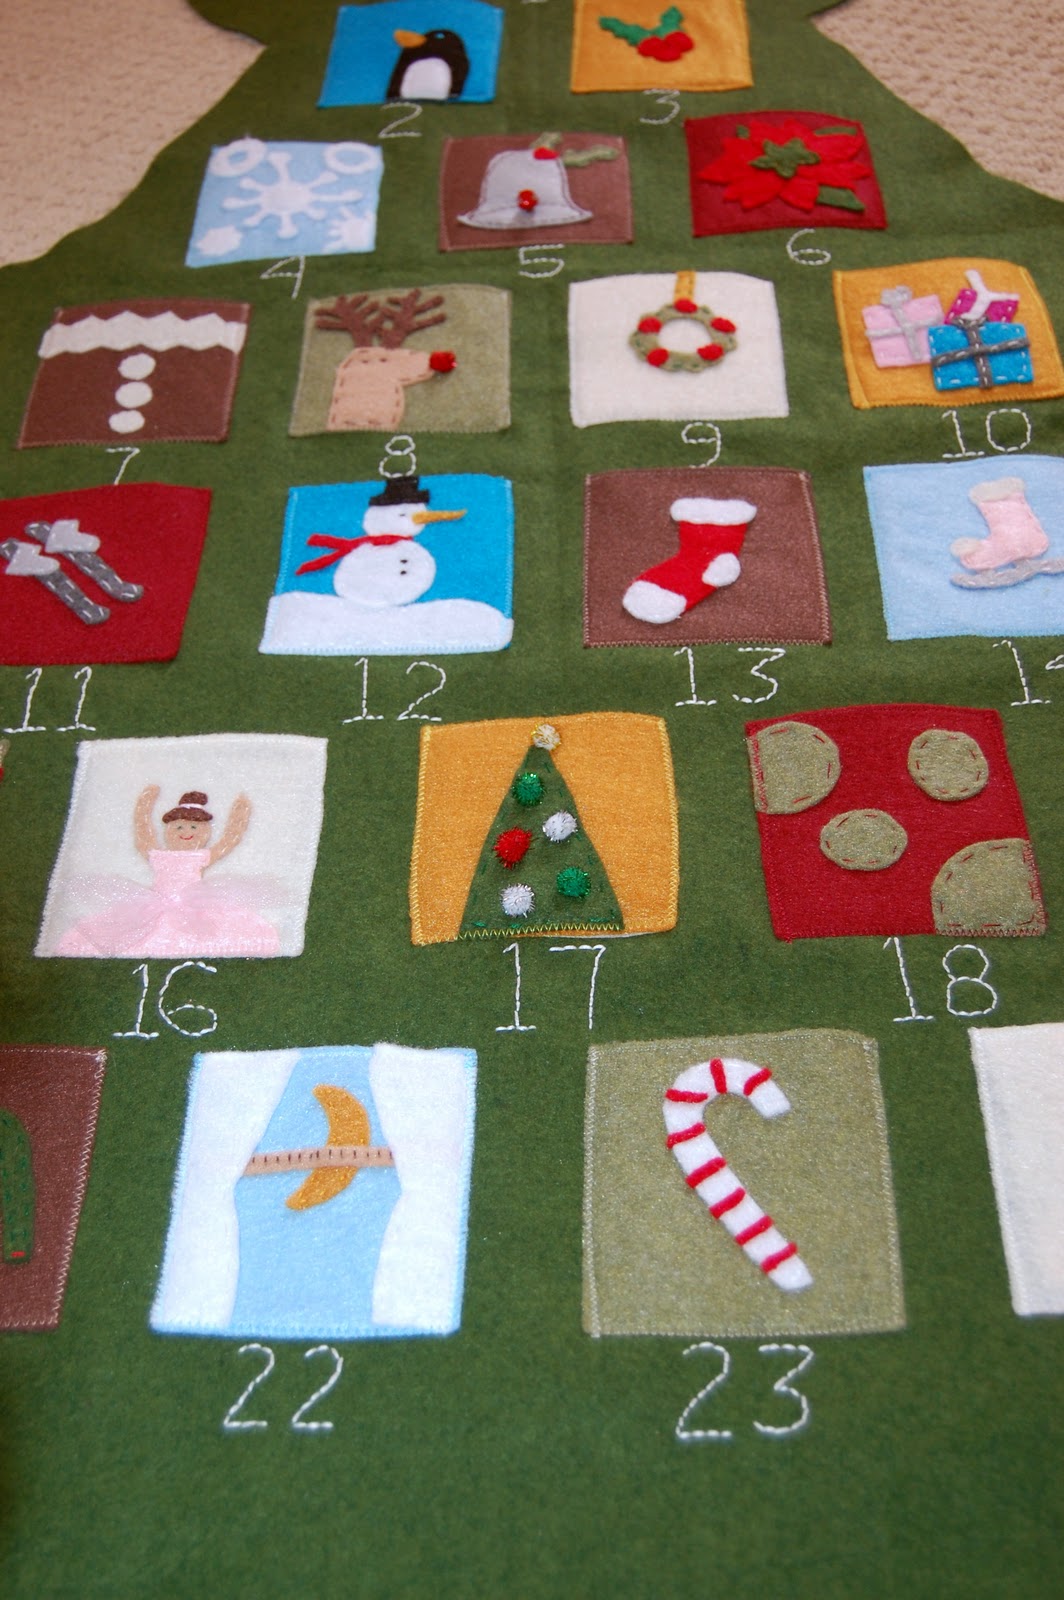
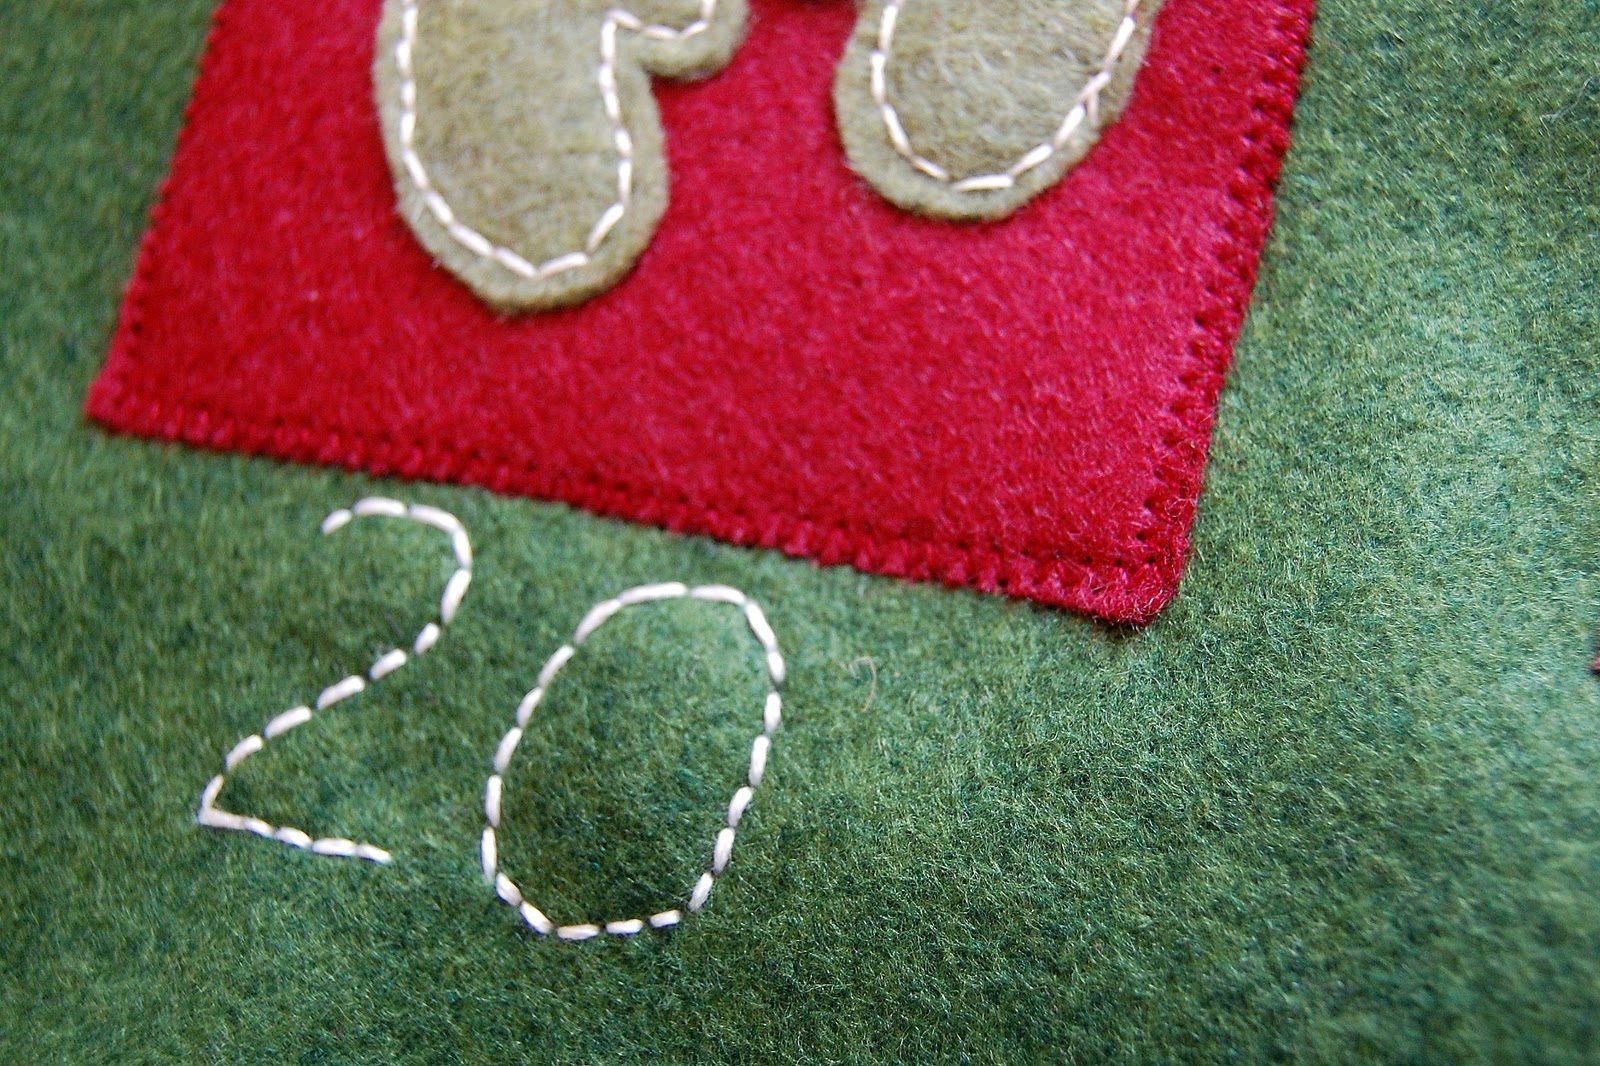
3. Now its time to add the numbers. There are several ways this can be done. I embroidered mine by back-stitching. I didn’t do a perfect job (i.e. some look like a 3rd grader could have done them, haha).
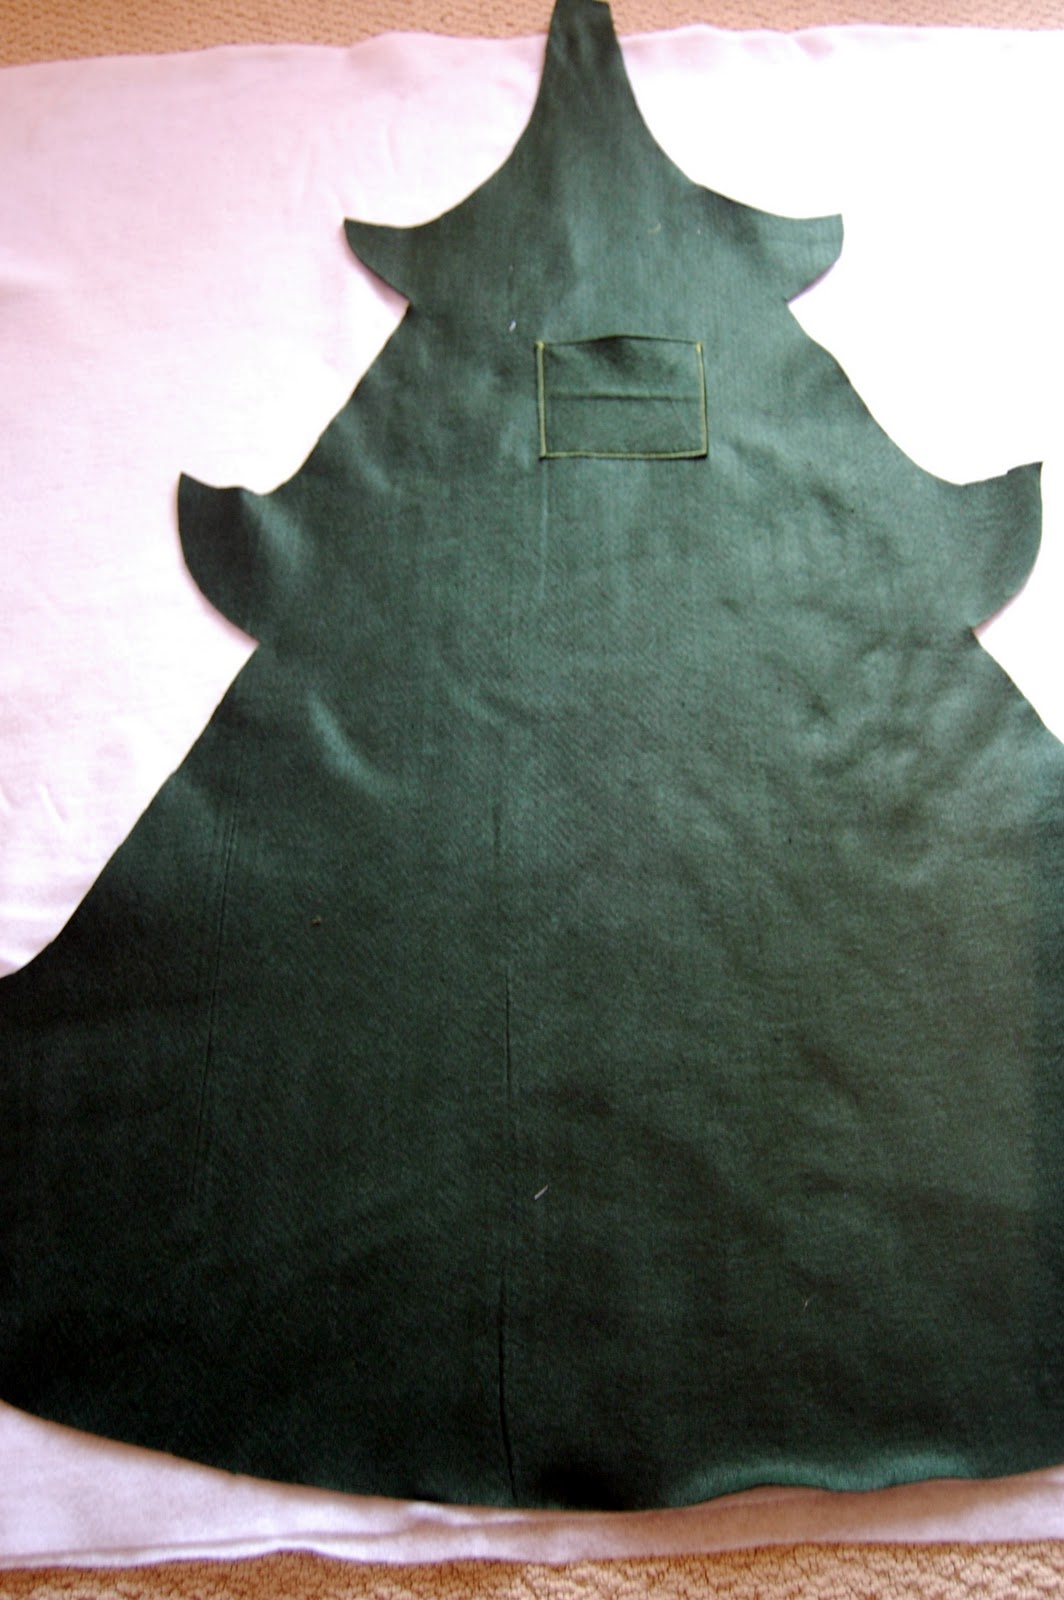
4. Time for the back layer. (It’s a different color- this felt was cheaper. It won’t matter at all).
First, I added a pocket to mine. This way I can store the pieces of paper that have our activities written on them. Next, I cut out my batting, using the back layer as my pattern. I used Christmas tree “snow” as my batting.
Here’s how it looks.
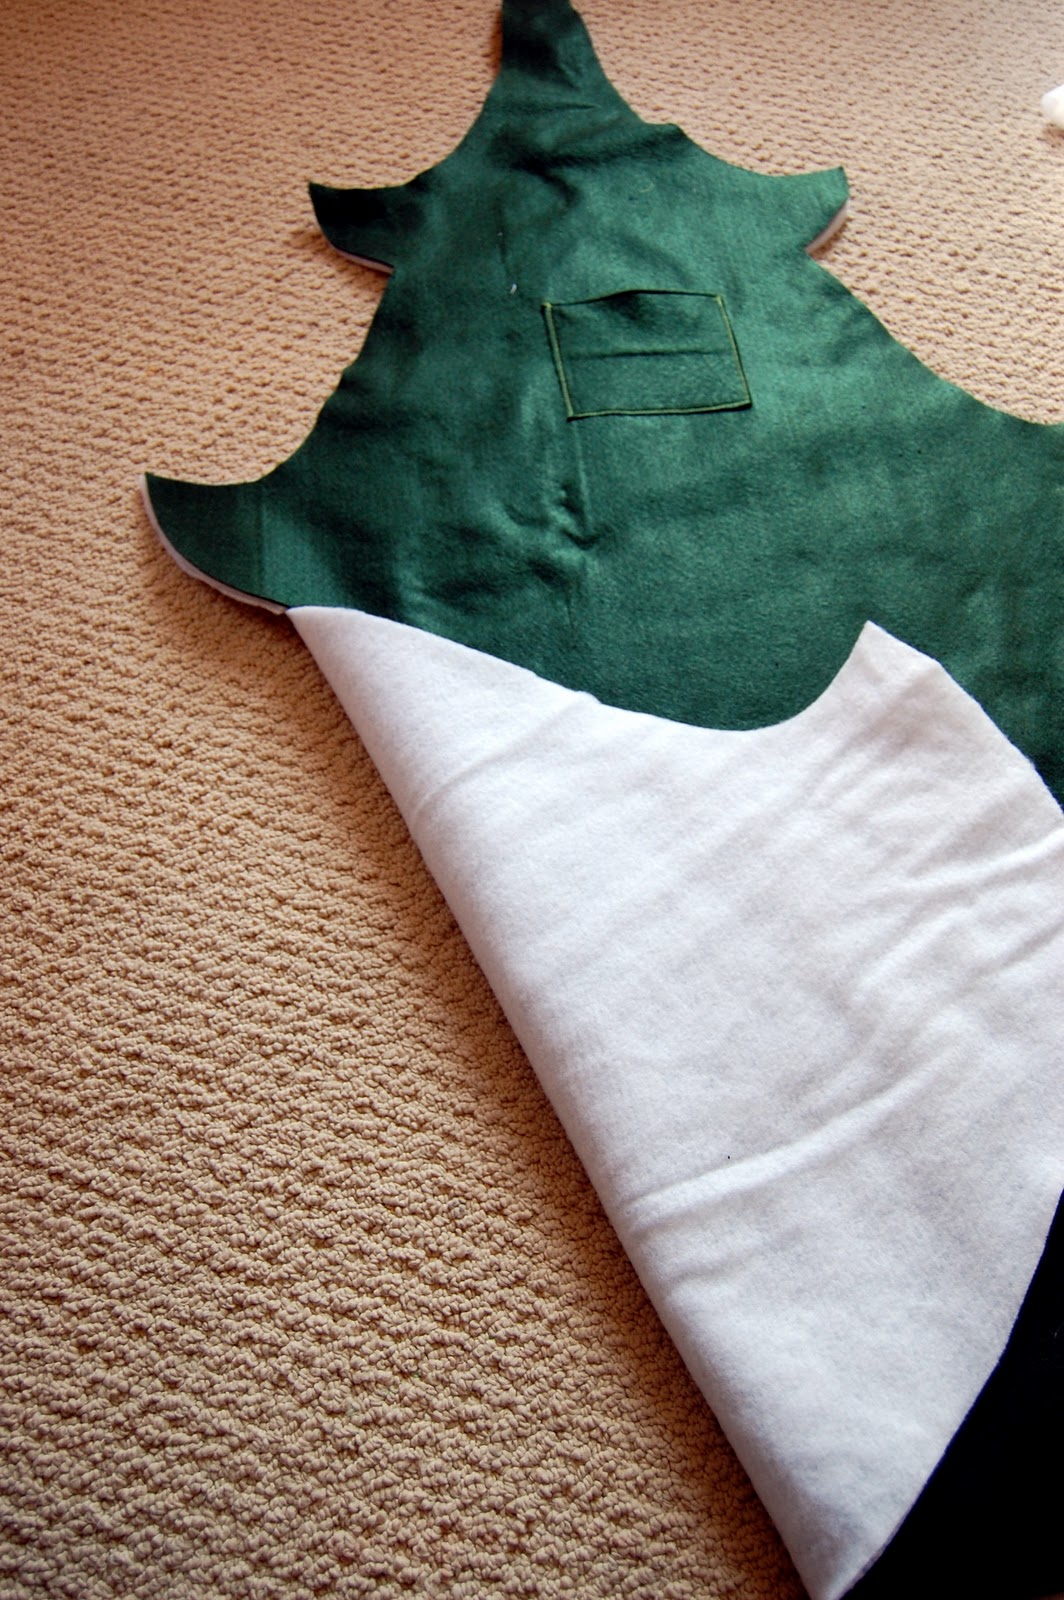
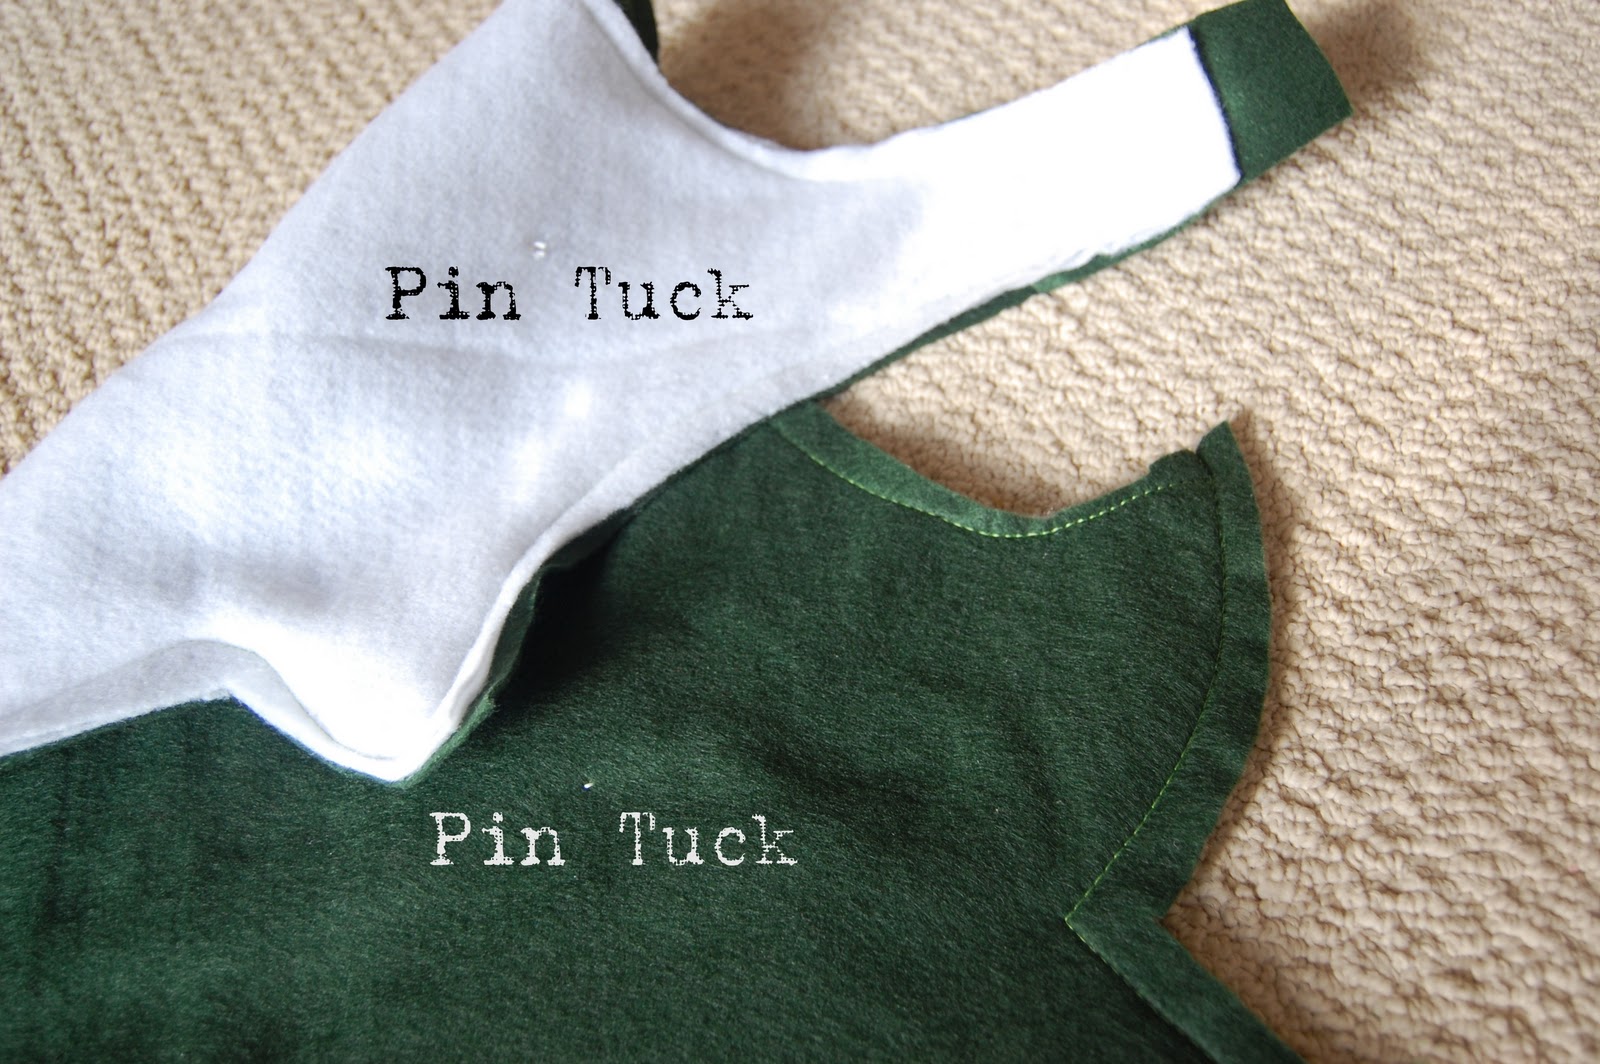
5. Now attach the batting to the back of the back layer. I did little pin tucks in a few places, then basted the edges together with my sewing machine.
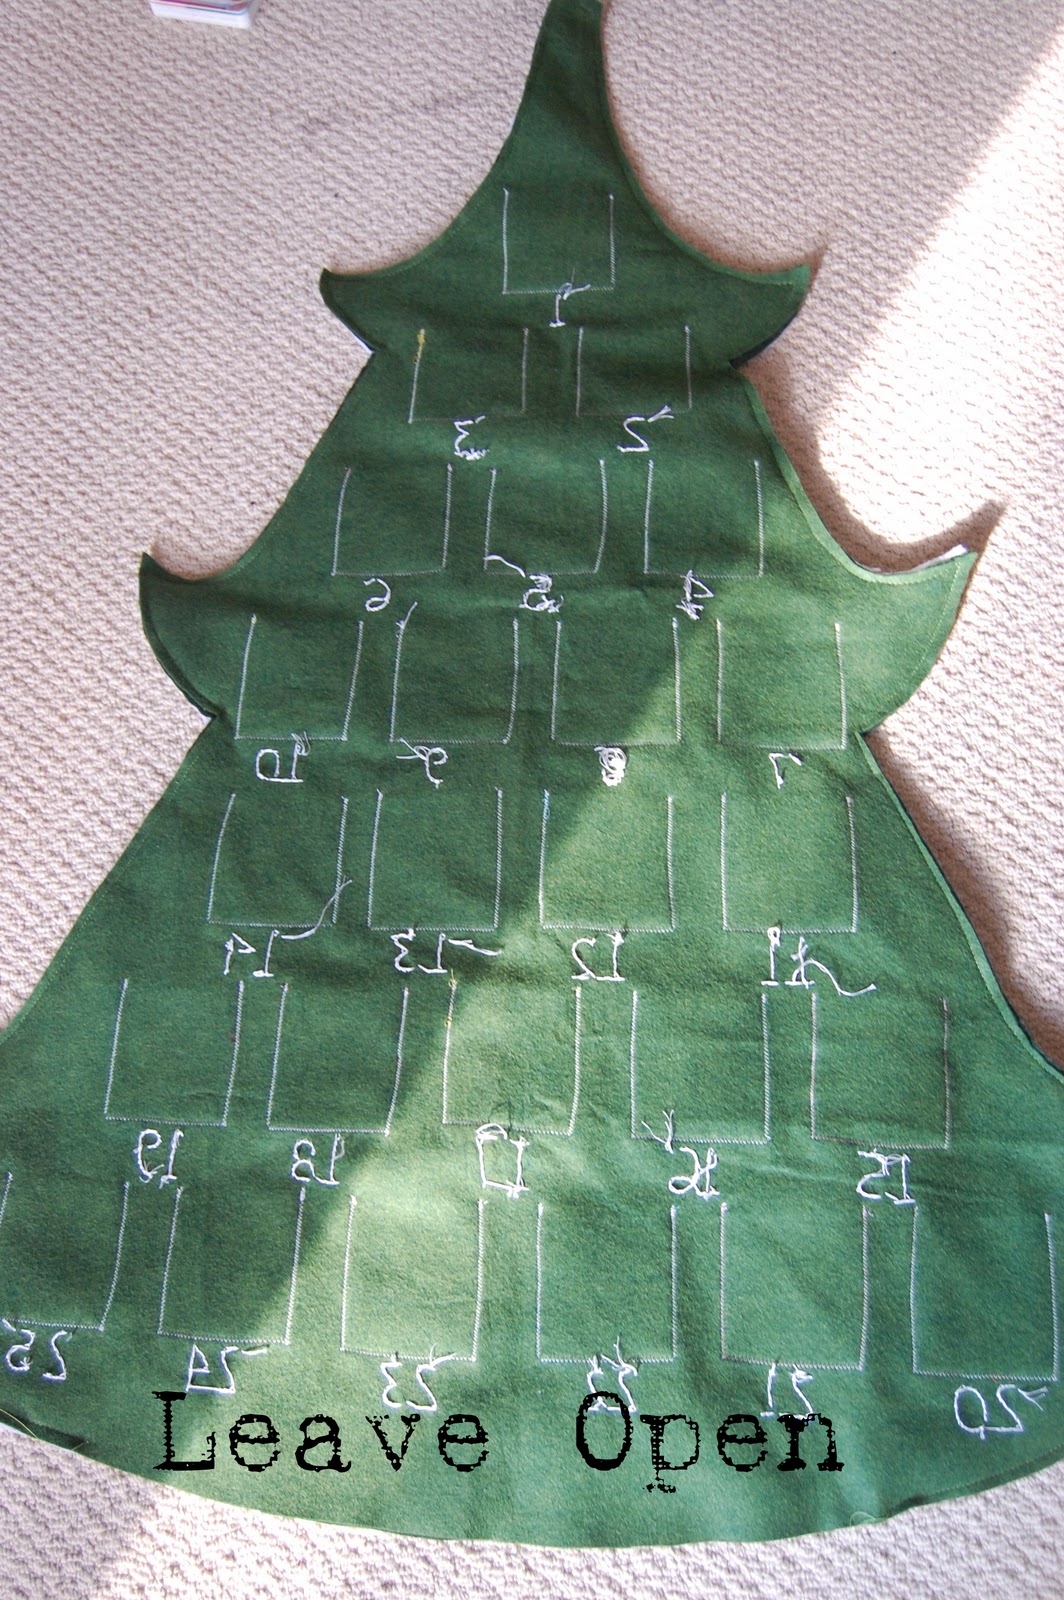
6. Now, for the nerve-racking job. Place right sides together, and stitch around the tree. I followed the edge of my presser foot. Make sure to leave a large opening at the bottom so you can turn it right side out!
We’re sewing 3 layers together- front, back, and batting.
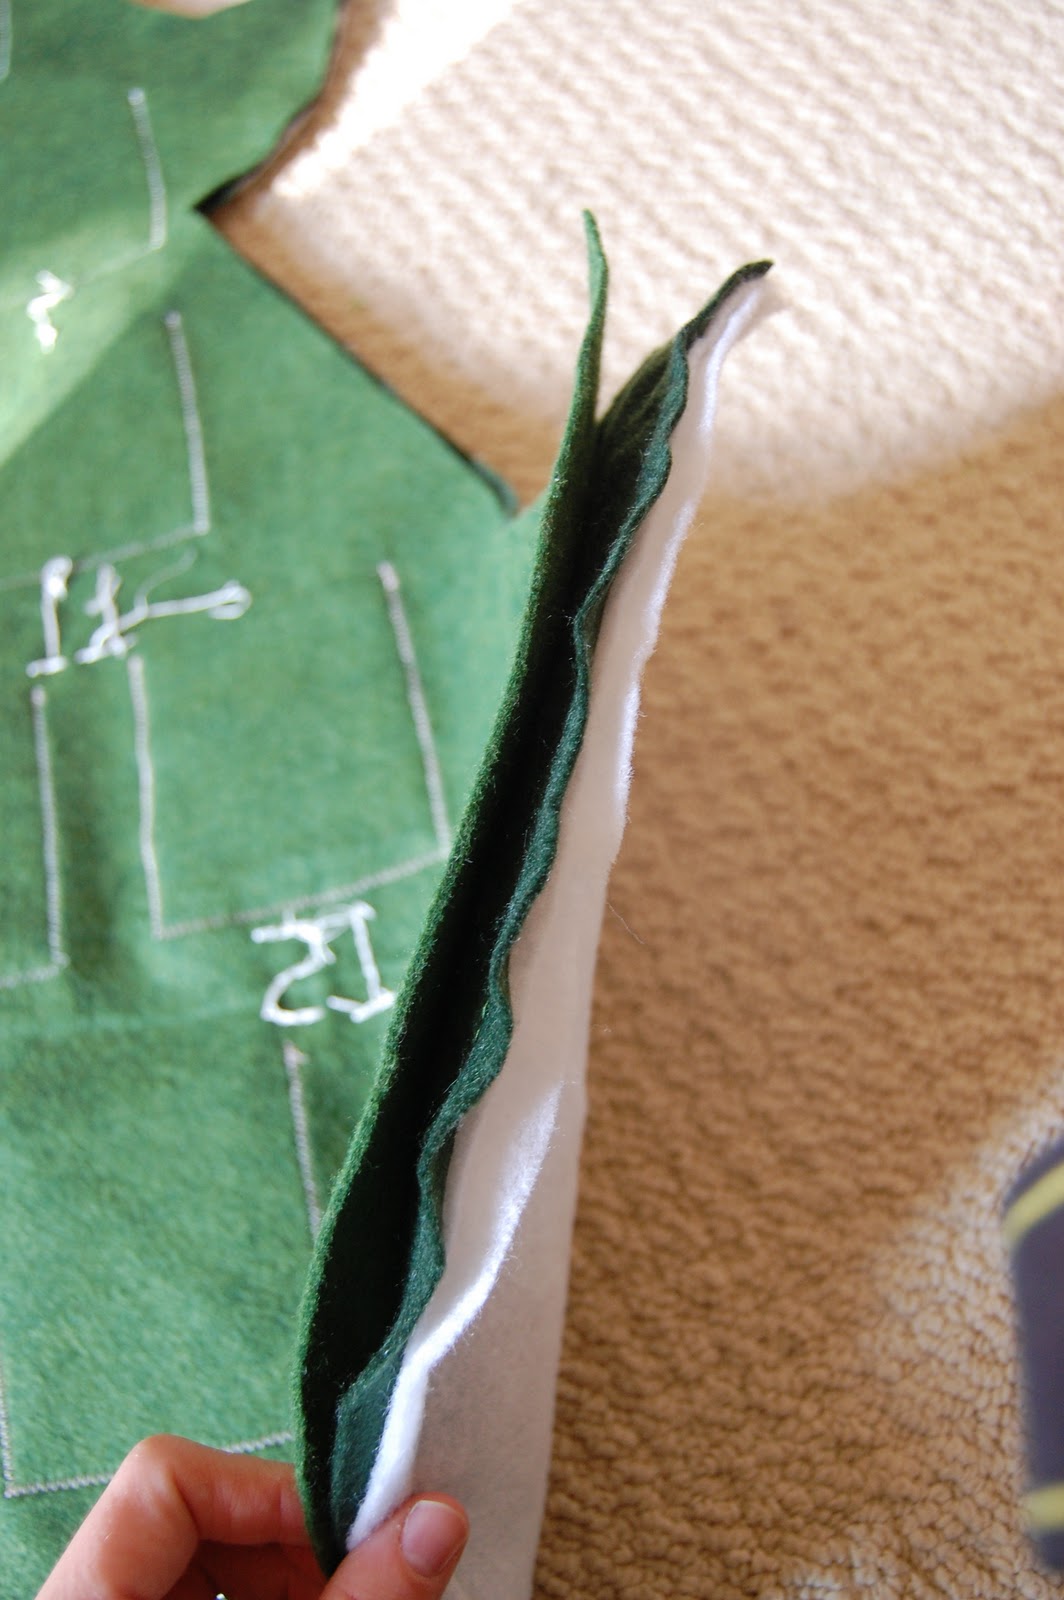
7. Now my sewing is done. Make sure you left a large opening! Clip your edges of the swirly parts of the tree, and turn right side out.
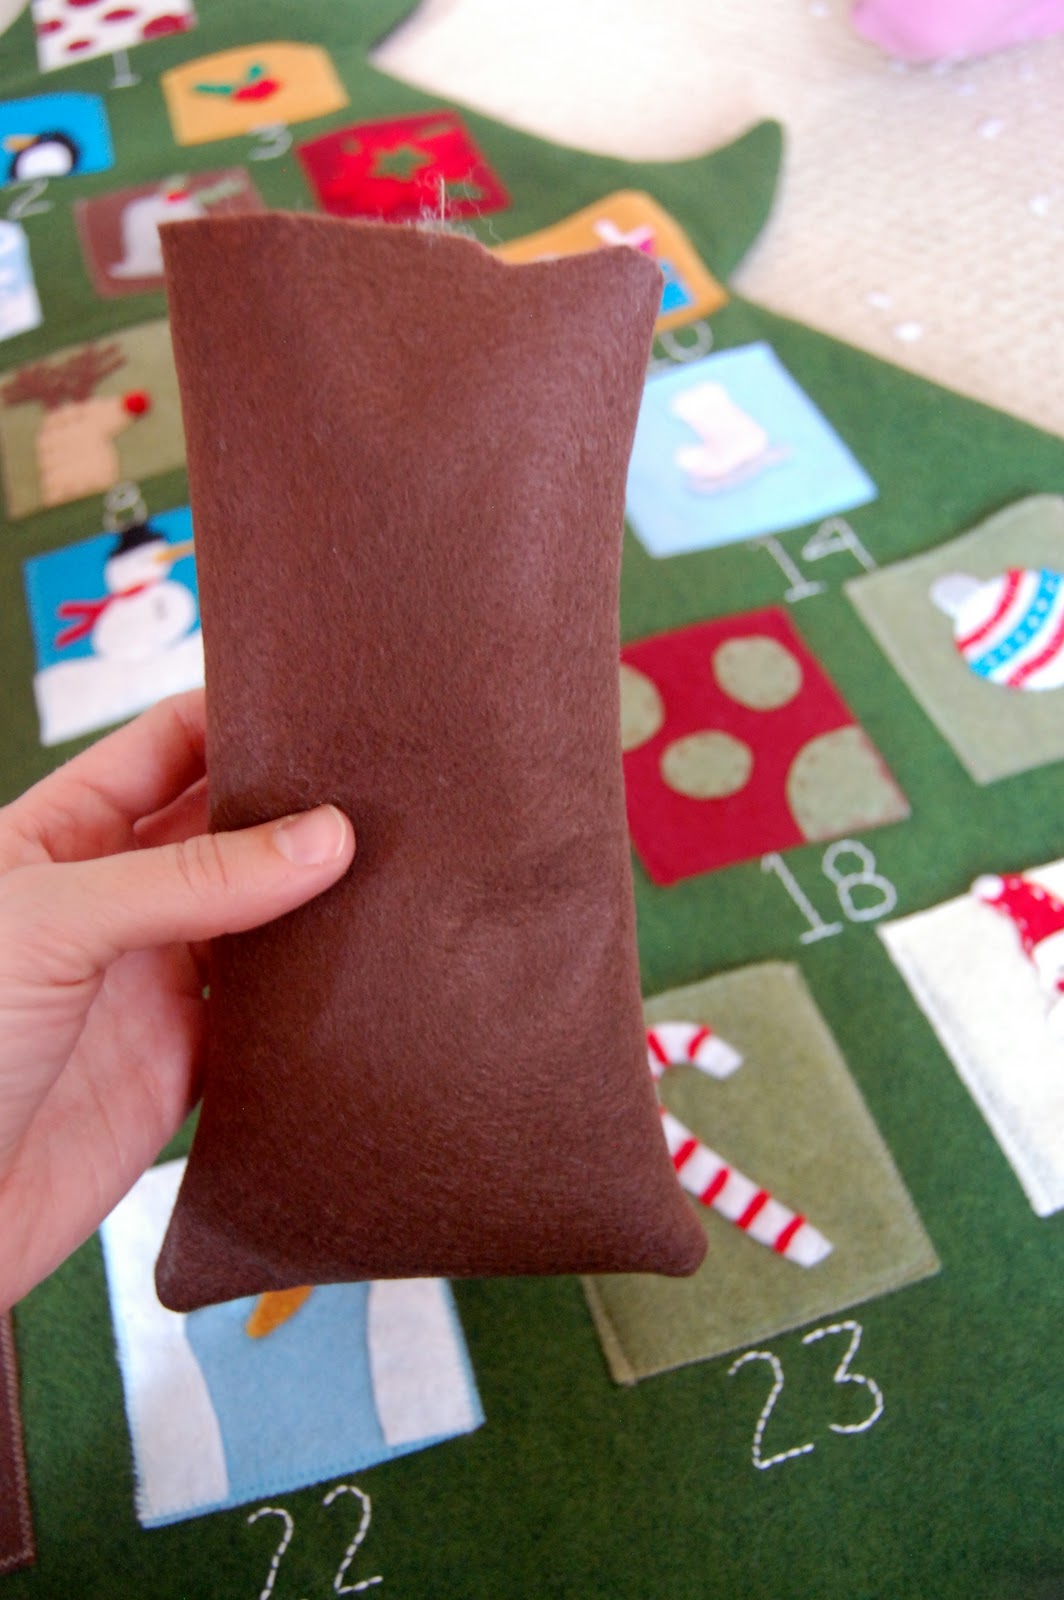
8. Make you start and tree stump. I sewed mine together, turned them right side out, stuffed with cotton, then top stitched.
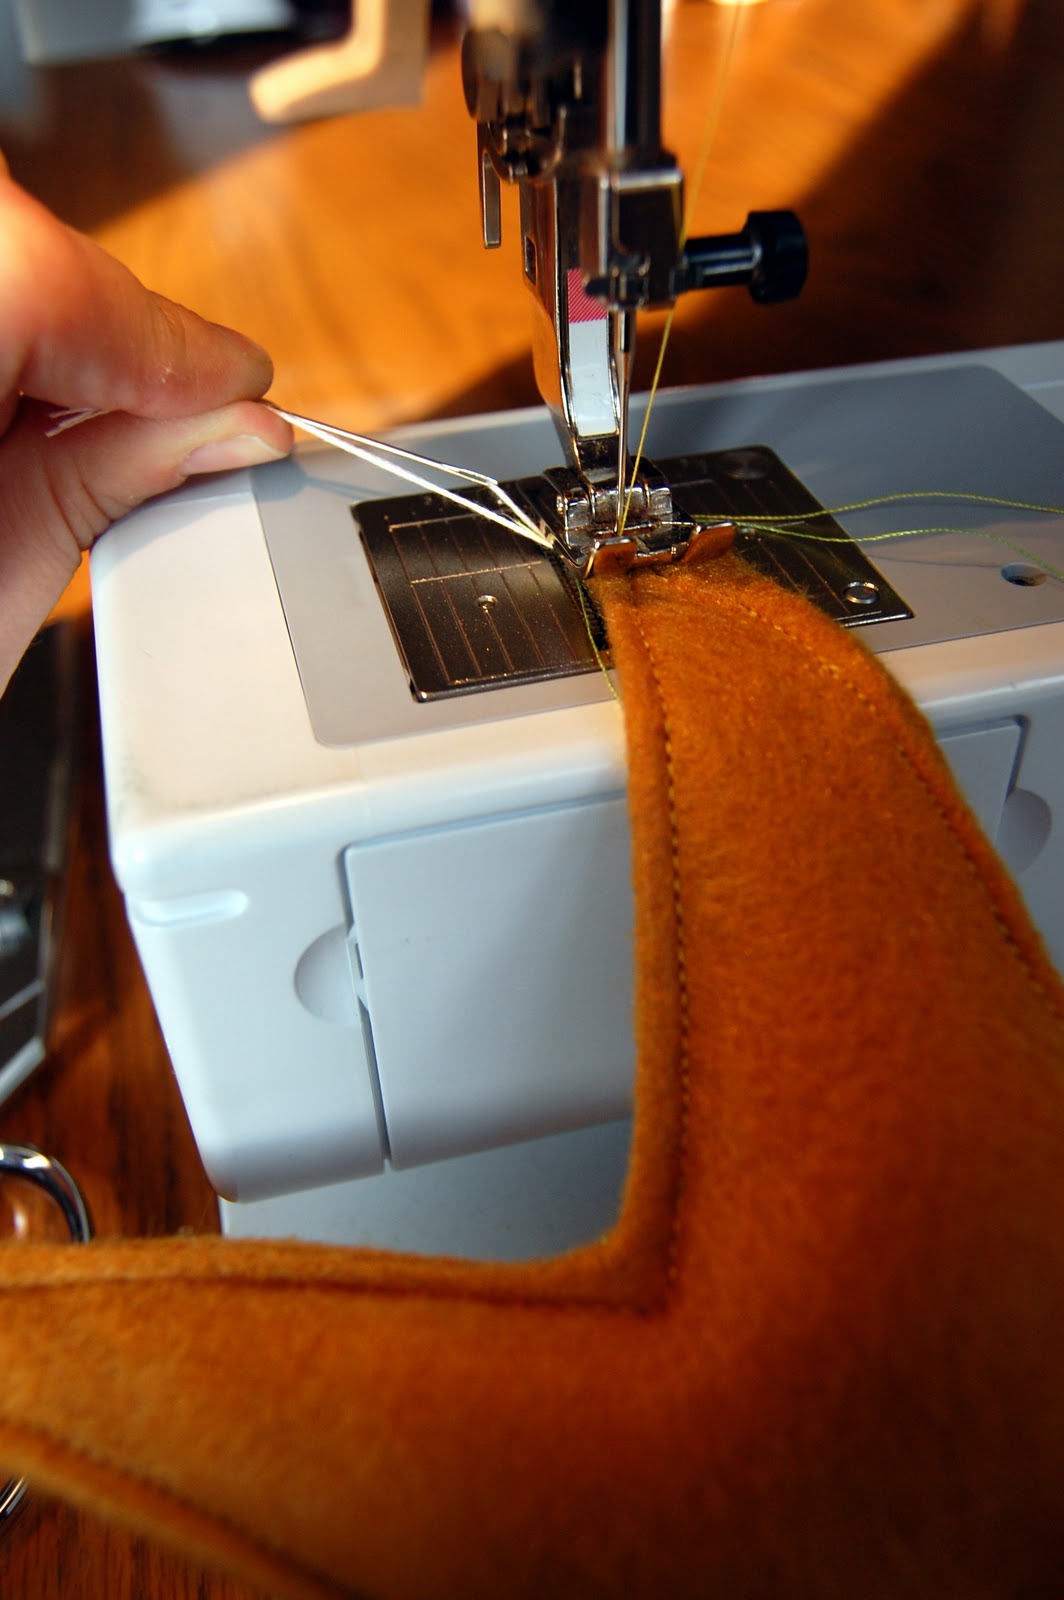
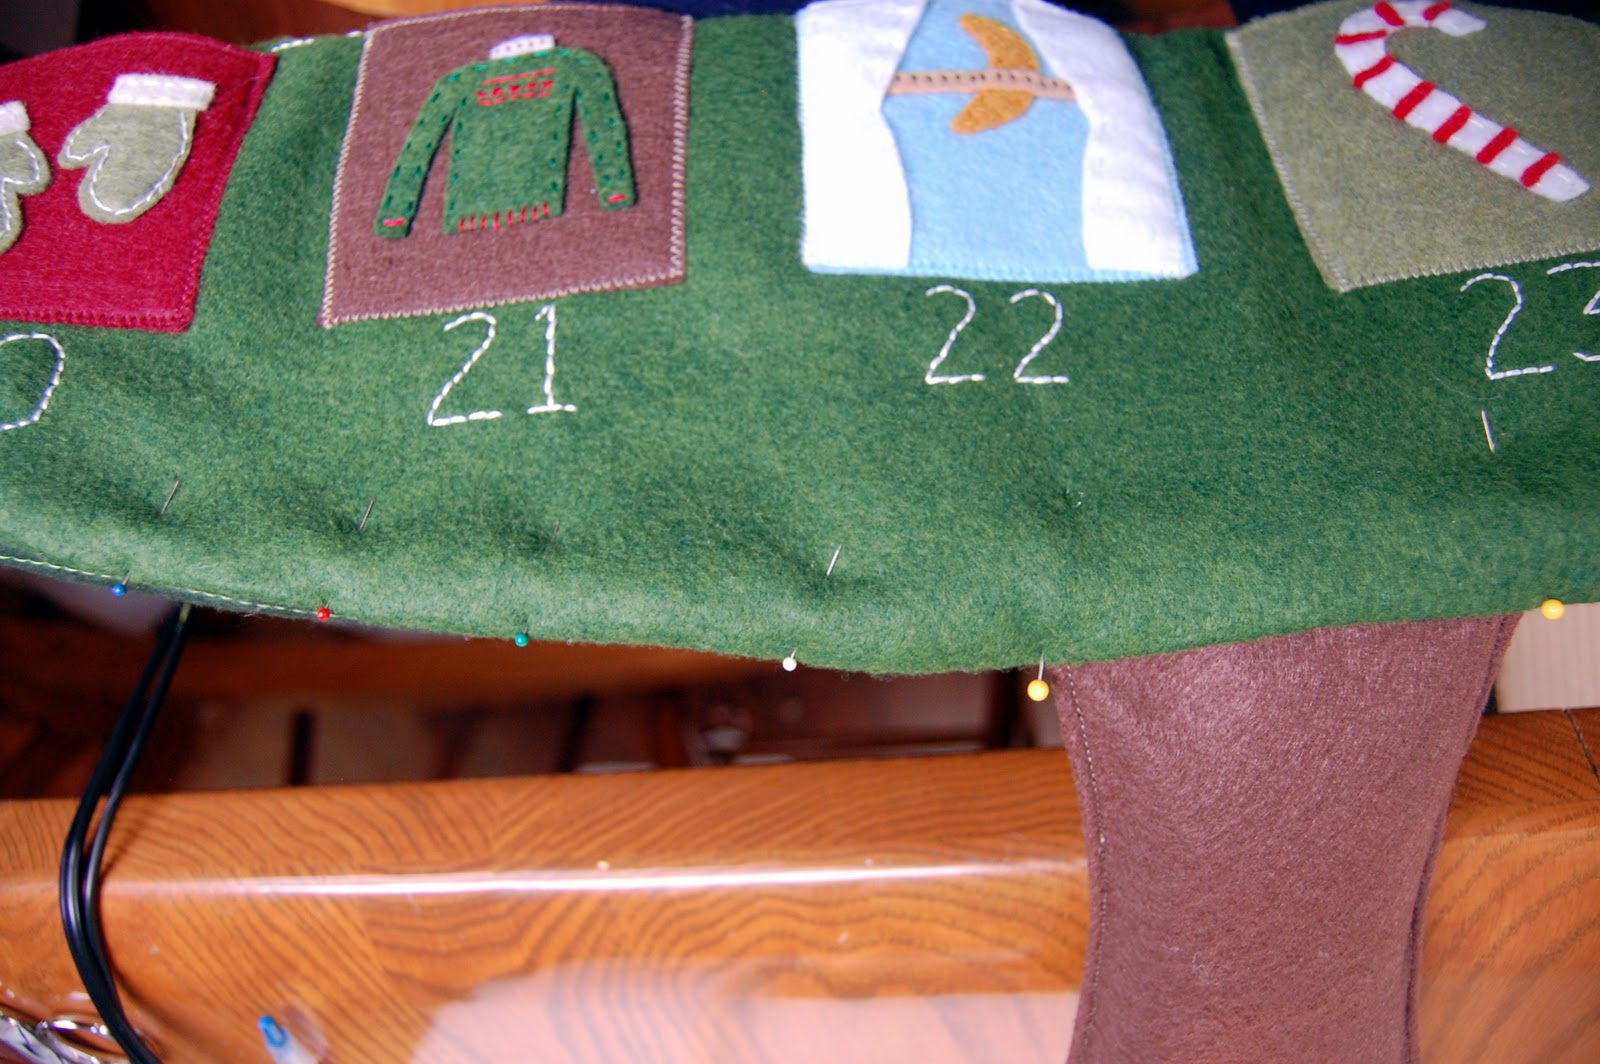
9. Now we need to top stitch around the entire tree, while adding the tree stump, and closing up the bottom. Pin the bottom opening together, and layer the stump in there.
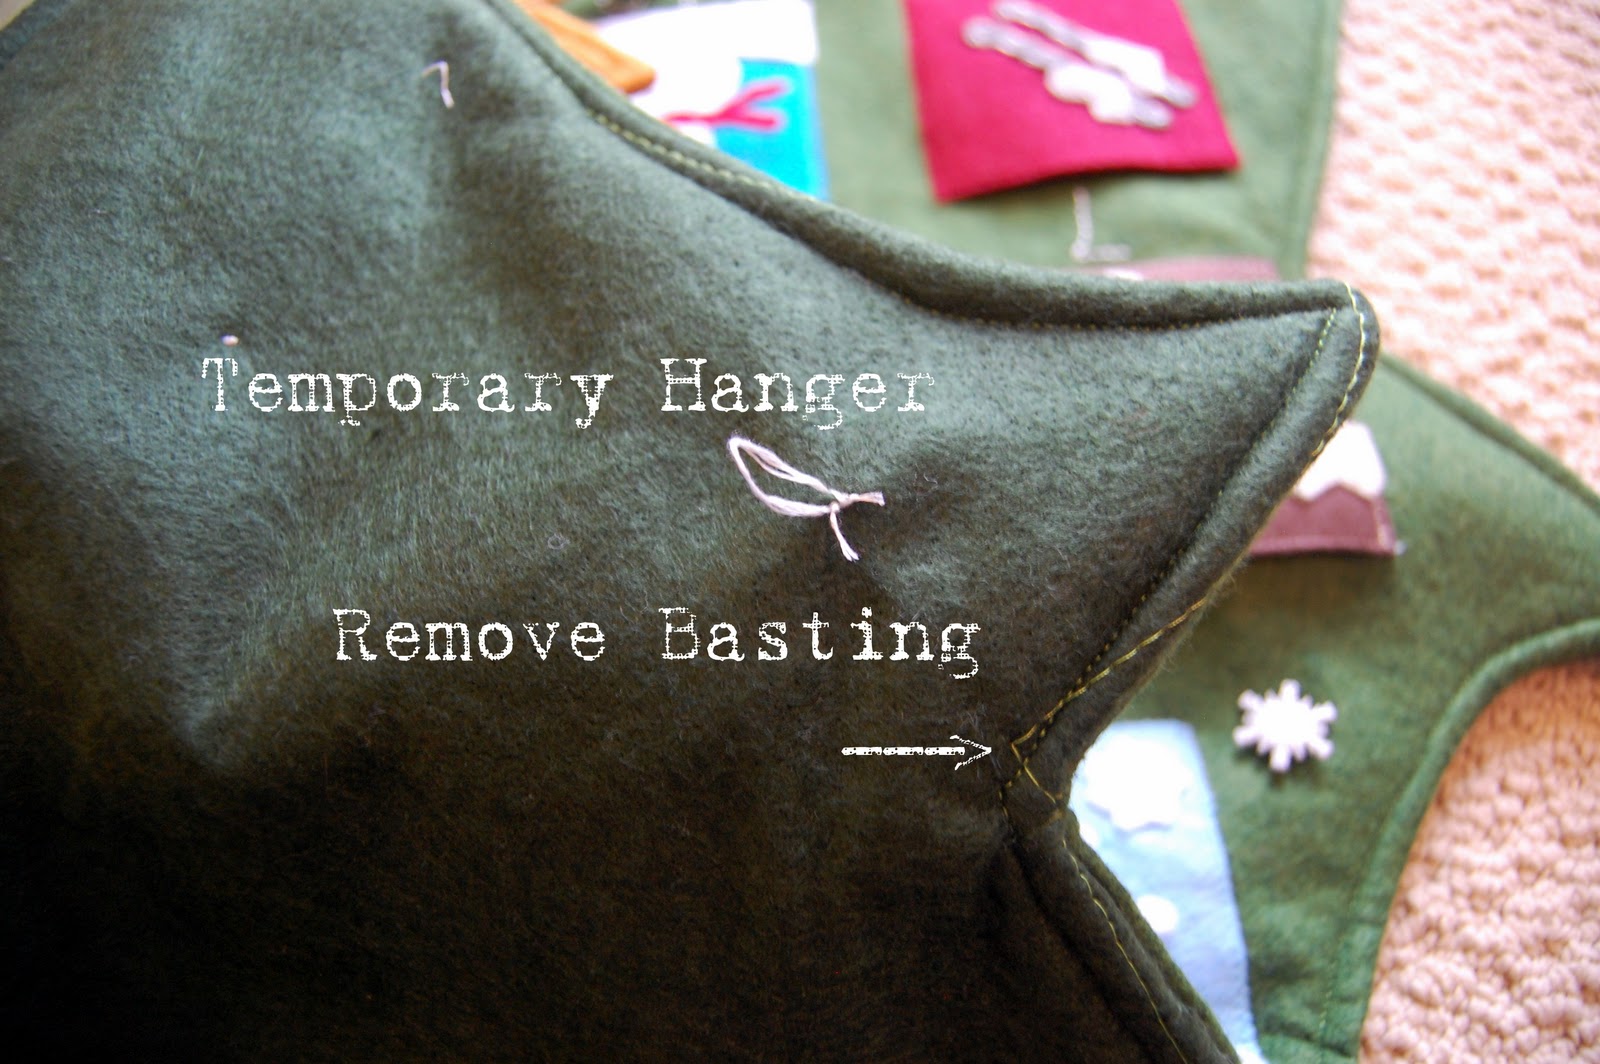
10. Final touches: Remove your basting stitches. Figure out a way to hang it… I can’t find my D-rings, so for now, I just hand-sewed a temporary hanger. Then, sew some cute snowflake buttons through all 3 layers (this will help keep things in place).
Holy Moly, it’s done!!!!!!!!!!!

It’s 56 inches tall, bigger than my 5 year old daughter!

So here are a few ideas of what activities we’ll be doing this December:
(I don’t plan to do any of these in order, we might just pick the activity the morning that we do it).
1. City Christmas Tree lighting ceremony
2. Set up Christmas decorations
3. Write letters to Santa
4. Christmas cards
5. Christmas Shopping
6. Make a holiday craft
7. Visit Santa
8. Attend a Christmas concert, play, recital, etc.
9. Attend a Christmas concert, play, recital, etc.
10. Ugly Sweater Party at our house
11.Church Christmas party
12. Service: Spread Holiday Cheer
13. Read Christmas books
14. Wrap presents
15. Make gifts for teachers
16. Family Movie Night with treats
17. Decorate Gingerbread houses
18. Play in the snow
19. Hot cocoa and look at Christmas lights drive
20. Make Christmas goodies
21. Take gifts to neighbors
22.Christmas Caroling
23. Service: Spread Holiday Cheer
24. Act out nativity scene, special Christmas presentation and dinner
25. Write thank you notes, special breakfast and dinner
I would love for you to stop by my blog anytime!!!
Merry Christmas everyone!

Thanks for checking out this post from www.SugarBeeCrafts.com – – click on over to read it in its entirety – you’ll love it!
This is really cute! I think I’ll try and make one for next year. Thanks for the tutorial!
Super cute!! Great job mama, and I know what you mean. Once you make something, you know why it costs so much! LOL