


Today I have a tutorial for a Fabric Strip Woven Bag – – I have had this idea in my mind for awhile, like several months, and I finally made it happen.

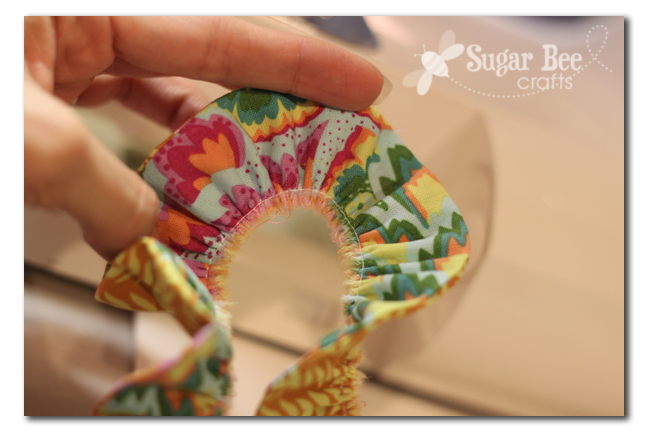
Let’s get an up close view – can you see how it is fabric strips put together to form a bag? Think of all the fabrics that you can mix and match!

This project is easier than you think!

How to Weave Fabric Strips
First, fabric choices – which for me is always one of the hardest things. You’ll need a lining and then several choices to rip into strips for the outside.

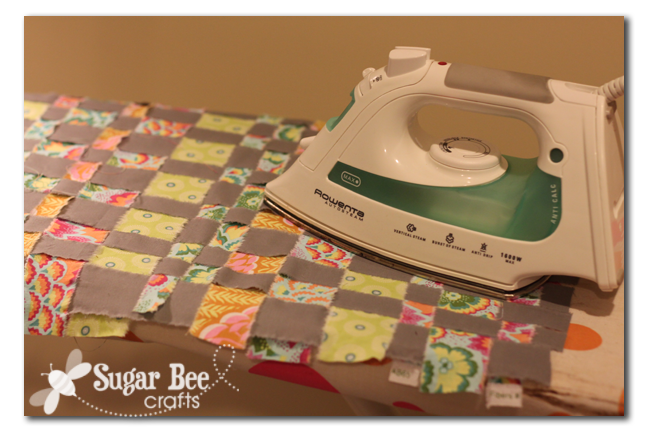
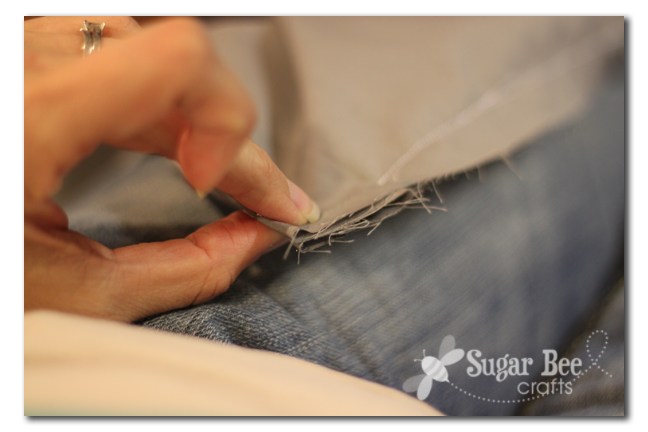
I wish I would have kept track of yardage. I’m thinking maybe 1/2 yard of about 3 fabrics for the outside. Anyways, cut your outside fabric into strips. I used different size strips, but you could make them all the same if you want. Just cut slits at the edge of the fabric and then rip it all the way to give that frayed edge look.

Next up, fold a piece of fusible fleece (you find it at the store by the fusible interfacing) in half and decide what size of bag you’d like. I knew I wanted it to hold a folder, so I used that as my guide. Be sure to leave plenty of extra space on the sides because there’s not a side piece to this bag.
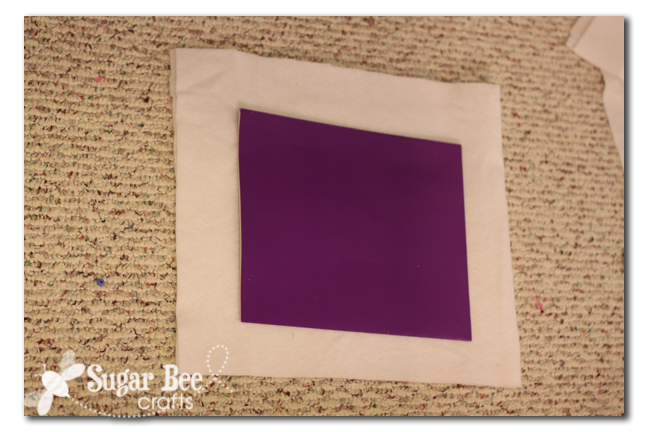
Now, open up the folded piece of fusible fleece and it should be a really long rectangle. With the bumpy side (the side that has the glue on it) up, lay out strips of fabric. Cover the whole thing. This picture shows a couple of different fabrics, but I ended up laying out all gray in this direction:
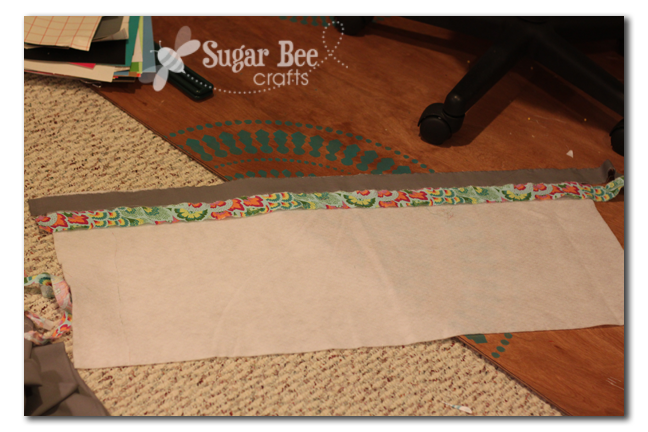
Now, the weaving part. Pull back every other strip about half way (I started in the middle and worked my way to each end). Then lay a strip of fabric across. Then with the ones you pulled back, fold them back down on top of the new strip. Then pull up every other strip again, this time choosing the ones you didn’t choose before. Hope that makes sense. Lay a strip down. Keep repeating.
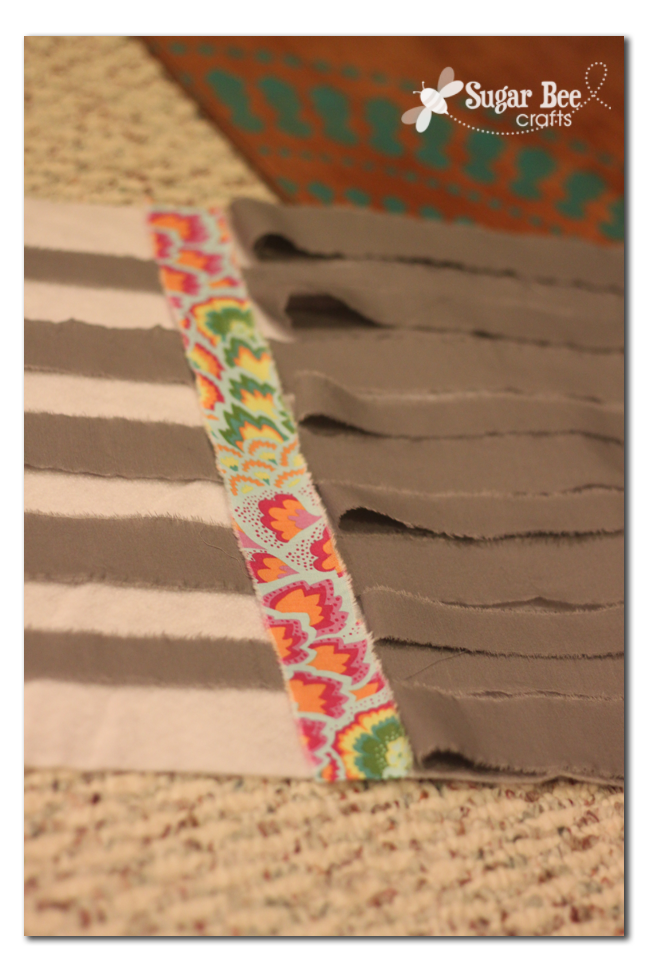
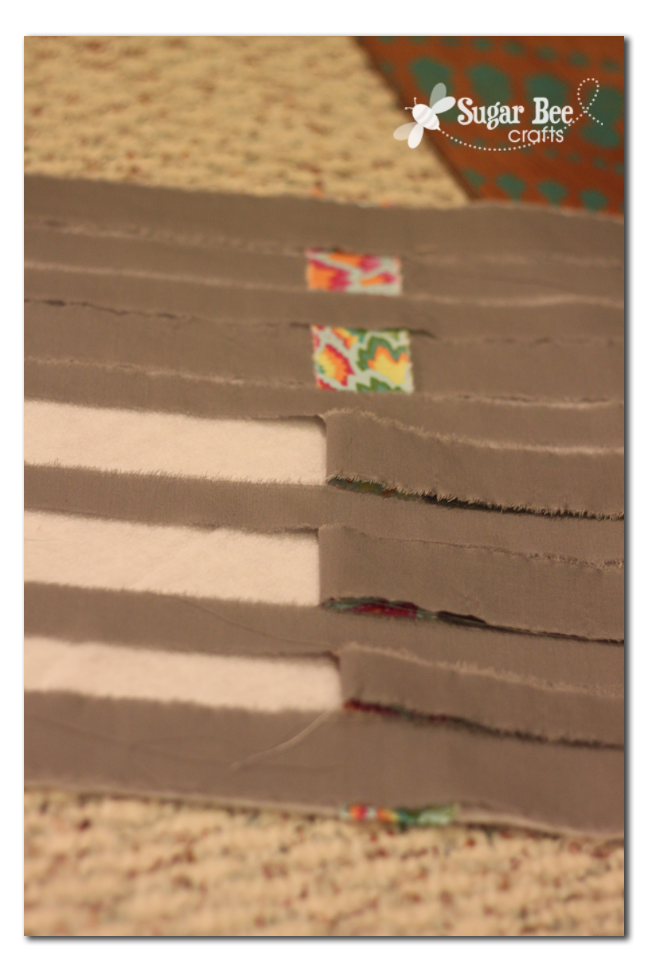
Cover the whole interfacing. Then gently move the whole piece of interfacing and iron it. The iron heats up the glue and sticks all the fabric strips down.
Assemble the Tote Bag
You should have a long rectangle of pieced together fabric. Cut a piece of fabric that exact size out of your lining fabric. Fold it in half and sew down (with the fold at the bottom), but leave a spot at the bottom, depending on how big you want the bottom of the bag, as shown:
Now open that part up and push the bottom up into itself as shown:


Then continue sewing to catch all those layers. Just extend the line of stitches all the way to the bottom.
If you flip the lining right-side out, you should get a triangle that helps to form sides and a bottom on your bag. This is the easy way to make a bag with a bottom without actually making pieces for the bottom or sides – see:

Repeat those steps for the piece of outside fabric to make it just like your lining. Here’s what that’ll look like:

Now, I added a ruffle to the top of this bag. Optional, but it was fun – I tried out my ruffler foot which I’m still getting used to:
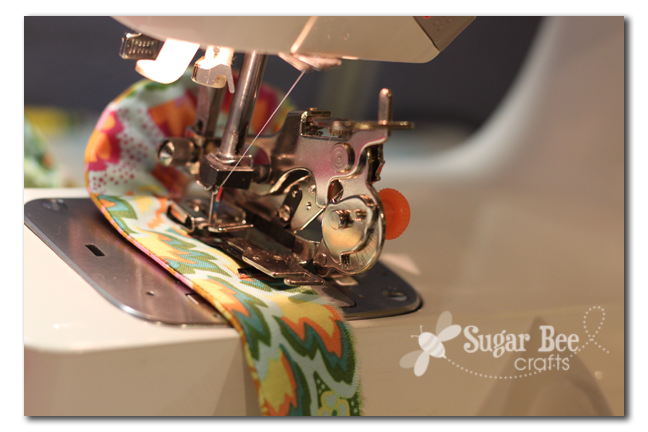
It makes such perfect ruffles!
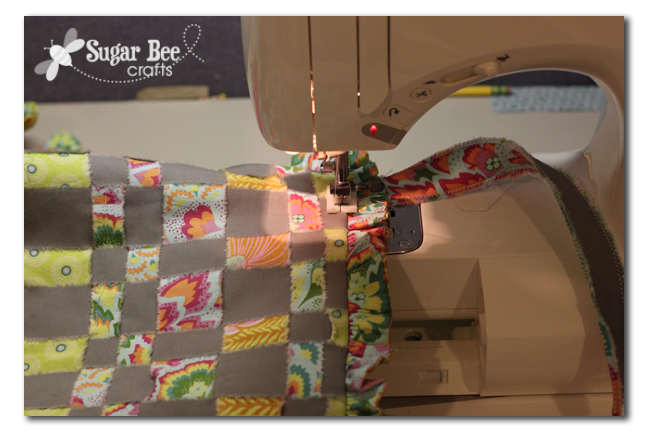
I attached it about a half inch from the top of the bag, raw edges together:

Then make some handles (I made mine with raw edges but I don’t know that I love them) and tack them into place as well – with raw edges matching the raw edges of the top of the bag.

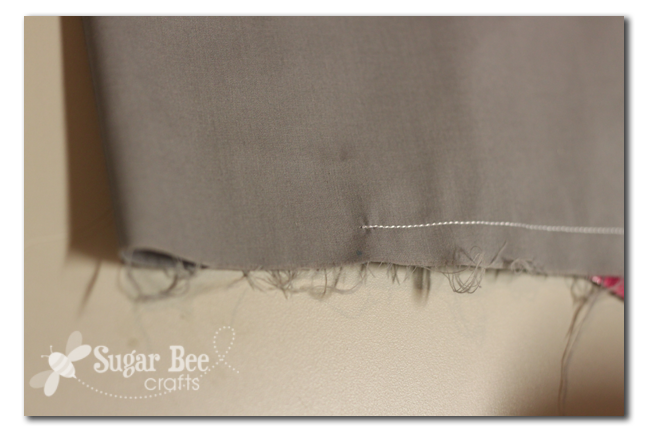
Then as shown in the picture above, turn the outside right-side out and the lining wrong-side out and shove the outside of the bag into the lining. Be sure to push the handles in too, as shown in the picture below. Then sew all along that top edge (noted by the white dash) being sure to leave a spot open for turning.

Then turn the whole thing right-side out by pulling the bag through that little opening. Shake everything into place. To close up the hole and make all the seams lay nicely, top stitch, or sew, all around that very top edge, as shown:
You can kind of see the topstitching here:

I am really loving the raw-edge woven look of this bag, and it came together fairly quickly.
I made this bag for the blog conference I just went to, but I actually ended up using the bag on the left (from Amy Butler Style Stitches bag #2) instead – funny, huh. And in fact I brought that bag but at the conference I didn’t use it either. Who knew!

Nice job, Mandy! And I just pinned your Jeans Purse. 🙂
What a cute idea! I love the texture of the slightly frayed edges. Really cute!
I love to craft, don’t love to sew, but this is something I may look into. Thanks for the how-to!
This is so cute! Around here, a lot of people have seatbelt purses which are made in a similar fashion but out of old seatbelts (my husband is a race car driver which might explain why the wives all have them!). I much prefer yours…way cuter!
Totally cute! It’s like Heidi’s weaved quilt! I am featuring this at somedaycrafts.blogspot.com. you are a rockstar!
SOOOOO DANG CUTE!
Both bags are super cute! I didn’t know you could get a ruffler foot!!! Can you buy one for a regular sewing machine or does it have to be a special one?
I love this bag!! Perfect for summer and those beach visits!!
Oh that is so cute. Really creative!
– Adele @ Mammy Made
Super cute and super easy methods. Thanks so much for sharing this beauty with us. I think it is just super!
OK, my eyes just about popped out of my head while reading this post. How come in all the patterns of the many, many bags I’ve made have I NEVER seen to do the box bottom the way you did – brillant!!! So much easier than trying to lay it all out flat, struggle with a ruler to get the right angle, find a pencil, etc. etc., I’m sure you know the drill. I’m pinning it so I can find it again for the next bag I make! 🙂
I just this morning found this on pattern pile, and now I have GOT to try it. Of course, I’ll add inside pockets (I’m a pocket kind of person). I might even be adventurous and try an outside woven pocket. It could happen. 🙂