Then cut 2 main pieces for the front and back, a little bigger than you want the bag to be. I knew it needed to fit a folder, so I went with a fabric piece of 12×16 (I wish I would have gone 13 or 14 wide, but oh well):
So, you’ll need:
–2 main pieces
–2 lining pieces (same size, but 1 1/4 inch shorter)
–2 fleece/flannel pieces ( same size, but 1 1/4 inch shorter ) or fusible interfacing
–4 handles the size you want them (I only show 2 – oops) and 2 pieces of fleece/flannel to stabilize the handle:
A note on the use of fleece/flannel – – to make your bag just “feel” nice, like have a nice heft and weight, you need something to make it a little stiffer than plain fabric. You could iron on fusible interfacing to your lining. But another option, when you have scraps of fleece or flannel laying around, is to use those as an inner layer. Fleece is a little on the thick side, but I just used some leftover from another project. Flannel would be great.
First up, make a sandwich of handle: lay it out on your table one right-side up, on top of that one right-side down. Sew the 2 long edges then flip the whole thing right-side out. Then you can use a safety pin to pull the piece of fleece/flannel through the inside to make it thick. She did the handles:
Then take your lining, also with right sides together, and sew it in a “U” – start at the top left and sew all the edges til the top right corner. Don’t sew the top edge!
You’re going to do that same thing with the main outside layer – your fabric sandwich will go fleece (my fleece was about an inch shorter than my main piece of fabric), fabric right-side up on top of that, fabric right-side down on top of that, and another piece of fleece on top of that . Sew together all but the top edge.
Then you have this and you can trim your corners:
Then on the main panel iron down 1/4 inch and then iron down again about 1 inch – that’ll make your top edge:
Turn your bag right-side out and slide your lining into it:
Then fold it down where you had ironed it and sew it in place. I used a fun wavy stitch. See how folding it over hides the raw edge of the top of the lining:
To attach the handles, fold the raw edge under itself and stitch a square, then stitch an “x” for extra hold. You can tell what I mean in the pictures:
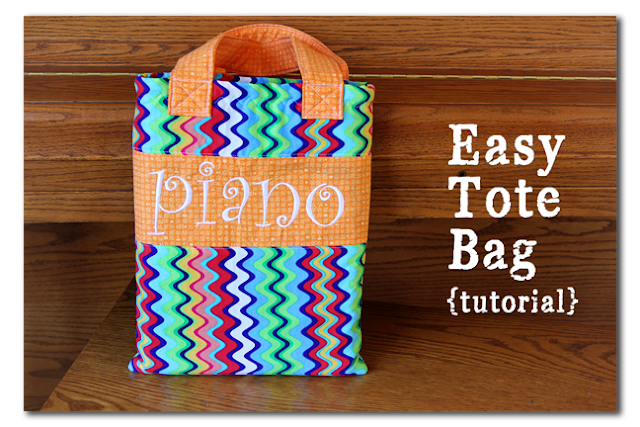
That’s it! Use and enjoy! I thought I had taken a picture of the bag in action as she headed off to piano lessons, but I guess not – oh well! You’ll just have to imagine it….

Sears has great sewing machines for beginners! Check them out and save with this Sears coupon code.


What a wonderful idea!! this is adorable…. I love this, thanks a lot for the tutorial…have a nice day… greeting
This looks really great! I love that she helped with you it too. It is so great when kids can get involved with projects.
Bright and fun, very cute!
That’s neat! Is it for her piano book? I’m wondering if I should make one for my girls’ guitar and violin books.
Oh I see! It’s like doing the lining for a stocking! Hmm… Have to try this way sometime!
That is a great piano bag!! How cool to have an embroidery machine. What fun tools for your daughter to grow up with!
Cute! I like the embroidery on it!