


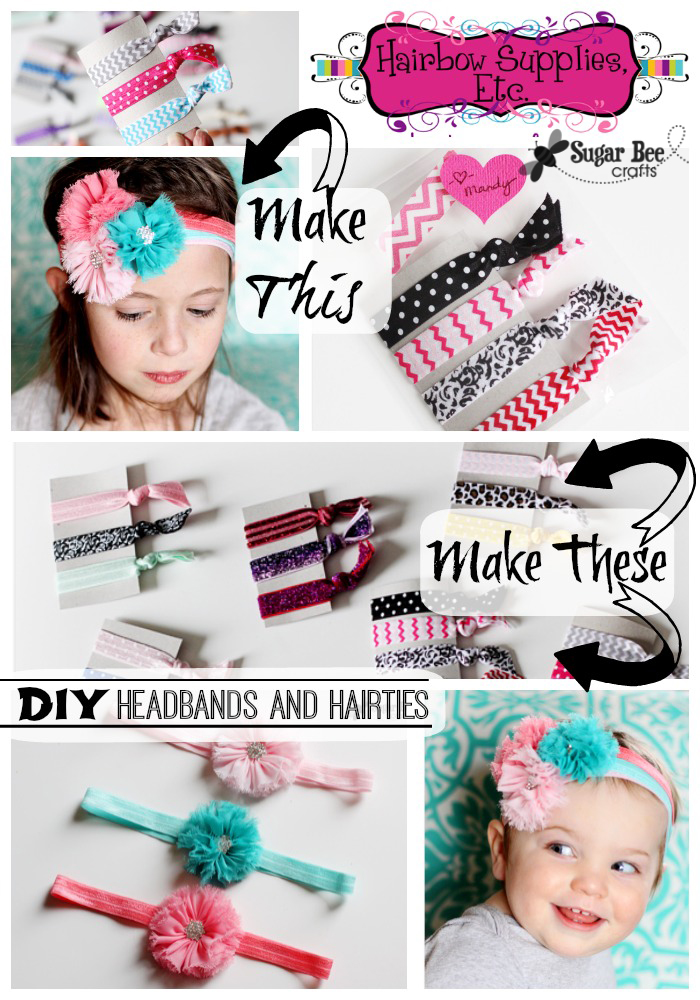
Do you have a little girl in your life that you want to make bunches of hairbows for? How about hair ties? Or have you considered making and selling hairbows? Need a place to buy supplies in bulk? I’ve got you covered in all sorts of cute ways… here are a couple of how-to tutorials on making super cute headbands and hair ties, along with where to buy supplies. (this is a sponsored post, but all opinions are my own, and Hairbow Supplies, Etc is awesome).
Super-awesome hair ties – so easy to make!

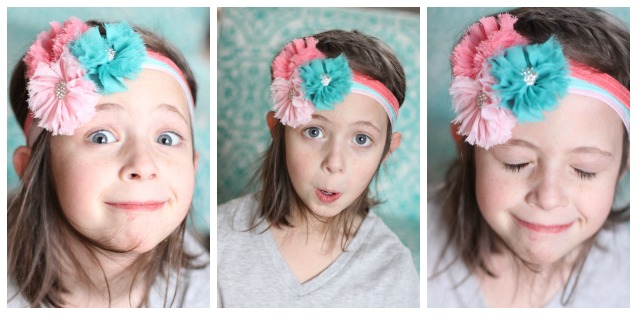
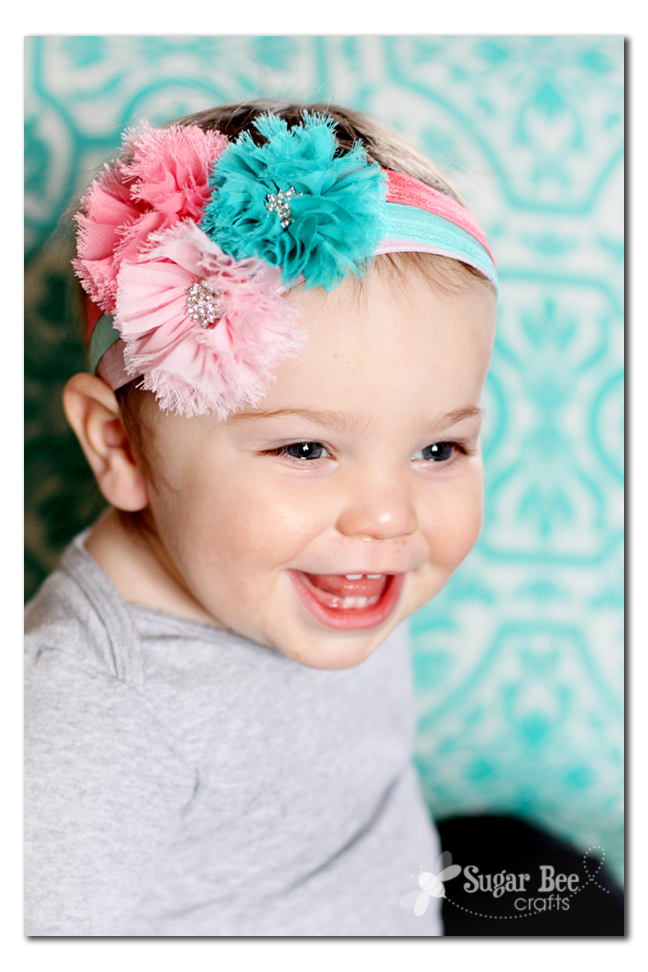
and simple no-sew headbands – they make even the outtake pics looks great – –
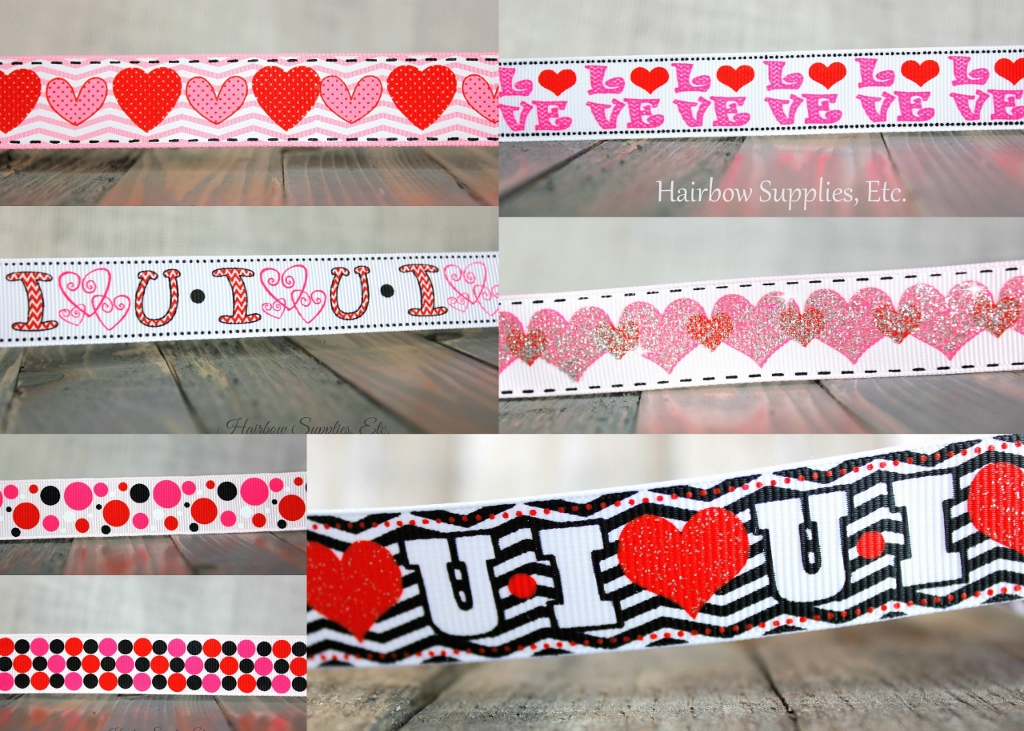
I put some sneak peek pictures of this project on instagram, and everyone was wondering where to get the supplies – – you know, fold over elastic (foe) is hard to find in the stores, and when you do, it’s pricey – – so it’s way worth ordering, and a great shop is Hairbow Supplies, Etc. Seriously check them out – I can’t believe how low their prices are and how much selection they have.
And guess what – – you can get 20% off your order with the code CRAFT20 !! On top of the already super-awesome prices, you can’t pass that up.
Alright, once you get your supplies, you’ll want to know how to make these fun accessories. They are all no-sew! Anyone can do this. Let’s dive into the tutorials…
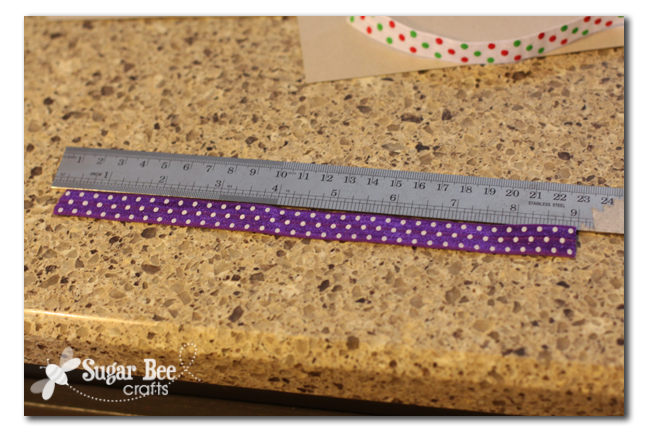
First up, the Hair Ties. These are made from fun “fold over elastic” and are super super simple. First measure a piece about 9 inches long:
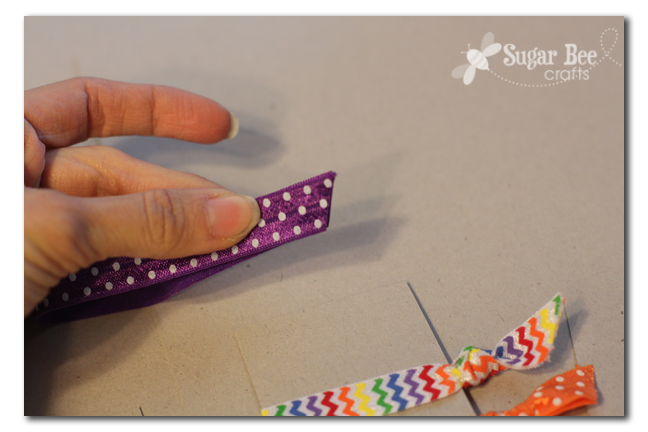
Then match up the two ends and cut a slight slant to the edges:
Then tie a knot – that’s it! See, you can totally make this.

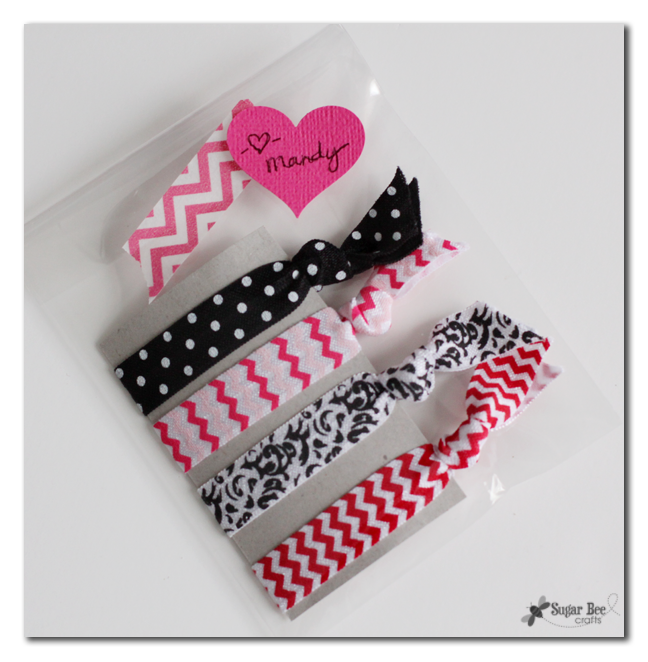
I used cardstock to make fun sets – it shows off the cute elastic. You can even cut up cereal boxes – thin cardboard is all you need:

Here’s one of my favorite sets – love the gray, pink, and turquoise combo:

I made a bunch of sets because I thought these would make awesome valentines for my girls to pass out to their friends. I slid the card into a small clear envelope and taped it shut with a heart on it where they can sign their name. I tried to come up with some witty saying “all tied up over you” “you’re stretchy cool” or whatever, but nothing stuck, so I didn’t end up going with anything. But if you thought of a cute saying, wouldn’t that make a fun label for the bag??
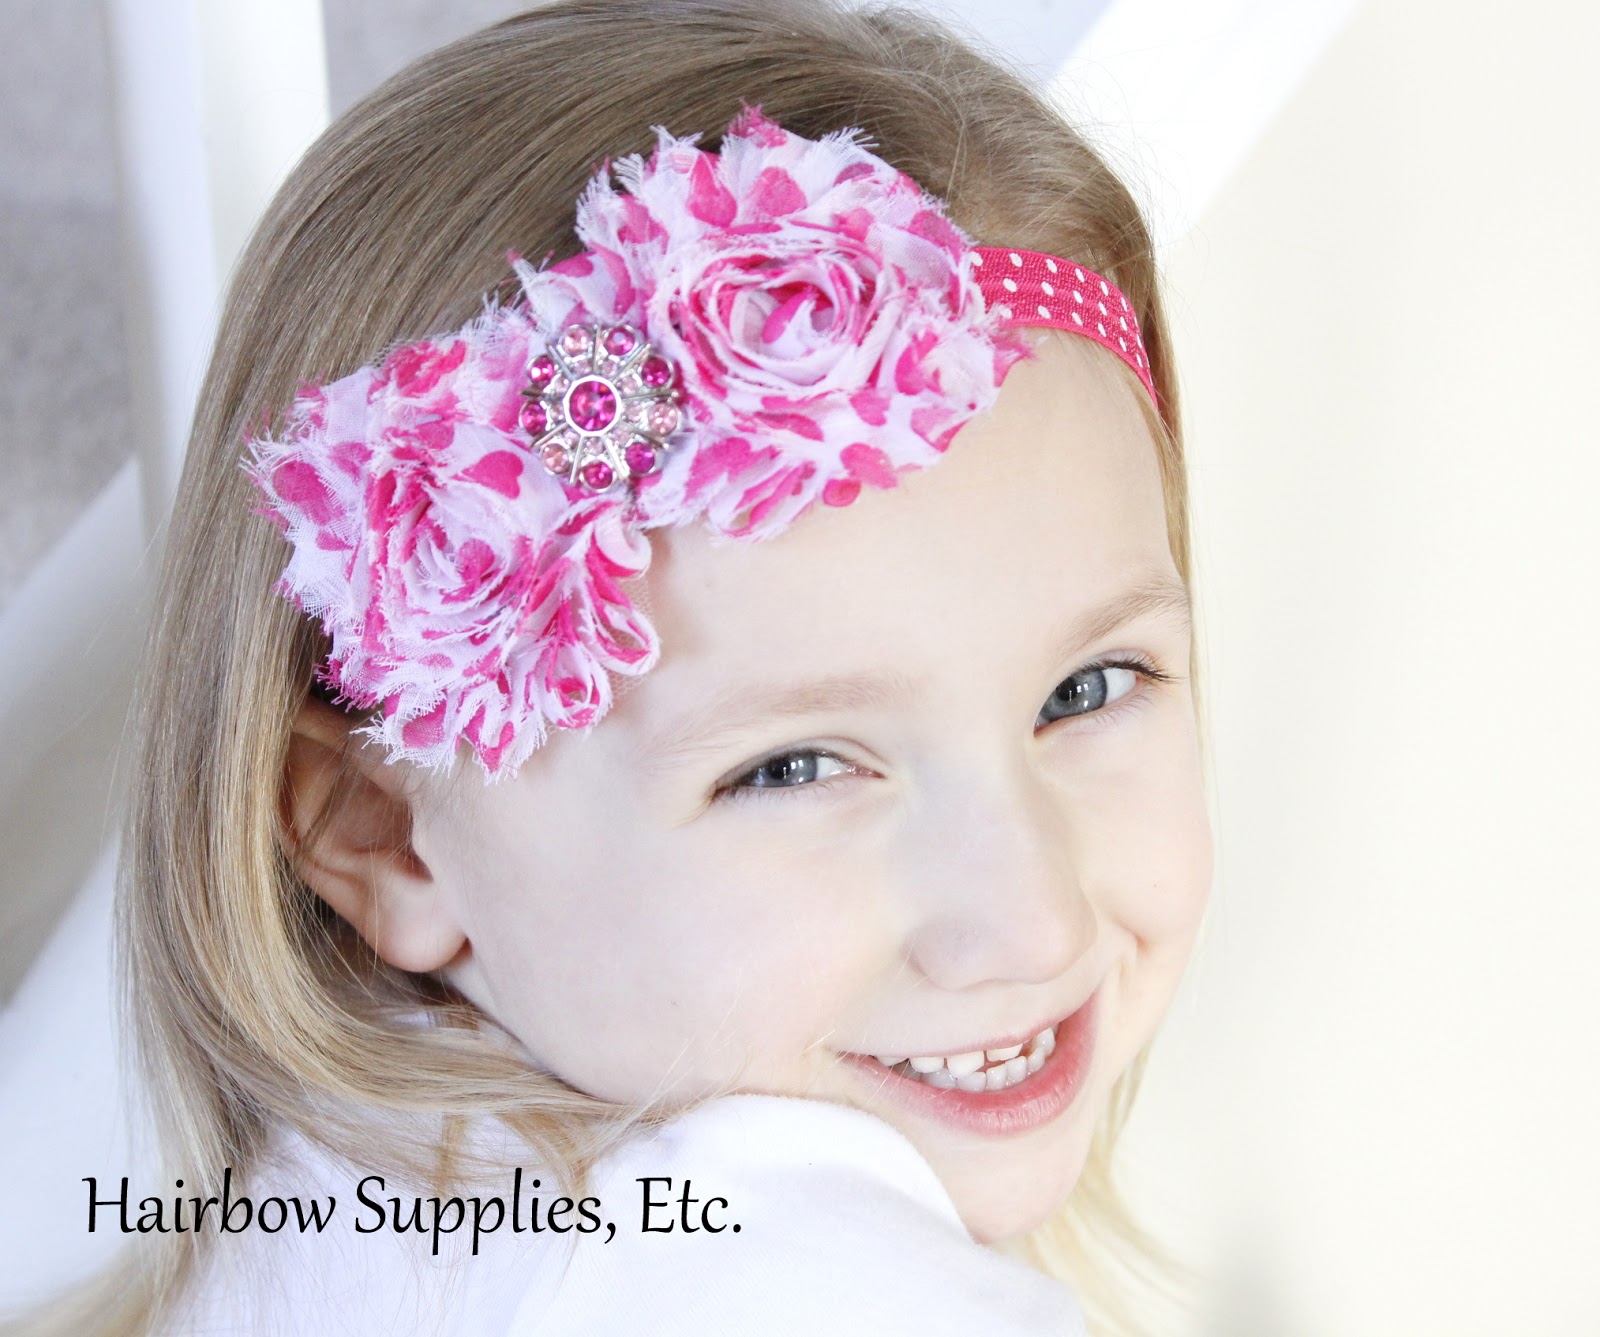
Next tutorial, the stretchy headbands. These are just as easy! First cut a length of elastic that fits comfortably around the head with being stretched just a little (not too tight). Then overlap the ends and glue together, as shown below:

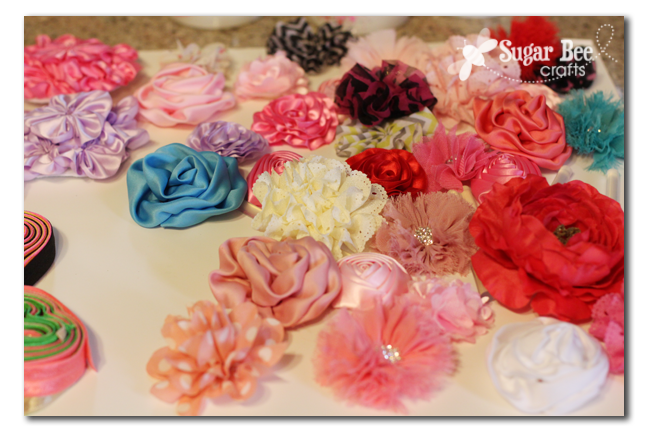
Then you just hot glue the back of the flower over the seam. Yes, the flowers are premade – it doesn’t get easier than that. You can get tons of flowers from Hairbow Supplies as well – here’s the ones I worked with:
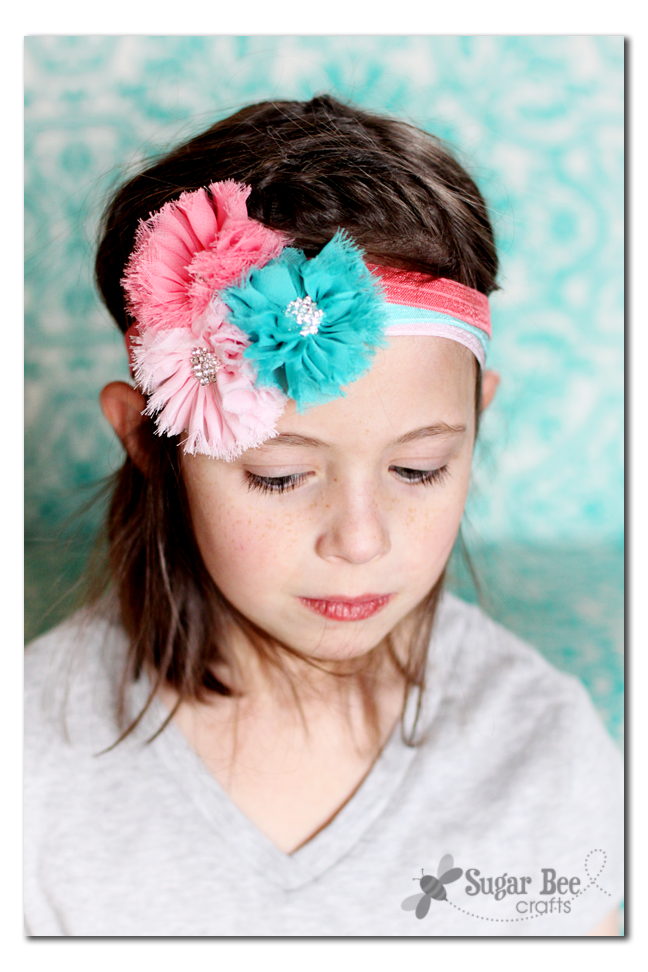
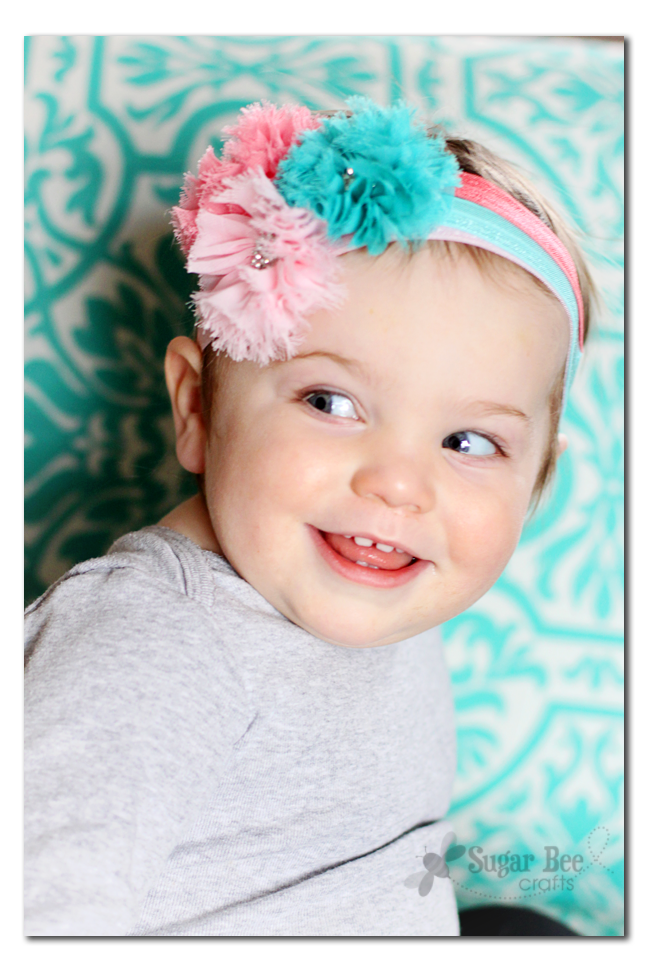
I made these three separate stretchy headbands, for everyday “casual” wear:


But I absolutely LOVE them when you stack them together for a more kapow look – think dressing up or photo accessories. These look good on babies and older girls alike – so so cute.

See, those two projects are simple, and you can do them!! Have I inspired you yet to check out Hairbow Supplies, Etc – do that to grab your supplies, then start cranking out the cuteness. Remember, code CRAFT20 for 20% off your order!


I have been wanting to get my daughter some of these forever! I am so glad that I saw this!
Those really can’t get much easier, can they?! Super cool project and I’m pinning for future use. Thanks for sharing! ~Lisa @ Practically Perfect Home
LOVE these! And so simple too. I will definitely be checking out these supplies and I can’t wait to make some for my daughter… she’s going to love them!
Thanks so much for sharing 🙂
So, now that I’ve wasted hundreds of dollars buying hair ties…. Ugh. Totally pinning this. My teen can make her own.
We love making these. There are so many cute choices of fold over elastic!
How do you keep the end from fraying?
I haven’t had any issues with fraying – I think because of the stretch