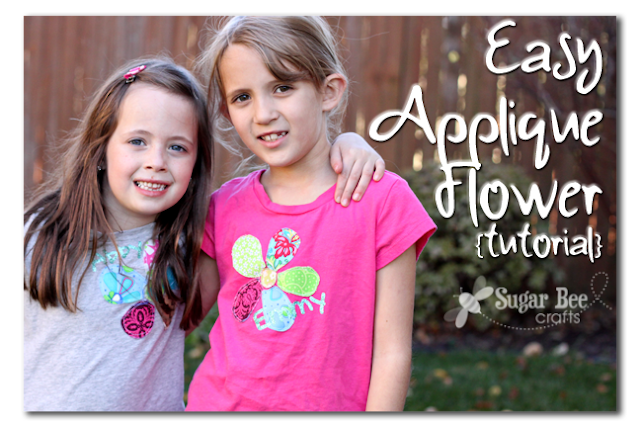
I was in search of an easy applique flower tutorial, but didn’t come across one so I thought I’d make my own…
My oldest daughter wanted a “Craft Party” for her birthday. I wasn’t quite sure what we’d be crafting until I saw tshirts on clearance for $2 and snatched up a stack. Every girl loves to make herself a tshirt. The trouble is balancing kid crafting with cuteness, so I thought an applique would be the perfect way to let them express their creativity but still be cuter than a glob of puff paint.
I wish I would have thought to take a picture of them all in their shirts at the party – oh well!
I have a tutorial to walk you through an easy way to do applique – easy enough for 8 year olds. It’s the same method I used when we crafted Onesies at the Baby Shower a few months ago.
First you’ll need some Wonder Under/Heat n Bond/Steam A Seam – – you buy it near the “notions” section, and it’s in a package. It’s a sheet of double-sided stabilizer that you will iron onto the back of your fabric (bumpy side does on the fabric).
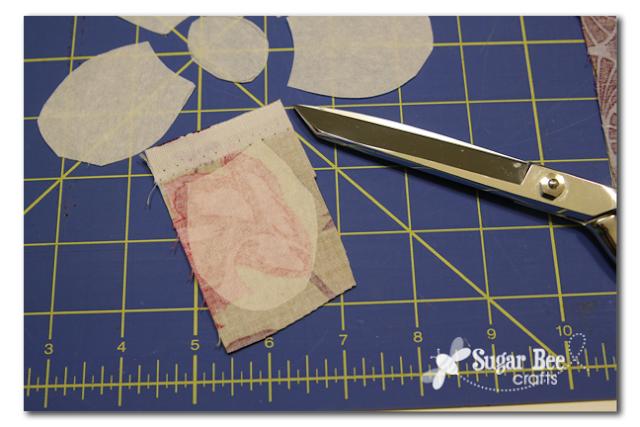
Trace your shape onto the Wonder Under just using a regular pen and then cut it out. I had drawn a template so the girls could put the template underneath and see the lines to trace. Then cut out all the pieces:
Next I had them choose the fabrics they wanted to use. They were to cut small squares of each fabric for each petal. Then they brought it to me and I ironed the Wonder Under (bumpy side down against the fabric) onto the back side of the fabric. Here is it ironed down and stuck to the fabric square:
Then they again had to cut around their shape. It didn’t have to be perfect. After that peel the backing off of the Wonder Under – it will leave the glue residue behind on the fabric:
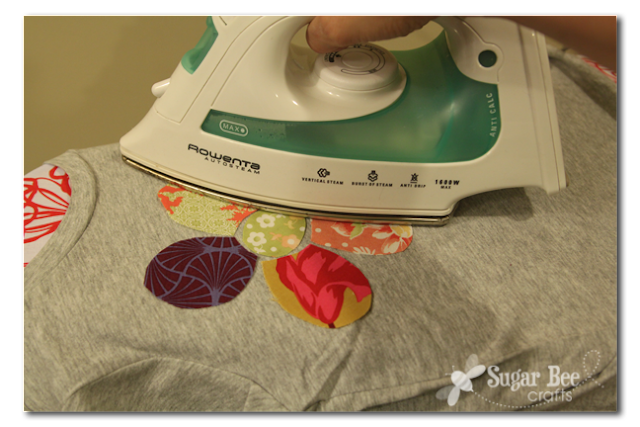
Take all the pieces and position them on the shirt. Some girls put the flower up high – some down low on the side. Wherever you’d like it to go. Then iron it into place:
The glue reside adheres the fabric to the shirt. You could stop at this point. I think it’s cute to have some stitch lines, so I sewed around the edges of the flowers. You don’t have to – it could be a no-sew project if you wanted.
I just sewed a straight line around each petal. You could also zig zag around it if you want to cover the edges.
Since I didn’t cover the edges in stitching, it gives a cute “frayed” effect after washing. The shirt on the left has been washed once and the one on the right hasn’t been washed at all yet:
I cut their names out of glittery iron on vinyl – love that stuff.
Since I didn’t get a picture of the birthday party crew making/wearing shirts, I drug my girls out for a quick couple of shots – they wanted to do a jumping high five…
If you haven’t tried this easy way to applique on shirts, give it a go!


Very cute! (shirts and models) 🙂 This looks like a project even I could do with the grandkids!
I love this projects Mandy! Cute, quick and fun! {Great scrap buster too!} Pinned 😉
That turned out cute! I think your kids have got to be some of the best dressed in the neighborhood with all these fun projects you do! 😉
This is such a cute idea! I love that it is no sew since I pretty much suck at sewing!