 Greetings, friends! My name is Lauren, and I’m delighted to be a part of the guest post extravaganza here at Sugar Bee Crafts. Thanks, Mandy, for this wonderful opportunity!
Deeeeeelighted. When I’m not teaching theatre or boating on the lake with my husband, Mark, you can find me at The Thinking Closet, my blog, which is my space for letting creativity to splish, splash, and spill. (I’m all about making messes. Smile.) My projects tend to fall into one of five categories: DIY, home decor, sewing, journaling, or all of the above. I’d love it if you’d stop on by! 
I don’t know about you, but it seems like I never have the right wrapping paper on hand – – don’t get me wrong, I have plenty, but it’s either too feminine or too childlike, not the right holiday or not the right size. So, I’ve been experimenting lately with alternatives to store-bought wrapping paper, and I’ve come across a few discoveries I’m eager to share with you.
Here’s the deal:
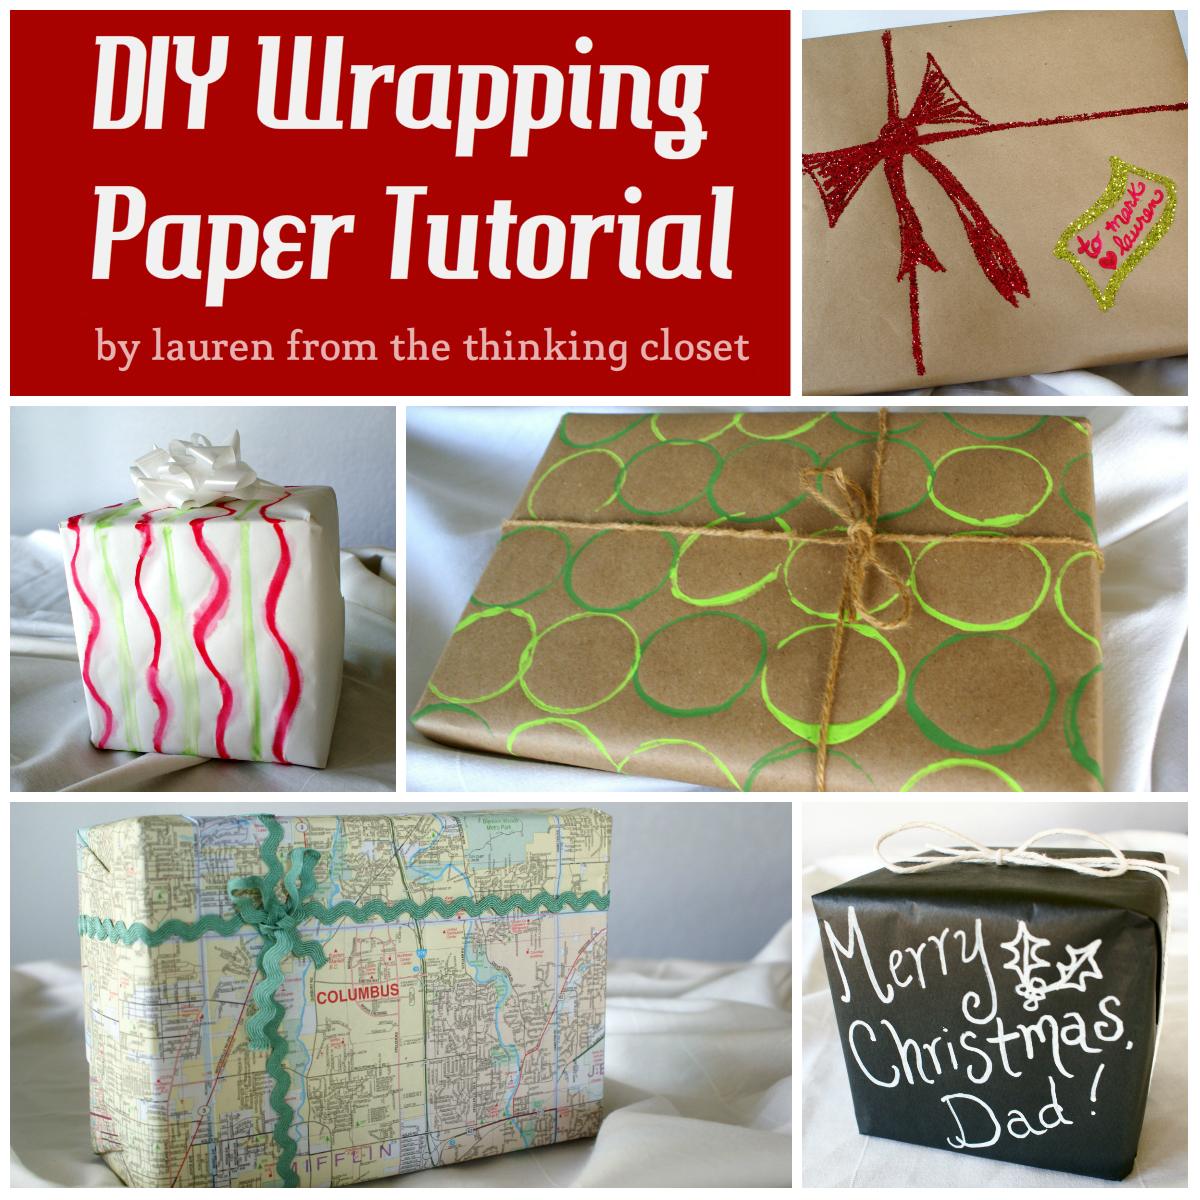
By the end of this tutorial, you will have an arsenal of five fabulous methods for making your own wrapping paper. Why are they fabulous?
- they’re quick – five minutes or less
- inexpensive – you can find your supplies around the house
- & eye-catching – your gifts are bound to be stand-outs under the tree this year!
Let’s get started, shall we?
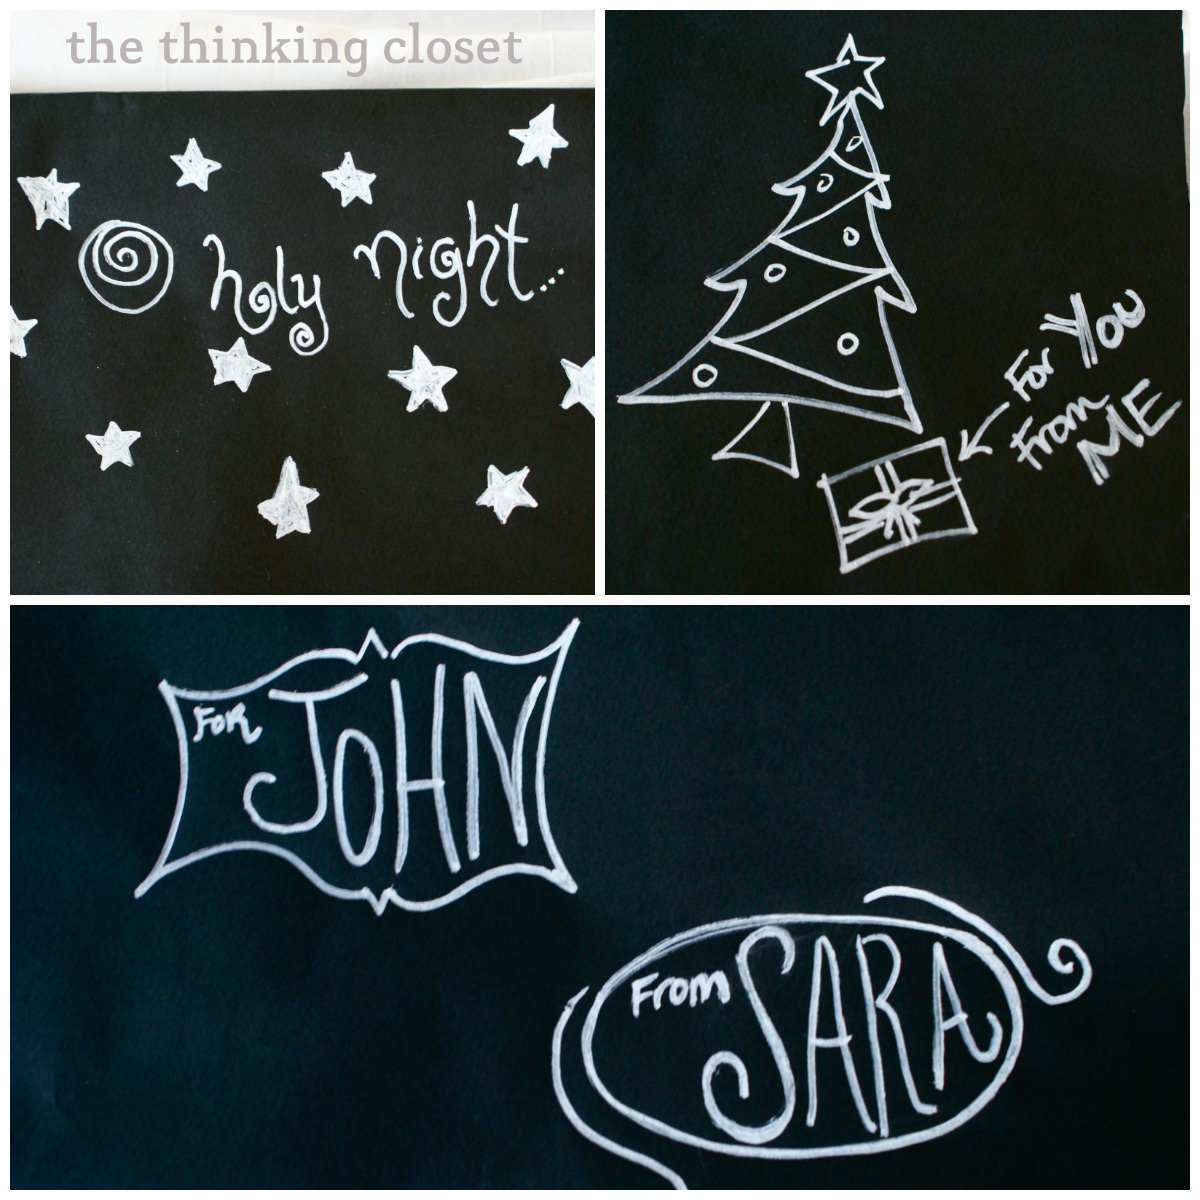
First, you’ll find that a standard base paper of either brown butcher paper or white/black craft paper is helpful. We bought our butcher paper at Home Depot to serve as a “drop-cloth” for painting – – however, I’ve rescued the roll to be used for wrapping. My roll of white craft paper was purchased at Staples, and my black roll was purchased online at Quill.com. All are really affordable and with enough paper to last you for years! #1) Chalkboard-Style Wrap: I recently have been inspired by the wealth of chalkboard projects out there…including chalkboard-style gift wrap, which I first spied on Pinterest. All you need is black craft paper and a white paint marker or chalkboard marker. It feels too easy!
No gift tag needed! There are so many possibilities here – – you can write the TO and FROM on your paper, draw a holiday picture, write a quote, a cool design.
There’s something about the white on black that my just eye loves.


And if you open your eyes, you’ll find you probably have a multitude of paper around the house that could be recycled as gift wrap – – such as the funny pages in the newspaper or the pages of a damaged book.
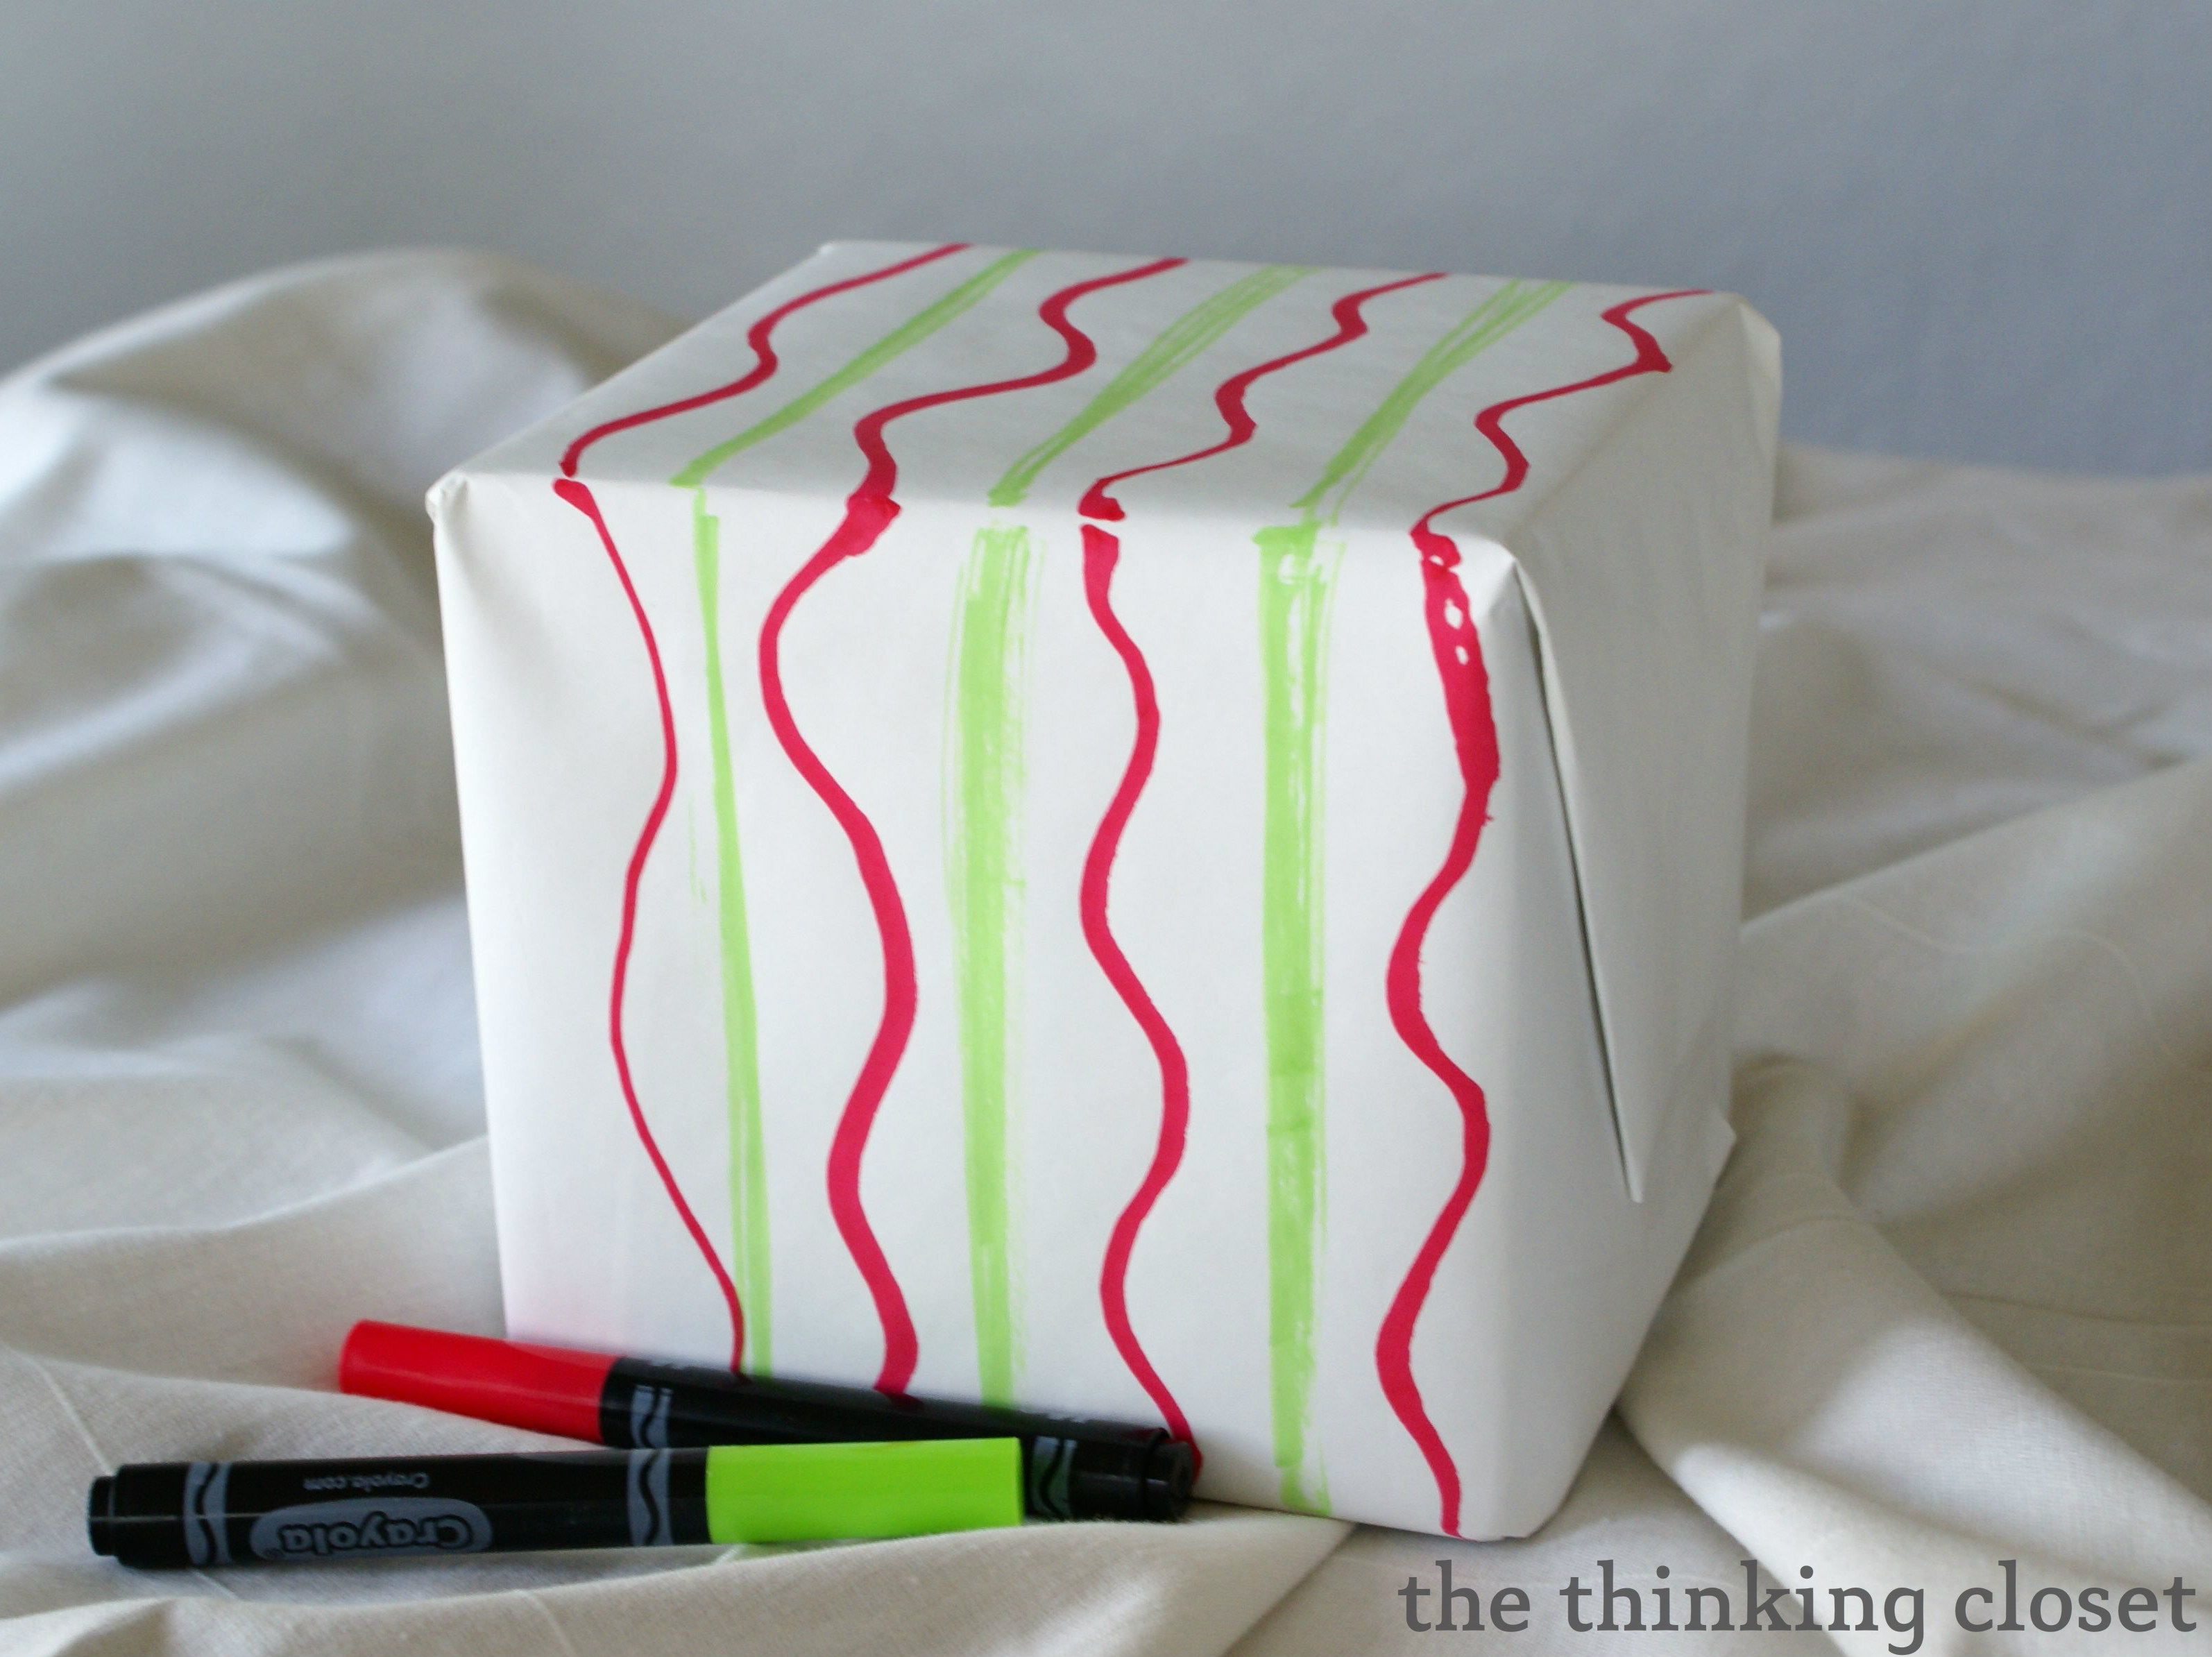

Note: I wrapped first, then designed, but if your paper is thin and you’re worried about bleeding, do your watercolor before you wrap. This is a great one to try with kids! As is our last method…
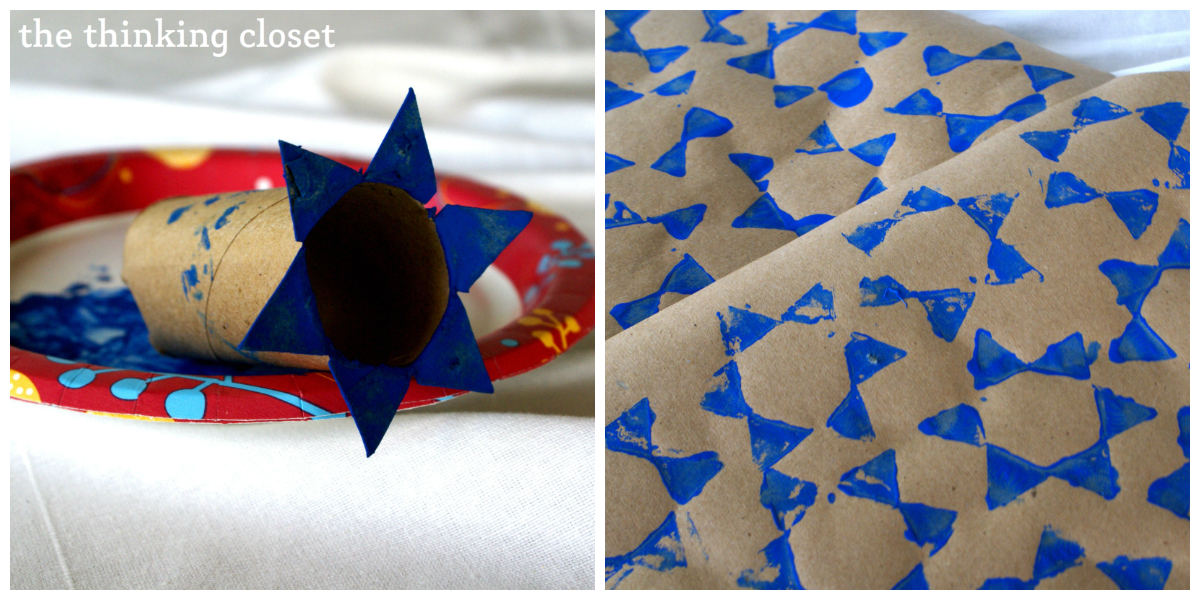
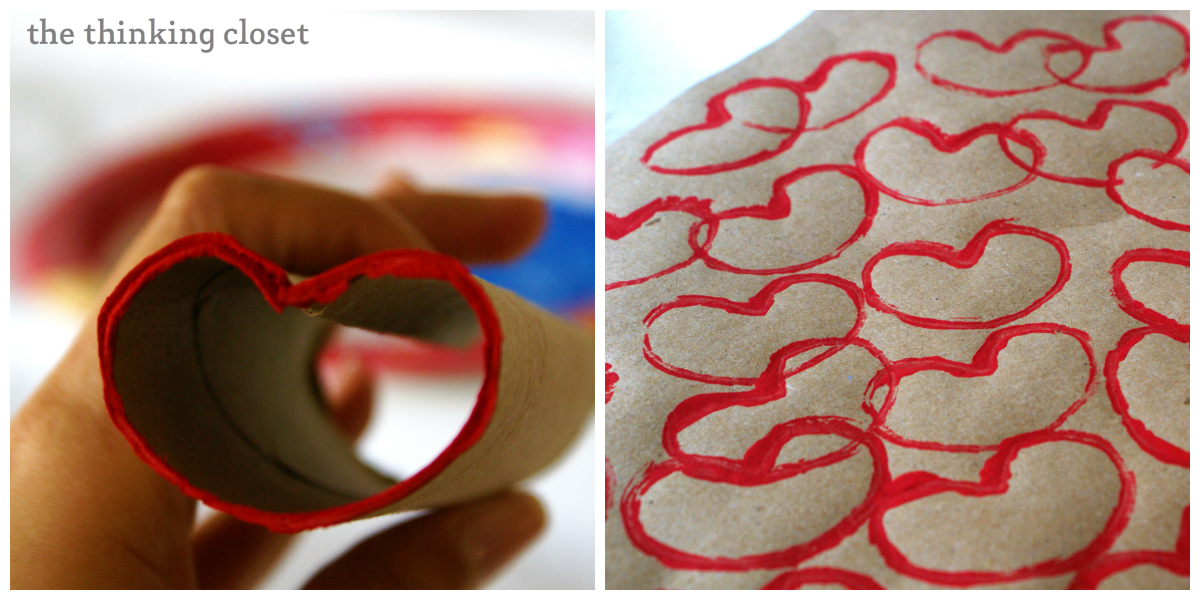
#5) Stamping with Paper Towel Rolls: Recycle paper towel and toilet paper rolls by turning them into stamping machines. You can use them to create snowballs, ornaments, snowmen, or a simple design…like I did.


Thanks again to Mandy for being hostess of the mostess. I hope you’ll come and check out some of my other tutorials on The Thinking Closet, such as my White on White Canvas Artwork, Easy Denim Skirt Tutorial for the Beginner Sewist, and 10 Tips for New Bloggers. 
Merry Christmas, Happy Hanukkah, and warm wishes to you and yours. ![]()




So so cute! What fun ideas!
Thanks, Emmy! And thanks again to Mandy for having me. I had a lot of fun writing this guest post.