


I am super excited to show you my latest project – we just hung this on the wall last night and I am just loving it – – a clock made from a pallet – super cool! And I’m going to show you how-to make it…

I am all about taking something and giving it a new life, so I really like the latest Michael’s campaign – you can check out tons of ideas in their LookBook or on the Michael’s Facebook Page. Everyone is gearing up for Earth Day (one week from today)

So, on to my project – – you know I have this thing for pallets, and Trevor doesn’t, but he bet a “pallet” project that I wouldn’t hem his pants and bouyah, done. Pallet Project it is – – I was going to make a coffee table (and still might) but had the clock idea I just had to pursue.


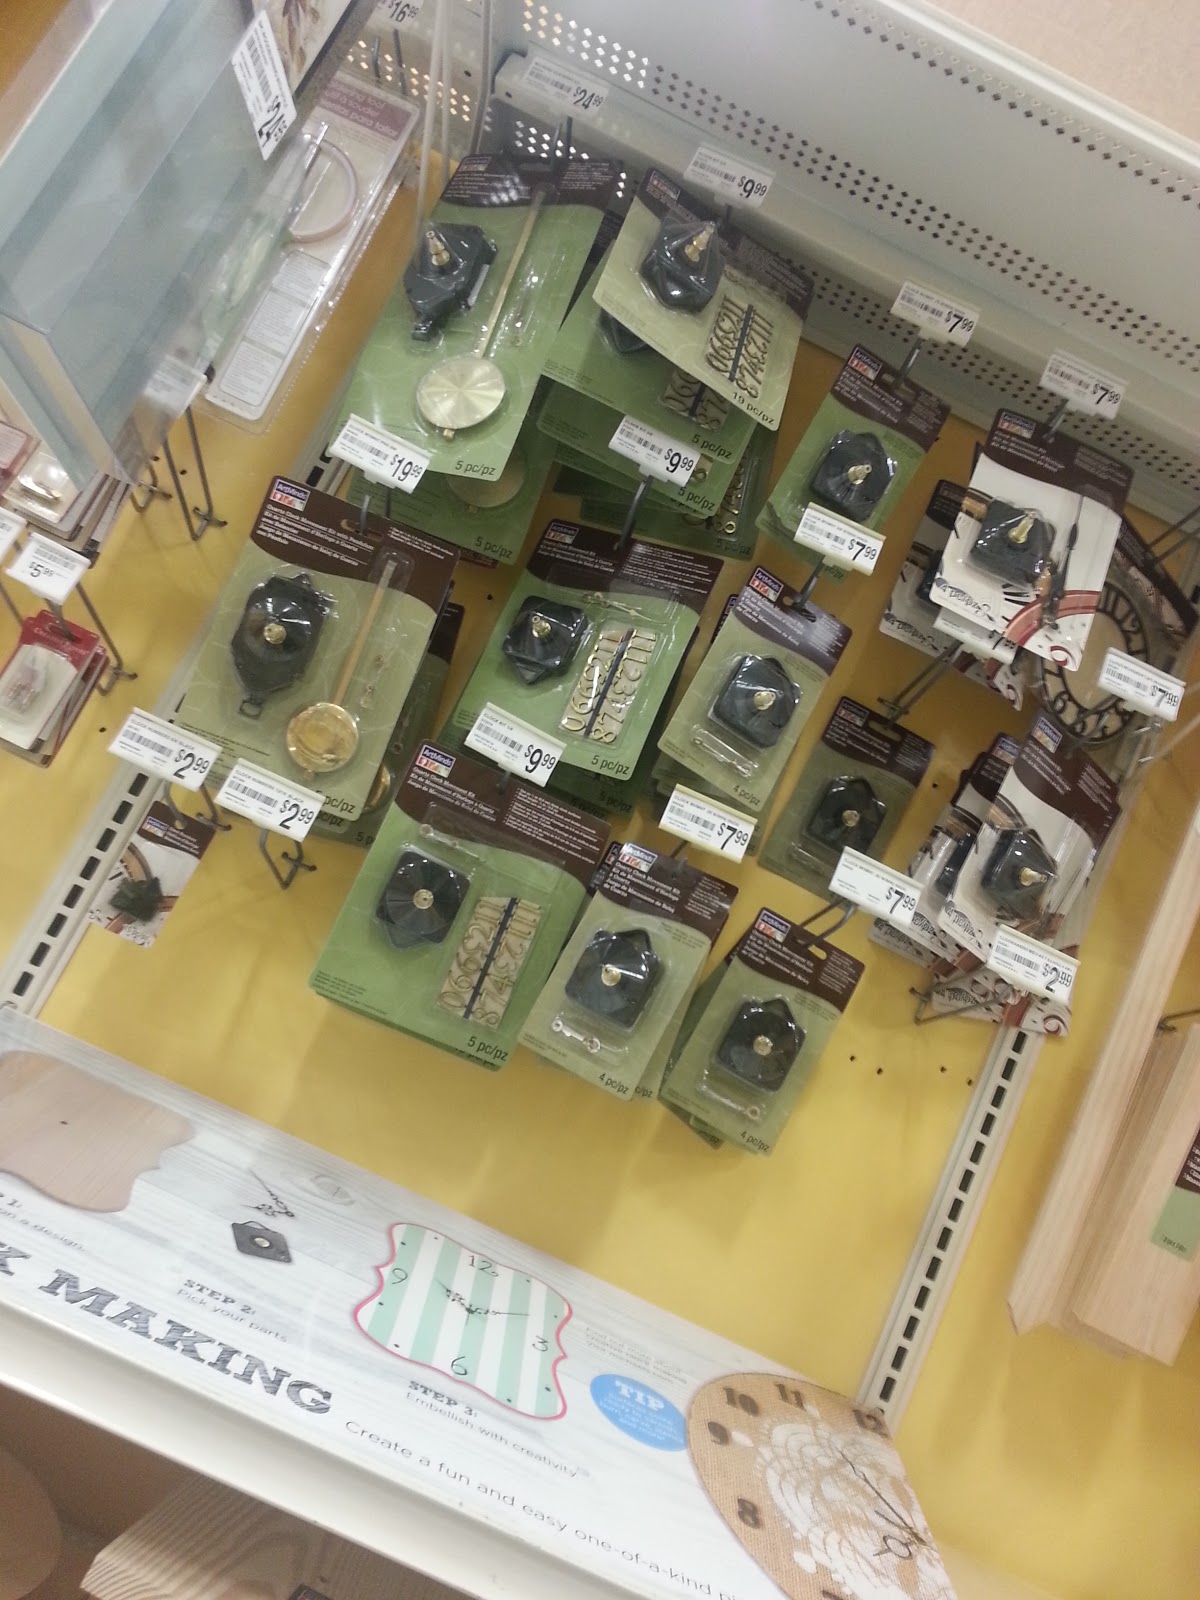
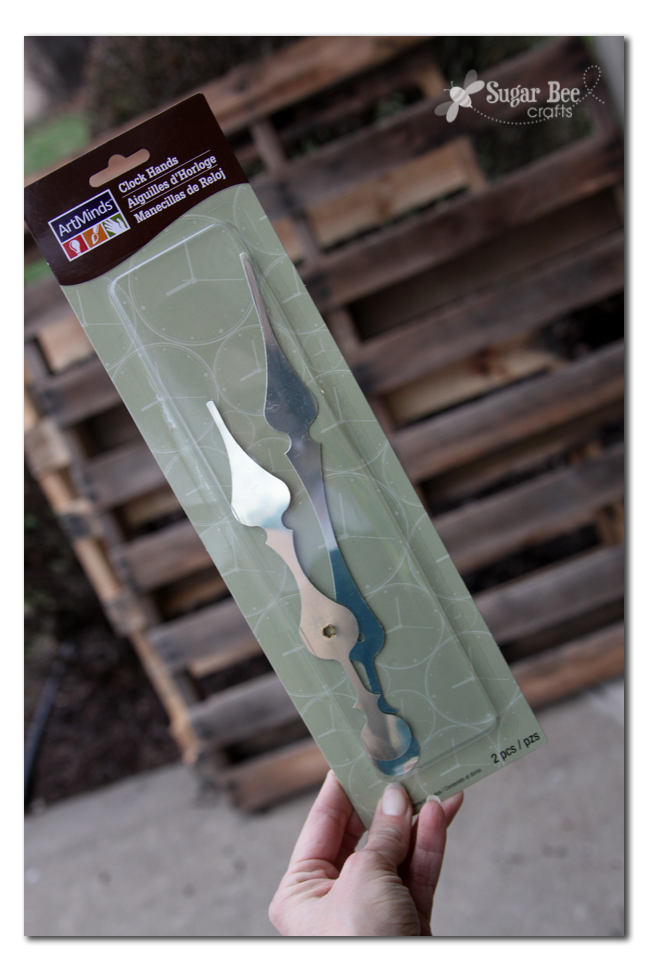
Did you know that there is a clock-making section at Michael’s? Well there is! You can buy the clock mechanisms along with hands, etc. The big giant hands I bought were on clearance for just a couple of dollars – score!
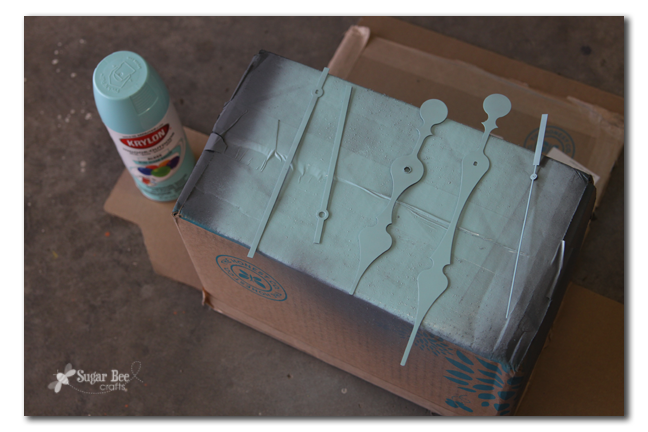
And of course they have TONS of spraypaint (I talked about it when I gave my gnome a new look) so I primed and sprayed the clock hands a fun color to make my living room:


Now that that’s done, it was time to prep the pallet. A whole pallet was too big for my space, so I had Trevor cut off the top section. After my Pallet Art where I attempted to take a pallet apart, I knew just cutting off a piece was the way to go (I’ll never try to take a pallet apart again!)

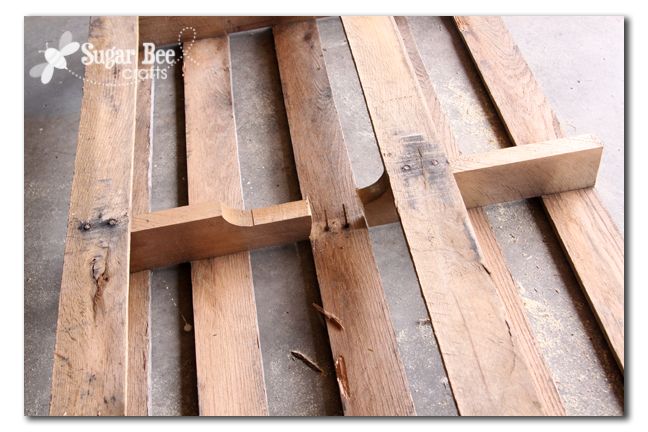
I had him cut it so that there were 5 slats left – I thought an odd number would be more aesthetically pleasing. And it means the clock mechanism goes on the middle slat, so you need to remove the back bracing board from that middle slat – – Trevor cut just that section and then hammered it out:
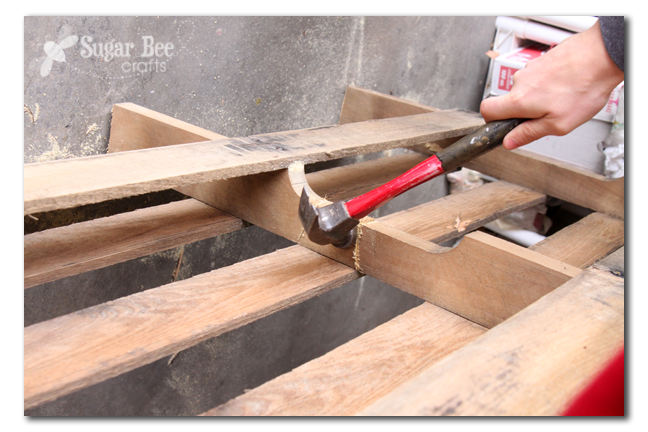
And here’s what it looked like with that piece out – he snipped the back ends off of those two nails. And then that’s the spot where the clock mechanism goes:
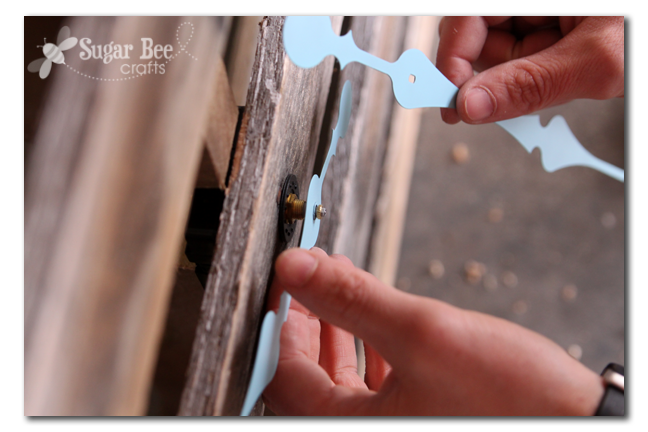
To attach it, drill a hole for the clock shaft:

And insert the clock mechanism from the back through the hole:

Attach the hands according to directions on your mechanism:
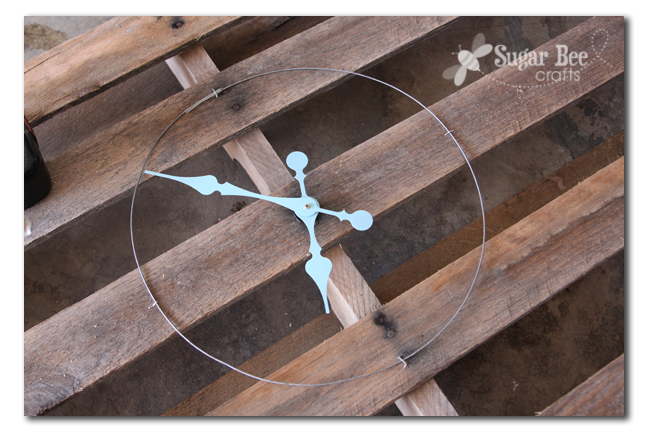
The tricky part was figuring out how to mark the clock. At first I wanted to stencil on numbers – but then I liked the idea of just doing dots for a more clean-line look. But the way the slats fall, I’d only be able to put dots on “12, 3, 6, and 9” because some of the dots would fall in the spaces between slats. So Trevor had the idea to mount them on a circular frame – – he stapled down some heavy-gauge wire we had on hand:
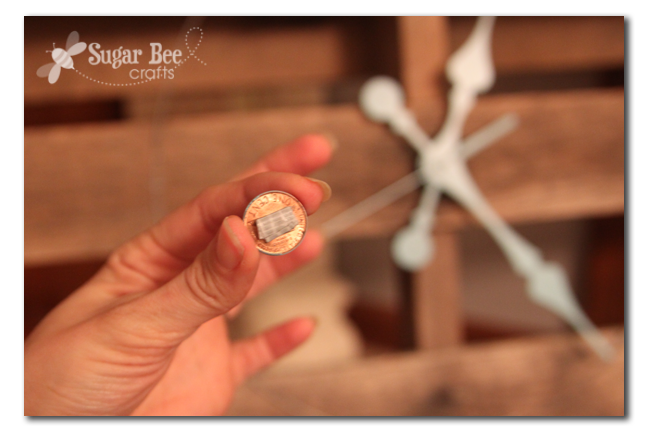
And I spraypainted some circles – I was thinking washers, but we didn’t have 12 of the same size, so I ended up using pennies (technically you can buy these at Michael’s too – – just hand the clerk a dime and a nickel and say you’d like to buy 12 pennies 🙂 ) – I primed and painted them the same way I did the hands.
For the ones that landed on boards, I just rolled up a small piece of duct tape and pushed it into place:
And for the ones that I could get under the wire, I used a piece of duct tape from the back to secure it:
Then it was time to hang it – we had some heavy-duty hooks on hand and used those:

I just love to sit back and stare at it. And here the comforting tick-tock. I really enjoy the dimension that the pallet gives to the wall. And before it was just a blank wall above the piano – this fills the space perfectly.


The only thing is…. it makes me want to paint my piano even more! One day I might work up the nerve….

it’s brilliantly beautiful! sure glad you got those pants hemmed so you could do this!!!
I hear you about not ever wanting to disassemble another pallet ever again! Check out the wood pallet project on my blog… NIGHTMARE! But I love pallets so much!!! Is this clock very heavy?
it is for sure heavier than I thought it’d be, but not too heavy – maybe 20 pounds? that’s a huge guess – I really have no idea. But we hung it with heavy-duty hooks.
That is really need! Thanks for the inspiration!!
What a great piece of art come clock. Fills the space perfectly.
Rosezeeta.
I love it when our husbands are willing to do something ‘crafty’. I had my husband making shelves out of barn board on the weekend. I’m so pleased with the results!
love this! fantastic!
So before the post was even finished I thought. Now you need to paint the piano. Fun.
This is really awesome!!!!
oh man oh man I love it!!!! so wishing I had the space to make one too!
Very creative! Love the look! I am new to your blog, Nicole from southerncharm!
I love this!!! I’ve been wanting to do something with a pallet. I even have one saved in my backyard for just the occasion!
I love the project you’ve tackled! The clock is so amazing and dramatic, but I think I would add various colors or even some small pieces of tiles. With a tile adhesive like Bondera, it would work great.
Love your blog and this project – so creative and fun and a gorgeous statement piece! Just wanted to let you know I featured it in my roundup of clock re-dos and makeovers here. Feel free to check it out if you want and hope you like it! : )
-Mel the Crafty Scientist
Wow! Such a great project! Love it! Looks fantastic!
I have learned huge knowledge from here. I am waiting for your updates