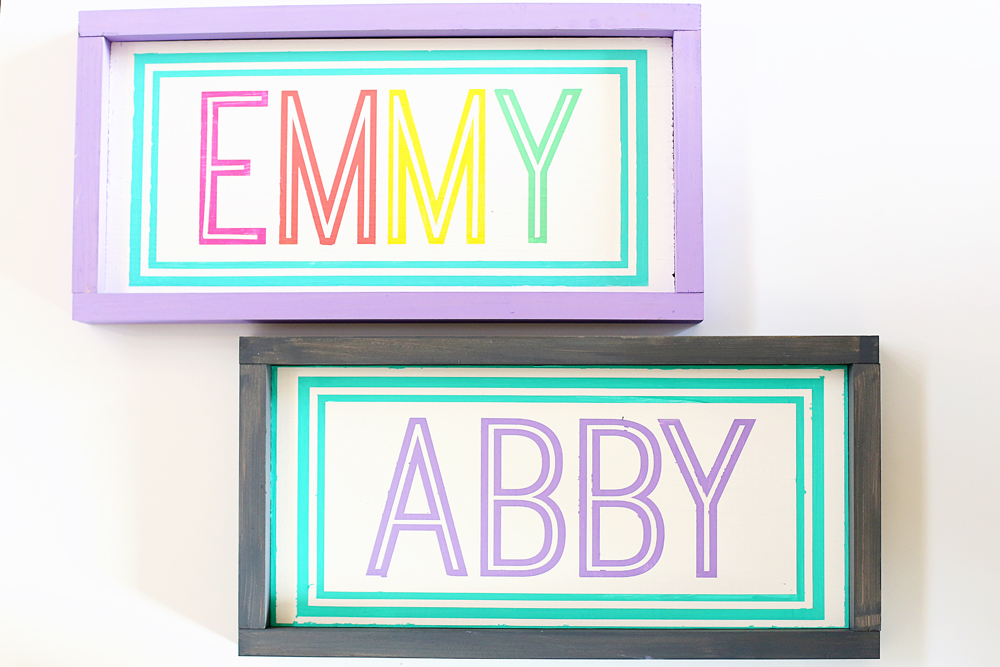
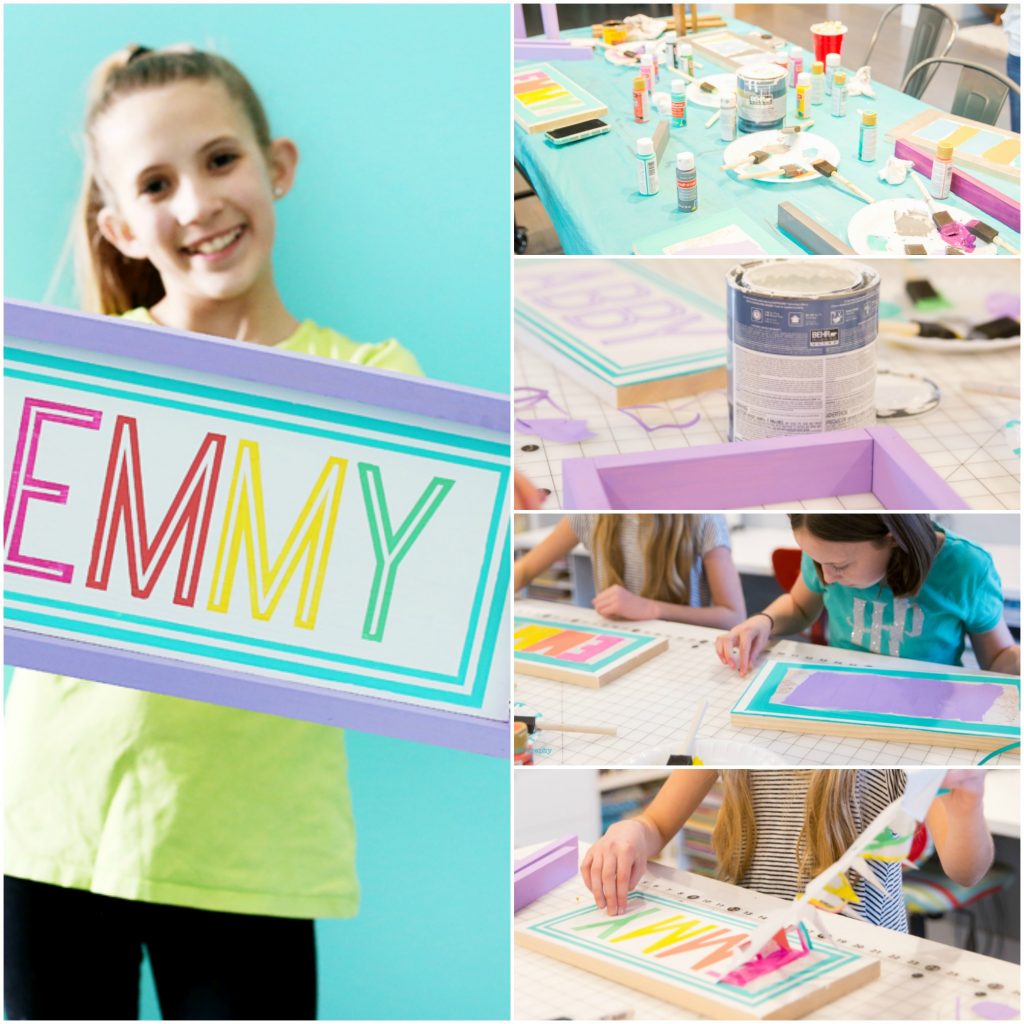
We had a couple of girls over for a crafty afternoon and made my go-to project, wood signs! This time was fun because instead of a decal or quote, the girls painted their own name stencils. The DIY Name Sign turned out so awesome!
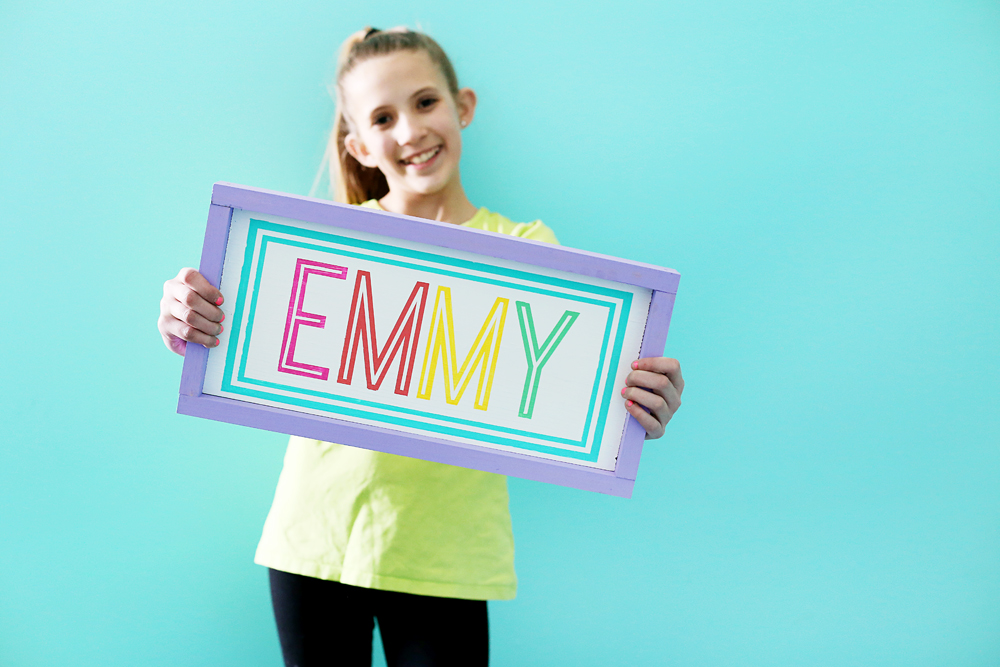
Turned out so great, right?! I wish I would have remembered to get a picture of all 4 completed signs together – oh well!
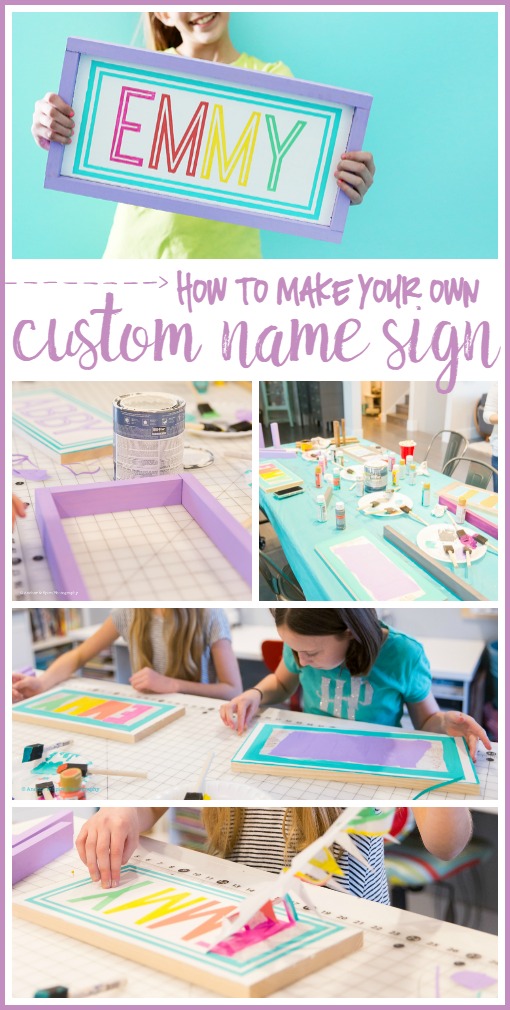
Let’s just jump right into details!
DIY Name Sign
Mostly this post is filled with pretty in-process pictures, my friend Rachael came out and snapped amazing pictures to showcase my craft room for you – be sure to check her out on facebook at Anchor & Spire Photography – she does a great job!! If you’re in the Kansas City Area and are looking for a lifestyle photographer, you’ve found one!
TIPS AND TRICKS AND TUTORIALS
I have a couple of super similar posts already on how to make wood signs, so you’ll want to check those out for details:
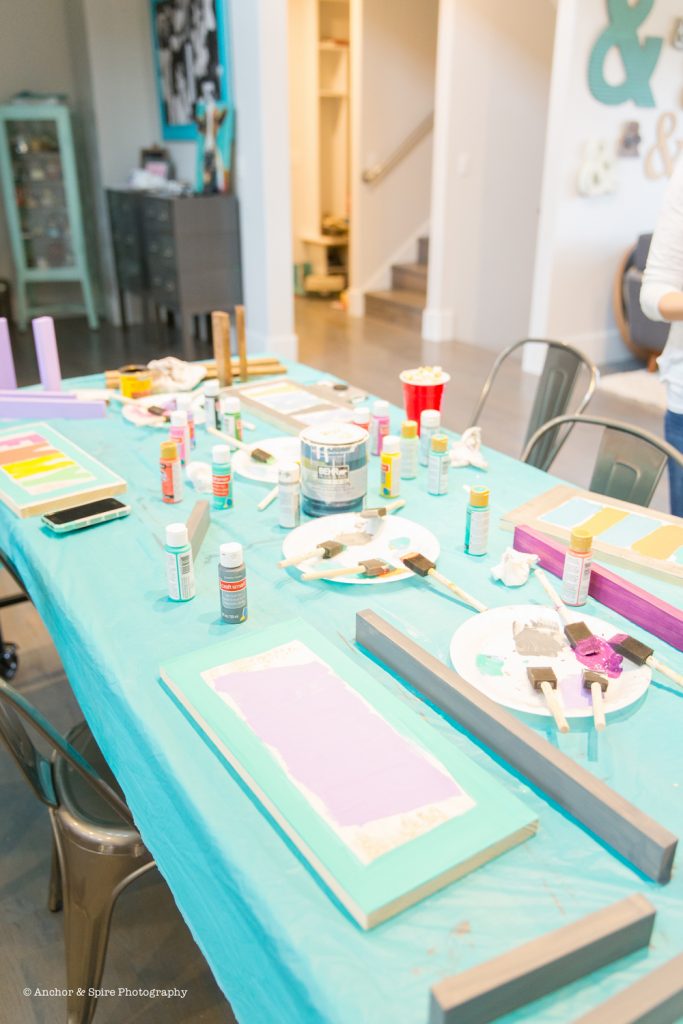
Set UP
–put down plastic tablecloths
–have tons of paint choices ready!
–due to time constraints, I already had pre-sealed their stencil (learn about that trick in the post mentioned above, Heart Love Wood Sign)
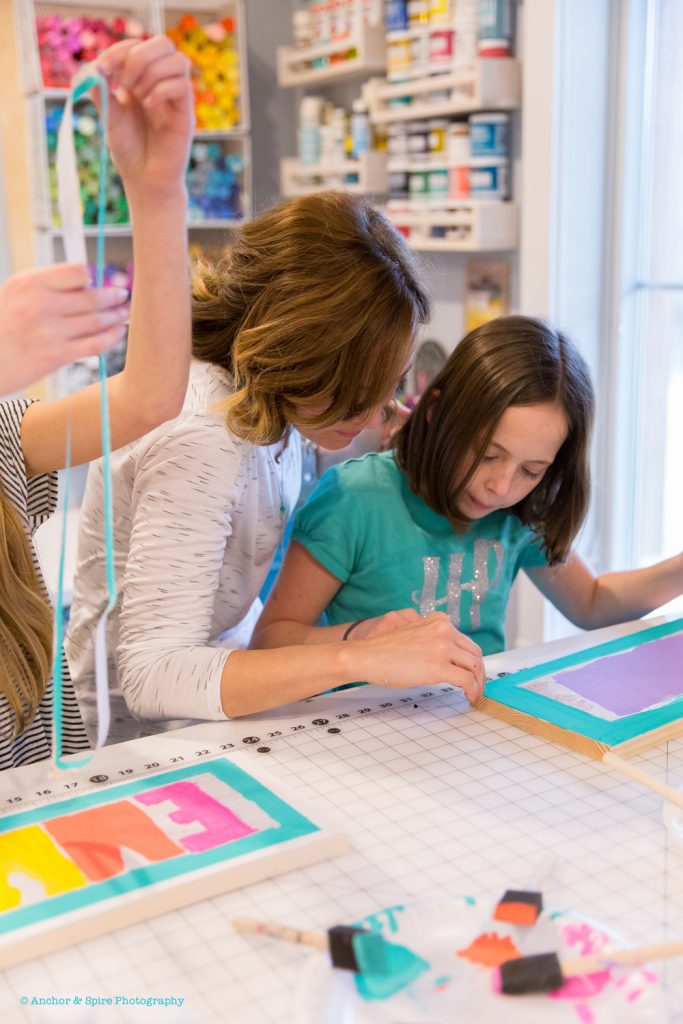
Paint
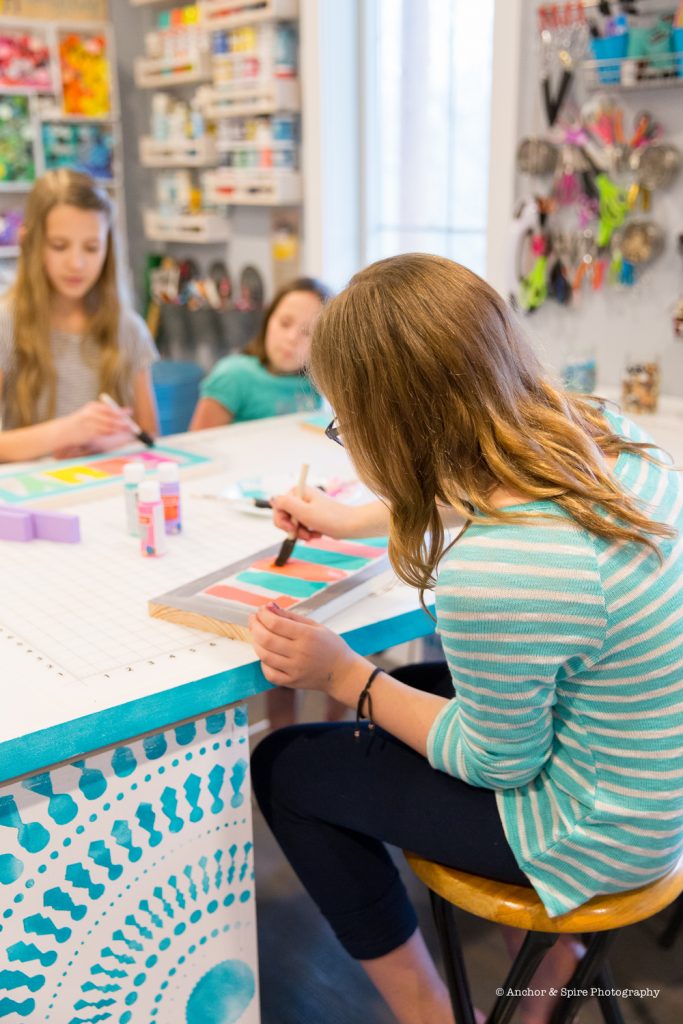
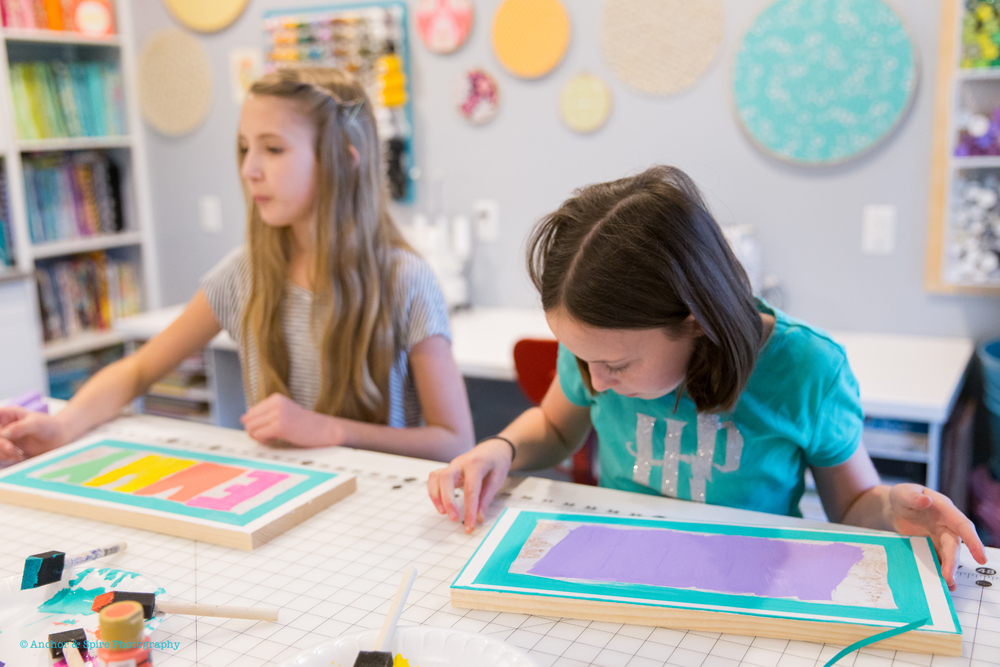
–paint the stencil (picking colors might be the hardest part!)
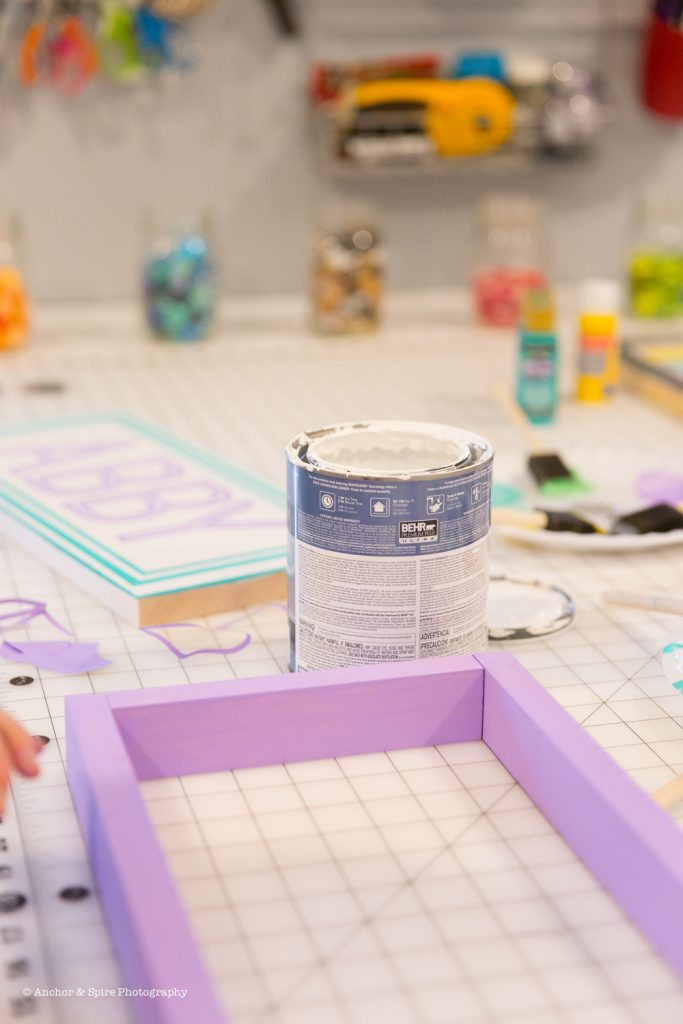
–also paint the trim boards
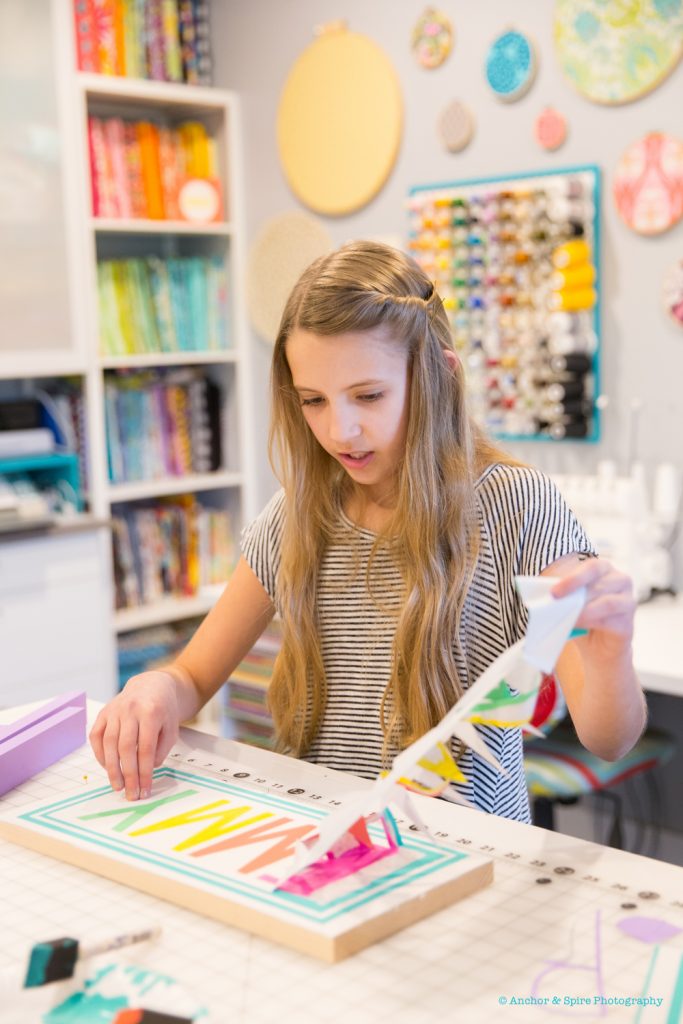
Peel
When the paint is mostly dry, it’s time to peel out the stencil – this is my favorite part, the grand reveal!
Just take it slow and easy, and it’ll be done in no time!
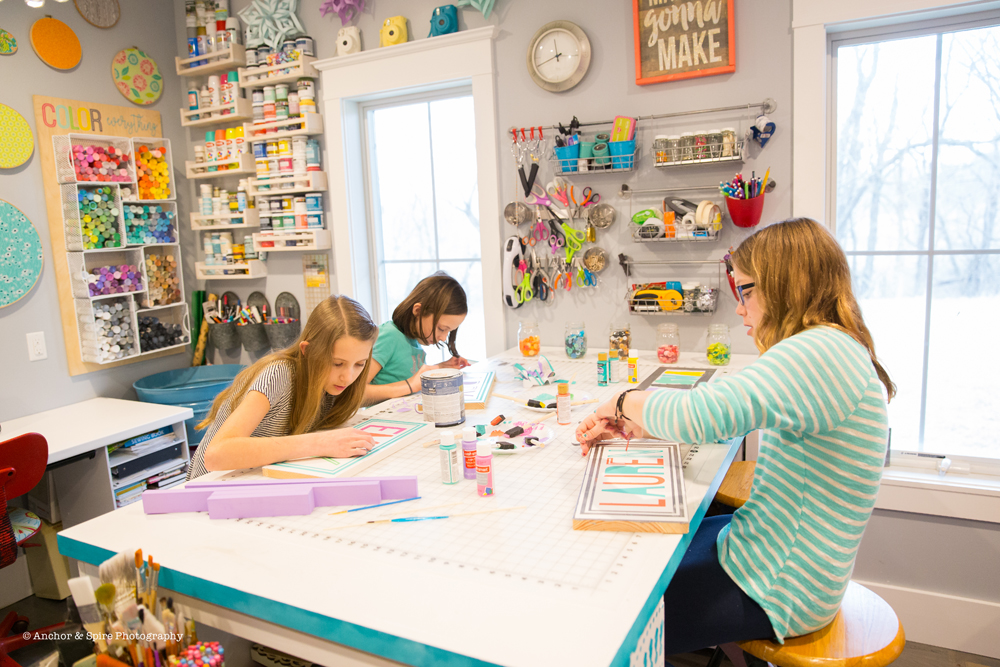
Assemble
Then you can nail on the trim boards. That’s all there is to it!
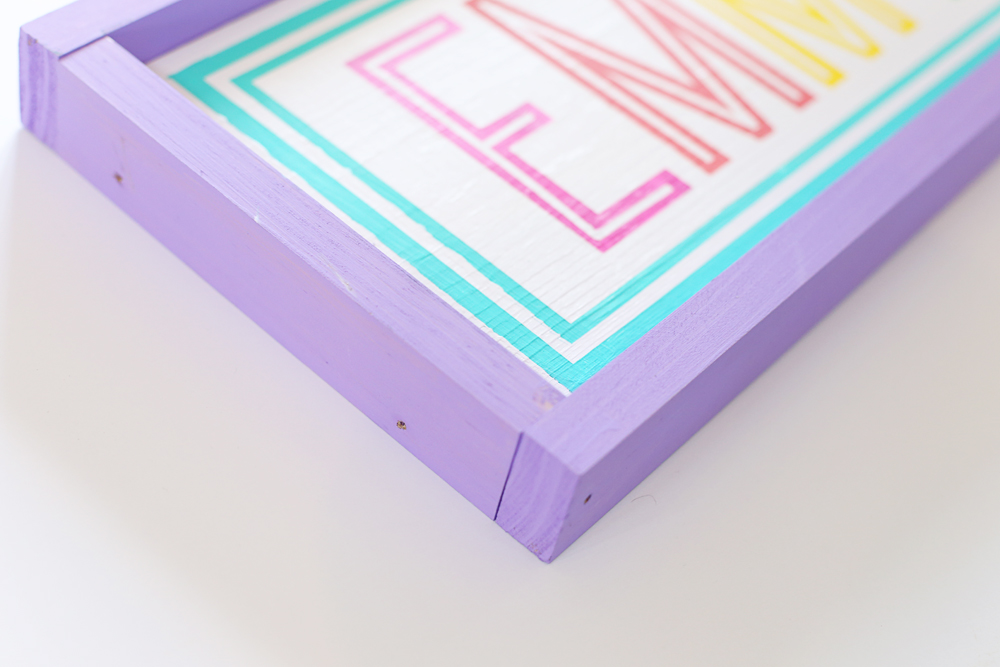
Again, more details can be found in those other posts mentioned.
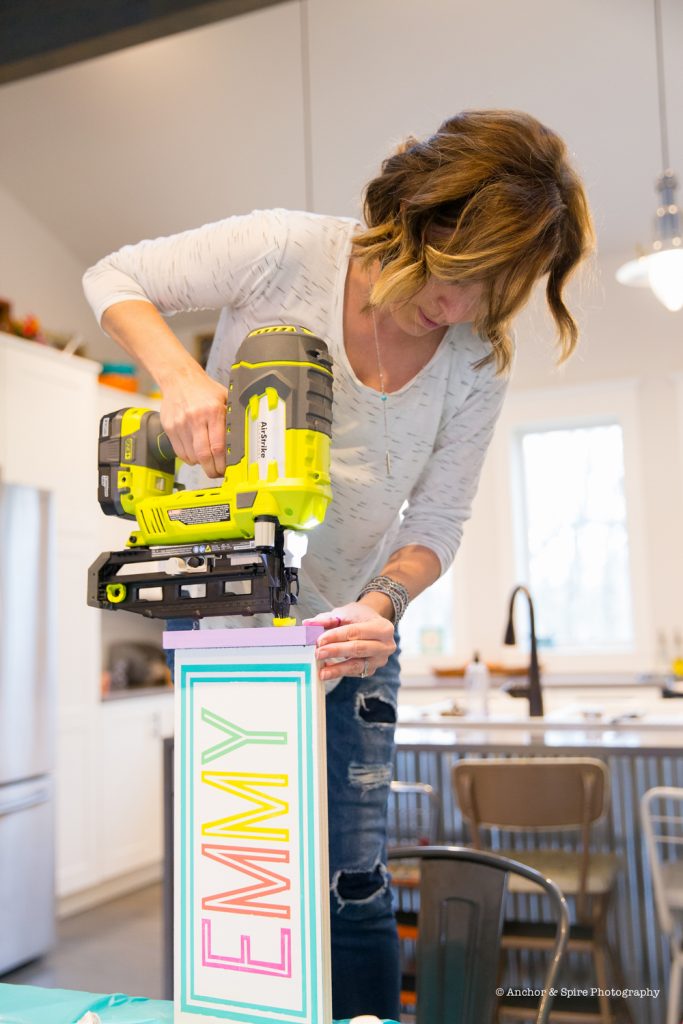
And look – those crisp lines that we love!!
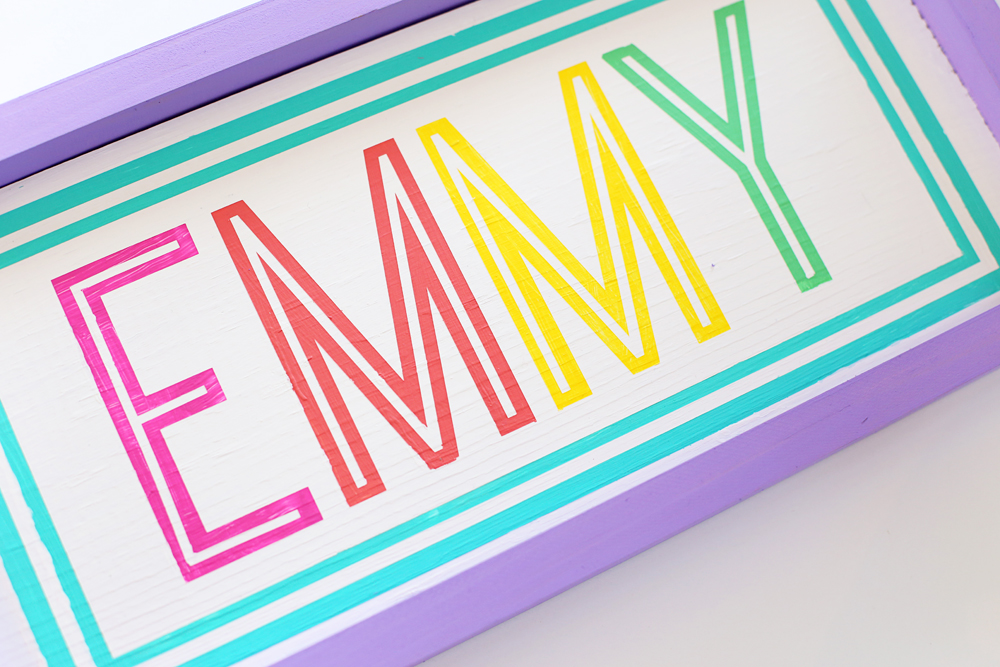
This is a way fun craft project for any age!


Can you please tell me what font you used for these name boards and the size of your letters and board? I absolutely love these and want to do them for our “cousins craft” at our upcoming family reunion! Thank you so much!!
the font is called Ostrich Sans Inline – I love it too!! I think I used 1×8 boards, so they’re probably about 7 inches wide, maybe 15 inches long? hope that helps!