this is a sponsored post in collaboration with Waverly Fabrics – all opinions are my own
If you’re looking for a perfect simple sewing project for summertime, look no further, I’ve got ya covered! Aren’t these DIY Drink Coozies just the funnest thing? They’re a great way to feature awesome fabric in a quick and easy project. And of course there’s the whole keeping-your-drink-cool thing;) Summer nights sipping orange soda on the deck with friends calls for cute coozies for sure. I love these especially because of the tie closure – yep, no sewing on buttons! You’ll be sewing up a bunch of coozies in no time…
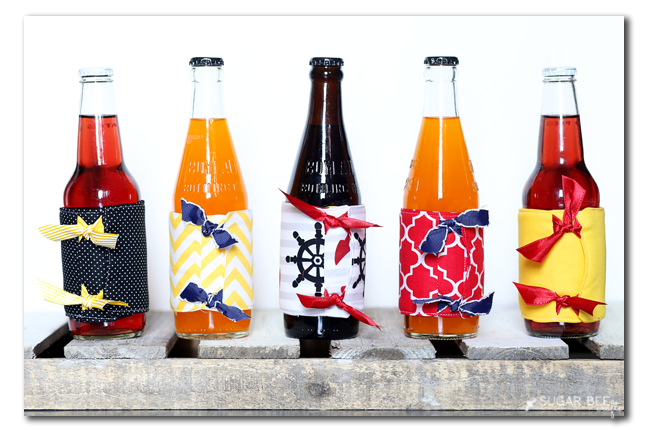
And once you have a bunch, you’ll wonder how you ever survived without them 😉
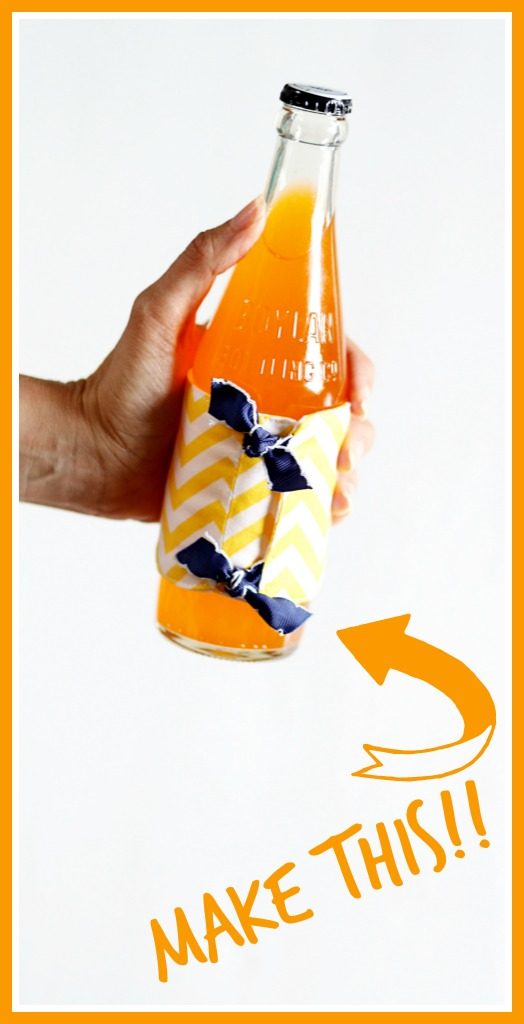
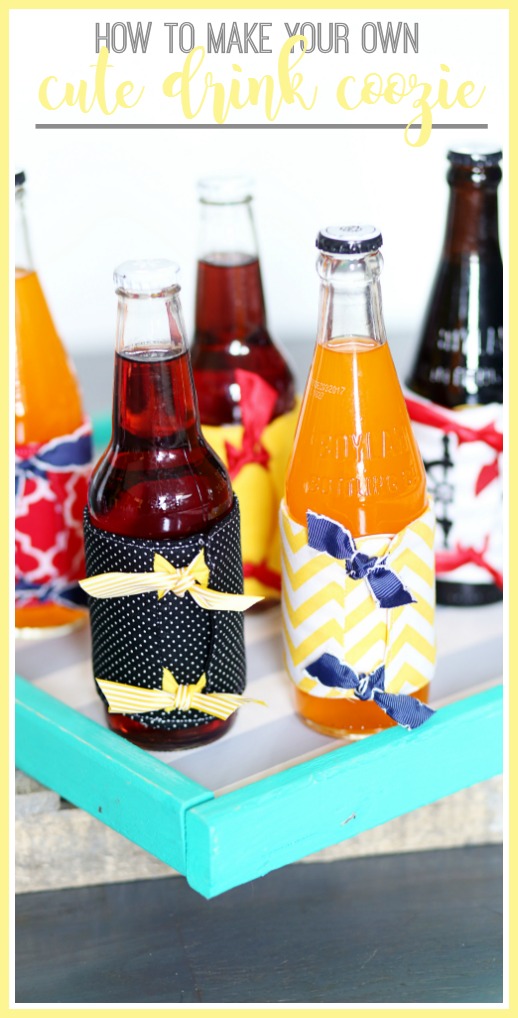
DIY Drink Coozies
You’ll Need:
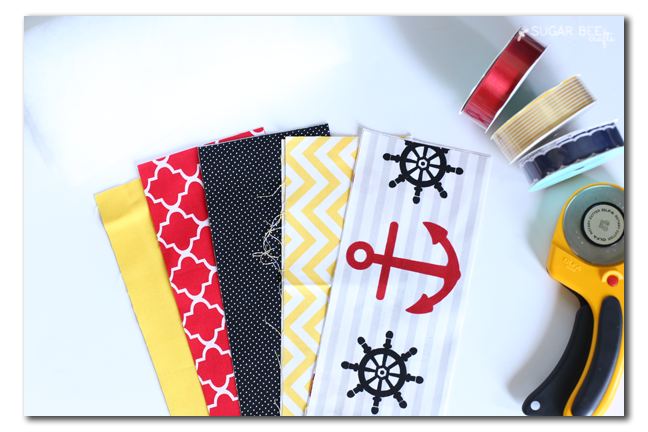
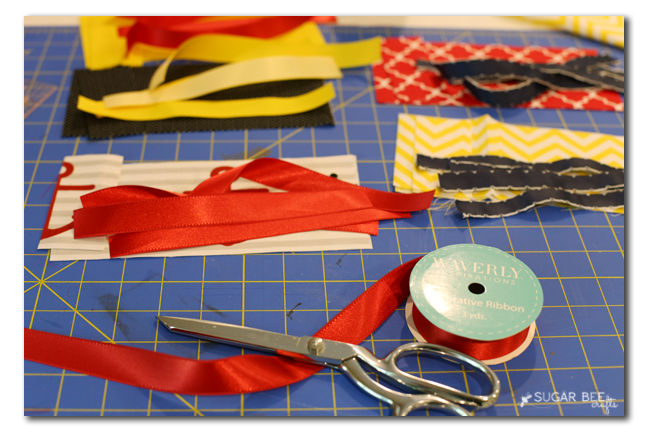
–fabric in a variety of prints – I used these nautical options from Waverly Fabric (found at Walmart – so so cute!!) and I just LOVE them for summer!
–batting
–coordinating ribbon – again, I used Waverly
–basic sewing notions, etc.
And if you want fun soda, you can order it online!
First up, you can measure your drinks if they’re an odd size. If you’re making coozies for basic glass bottles, I’ve got ya covered…
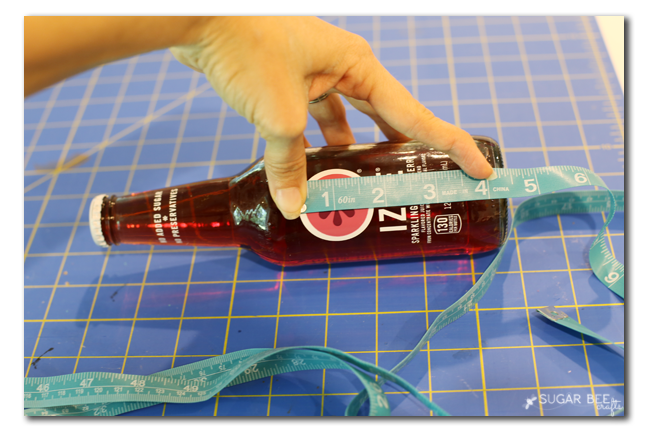
For a basic size, you’ll need to cut 2 pieces of fabric and 1 piece of batting, 4 inches by 10 1/2 inches. Cut 4 pieces of ribbon about 8 inches long.
Next take one of the pieces of fabric and measure in 1 3/4 inch and cut along that line. As shown below:
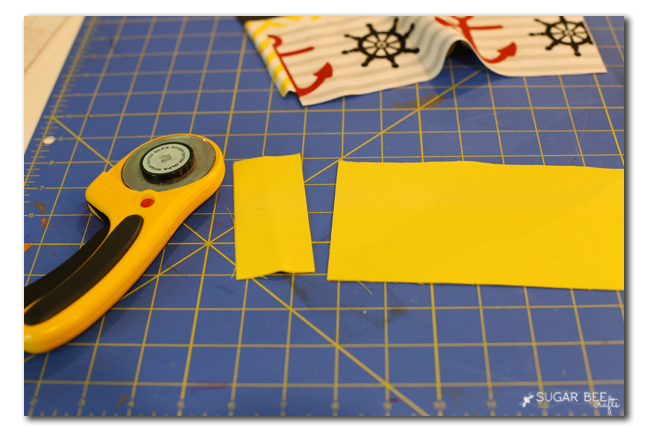
The reason you do that is so that when the coozie wraps the bottle, there is a “tab” that covers the gap behind where the ties are – you’ll see as we go along…
So, place 2 ribbons at the top and bottom edge where you just cut:
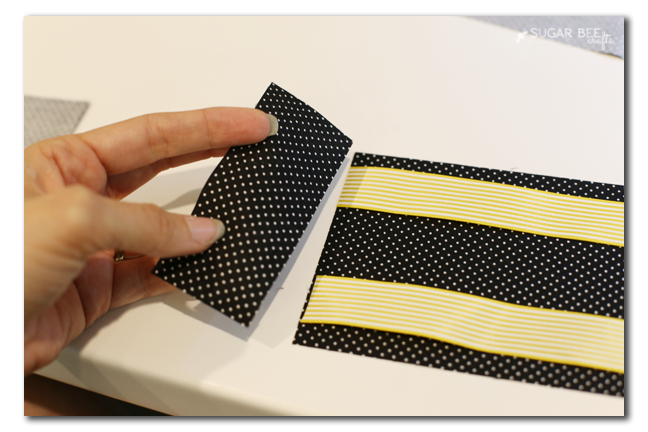
Then take the piece you cut off and put it on top, lining up that edge. Right sides are together. Sew along that edge.
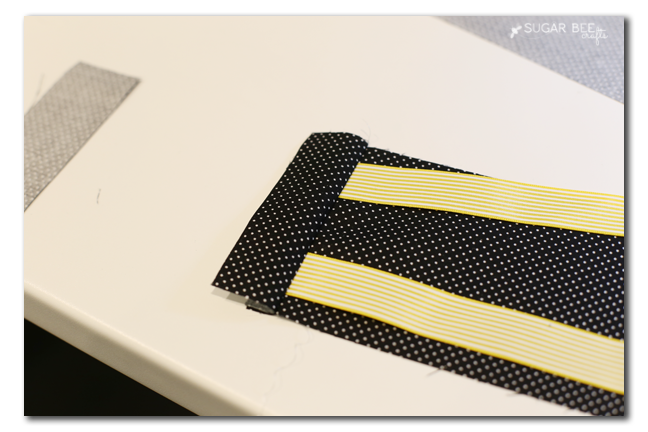
Press that seam open.
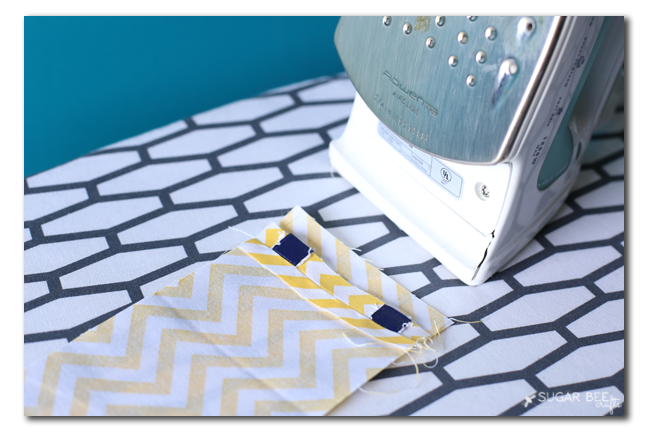
Next up, place the 2 other ribbons on the other short side.
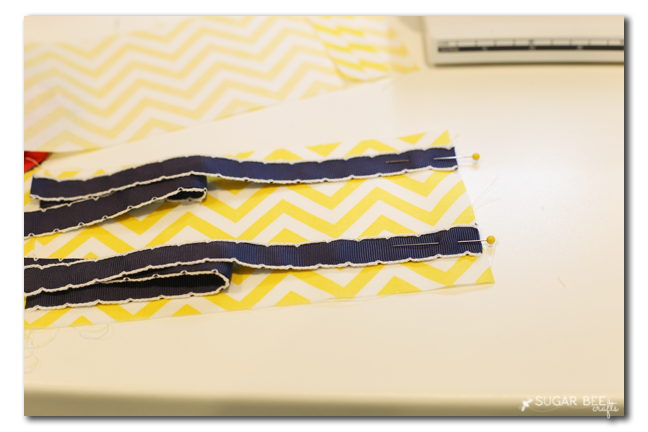
Place the second piece of fabric on top (you may need to trim it slightly to fit the bottom fabric that you pieced together). Then put the piece of batting on top of that.
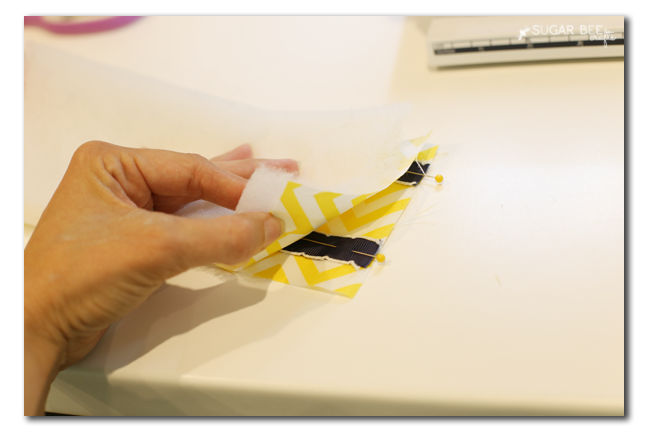
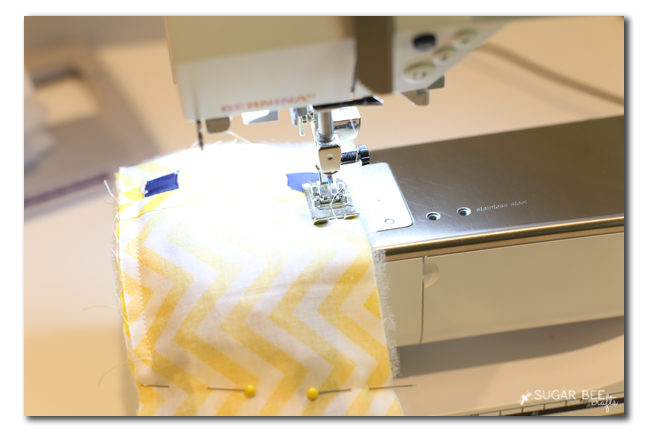
Then sew all the way around the edges of that “fabric sandwich”, leaving a 2-3 inch opening on one side. I like to sew with the batting down, so I can see the edge of the fabric better. The trickiest part is making sure that the loose ends of the ribbon stay inside the sandwich and don’t get caught into your sewing.
Trim off the corners (careful not to clip where you sewed!) and any excess batting:
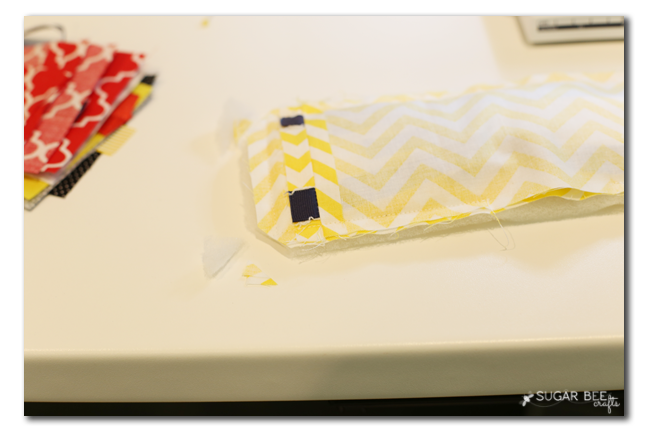
Turn it right-side out, iron to make the edges crisp, and then topstitch all along the edge. That wasy the hole is sewn closed.
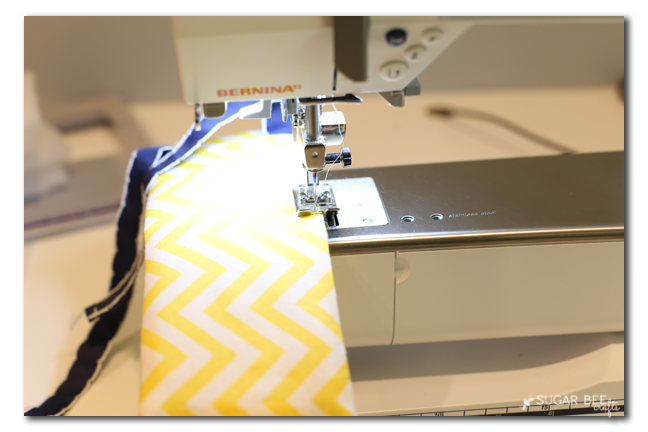
You can see the topstitching stand out a little on the black coozie below:
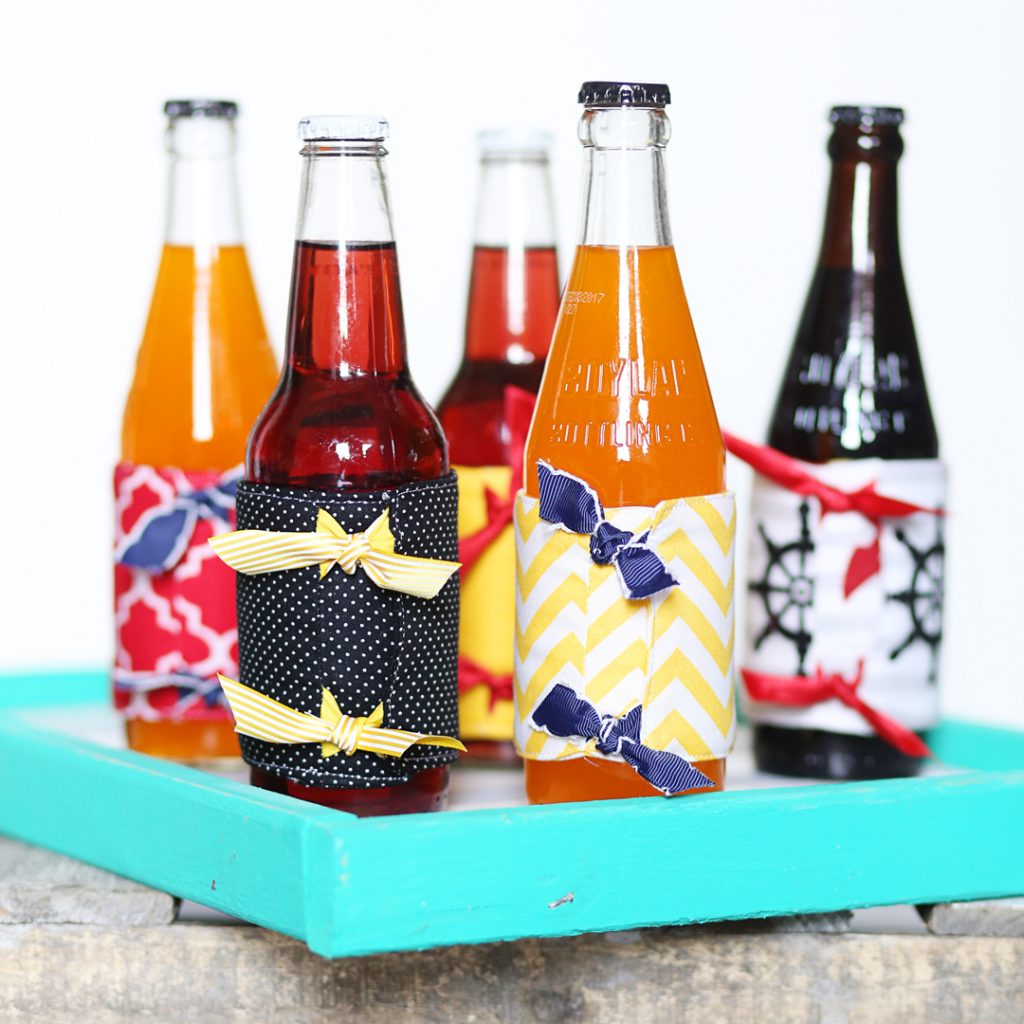
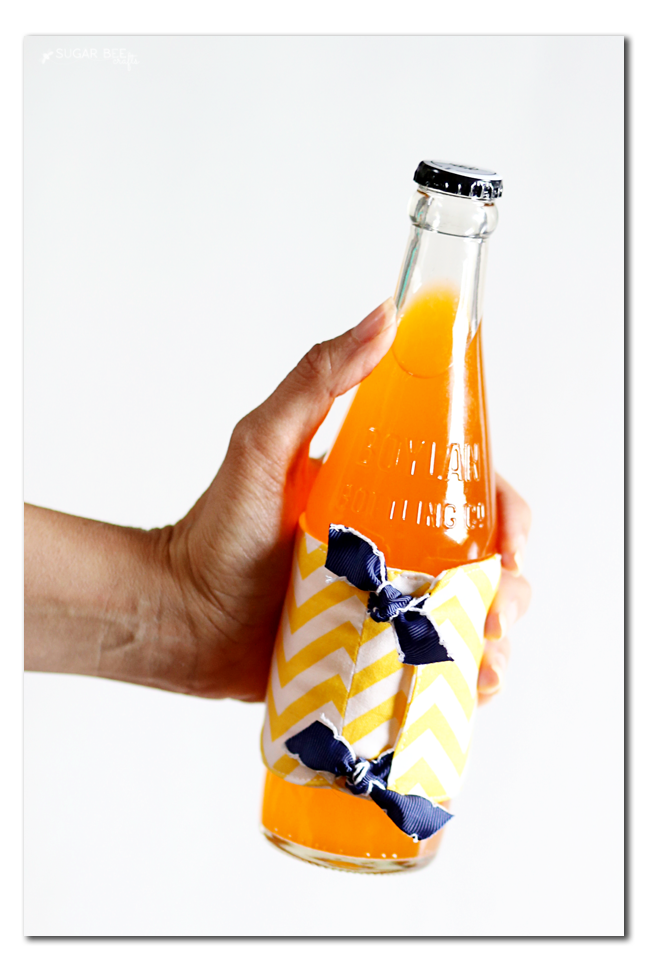
To tie the coozie, you’ll want to place the tab side on the bottle first, then wrap the coozie around and tie into place.
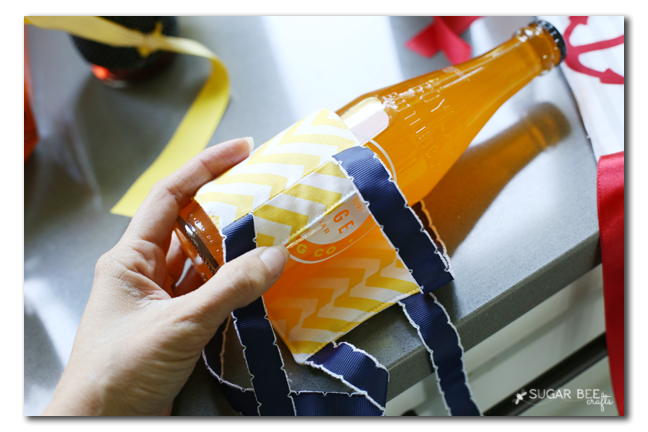
You can now see how the tab part helps to cover the gap, so the bottle stays chilled – perfect!
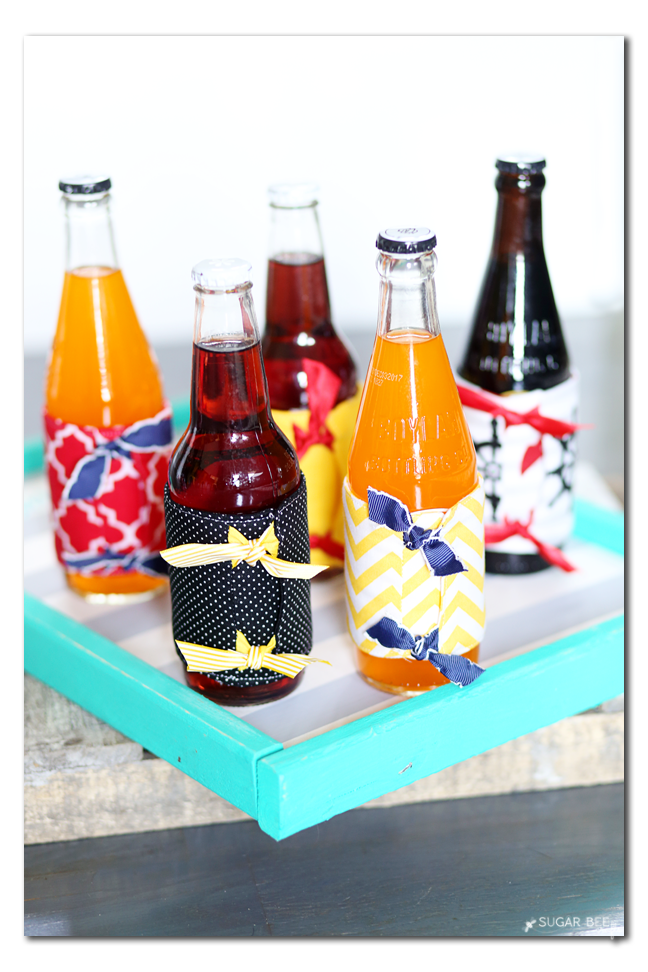
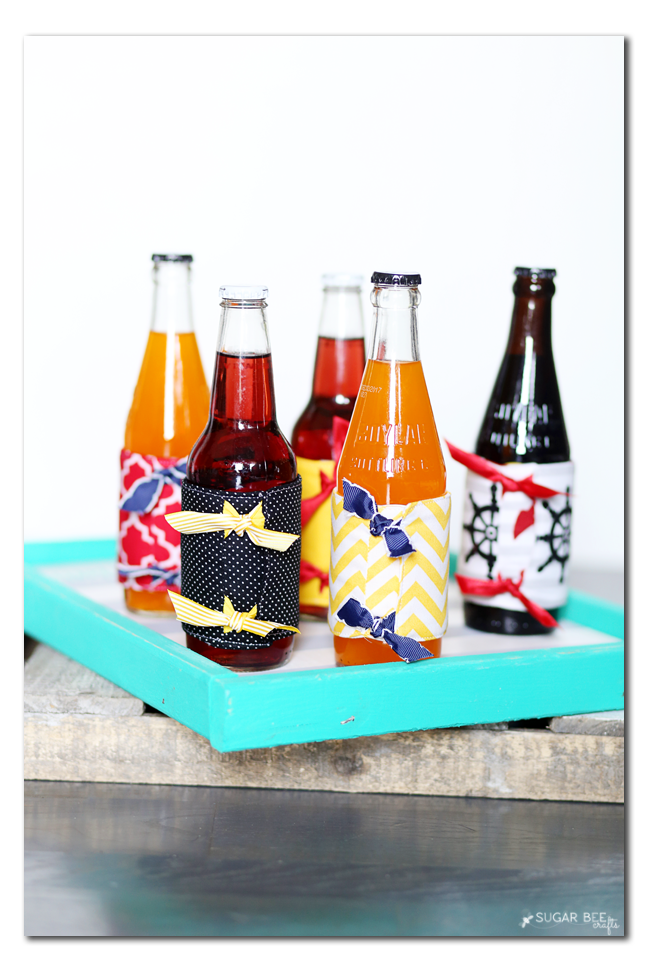
These would also make perfect gifts – housewarming, or wedding gifts, or just because.
Enjoy making loads of DIY Drink Coozies!!
If you love sewing projects, I’ve got a bunch of Sewing Tutorials you’ll want to check out!


[…] DIY Drink Coozies, by Sugar Bee Crafts […]