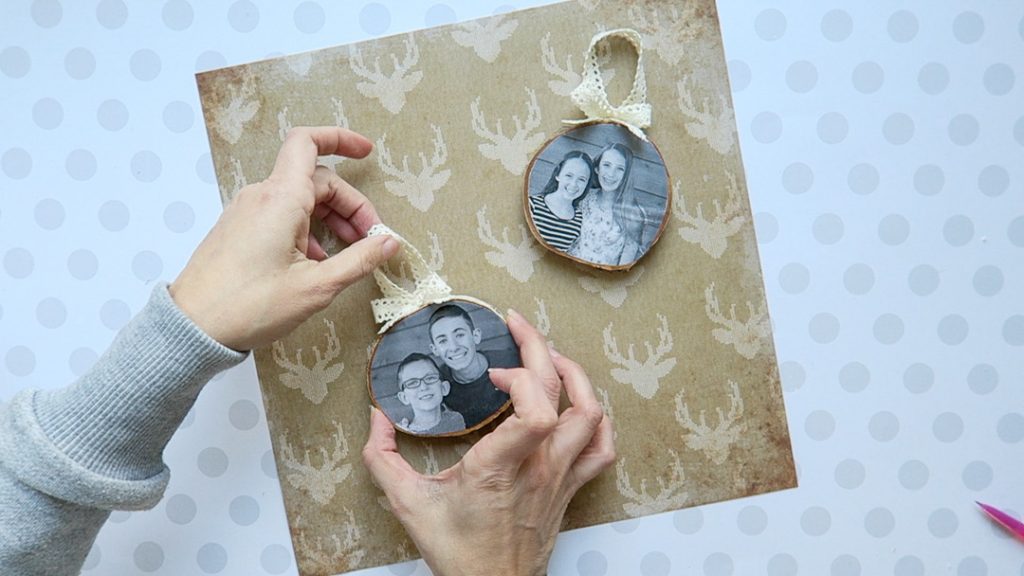
I LOVE making photo ornaments, and my kiddos love looking back at ornaments from the past and seeing how cute they were 😉 Today I am going to show you how to make a Wood Slice Photo Ornament. This can be a fun project to make with your kids, or to give as gifts to grandparents.
Of course, in order to make a great photo ornament, you need to start with a great photo. I have some good photos, but not all of my kids have their eyes open in all of them. So first I’ll show you how to quickly and easily open closed eyes using Photoshop Elements 2018 – it’s like magic!!
This post contains affiliate links that may generate a small commission.
Open Closed Eyes in Photoshop Elements 2018
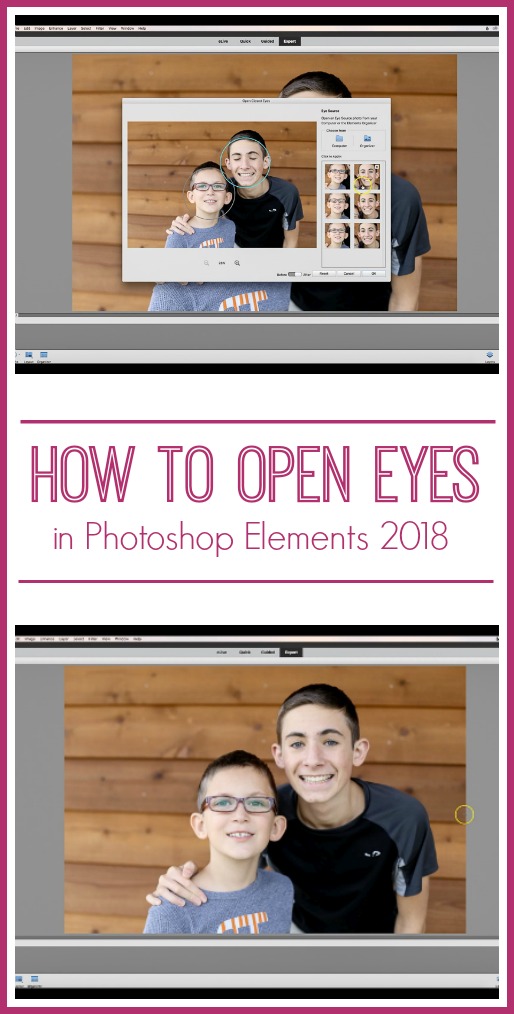
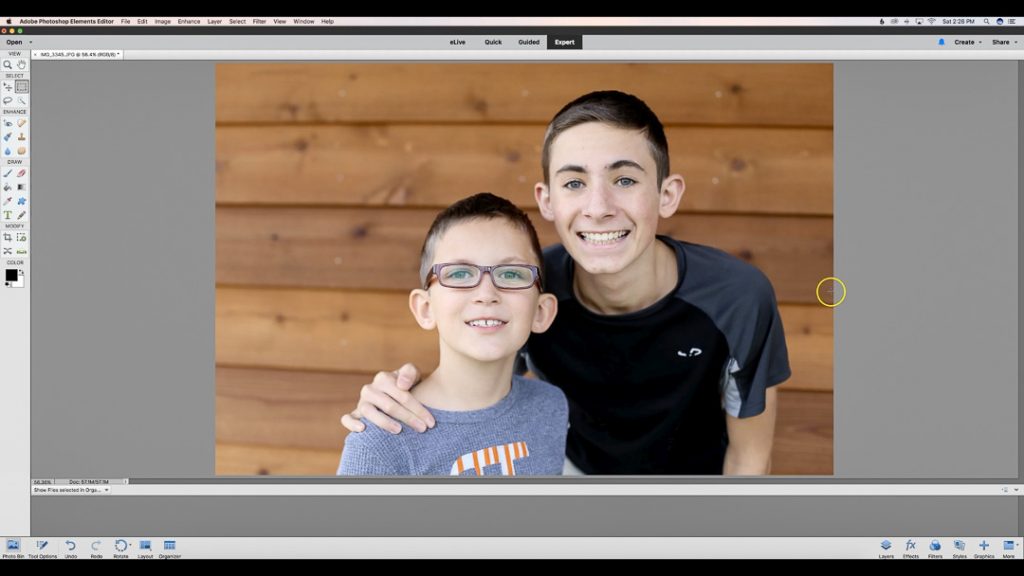
One of the awesome new features with Photoshop Elements is the Open Closed Eyes feature – in a few quick clicks eyes can go from closed to open in no time!
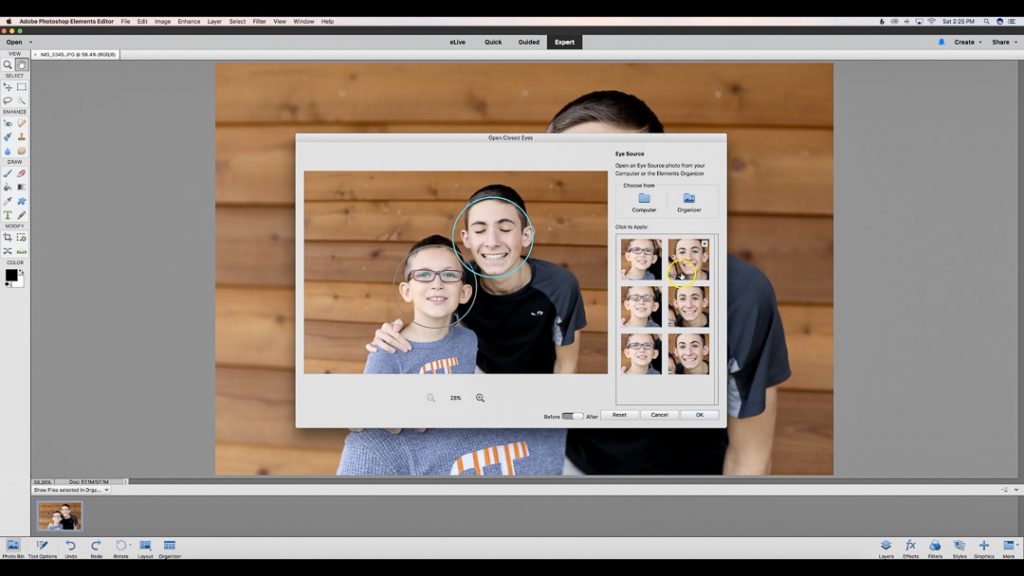
Here are the steps:
- Have a photo open to edit
- Under the “Enhance” tab, choose “Open Closed Eyes” from the dropdown
- Make sure highlighted circle is on the face that needs editing, click to change faces if needed.
- Choose the Eye Source. The Eye Source can be the same setting, different setting, even a different person. The Open Closed Eyes feature analyzes the subjects of the photos in your Organizer so that it can find the perfect open eye match.
- Select which eyes to apply and click “ok”. That’s it!
The program makes it SO easy!! Now I have photos where everyone looks their best!
Wood Slice Photo Ornament
Now that your photo is how you’d like it, let’s move on to making the ornaments. Supplies you’ll need:
-printed photos (mine are printed on a laser printer onto regular copy paper)
-wood slices (you can get wood slices here…or cut your own)
–mod podge (matte) and a foam brush
–fancy ribbon and hot glue and gun for the hanger
Wood Slice Photo Ornament Video Tutorial
If you like the step-by-step written directions, I have those below, but if you’d like to follow along with a video tutorial, I have that here for you:
Wood Slice Photo Ornament Tutorial
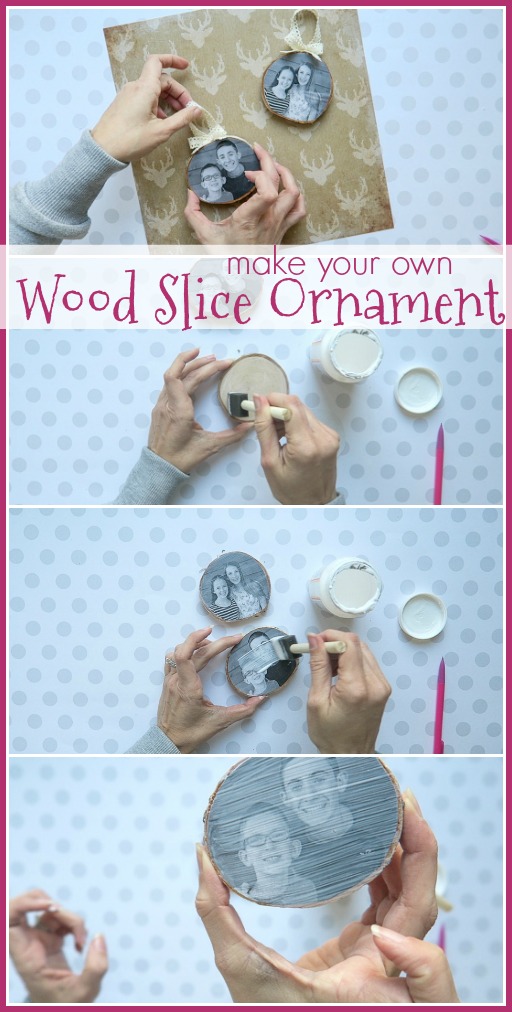
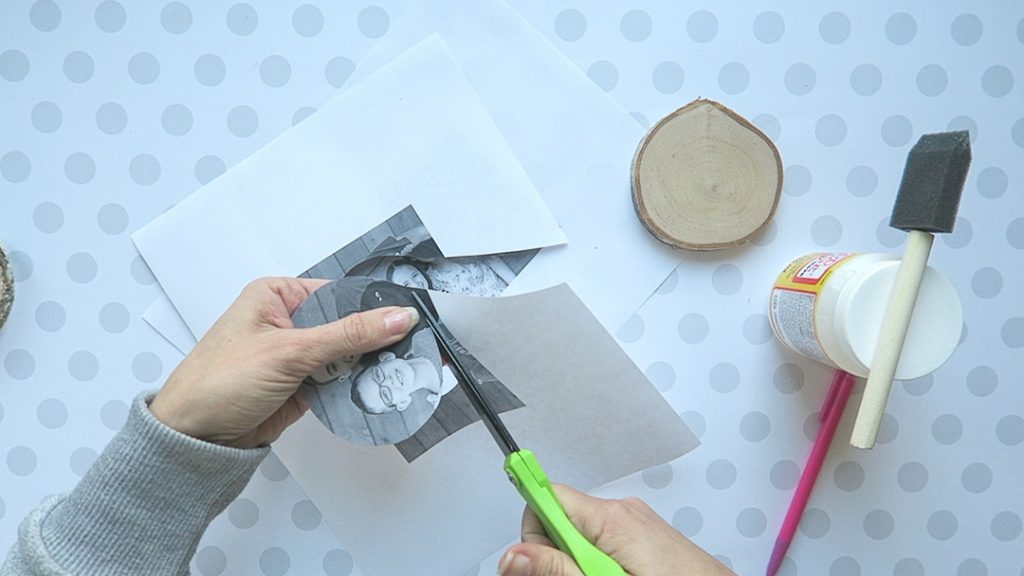
First place the wood slice on top of your photo – trace around the wood slice. Then cut out along that traced line:
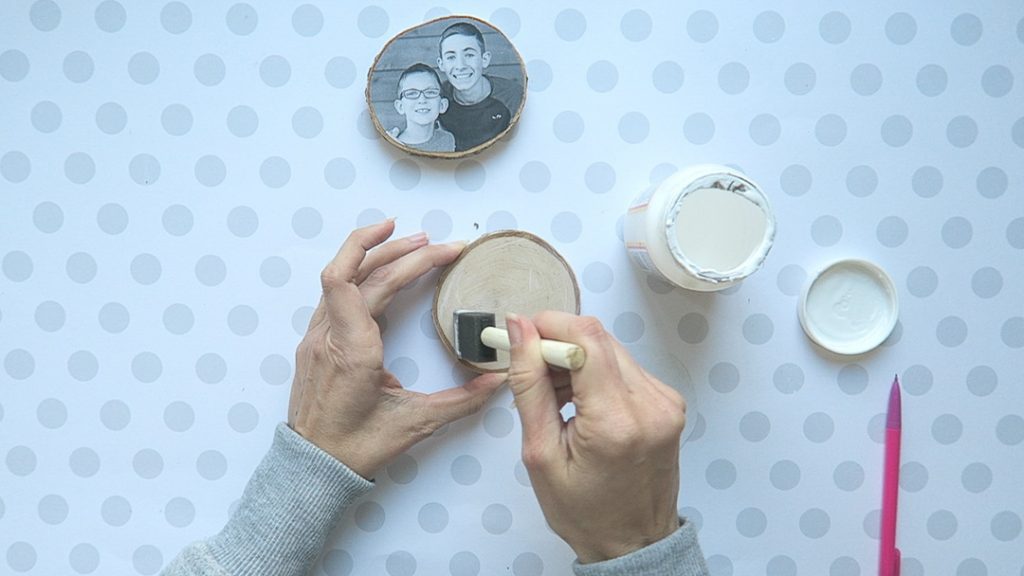
Next coat the wood slice in mod podge and then place the photo on top of the wood slice. Press firmly to secure it to the wood, and smooth out any air bubbles. Let dry.
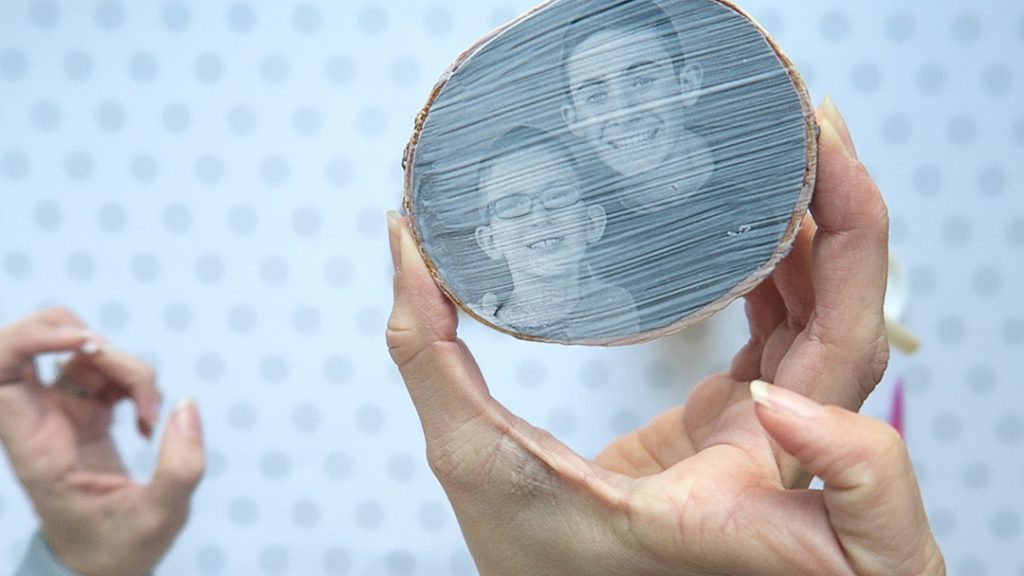
To seal the photo, paint another layer of mod podge directly over the photo:
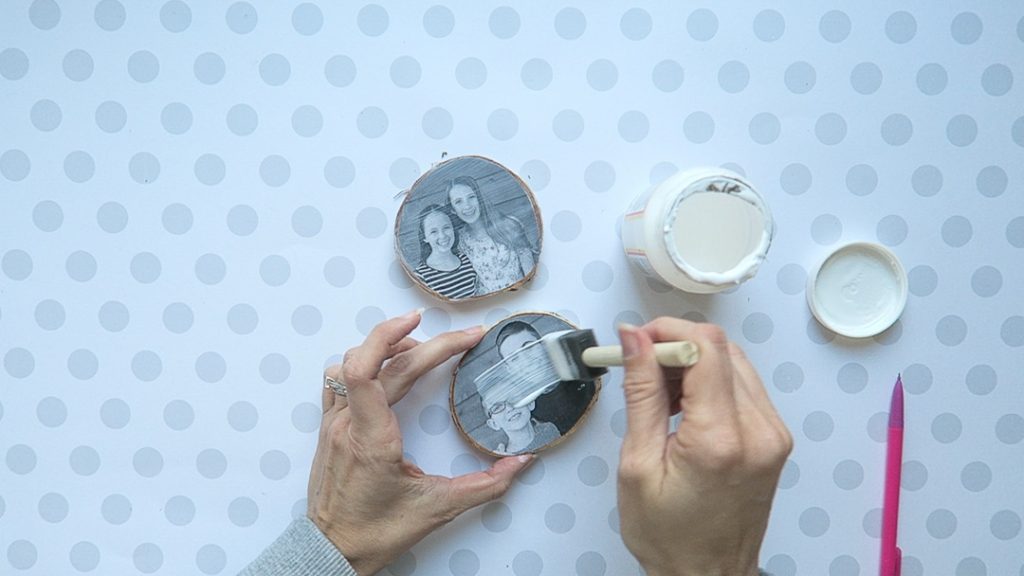
I love the hint of texture that it gives. Let dry.
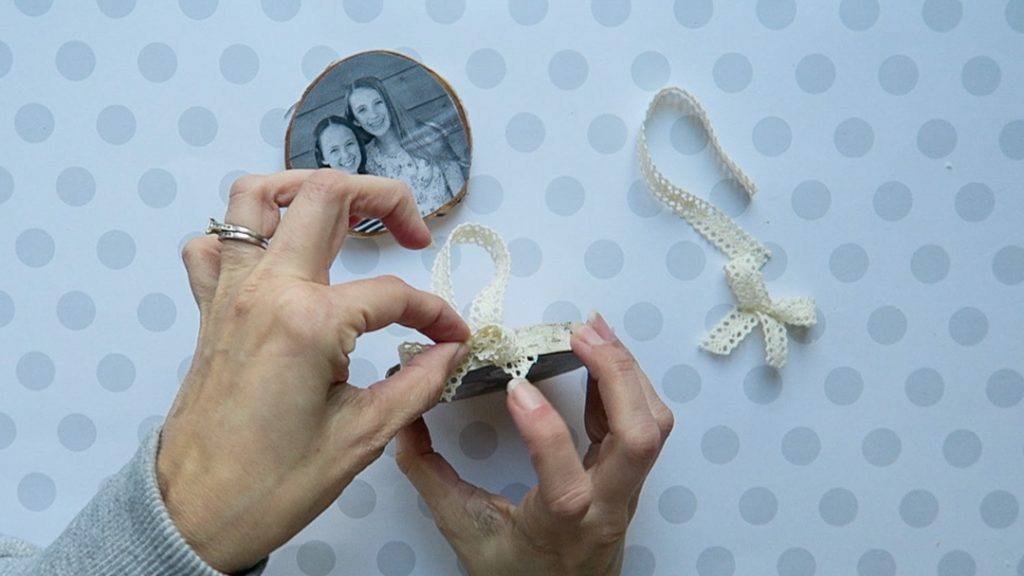
Tie ribbon into a loop and bow and secure with hot glue onto the back of the ornament. Let dry.
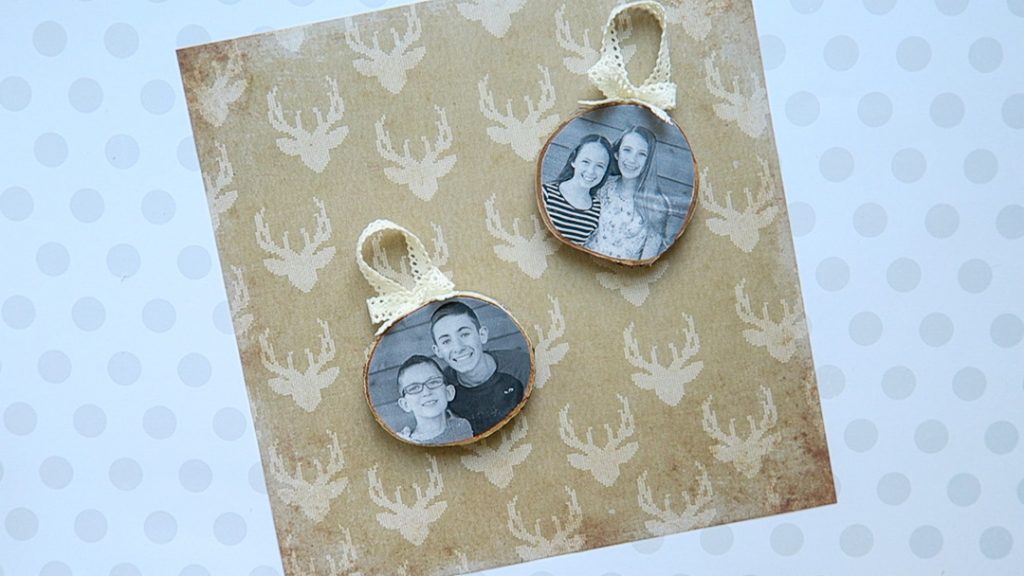
That’s all there is to it! Hang and enjoy!


I love this photo ornaments idea. I would like to offer one to ly nieces.