


Hi everyone! My name is Kalyn, and I am from And I Thought I Loved You Then. I am an almost 27 year old stay at home mother of 1. I love to blog about my baby girl, our adventures, and our crafts. We live in Michigan and as the weather gets colder, the more I enjoy to craft and bake. I hope you enjoy my tutorial, if you have any questions feel free to contact me!

If you wouldn’t mind I would like to start off this tutorial with a quick apology. My nails are DESTROYED!! I am attempting to participate in No Spend November so I am not able to go get my normal manicure. After deciding to take part in this I realized I have no nail polish remover so they look terrible. Please try to look past this and see how beautiful these trees are. Thank you : )

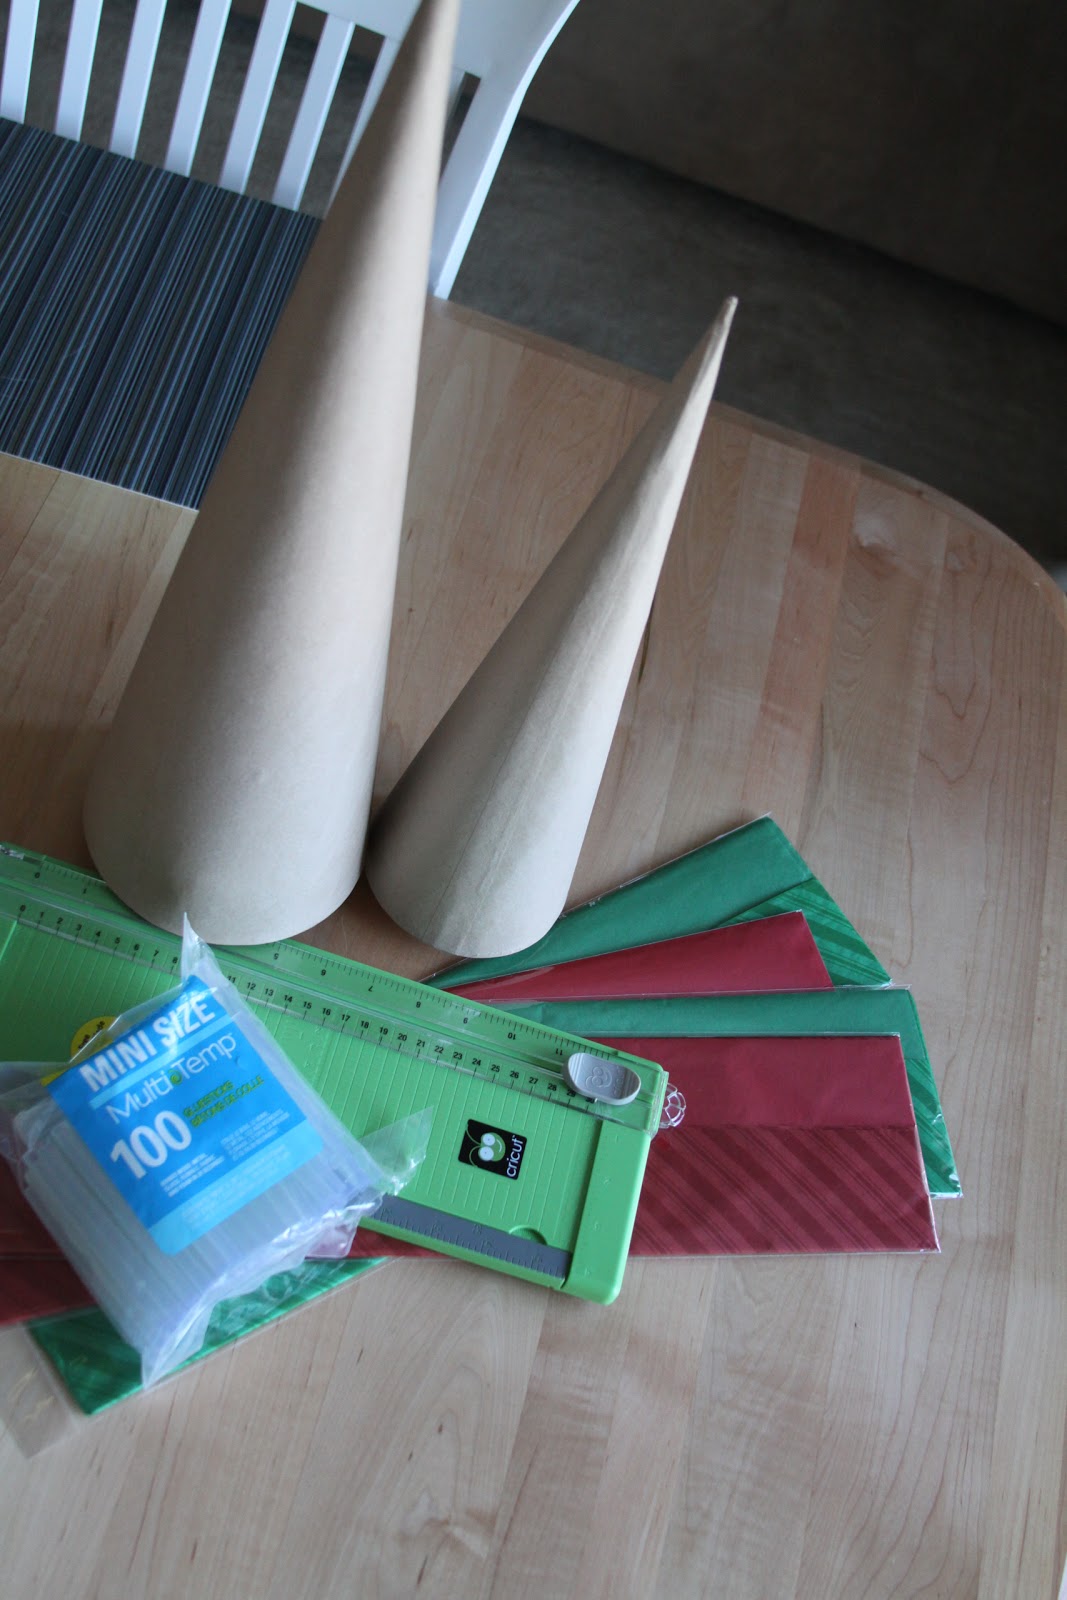
Supplies- 2 Tree Forms, I used paper trees, they are cheaper-Hobby Lobby Tissue Paper, I bought 4 packs of paper. Be conscious of the design of the paper, you don’t want anything too wild or that might show any mistakes-Dollar Store Glue Stick, I used 10 mini sticks-Already on hand Glue Gun-Already on hand Scissors- Already on hand Pen-Already on hand
Start out with your tissue paper, leave it folded like it comes. Cut it into strips about 1 inch wide. Once you have cut the whole pack into 1 inch strips, cut the strips into 1 inch squares. Separate all of the squares, it saves you time, they tend to stick together. If your paper has a pattern I would decide now how you will do it. I had a pattern of solids and stripes so I alternated them.

Next pick up one square in one hand and the pen in the other. Put the end of the pen in the middle of your paper
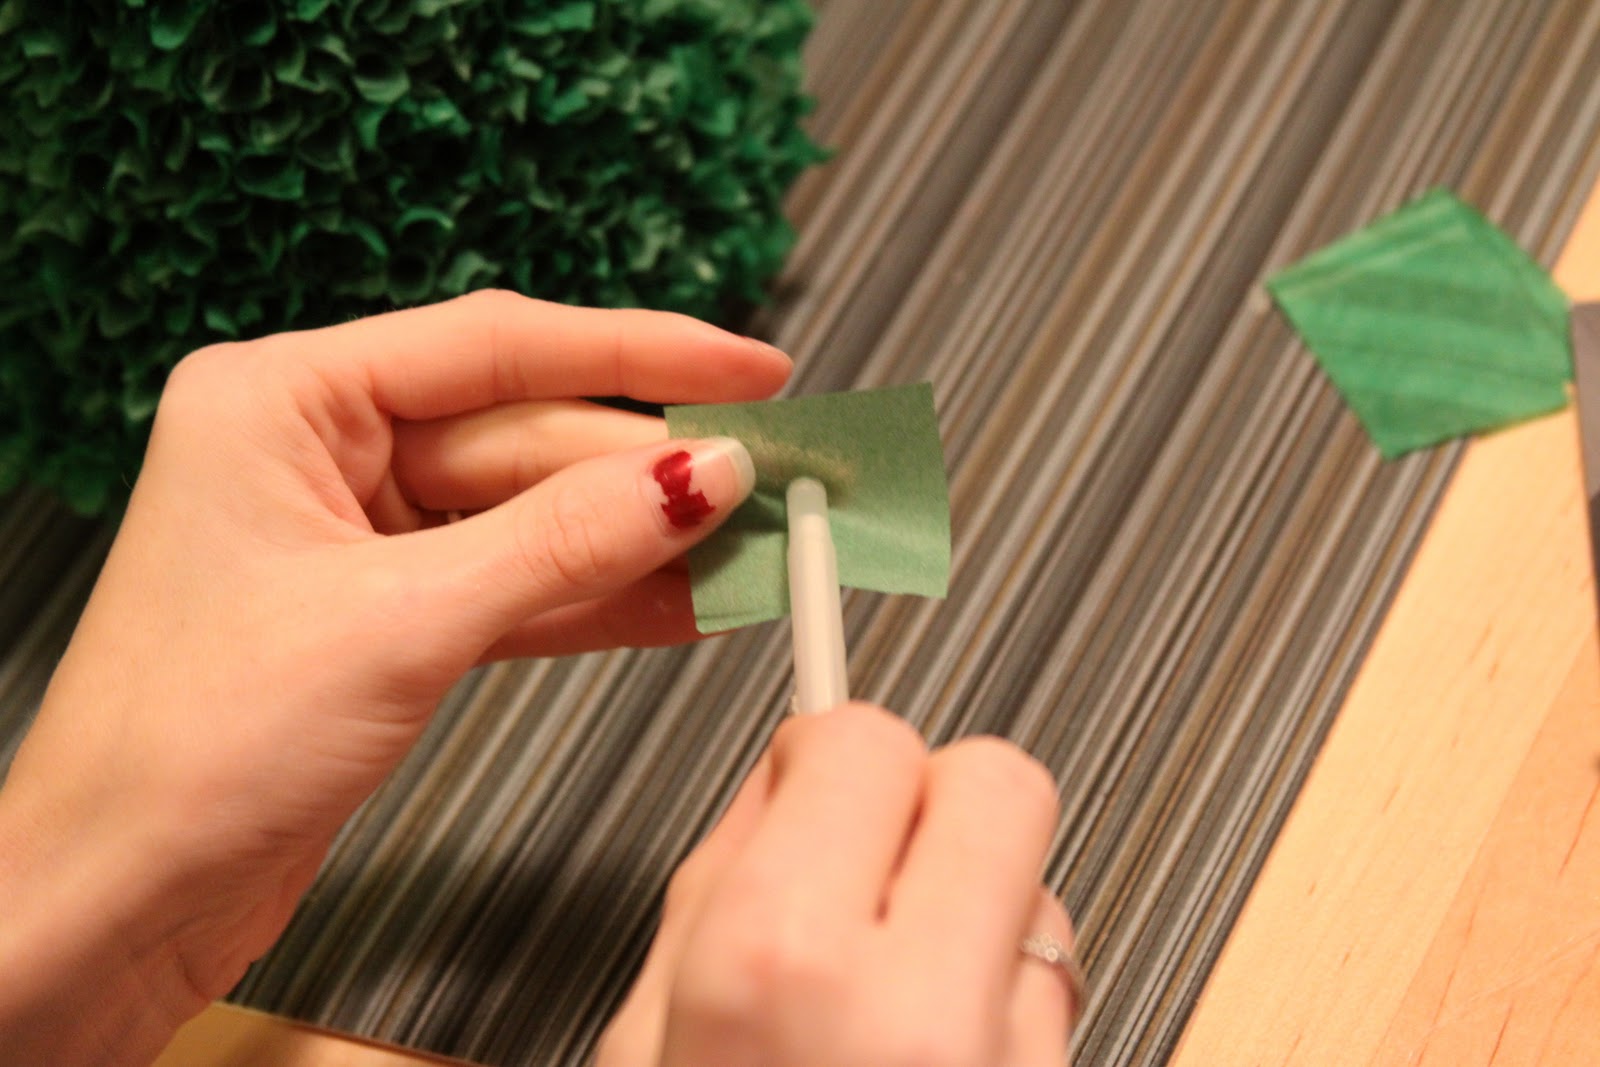
Fold the paper down with your finger tips. In no way does this need to be perfect, I think the imperfection of this gives the tree more fluff.
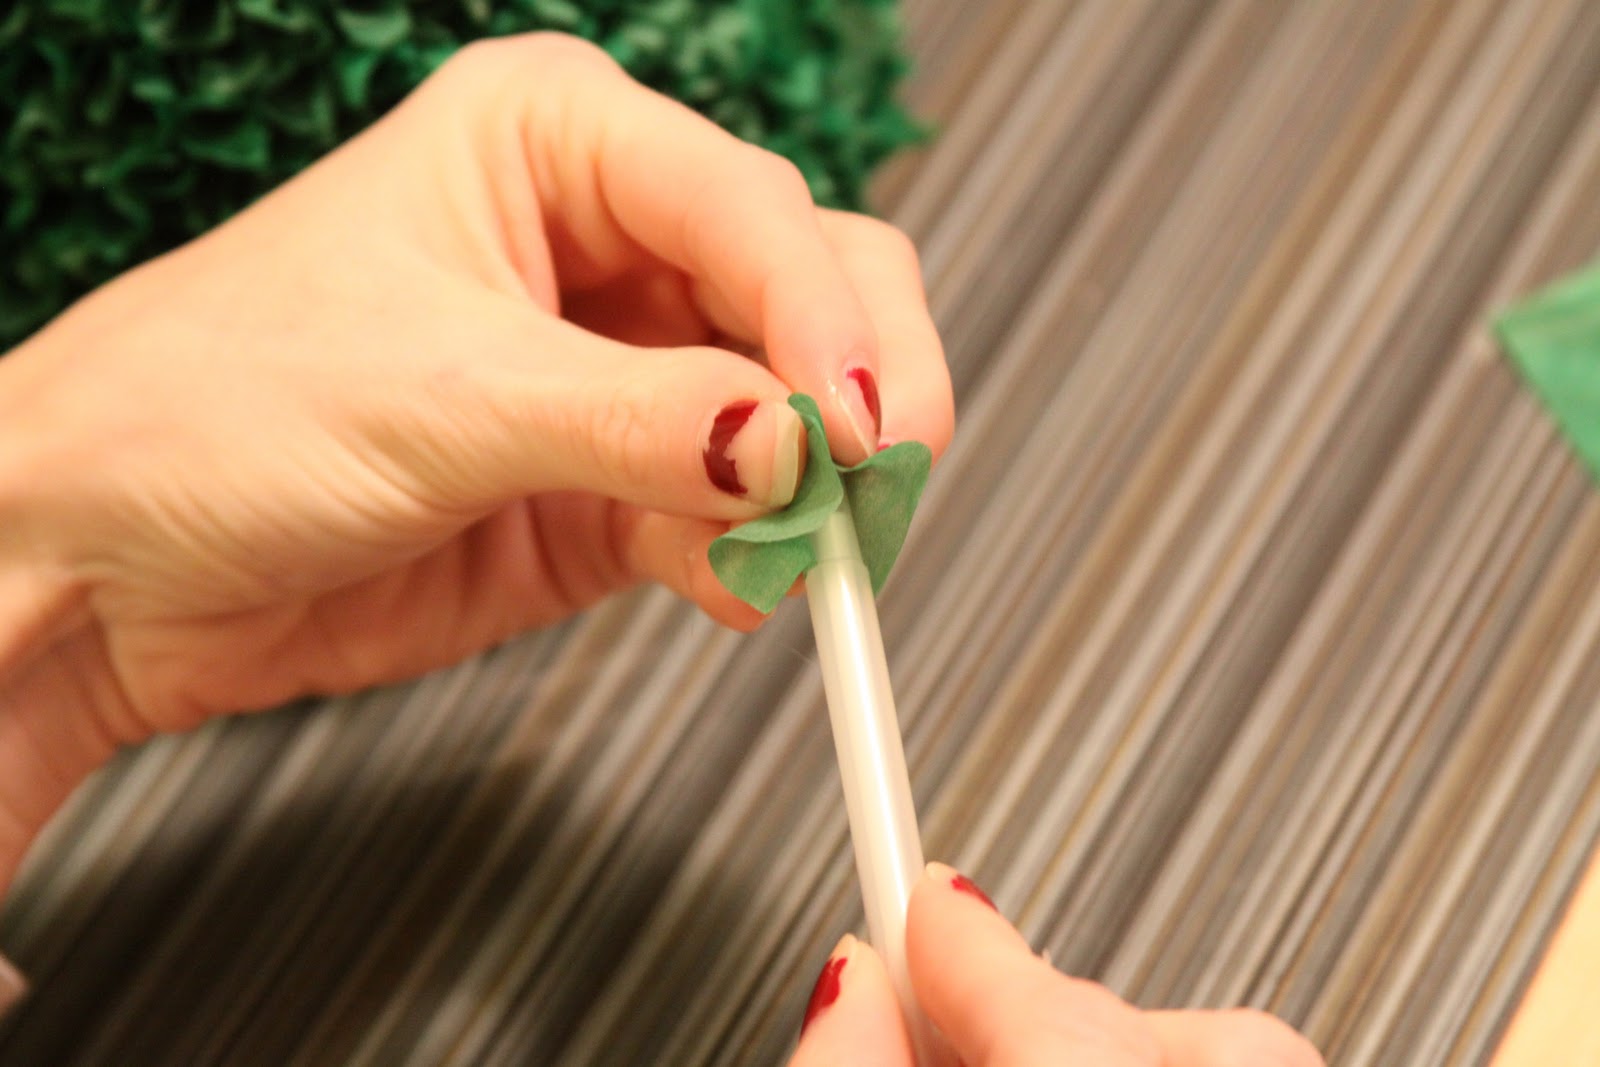
While holding the paper around the end of the pen, twist the pen, this will wrap the paper around it nice and tight.
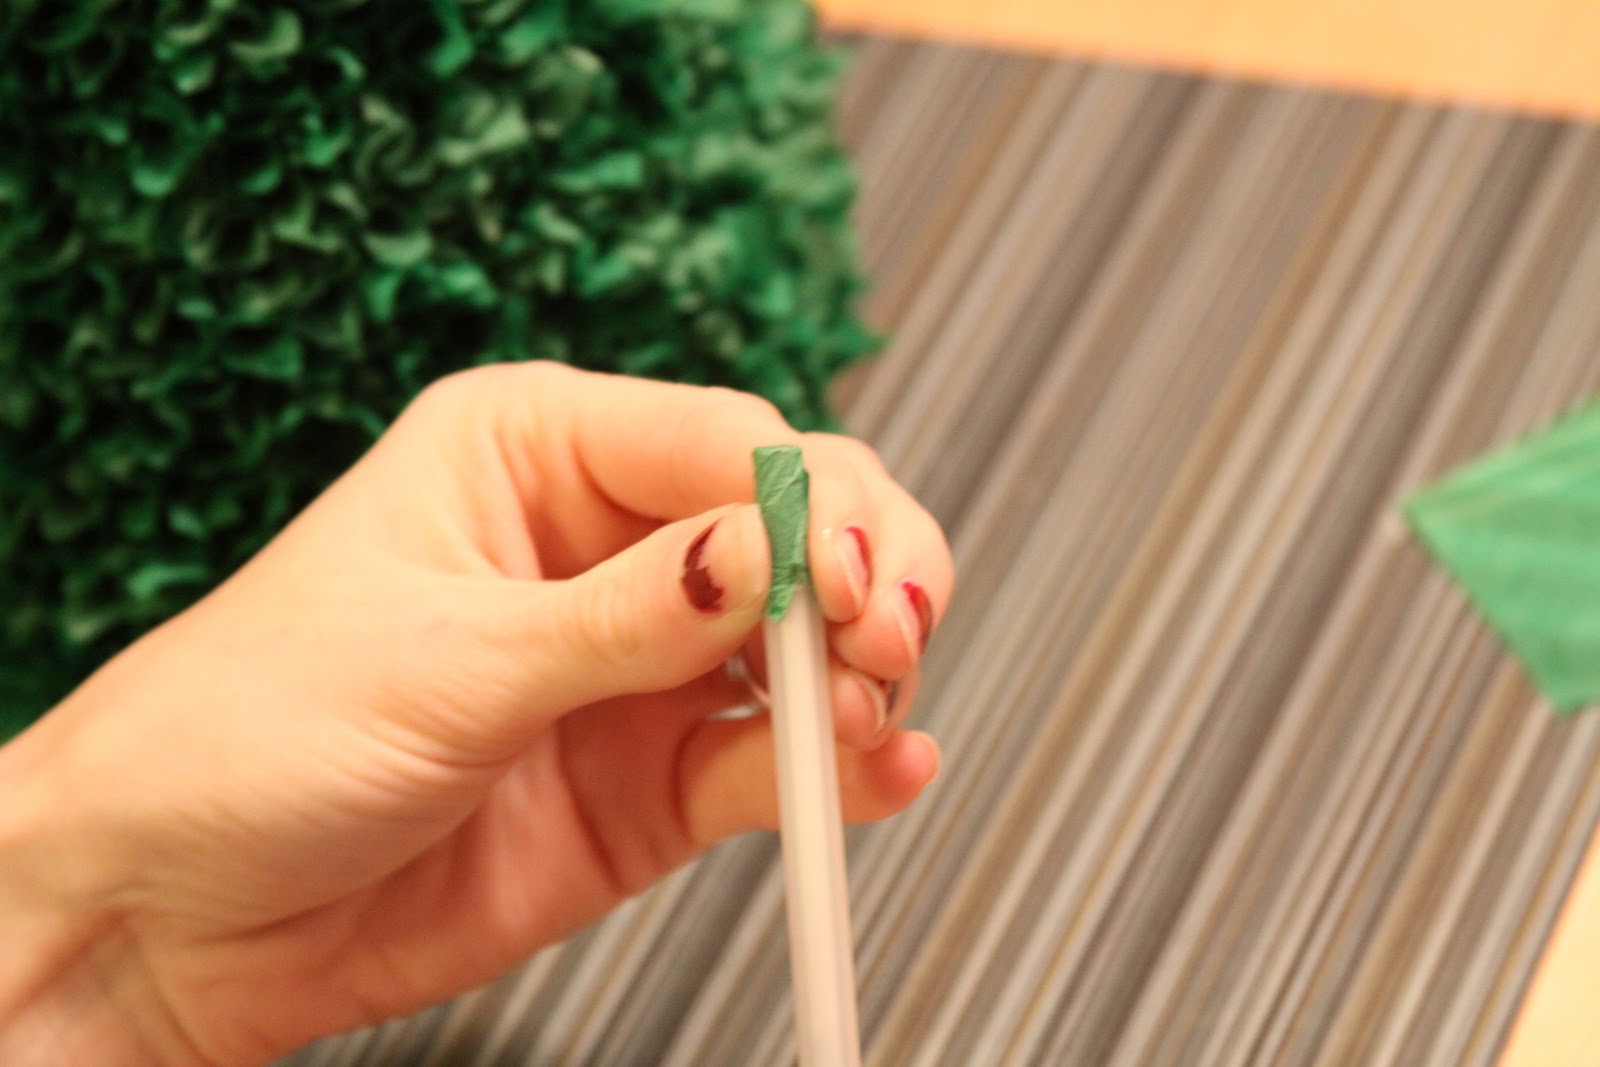
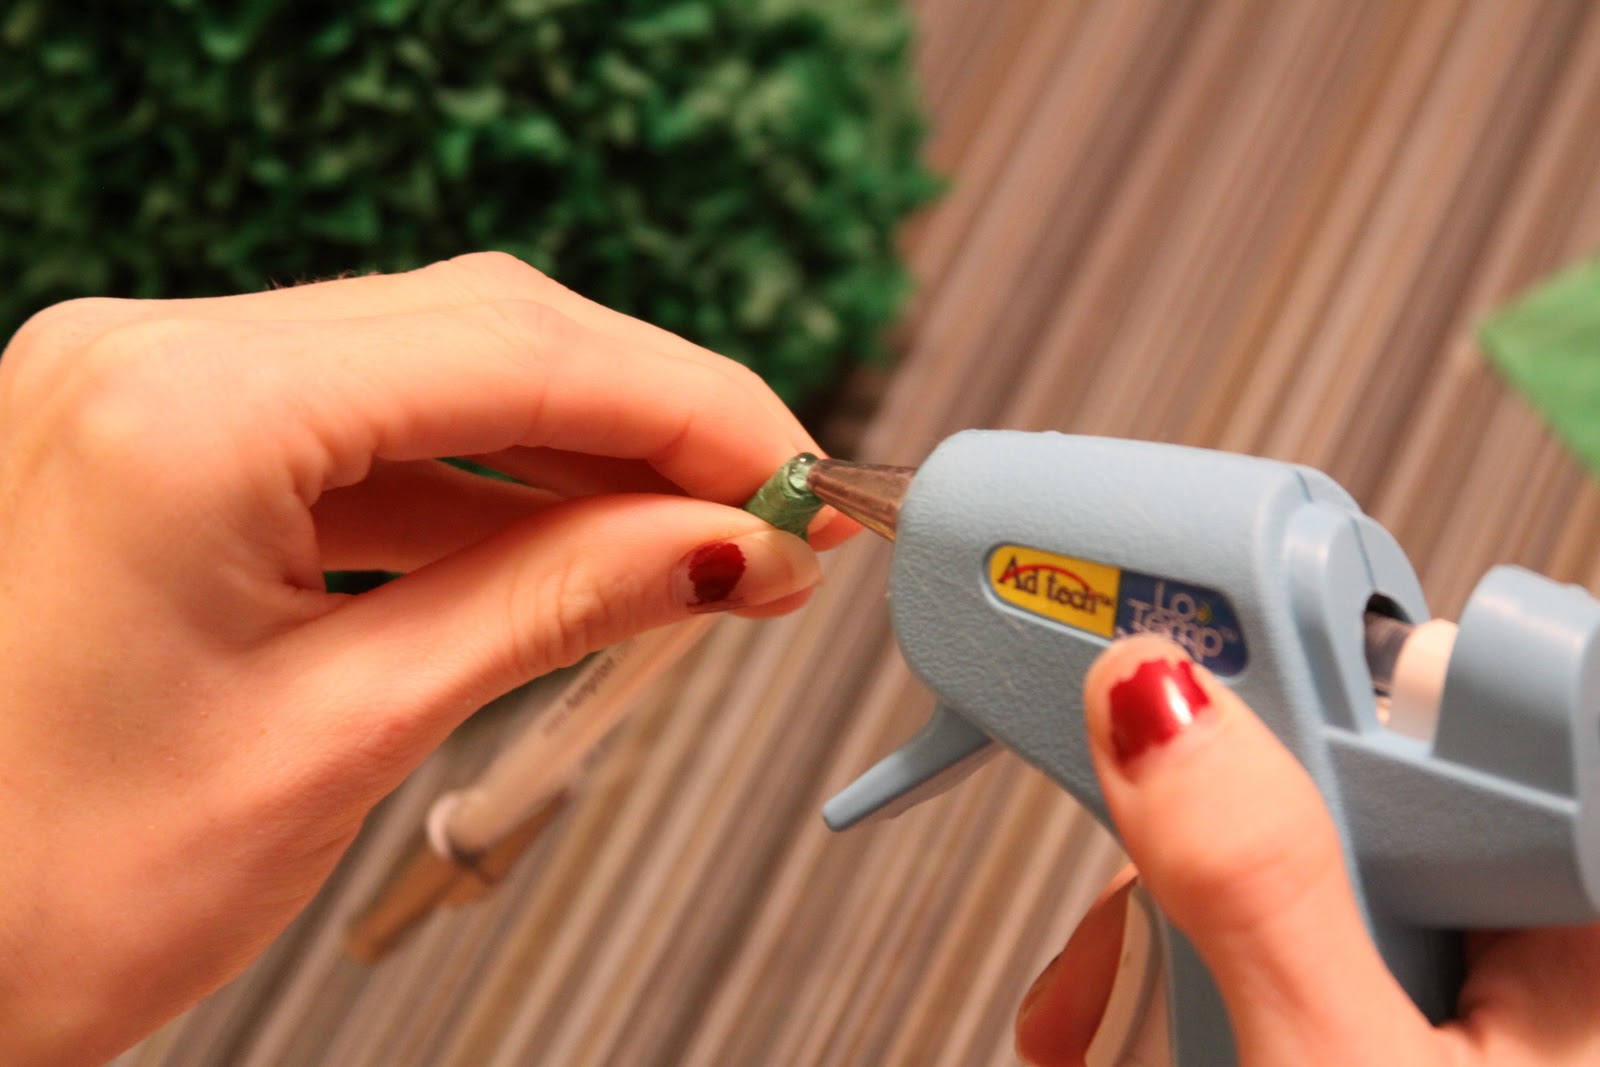
While holding the paper on the pen, let go of the pen and pick up your glue gun. Put a dab of glue on the end of the pen where the paper covers it.
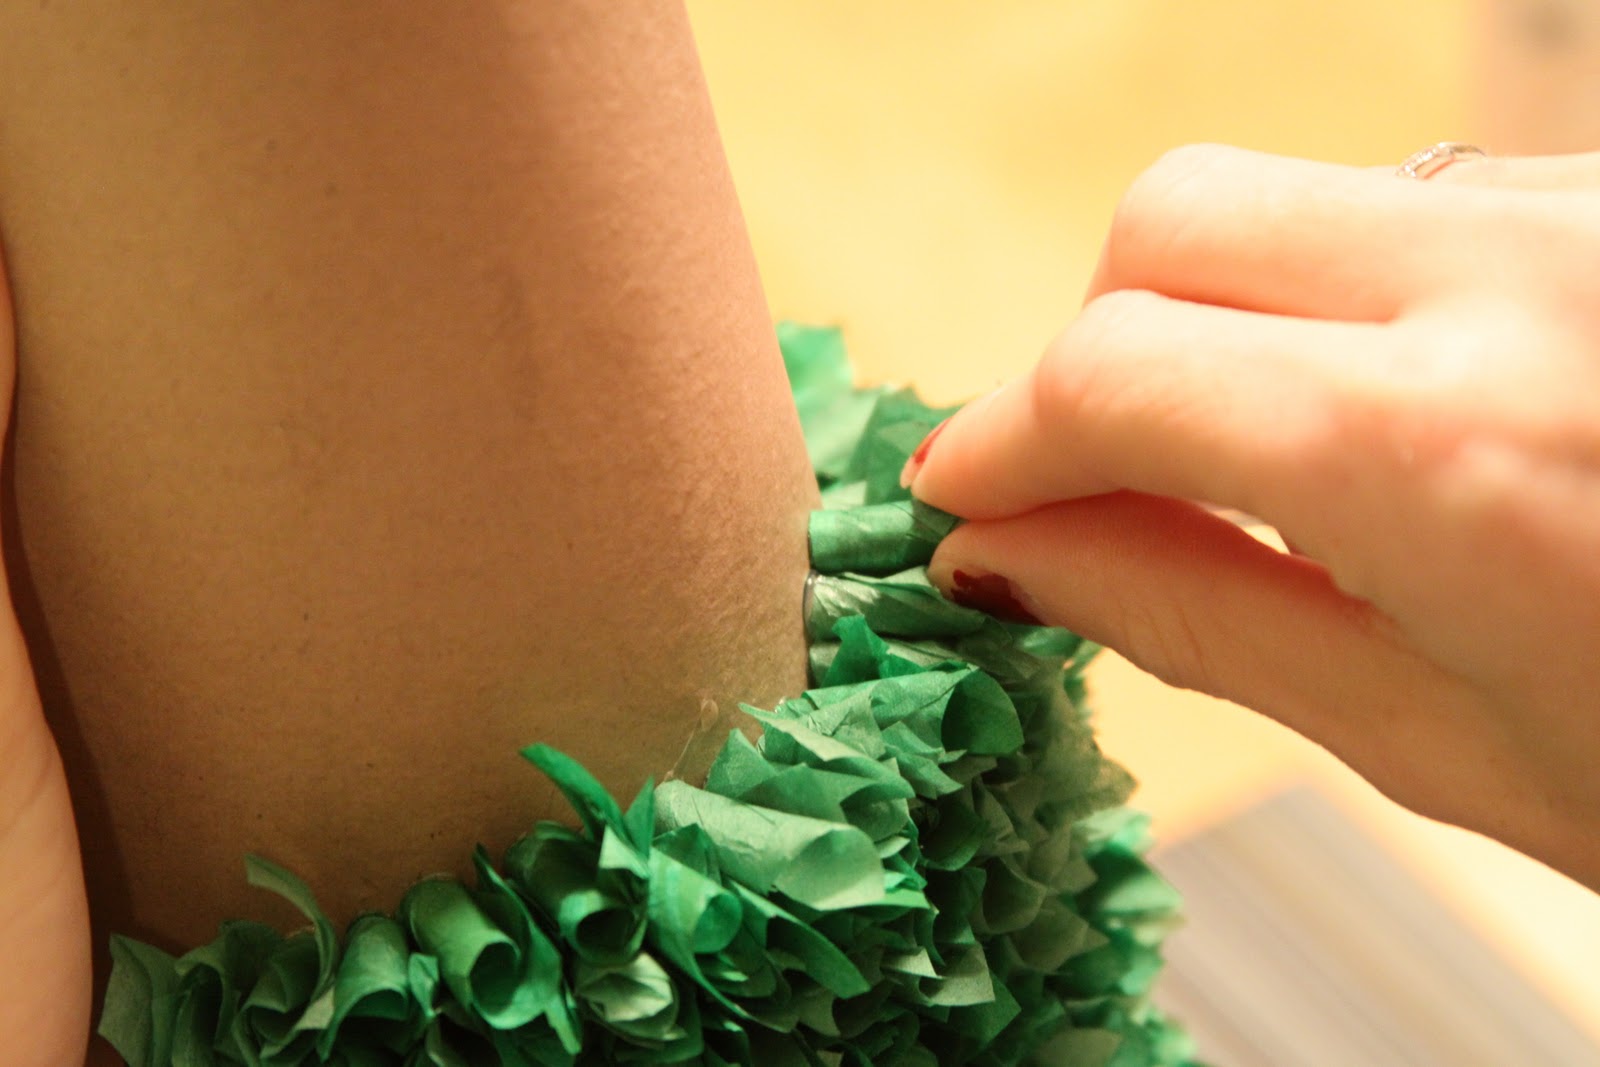
Place the paper on the tree form with it still on the end of the pen. Once it is glued on you can remove the pen and it keeps its shape. I found it easiest to start at the bottom, and move from right to left as I am right handed. If you are left handed it might be better left to right. I continued to go around the tree form until I met the edge, I then moved up to the next row.
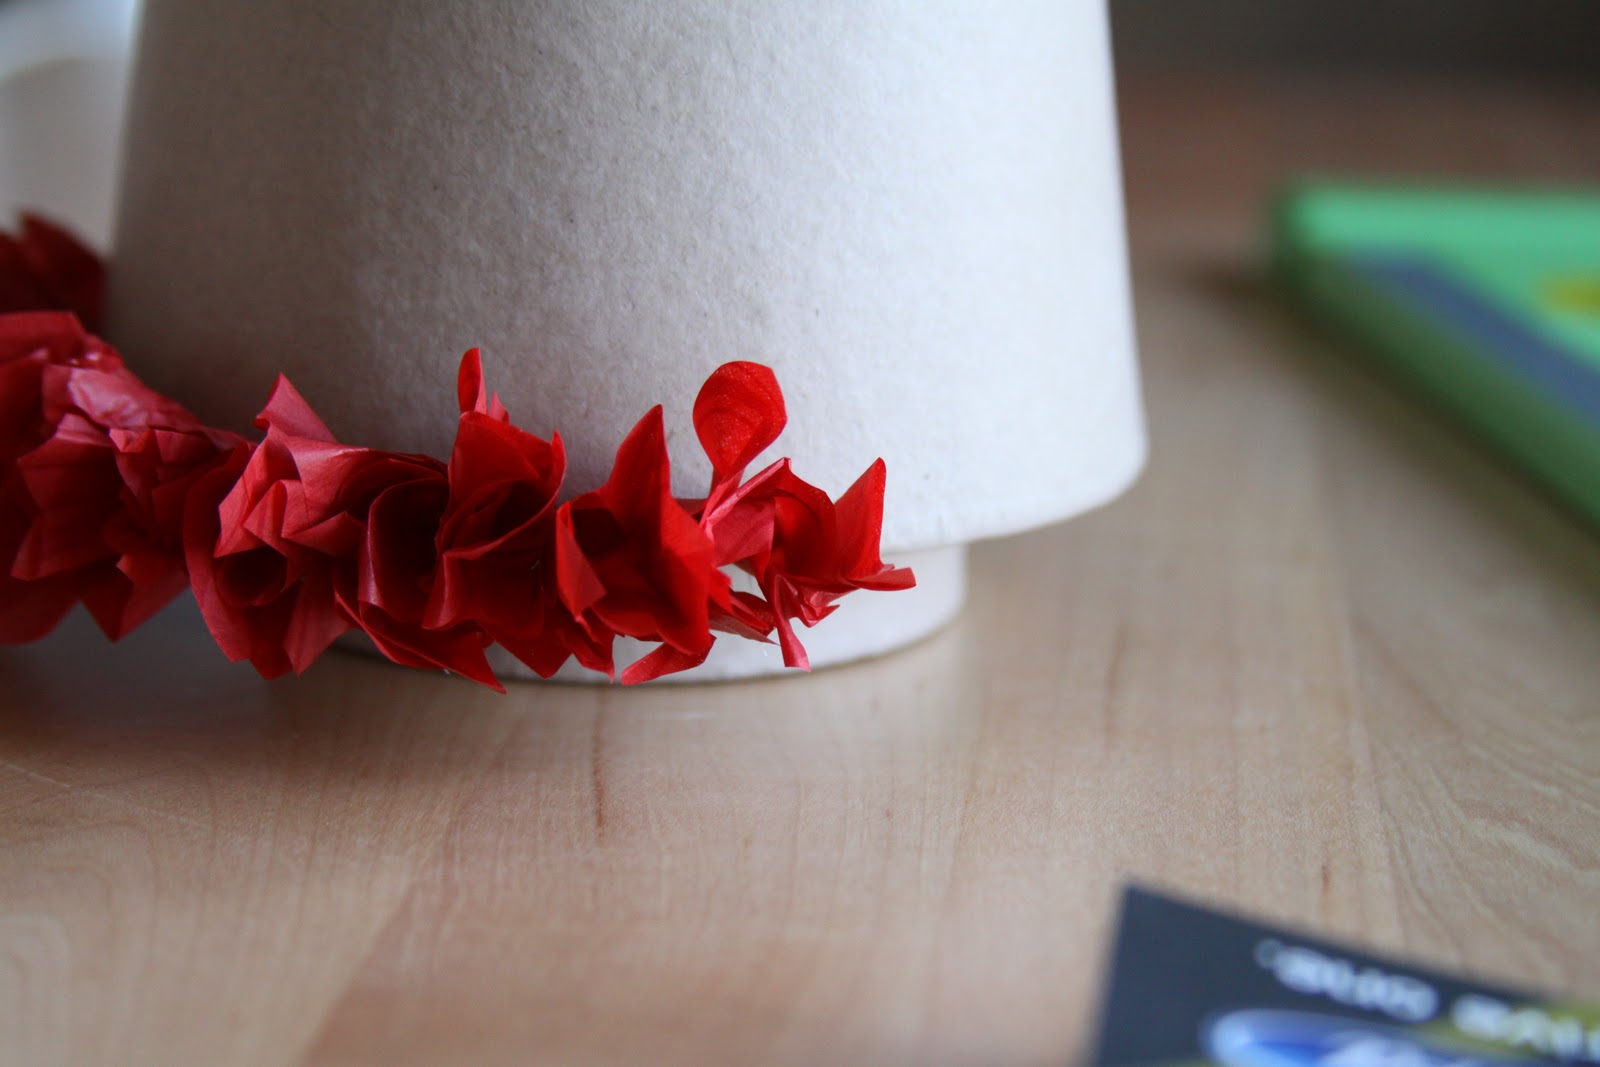 |
| First Row |

When you get to the top, give your wrist a little flick as you glue the paper down, it adds some fluff to fill out the tip of the tree.
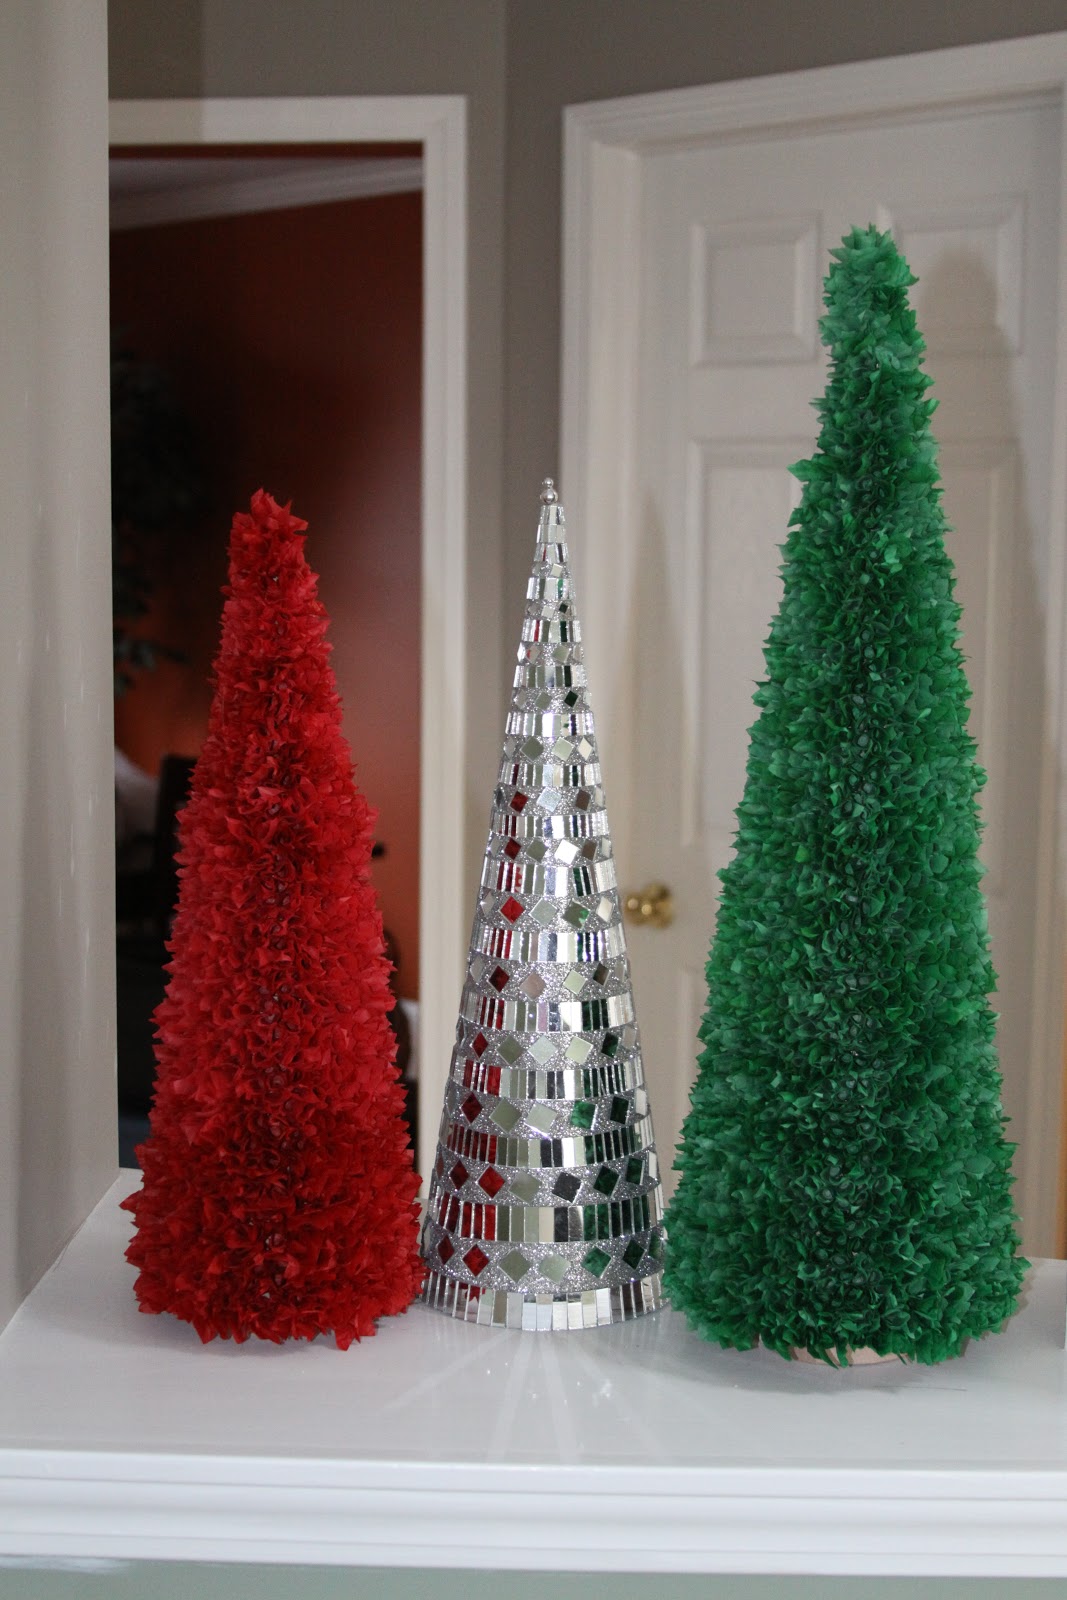 |
| Mirrored Christmas Tree from TJ Maxx 2010 |
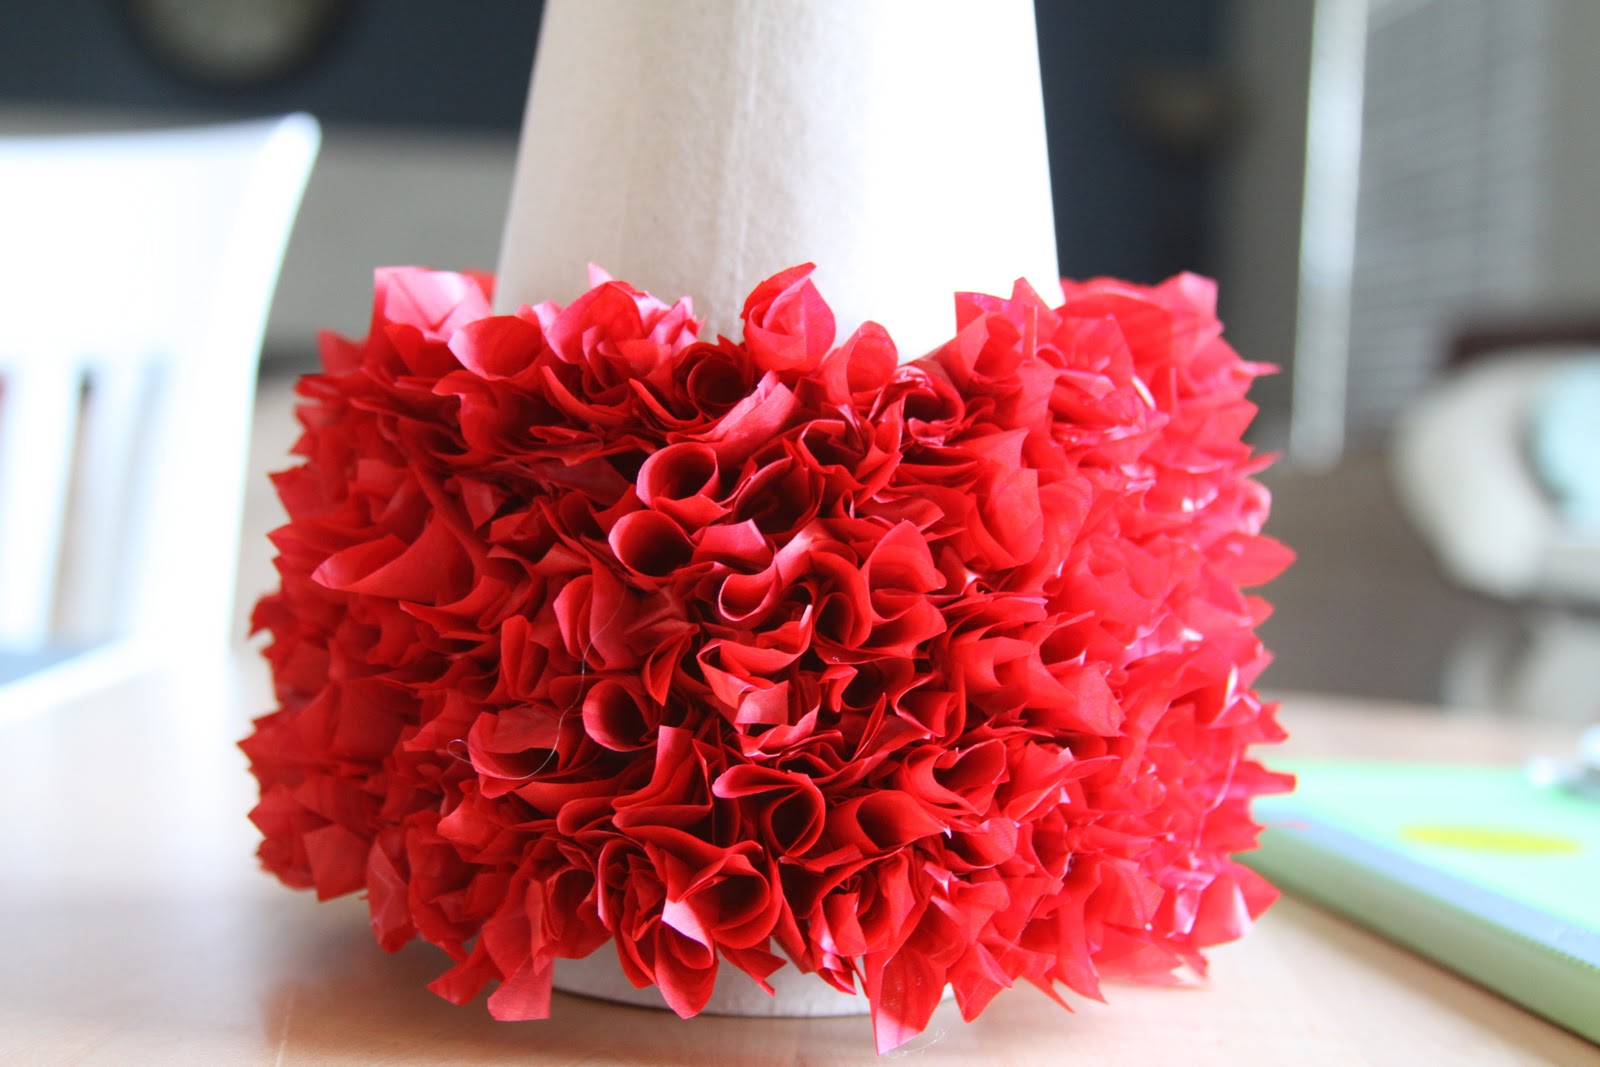
Tada, tissue paper trees!! I did this for HOURS, and I mean HOURS. Many nap times were spent with these trees. I will say, if I ever do this again I will not buy such large trees. I love the way they look, and my little one loves to pat them and feel the paper and hear it crunch. All together I spent about $10 for both trees so it was definitely worth the savings. What I love most is that it is a 360* project, it would be great for a centerpiece, or a little cut out like I have. Here it is from the other room
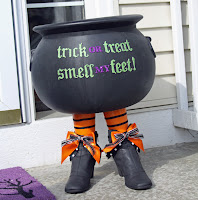
Thank you so much for checking out my Tissue Paper Trees, I hope to see you guys over at And I Thought I Loved You Then. You will be able to check out tutorials for my Candy Cauldorn, Christmas Countdown, and Jingle All The Way!


I really like how these turned out! Nice tutorial