Have you ever wanted to try to make some Melted Crayon Art? Sometimes it can be tricky, but we got first dibs on trying out the Crayon Melter an it was so fun!! It was the perfect way to tackle a Melted Crayon Kids Craft.
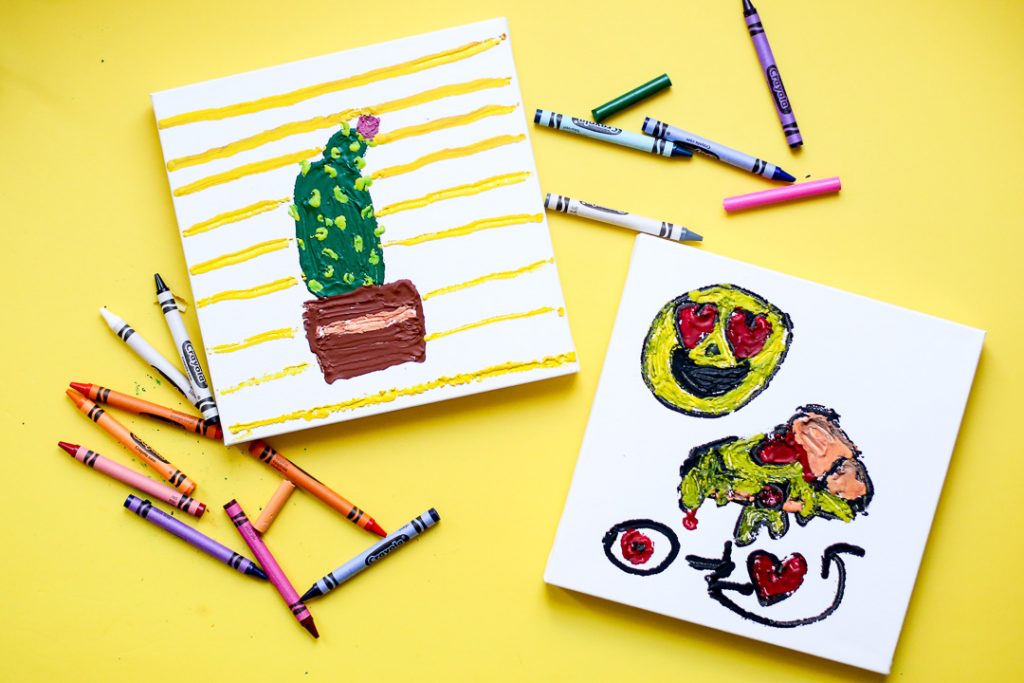
The possibilities are endless with Melted Crayon Art!! This post is in conjunction with my part of the Michael’s Makers Blogger Team, all opinions are my own.
Melted Crayon Kids Craft
You’ll need:
–Crayola Crayon Melter
–blank canvas
–crayons in the colors of your choice (yes, they can be broken! Great use for all of those!)
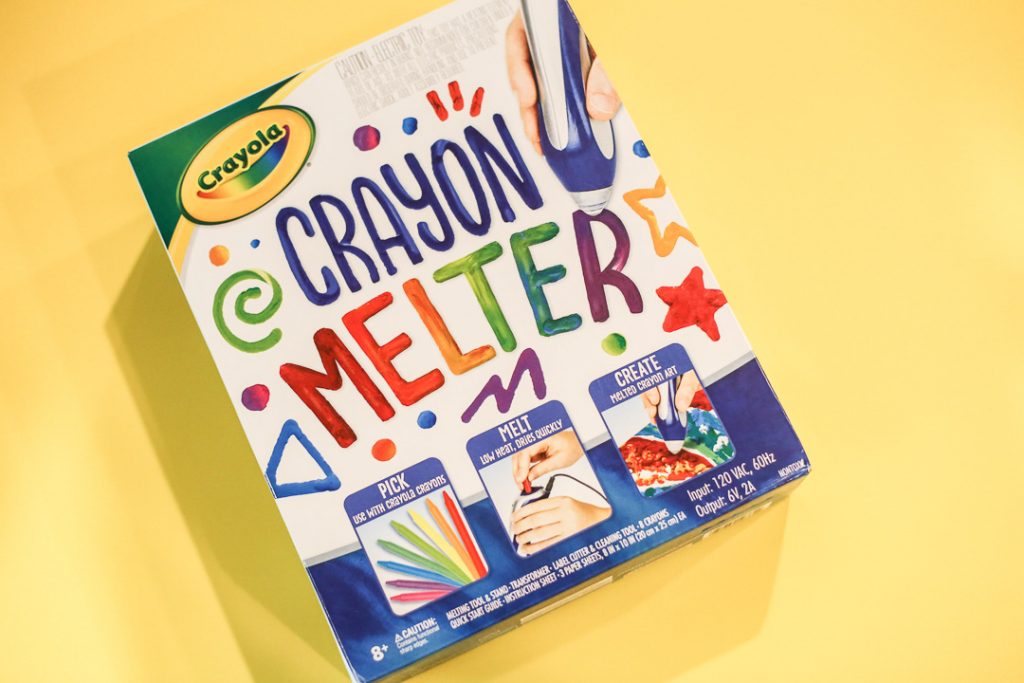
Melted Crayon Kids Craft VIDEO TUTORIAL
Get excited, I have a VIDEO Tutorial for you so you can see how the Crayon Melter works – it’s super awesome! I also have a written tutorial on down if you prefer that.
How to Use the Crayon Melter
- plug in your crayon melter
- push a crayon into the top of the Crayon Melter. It will be ready when the light turns green.
- once ready, melted crayon will flow out of the tip of the Crayon Melter when pressure is applied to the tip. Hold it like a pen.
- start off using the practice sheets to get the hang of drawing with melted crayon. Then have fun creating!!
- to change colors, draw on a scrap paper with the unwanted color until it runs out, then insert the new color. Draw a little more on the scrap paper until all the color from the old crayon is used and the new color is flowing brightly.
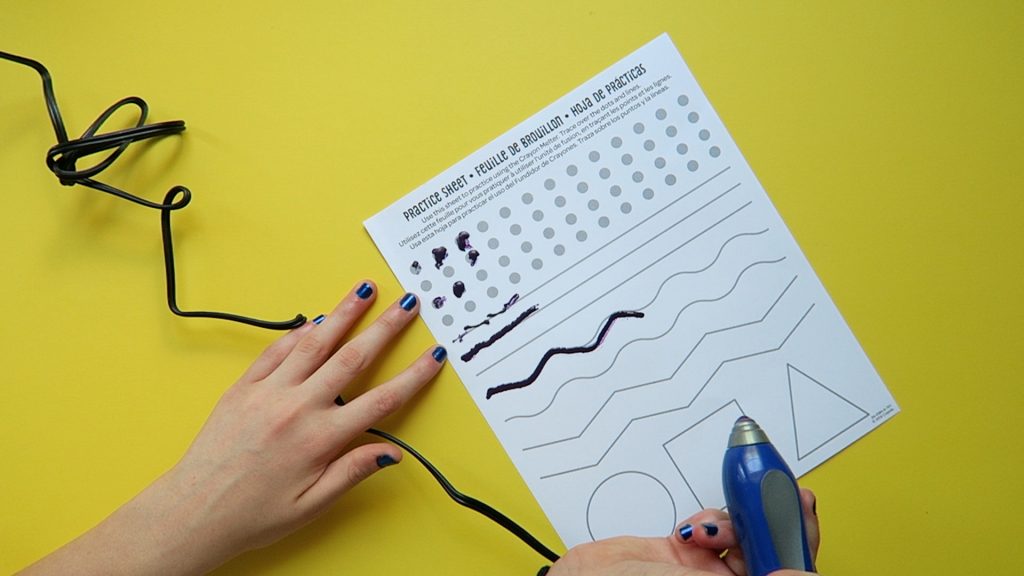
Drawing with Melted Crayon
We loved the dimension that the the Crayon Melter gave to the project. And because it’s thick, the color is super vivid and awesome. We found it best to draw an outline of your picture and then fill it in, but you can experiment and see what works best for you.
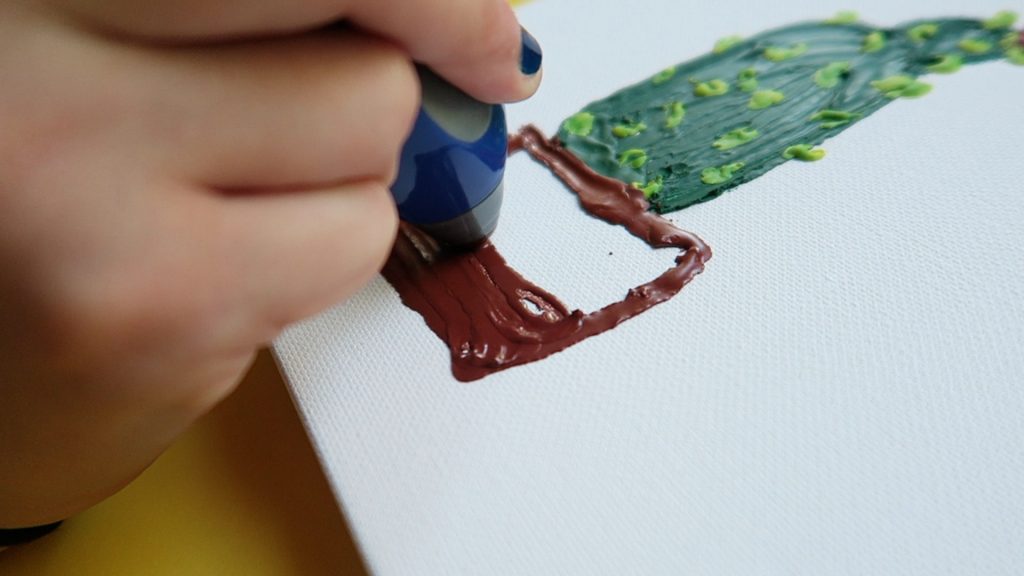
The melted crayon worked great both on the cardstock paper we used for scrap and on the canvas.
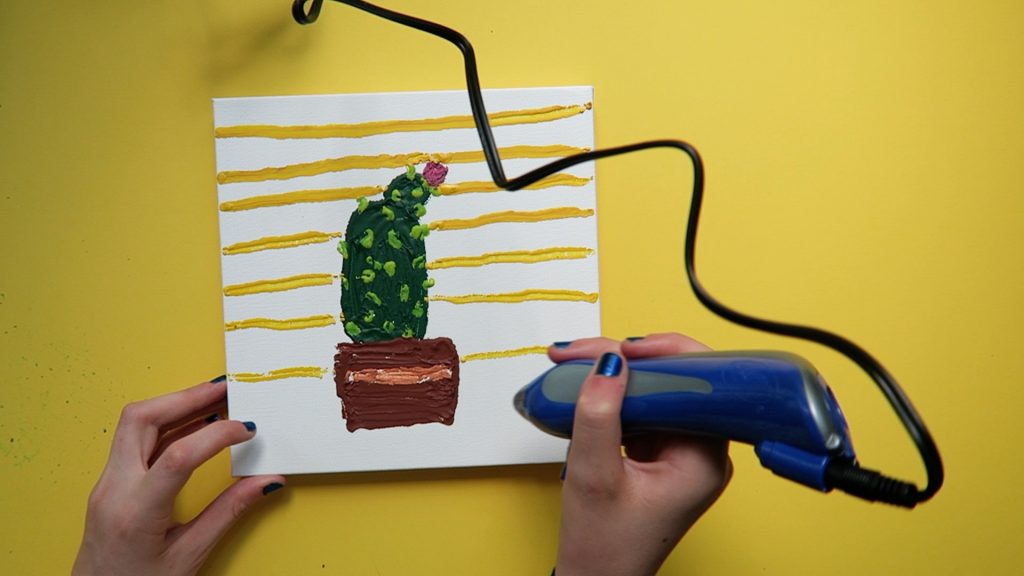
It was fun to see what my kiddos drew and how they can showcase their likes and personalities in their art projects. THAT’S the fun of kids crafts!
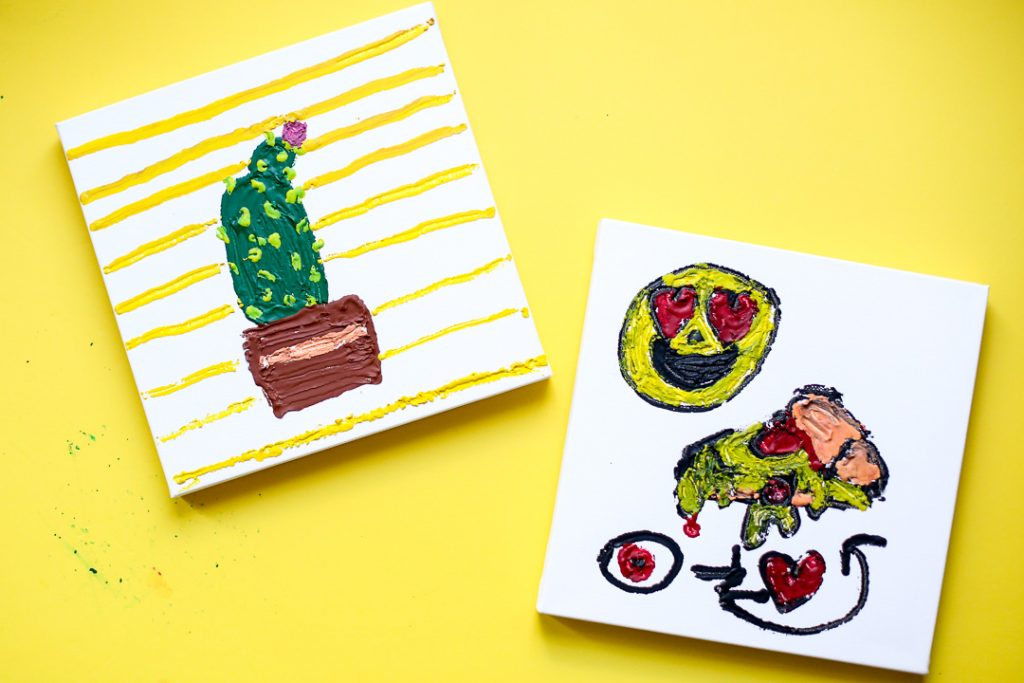
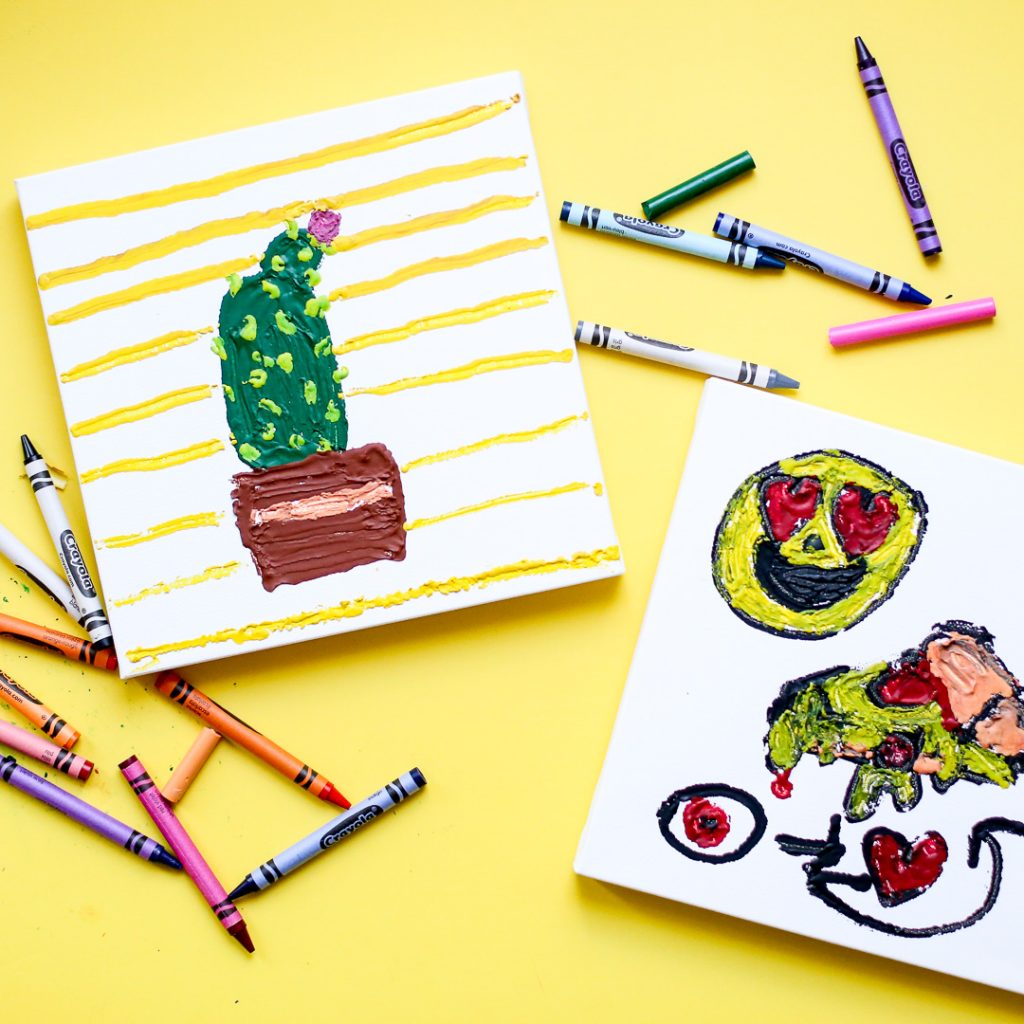
Have fun creating your own!
Kid Craft Ideas
If you love Kid Crafts, you might also like:


