Then fold those 2 pieces of fabric ( for front and back of the new shirt) in half and cut straight across the top and bottom, then make the shape shown below. Obviously the one cut is the shape I used. But the white dashed lines is where I would try it next time. The sleeves pull up onto the shoulder with the shirring, and by making them a littler longer and bigger I think it would look more like the inspiration shirt. But that being said, I haven’t actually tried the dotted line cut version, so I’m not for sure how it would turn out – would it make it too tall on the neck? who knows….
After cutting out your shape, take your 2 pieces, with right sides of the fabric facing each other, sew the shoulder seams and the side seams. With the side seams, stop about 2 inches before the sleeve angles out – in the picture it’s the space between the 2 white lines that’s left unsewn.
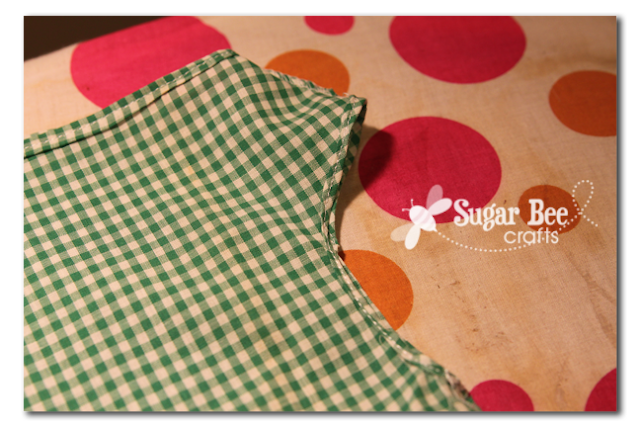
Then turn under the bottom of the shirt and hem it. I don’t have any pictures for that. Then hem the armpit area and the neckline with a narrow hem – you can see mine in the picture (although I’m sure the only thing you’re seeing in that picture is the super nasty ironing board cover – yikes!)
Now, on to the shirring – DON”T BE SCARED!! Shirring is just sewing with elastic thread in your bobbin. I talk about which kind to buy HERE – and here’s a picture – the one in the package is a great deal and the one you’ll want to get:
You just take that elastic thread and hand-wind it around your bobbin. Easy enough. Then pop it into your machine. Then sew – on the front side of your fabric (so the elastic thread is on the back side). I started 1/4 inch under the top edge of the shirt and sewed all the way around the the neckline- when you get all the way around, drop down 1/4 in and sew another line – I sewed a bunch (about 10), 1/4 inch apart. I sewed it in one continuous swirl so I didn’t have to start and stop a bunch of time. Here’s a couple of close up views..
Front:
Back:
Now, my favorite part of shirring – the magic! When you sew with elastic thread, it gathers a little bit but I’ve never that impressed. But then you shoot the shirred area with a blast of steam from your iron, and the elastic thread shrinks up on itself – like magic. So neat to see – here’s a comparison (and there’s a video of it in action on my Shirred Waist Skirt Tutorial)
That’s it!! Really, this is SO doable!! A great project for a beginner sewer (the hardest part is the narrow hem in the armpit area) and especially for someone who wants to try out shirring.
I love this picture of my 1st grader – – it came out so great!!
So really, do try this – you can do it!


This is so cute. Your model looks happy about it to. What an adorable young girl. Neat project.
I love it! Thanks for the step-by-step tutorial, the shirt came out great! Super cute. =)
That is such a cute shirt!!!
I bought eastic thread months ago and have been too scared to try it. But now, I’m going to! Thanks for the tutorial! Wish me luck! 😉
Super cute! I’d love it if your linked it up to Crafty Cousins!
https://crafting-cousins.blogspot.com/2012/03/what-i-wore-sunday-week-7.html
~Natalie
Holla! We’re your newest followers! 🙂
So cute! And I love the gingham green fabric…so perfect for spring!
liZ