


Hi, I’m Kim with NewlyWoodwards, where I document life – renovated. I’m excited to be at Sugar Bee Crafts sharing this scrappy little Christmas tree.
This is a great project to use wood scraps in the garage and it’s fun to complete with kids. My two-year-old loved helping me paint and organize the various “levels” of the Christmas tree. And it’s simple enough to finish before Christmas.
What you need:
- A scrap board for the background (mine is about 12×15 inches, left over from another project)
- Paint
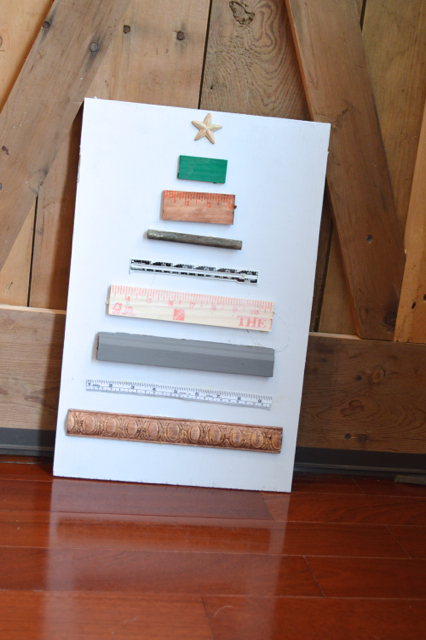
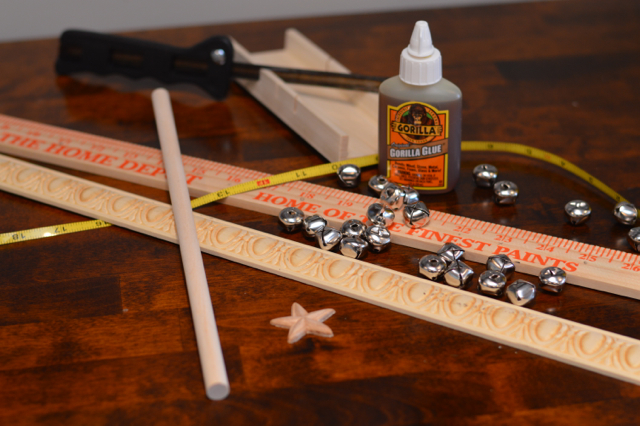
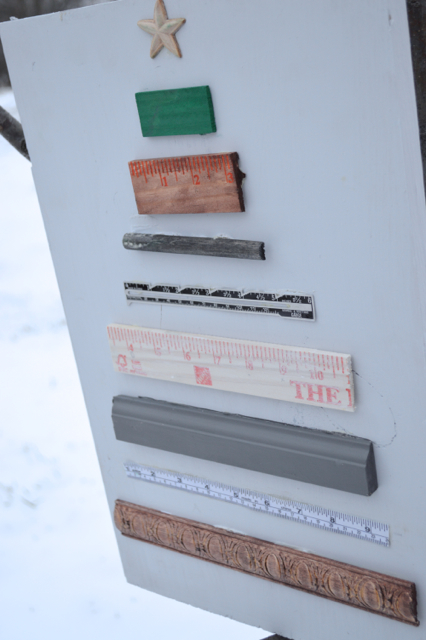
- A variety of scrap “strips” for the layers – I used a yard stick, dowel rod, decorative trim, measuring tape, and metal sewing ruler
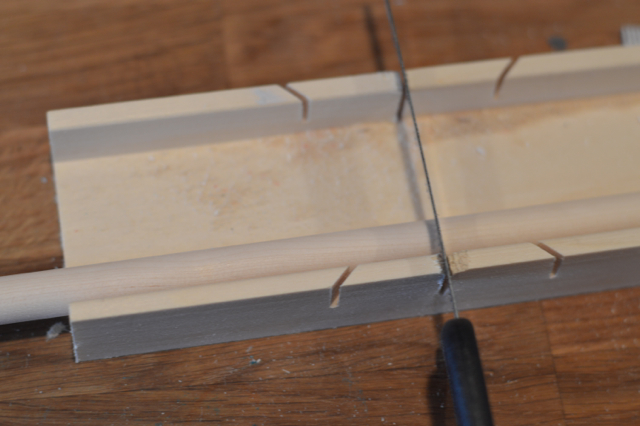
- Small saw and miter box
- Glue
How to create your own:
- Start with a coat of paint on your board. While the paint is drying, lay out all your scrap pieces for the tree and determine the order.

- Decide the order you want them to take and cut them accordingly. (My two-year-old loved to watch me cut the scraps, but this is definitely a job for adults.)
- Glue the scraps to the board with your glue of choice. I used Gorilla Glue and it worked great. Add a star or bell to the top. (This one is a wooden star from the craft store.)
- Don’t forget to sign the back and date it! My son was so proud of our Christmas tree, he carried it around most of the afternoon.

Thanks so much to Mandy for having me. If you liked this project, I hope you’ll stop by NewlyWoodwards and see some of our other popular projects – including a Christmas star marquee and $2 boxwood wreath.