It’s my favorite upcycle of all time – pillowcase dresses!! So cheap, and they turn out so cute. Win win. I’ve made a bunch, and I’m sure I will make a bunch more. I can’t get enough!
If you are intimidated by sewing projects, this is the perfect start for you! Or, if you want to teach a kiddo to sew, this is great. Pillowcases can be found for a quarter, so if you mess it up, it’s no big deal. I stock up at thrift stores and garage sales. And it’s basic, mostly-straight sewing. I also love that it’s a blank slate – so many ways to add embellishments and cuteness – like the pom pom trim! Or you can find super cute vintage pillowcases in florals and more.
Let’s get started! You’ll need:
–discarded pillowcase
–ribbon, 44 inches long -or- fabric, 4 inches by 44 inches (for the sash tie)
–about 2 yards of pom pom trim
First, create your sash that will tie the top of the dress. If you have a ribbon, then you can skip this step. If you have fabric, sew it in a tube and then turn the tube right-side out and sew the two ends shut.
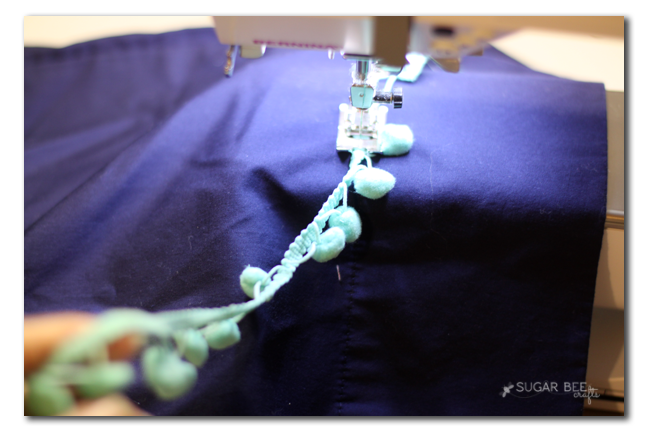
Next I sewed on the trim. Sewing on trim is pretty easy – just go slow and sew over it to attach it to the pillowcase. I used the wide hem as a guide and sewed it to that line.
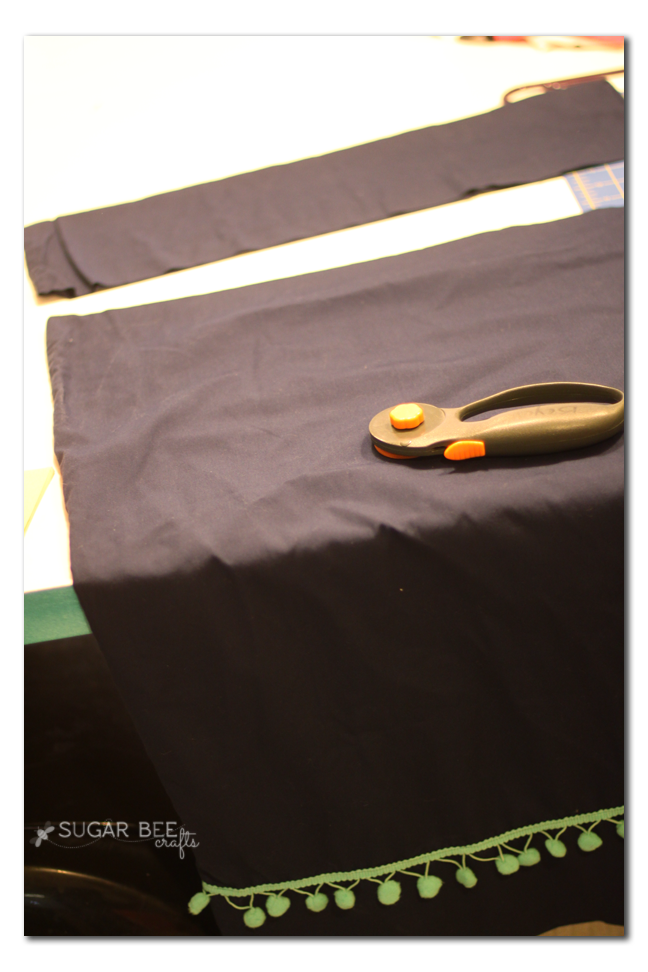
I went around the entire pillowcase (not just the front). I love the detail it adds to the dress:
The beauty about using a pillowcase for a dress is that you don’t have to hem it – the bottom is already a finished edge. Check!
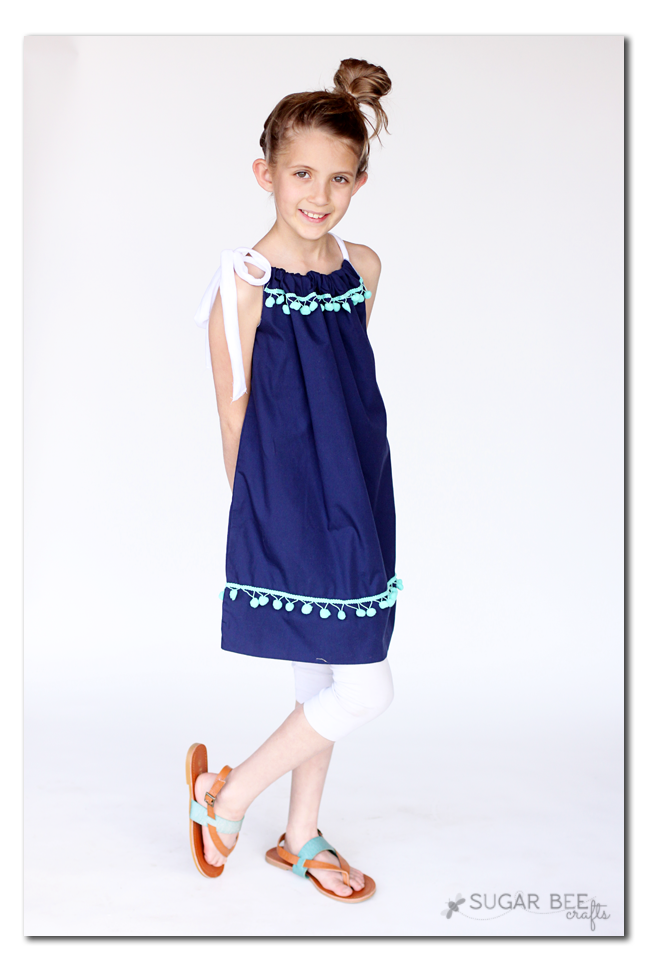
So moving on to the top. You’ll want to adjust to the size of your child. My girls are 9 and 7 years old and this would fit both of them. I measured from the bottom hem up 27 inches. That’s where I cut straight across to take the top off the pillowcase. It’s more a tunic length on my 9 year old and my 7 year old would be able to wear it as a dress. (the one in the picture is 9)
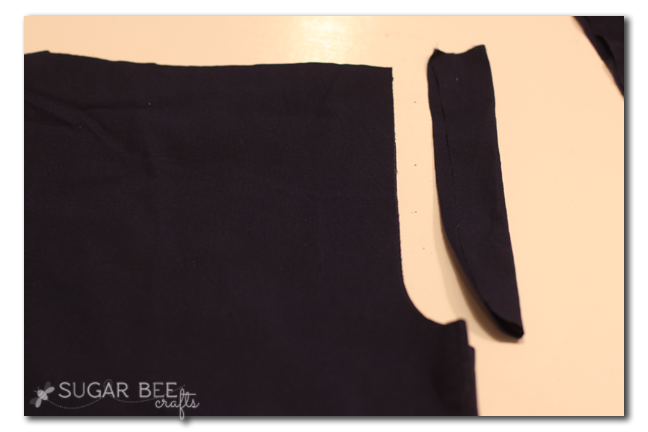
Then you’ll cut the arm hole – I measured down 6 inches and marked the side, then cut a half a “u”, as shown below. It doesn’t have to be exact.
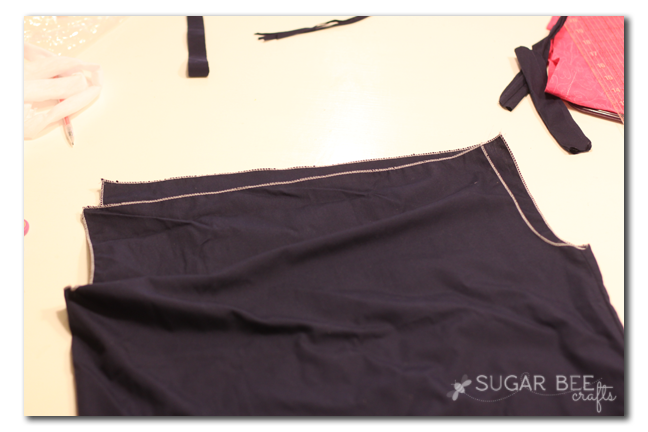
Now, you’ve got a couple of options – around the arm holes and along that top edge, you can zig zag sew, or serge it (that’s what I did – with a rolled hem), or you can do a narrow hem. Just find your favorite way to make it a finished edge in all those spots:
Then turn the dress inside-out, and fold the top down about an inch and a half and iron into place. Then you’ll sew along the edge (where you see my white stitching). This will create a casing, or tunnel, for the ribbon. Do this on the front and repeat on the back.
To add a little more interest to the dress, I flipped it right-side out and then sewed a line of pom pom trim along that seam in the front.
Then just use a safety pin to fish the ribbon through both casings:
Stand back and admire your work! You can do this! Super cute way to upcycle – –
If you are interested in Pillowcase Dress Upcycling, I have a few other posts you’ll want to check out:

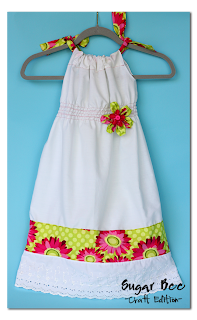

Super cute, right?! Have I convinced you to give it a try? Because you should – you can do this!!





Oooh, YES! You have prompted me to make some of these!! I have some lovely baby poms & some HUGE lime green ones!! One for a 6 month old & the other for a 15 month old!! Yippee!!! Thanks Mandy for reminding me just how easy peasy these dresses are to make. I LOVE the zebra BOO! one & the cow one! Does the cow dress have pink “ruffle” fabric @ the bottom? SEW Cute!!
These are adorable and a great idea. I have a queen bed but I use king pillows so I always have pillowcase I don’t use. I am so making this for my great nieces! Thanks for sharing this idea!