


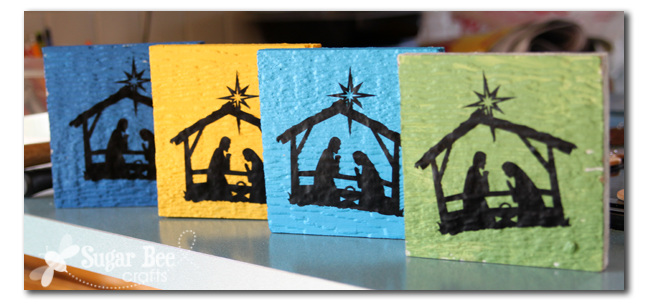
I want to give you a quick idea for a fun group craft today – Nativity Blocks.
I actually made these last year, but didn’t post about them before Christmas, and then it was too late. So I’m bringing it out now.
And I didn’t do a great job taking tutorial pictures, because there was a lot going on. I taught 9-10 year old kids at church and last-minute decided to have them over at my home for a class party. It’s a big group of boys, only 1 girl in the class. So I wanted a craft that boys would enjoy. I thought paint and hammers were the perfect thing. Anyways, I forgot to take pictures while they were creating – probably just trying to maintain sanity.
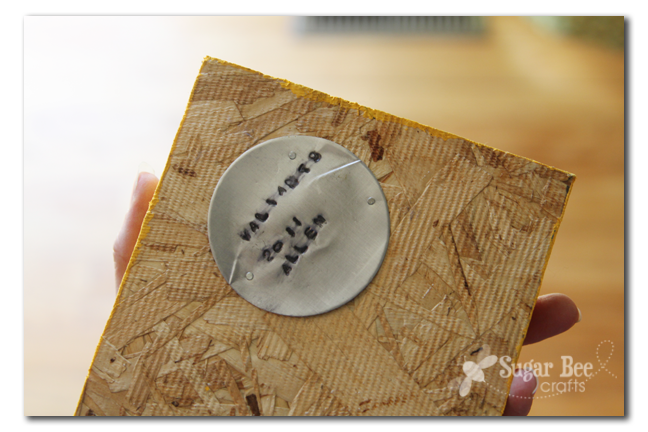
So first, we made tags for the back of the blocks. I got several empty cans of pop and cut the top and bottom off (using kitchen scissors) – then rolled the tin through my Epic 6 Diecut machine with a Circle Diecut – YES, it cut the pop can!
Then the kids used my metal alphabet stamps and stamped in the name of our class (Valiant 9) , the year (2011) and their name. They hammered the stamps into the tin, then went over the indentions with sharpie marker to make them show up better. Then using small nails, they attached the tag to the back of their block:
They also got to paint the front of the block- we actually did that very first so the paint could dry. At the end of the party, I showed them how to adhere the vinyl Nativity Scene (I found it in the Silhouette Online Store) to their block. That was it! Here are a few that I took a picture of – –

I like that it’s a simple project, but still fun enough for boys to enjoy, and still cute enough that it can actually be displayed at their house.


So fun…looks like you class had a blast. Also, was this last year (2011)?
Super cute idea! I bet the class had fun.