this is a post in collaboration with Expressions Vinyl as part of their Vinyl Contest Team
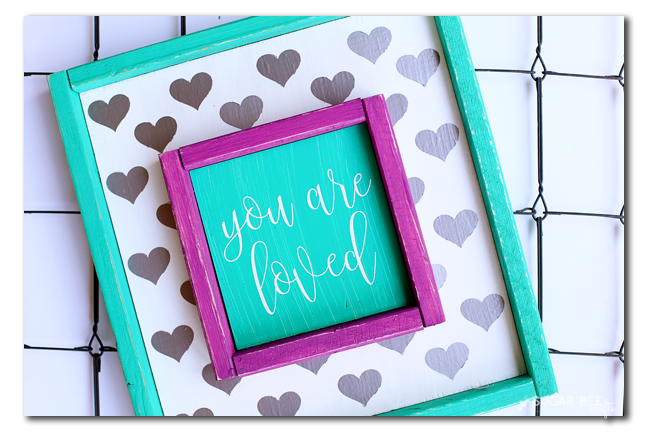
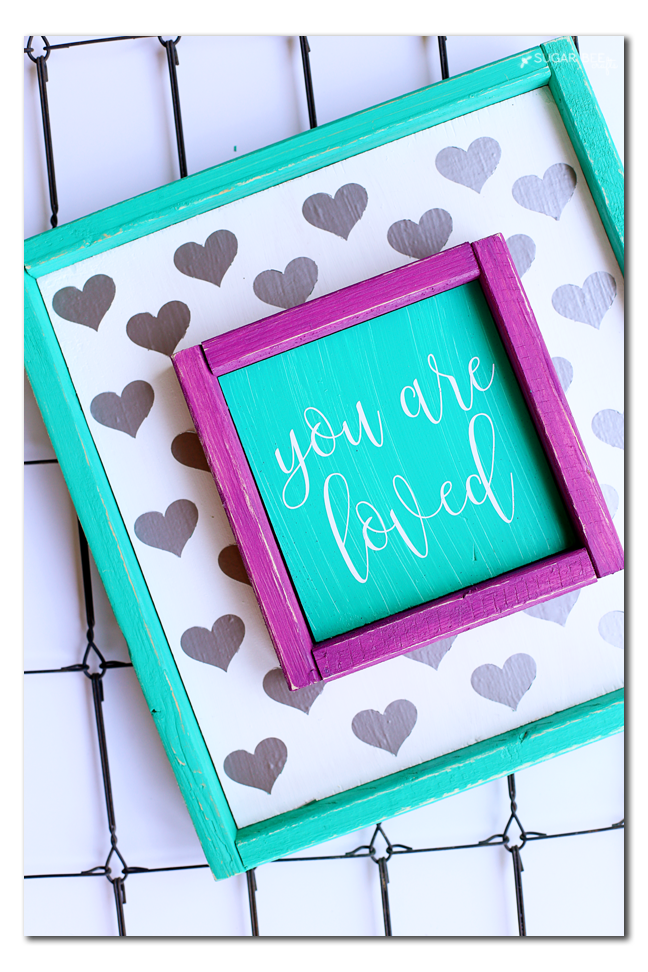
You know that I love vinyl – do you? Maybe you don’t have a cutting machine? A few weeks ago I showed you how to cut heat transfer vinyl without a machine, so today I wanted to give you an example of something you can make with regular adhesive vinyl. This project covers everyone – it has aspects of punch-cutting and of machine-cutting, and I walk you through the basics of how to use vinyl. All to make this super cute You Are Loved Vinyl Sign that I made for my daughter’s room – I’m slowly making things and can’t wait to get it all on the wall!
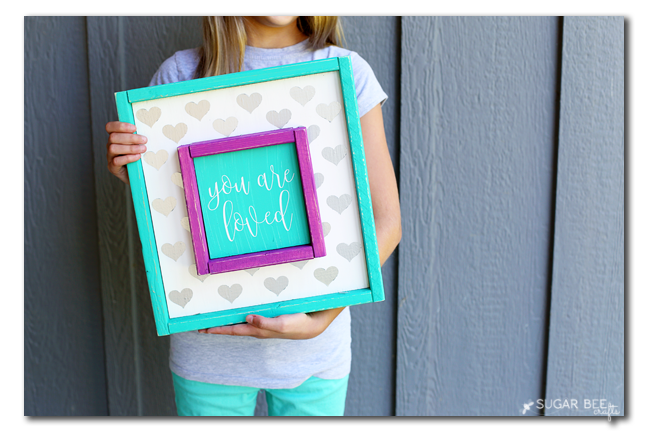
I took a risk pairing the purple and teal together, but I really love how it came out!
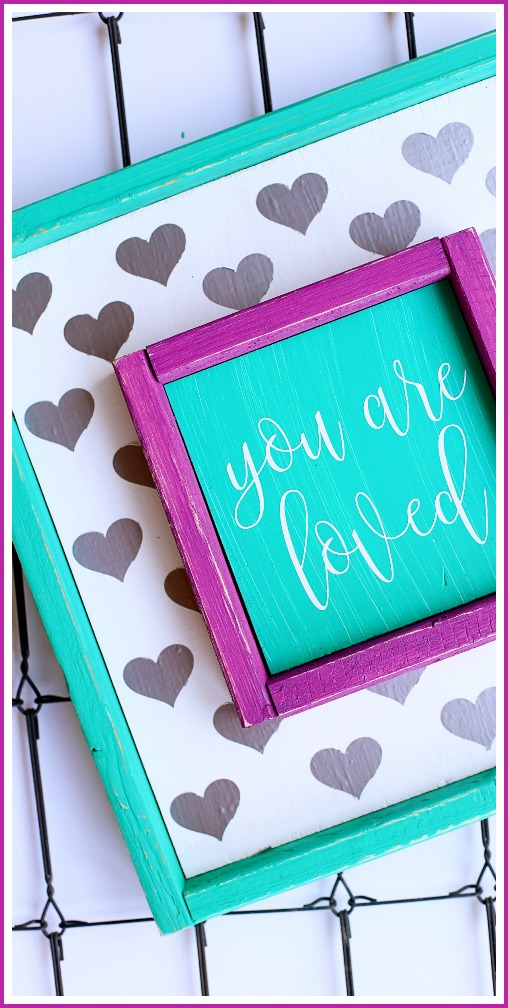
And as mentioned, I’m going to teach you a few fun things within this post – – in case you want to pin those skills….
Check it out in timelapse – so fun, right?!
You Are Loved Vinyl Sign
so first off, you’re going to need:
— vinyl (I buy all mine from Expressions Vinyl affiliate link- great quality and super fast shipping, they’re my go-to! )
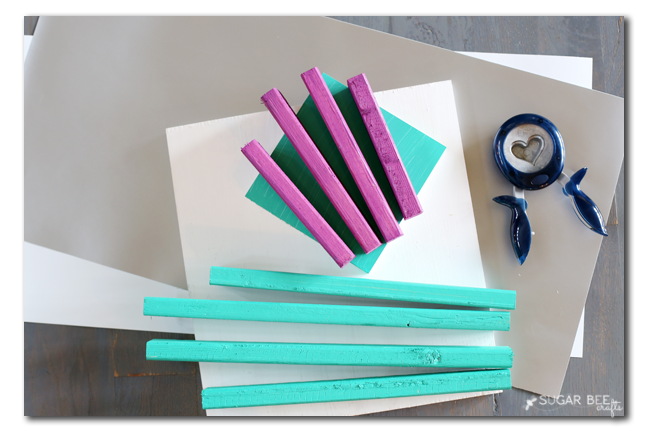
–boards – mine were scrap boards I had sitting around – so it’s just whatever size you’d like your sign to be, one board for the main background, one for the small inner sign – prepainted white
–trim boards – cut to fit around the two flat boards – prepainted color of your decor choice 😉
–punch (mine’s a heart) and cutting machine for the inner quote
Using Vinyl
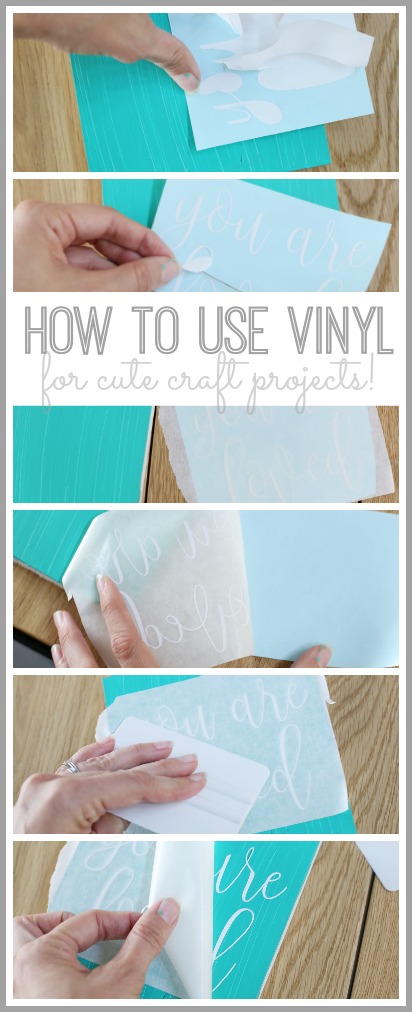
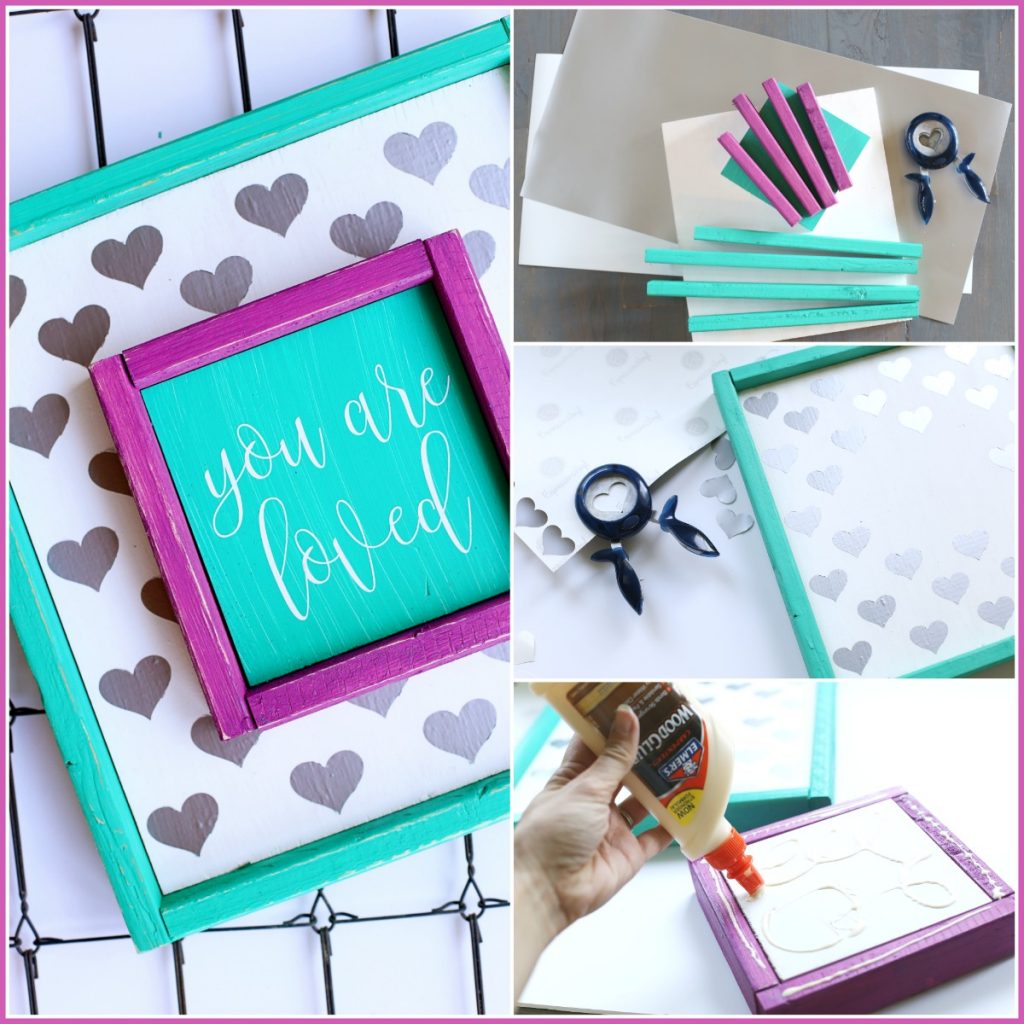
Let’s do the tutorial on how to use vinyl first, then we’ll do the how to punch vinyl. So – cut your vinyl design – I used my Silhouette Machine and typed in “You Are Loved”.
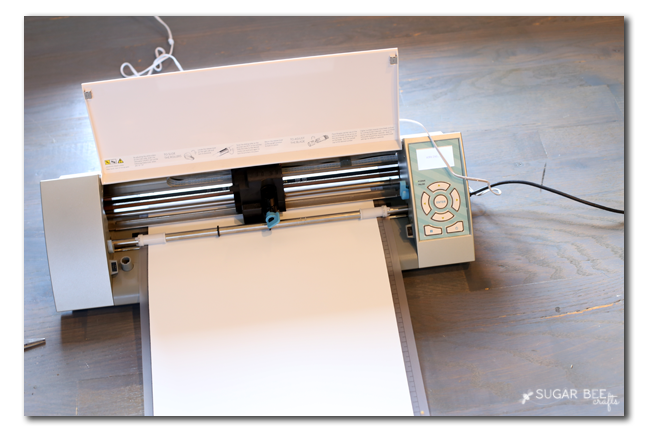
So once it’s cut, you’re going to pull out, or “weed” all the background out. This will leave the words behind.
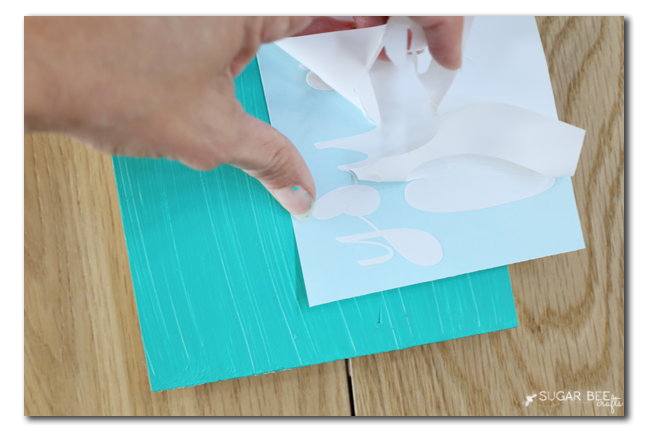
And don’t forget to pull out all the centers of the letters like “o” and “e”, etc. I like to use a straight pin to help grab them out.
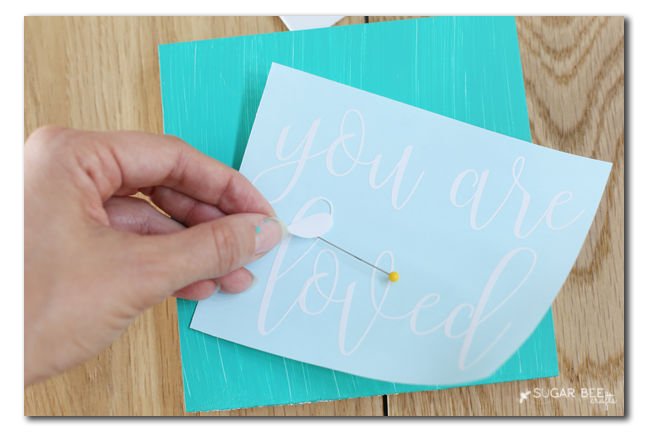
Next, this is key, you’ll need TRANSFER TAPE – you can also get that from Expressions Vinyl. When I first used adhesive vinyl I didn’t know about transfer tape and I tried moving the letters one-by-one onto my project – but that doesn’t work, it’s really hard to get them straight and in the right place. Anyways, so you put transfer tape right on top of your design, sticking it to it. Rub it into place to make sure it’s adhered.
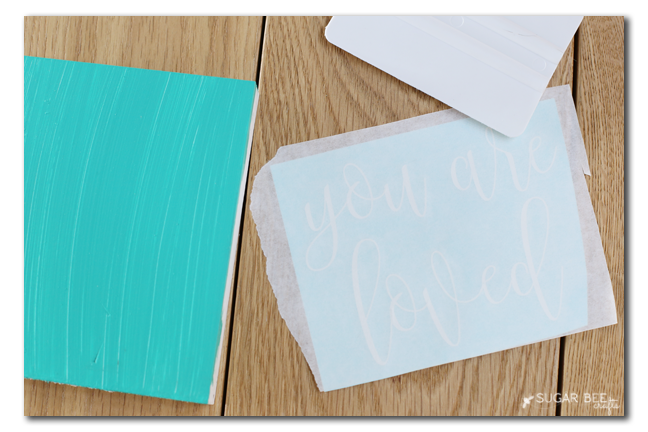
Then you’ll peel the backing off the vinyl. This will leave the vinyl stuck to the transfer tape. The transfer tape is just that – it is going to transfer the vinyl to your project.
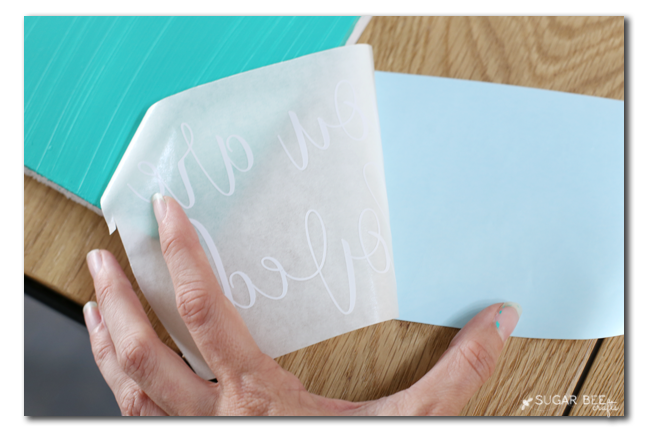
So then, with your design on the back of the transfer tape, put the transfer tape down on the piece of wood. Rub it down to get it to adhere really well. You can use the edge of a credit card, etc, to rub it down.
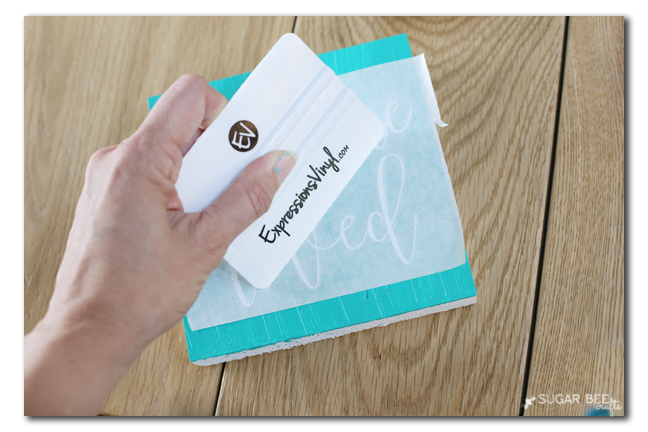
Then slowly peel back the transfer tape, kind of pulling it to the side instead of pulling it straight up. Your vinyl design should be left behind on your project right where you wanted it. Voila!
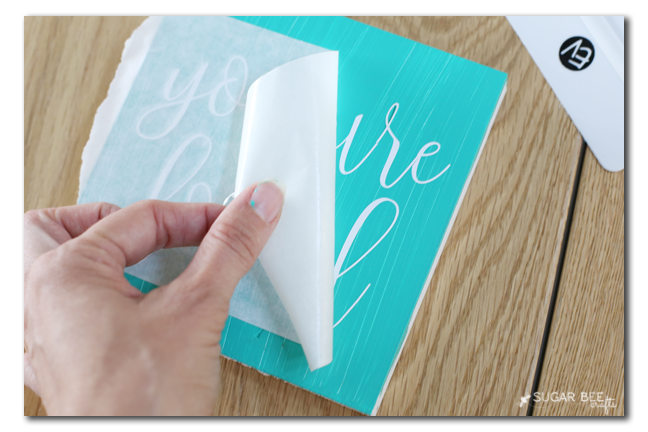
That’s how to put a vinyl design on a craft project! I used it as the center quote. Then I tacked the frame pieces around it.
Punching with Vinyl
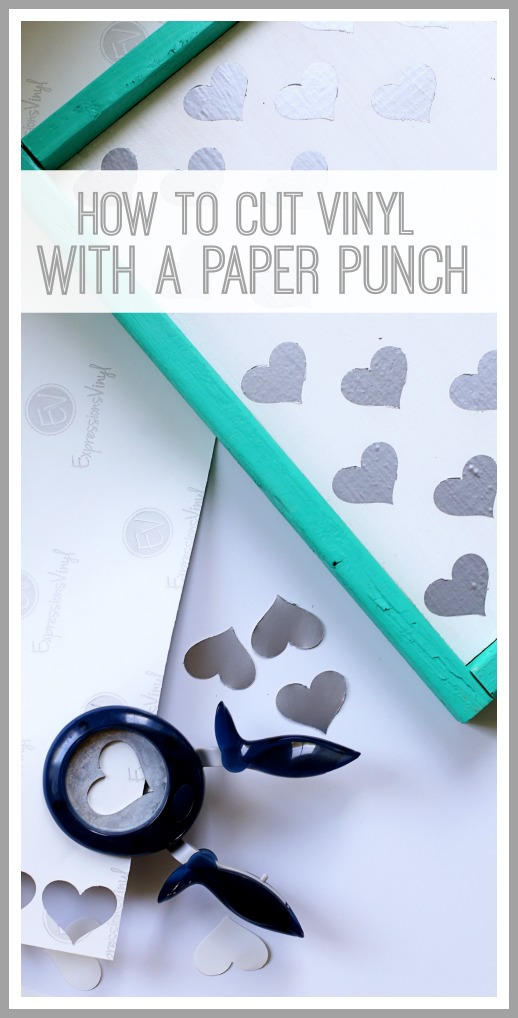
Moving on to the punch! YES, you can use a paper punch to cut vinyl! I think it’s easiest to use it upside-down, but test both ways and see what works better for you. You simply punch out the vinyl just like you would paper.
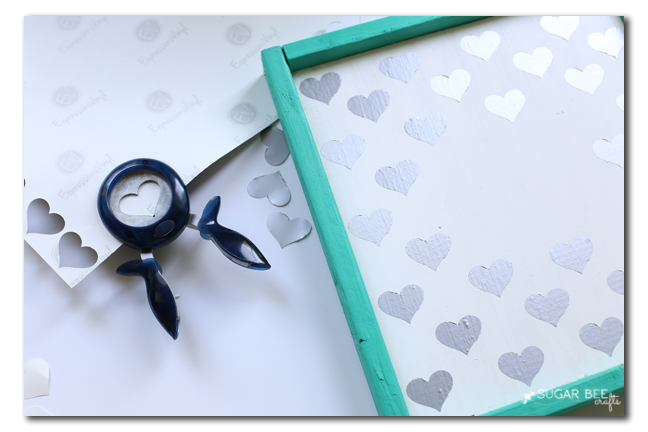
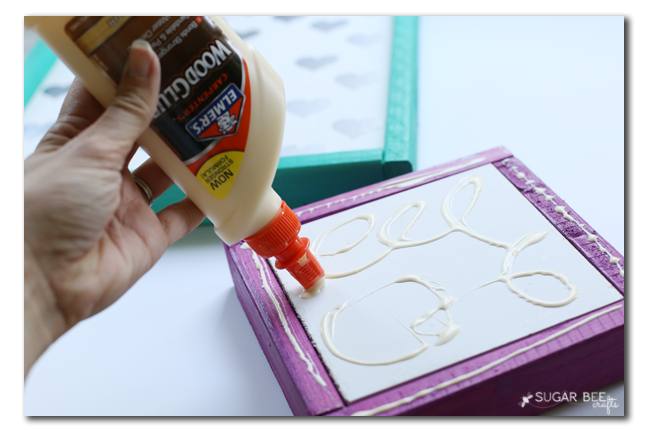
Then you peel off the backs of the vinyl hearts much like you’d peel the back off of a sticker. Then just stick it down where you want it and you’re good to go! I stuck all the hearts down (see image above) except for right in the center. Then I put wood glue on the back of the middle board and set it right on top of the main board. I put a heavy book onto it and let it dry for the afternoon. That was enough to secure it into place.
After it was all attached together, I used sandpaper to distress the edges of the frame just a little to give it a little more dimension.
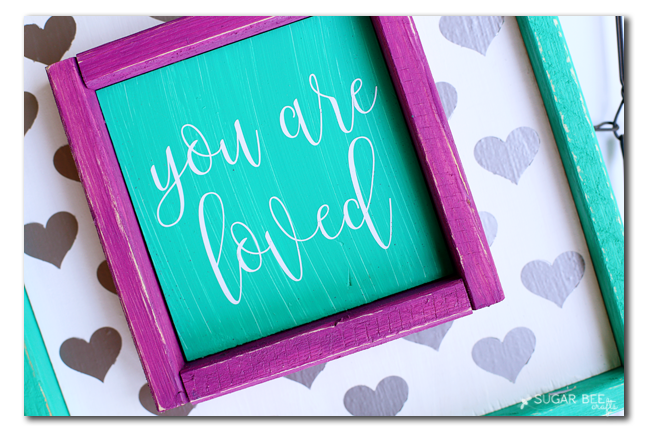
I really like how it turned out!!

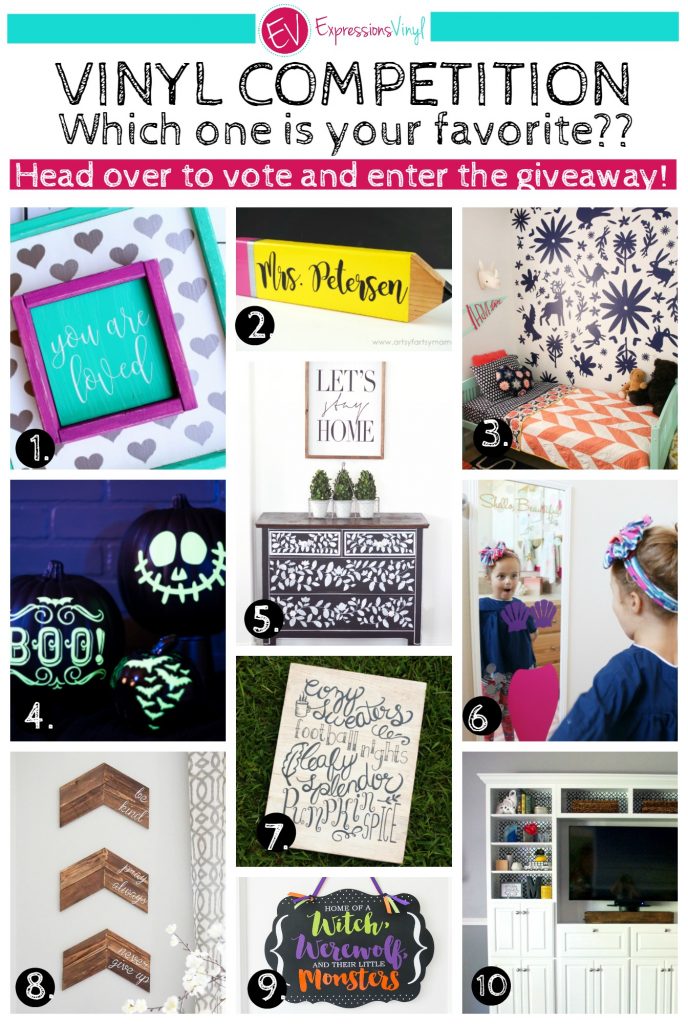
This project was part of this way fun contest:
Enjoy your You Are Loved Vinyl Sign!! (I have tons of other Vinyl Craft Projects ideas – check them out!)


This sign is really cute and I love the sentiment!
Randi recently posted…CAULIFLOWER MIX: A RECIPE
So cute, Mandy! Love the colors together
this vinyl sign is inspirational and we can customize it further with some other tricks