


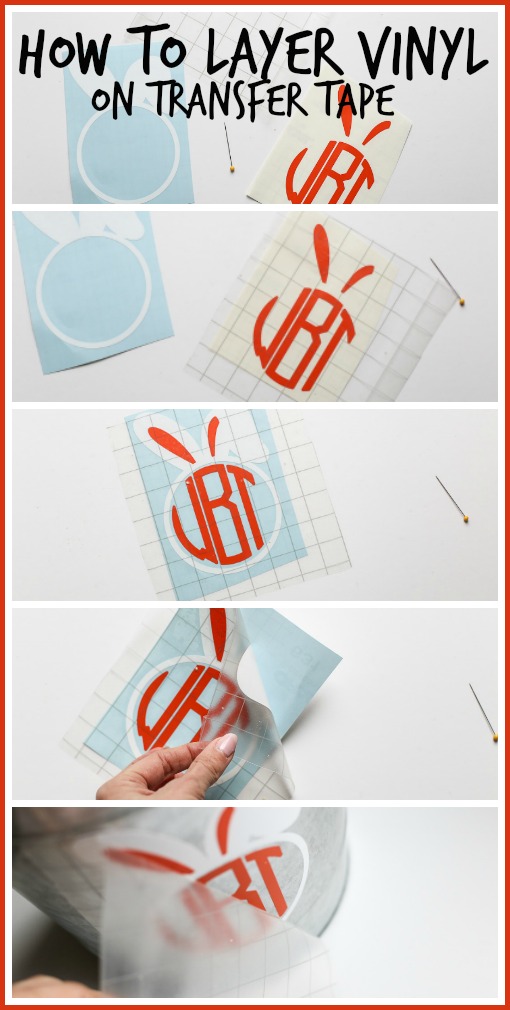
Ever wondered how to layer vinyl on transfer tape? Or why you would even want to? Let’s talk about that today!

Ways to Layer Vinyl
Normally you would layer vinyl on color-by-color onto your project. But there are times when you’d rather stick the whole decal on at once instead of trying to line it up for each layer. That’s when you’ll want to try layering on transfer tape – because sometimes it’s easier to layer onto a flat surface and then attach it to your project that has a tricky surface (like a curved bucket) in one shot.
Layer Vinyl on transfer tape
You’ll need:
—Adhesive Vinyl (my favorite is removable, but some people love permanent)
—Transfer Tape (my most favorite is the clear gridded)
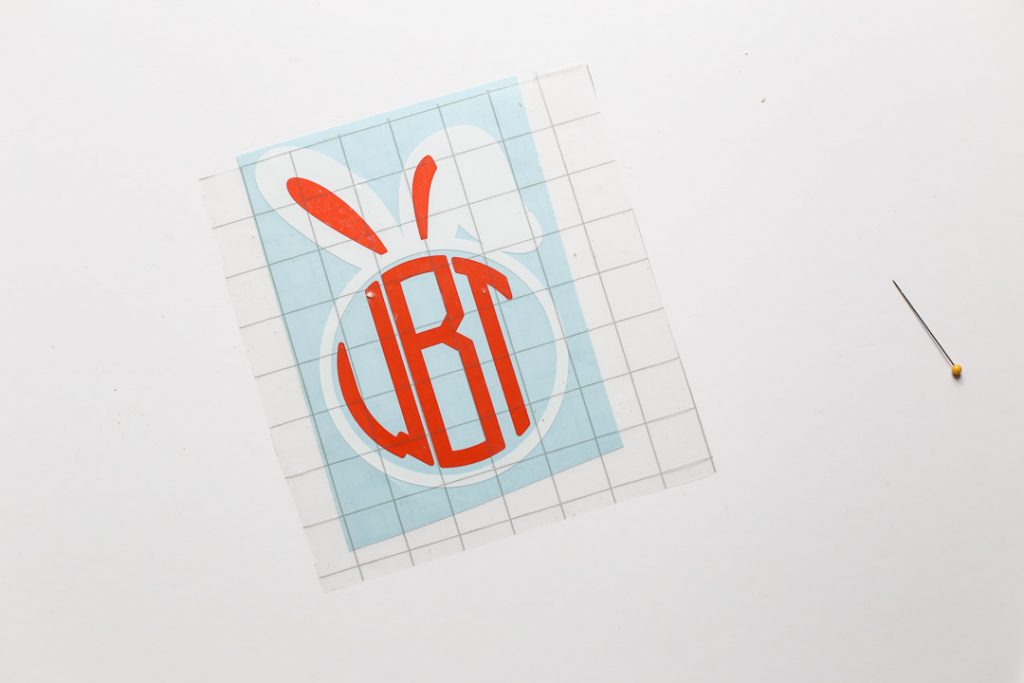
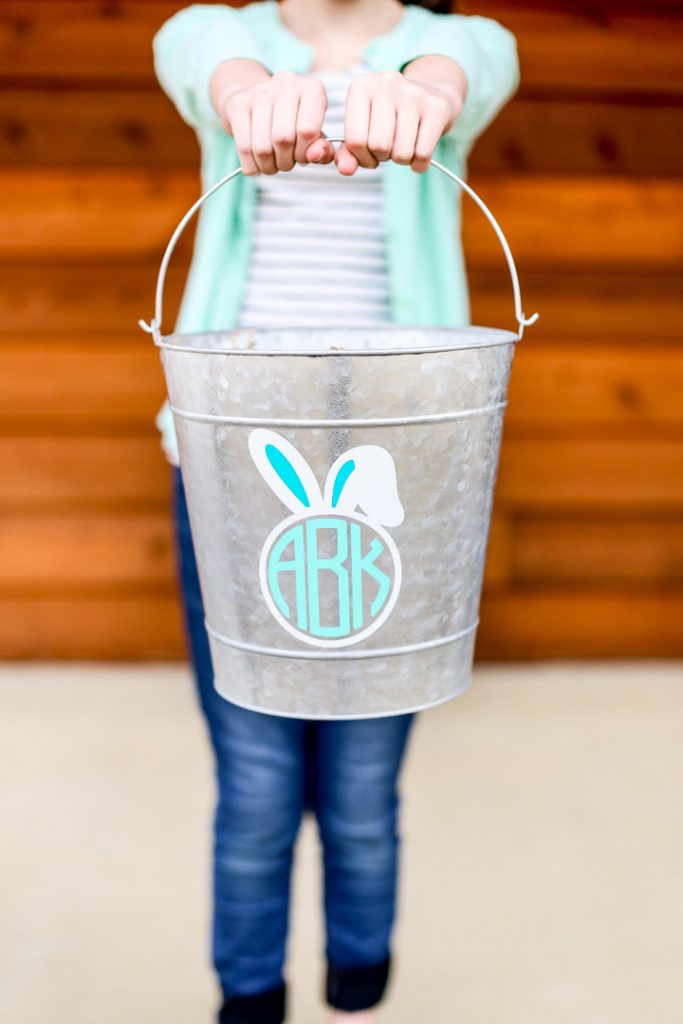
–decal – this bunny monogram came from the Ultimate Tee Bundle that I talked about HERE.
Layering Vinyl Video Tutorial
Yep! get excited, I have a video for you to watch if you love learning that way. If you’re a picture person, that’s on down too!
Layering Vinyl How-To
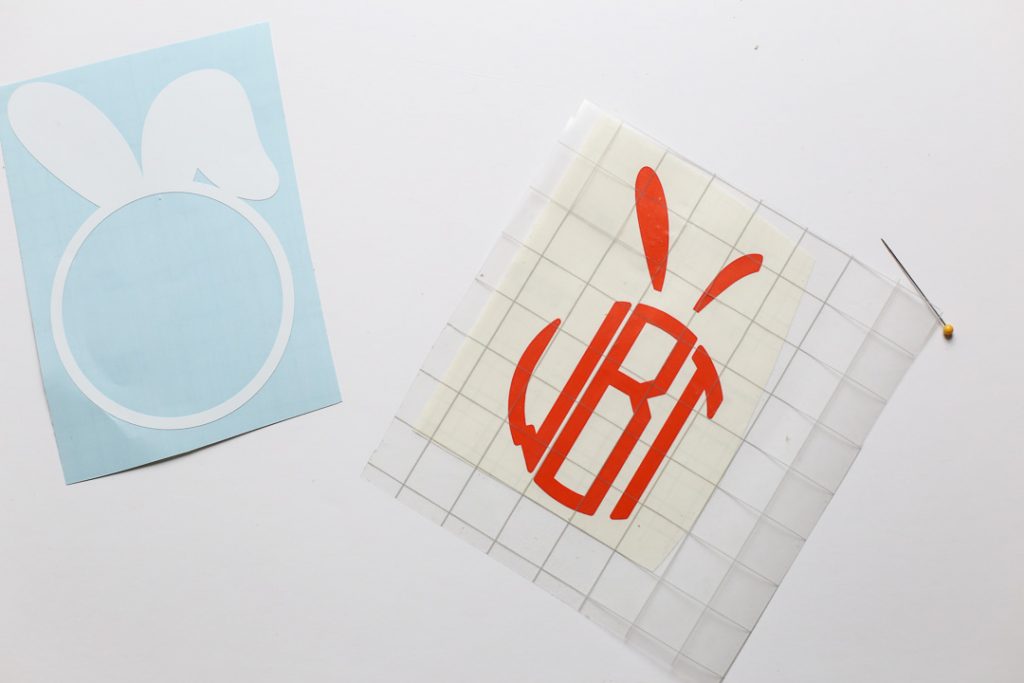
First you’ll want to weed all of your layers. That means pull out all the vinyl that you don’t want so you’re left with your design ready to go:

Now, normally when you layer ON YOUR PROJECT, you start with the underneath layer. When layering ON TRANSFER TAPE, be sure to START WITH THE TOP LAYER. In my example, the orange goes on top, it layers on top of the white ears. So that’s the layer I’m going to start with. Place the transfer tape on top of that layer and press and rub firmly:
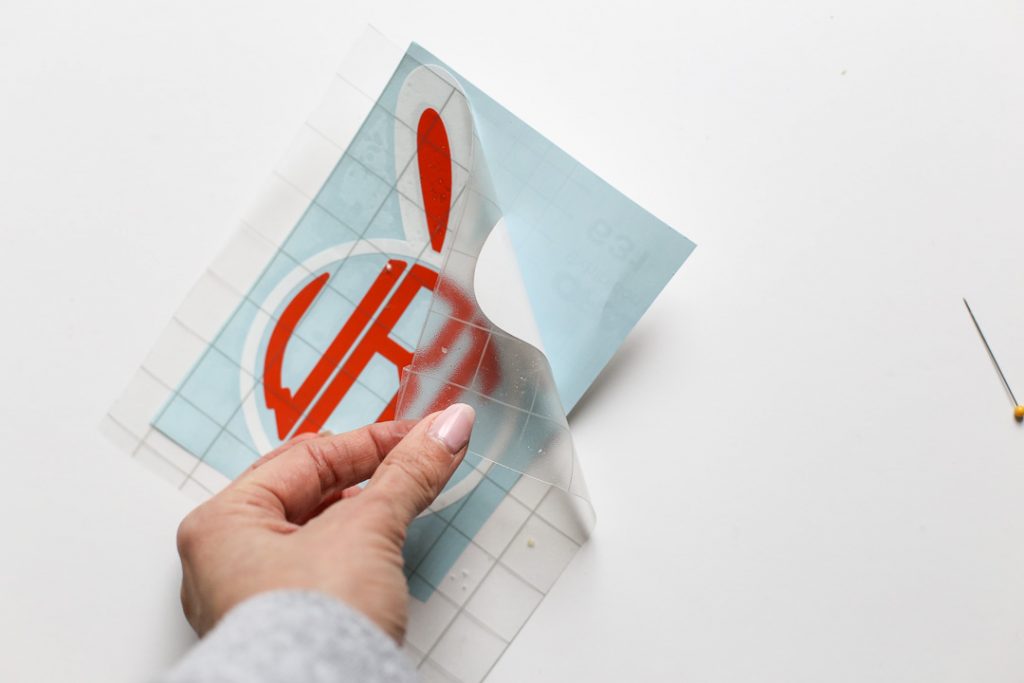
Then go ahead and peel off the backer paper – this leaves the vinyl on your transfer tape:
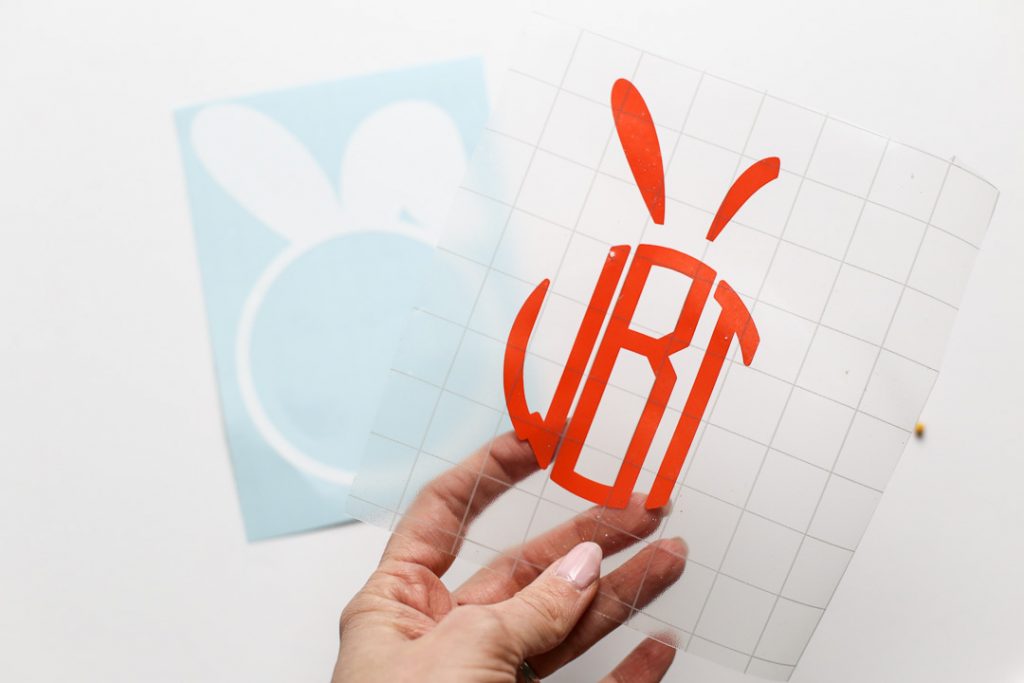
Now, instead of attaching it your project, go ahead and put it on the next layer, lining it up into it’s spot. So with the orange still on the transfer tape, I placed the transfer tape over the white vinyl:
Repeat with however many layers your project has. And then the magic happens – go ahead and peel off the backer paper…
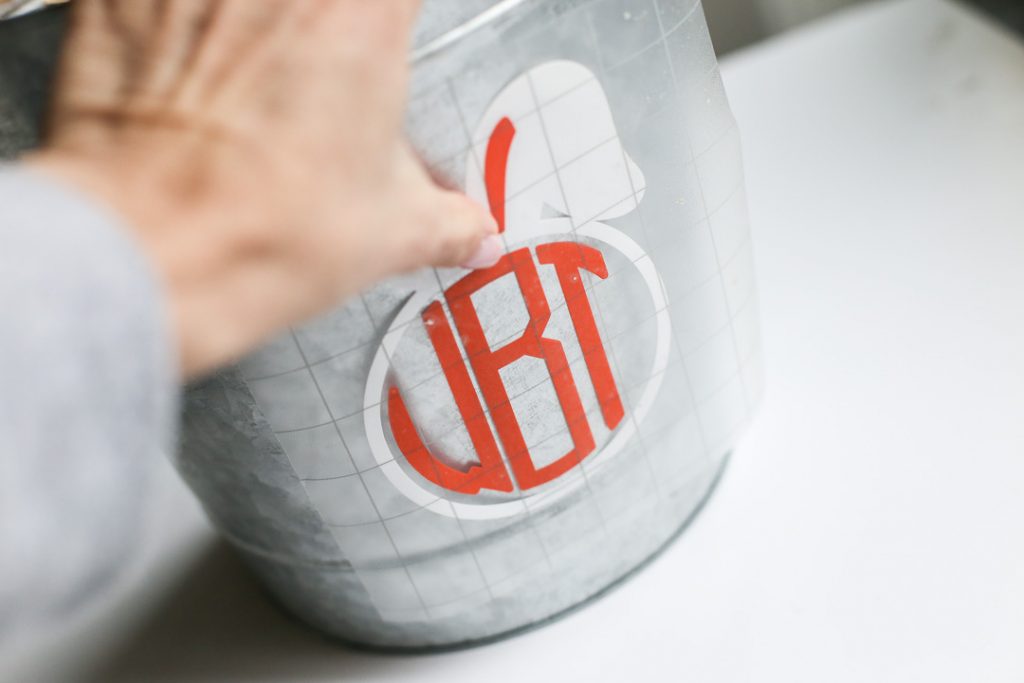
And you’ll have ALL the layers and multiple colors of vinyl onto your transfer tape at once! This way, you can put it onto your tricky project surface in one fell swoop. If you are working on a curved surface, press the center down first, and then press from the center out to the edges.
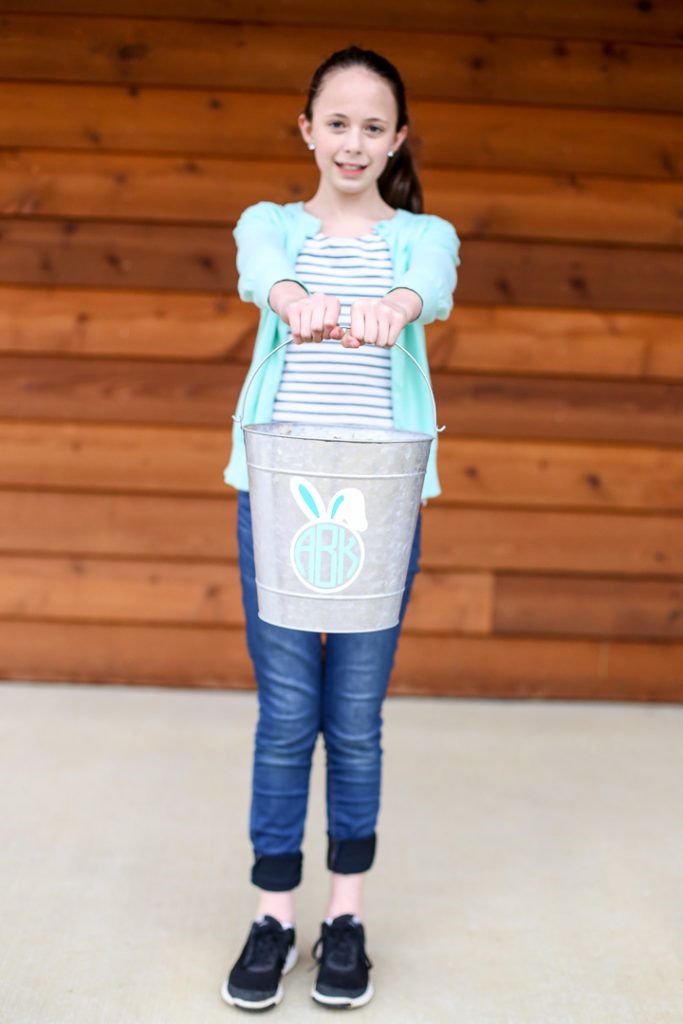
Then just remove the transfer tape, and voila! Instant layered decal!

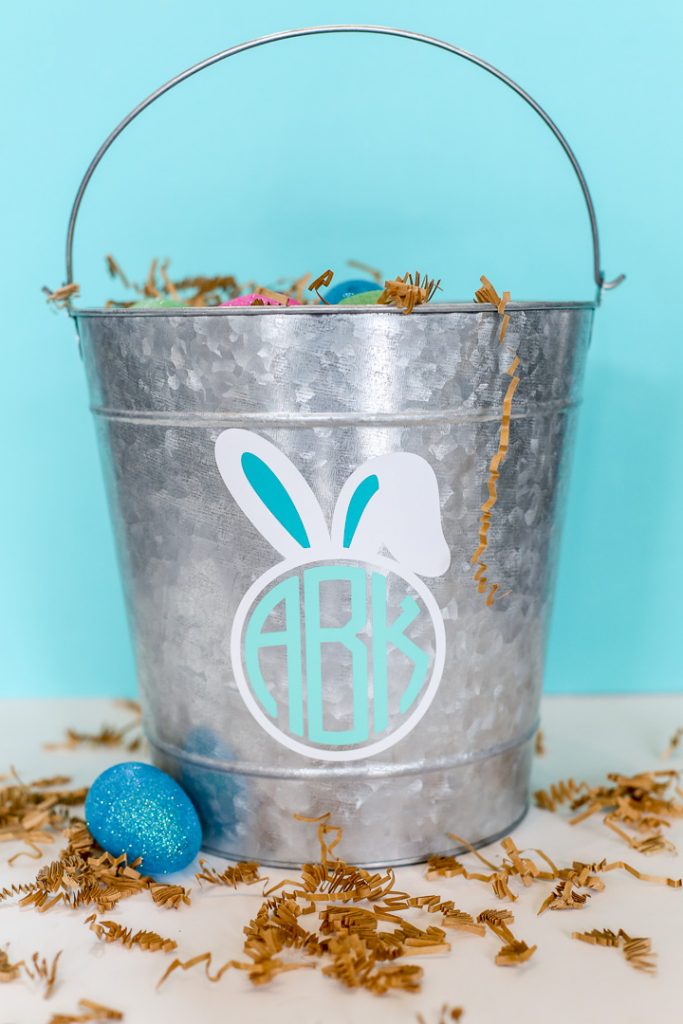
I think this is the cutest decal for an Easter Bucket!!


this is fantastic. I’m fairly new to the Silhouette and have been layering one at a time. I’ve been having difficulty lining it up just right. This is going to help me a lot. Thank you!!
Can you share the link to the buckets please.