This post is part of a social shopper marketing insight campaign with Pollinate Media Group® and Glad, but all my opinions are my own. #pmedia #pressnsealhacks https://my-disclosur.es/OBsstV
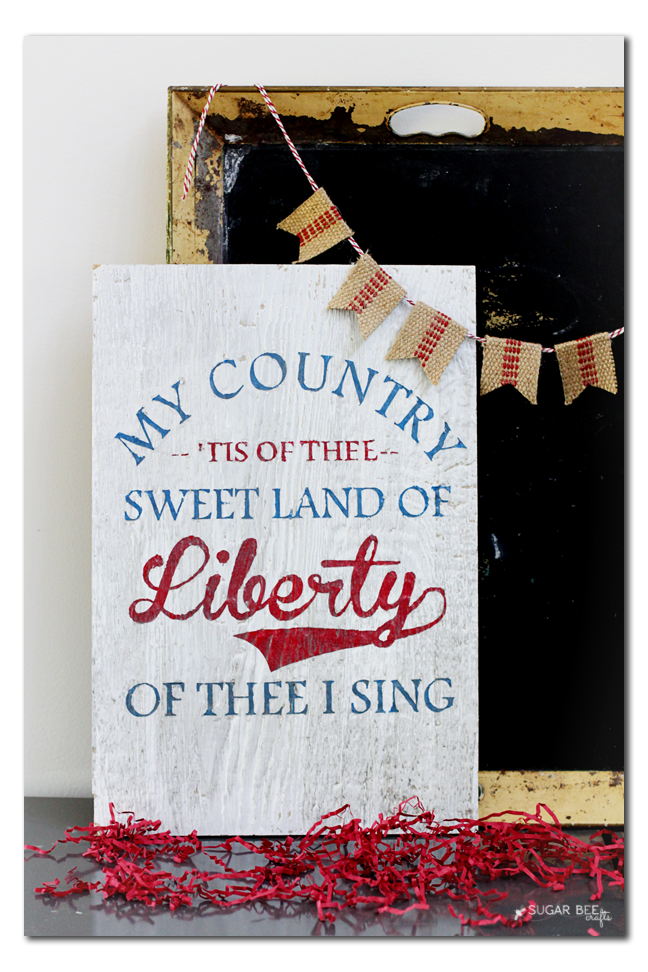
I love when I get to pop on during the Red White Blue Series – so fun to add a few projects to the mix. Today I have one that I’m just in love with – the Land of Liberty DIY Sign, perfect for adding a pop of patriotic to your decor. And I can’t wait to so you what I used to make it – thinking outside of the norm with craft supplies 😉
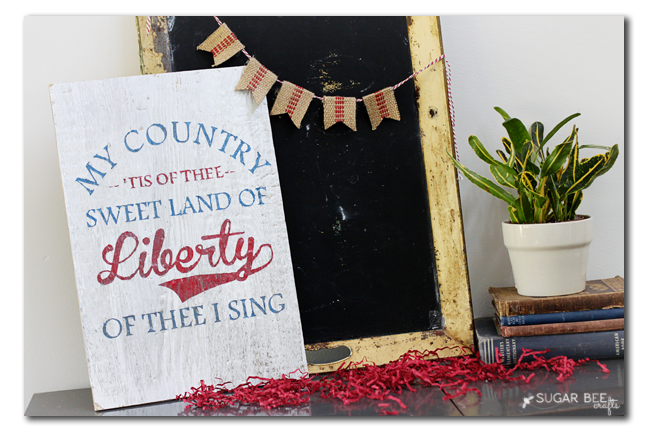
I think it really turned out great – – and I love patriotic decor. The sign is inspiration from this Free Printable Feature and an awesome reader had the cut file for Silhouette – check out her at Nostalgia Gifts.
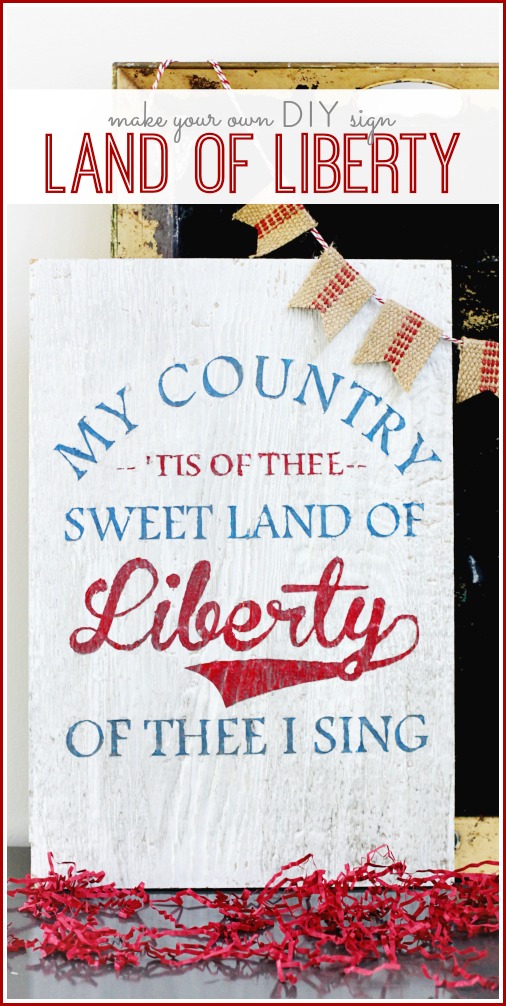
Gather up your supplies. You know I’m a die-hard Walmart fan, so I was able to grab my Glad Press’n Seal there. What?? Glad Press’n Seal. Yep!! You’ll need a vinyl stencil, paint, a board, and way to get that vinyl onto the board. For that I used Glad Press’n Seal and I am here to show ya how I did it – –
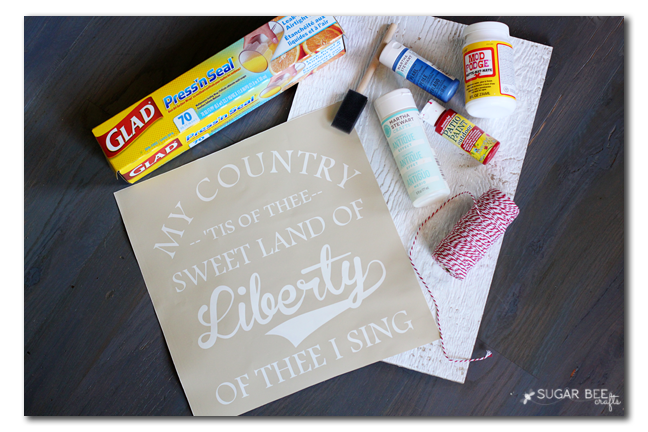
The vinyl stencil is cut, but it’s still on it’s backer paper. You need a way to transfer the vinyl onto the board. And you can’t just peel it up and stick it down cause you won’t get all the middles of the letters, etc. So I gave Glad Press’n Seal a try. I used a piece big enough to cover the entire stencil and placed it press-side down on top of the vinyl. Rub it into place.
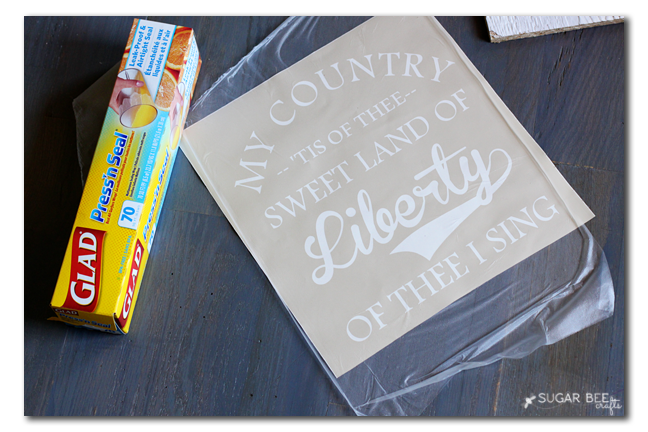
Then you can flip it over and peel the backer piece off the vinyl. You can see how it holds the centers of letters in the spots.
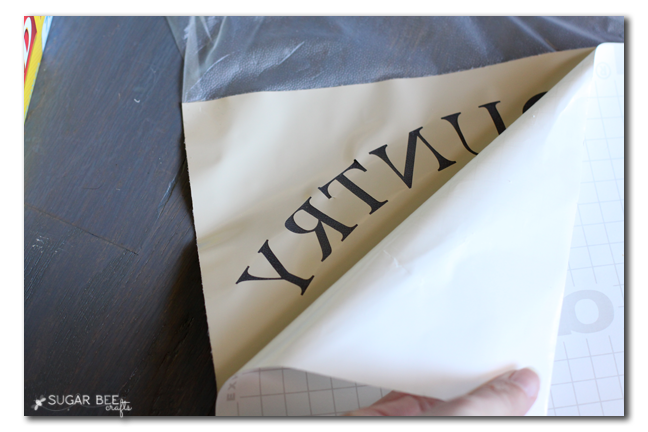
Just work slowly to make sure it’s all adhered to the Glad Press’n Seal:
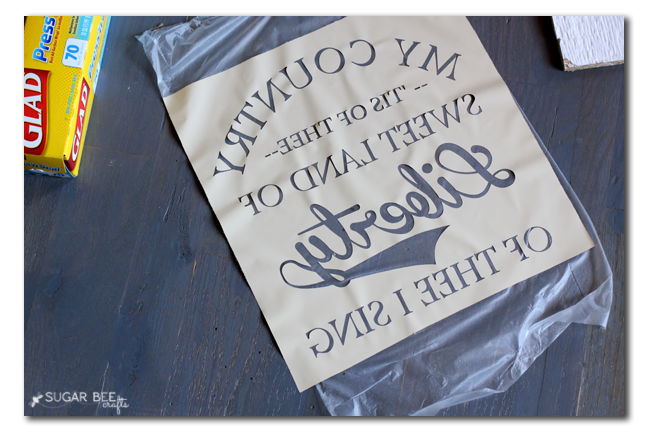
Then you can move it onto the board. Really press and rub the vinyl into place if your board has texture like mine.
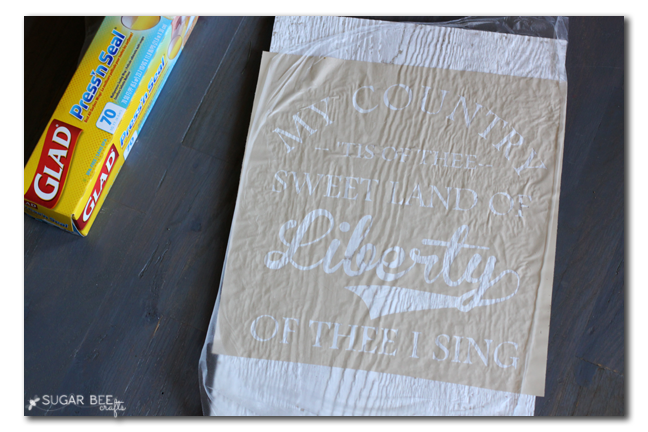
Then slowly pull up the seal and it’ll leave the vinyl in it’s place on the board. And see, all the insides of the letters are in the right spots.
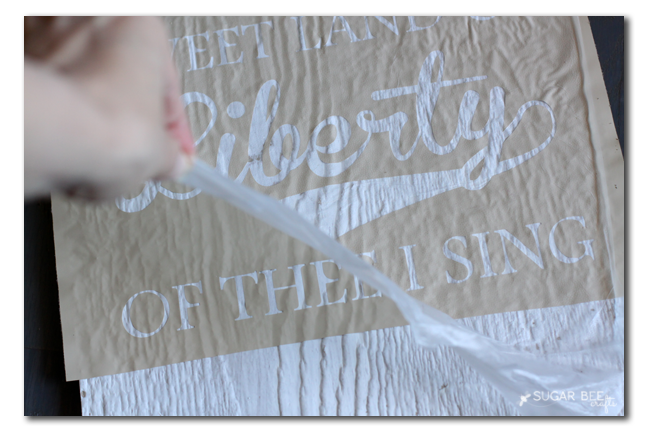
Then I moved on to my secret for crisp lines – put down a layer of mod podge before you paint. That way it’ll be a clear seap if anything runs under the vinyl. Normally this works great- this time around I didn’t let it dry enough and so it was still tacky when I tried to pull up the vinyl and it would stick to the stencil which was a hassle.
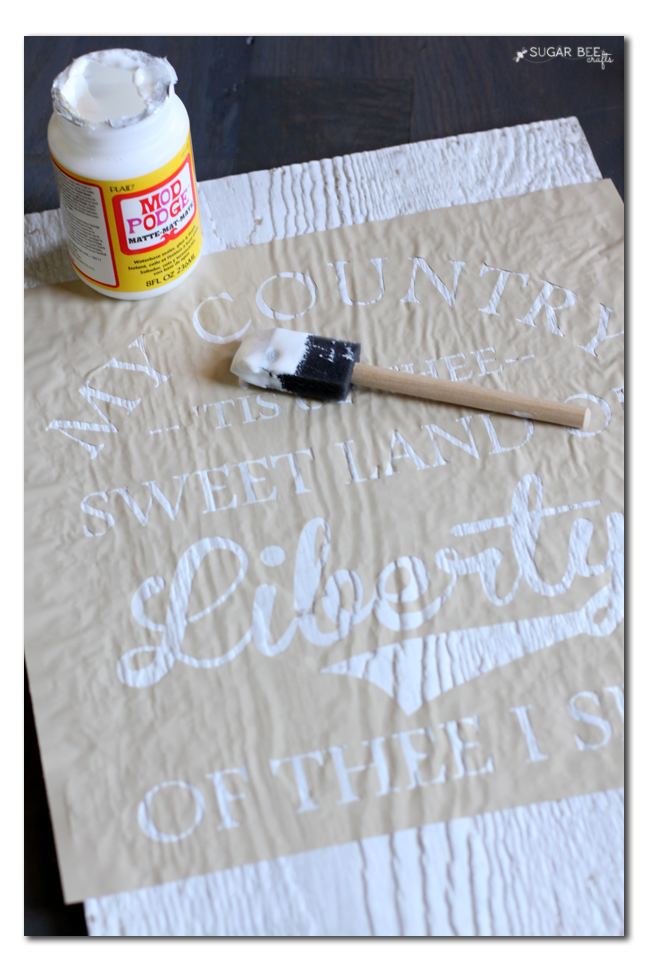
Once that’s fully dry (I’d say overnight, not just an hour like I tried), you can add the color. After the color was dry, I mixed some gray and gold with antiquing medium and brushed that on top of the letters so they weren’t super clean and bright.
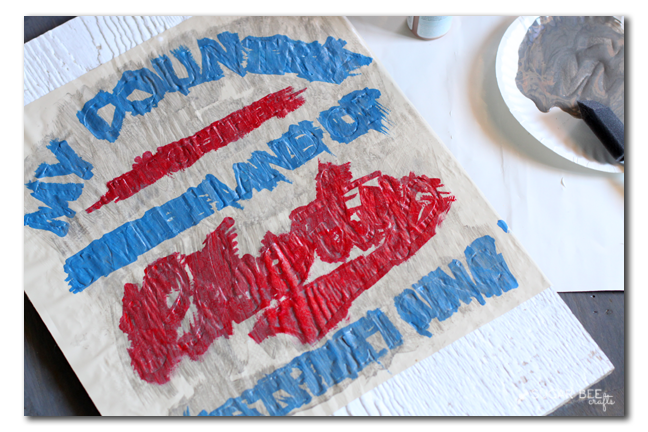
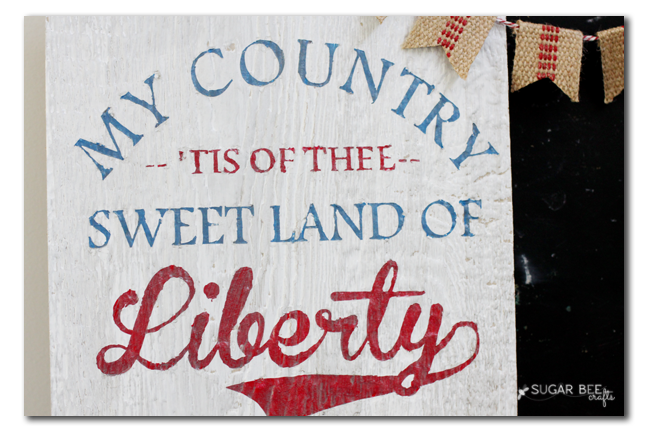
Let that dry completely then carefully peel of the vinyl. I then again did a quick brush on and wipe off of the antiquing mixture – I love the more aged look that it gave:
Calling all crafters – we all love inexpensive ways to get crafty and there is no telling what all you can do with Glad Press’n Seal – – what would you create with it??


I really love this sign! I love he wood you used makes it look so rustic!
Suzy recently posted…Happy Anniversary Card