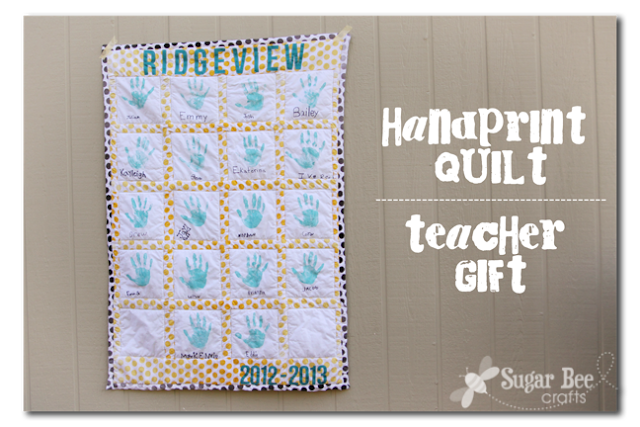
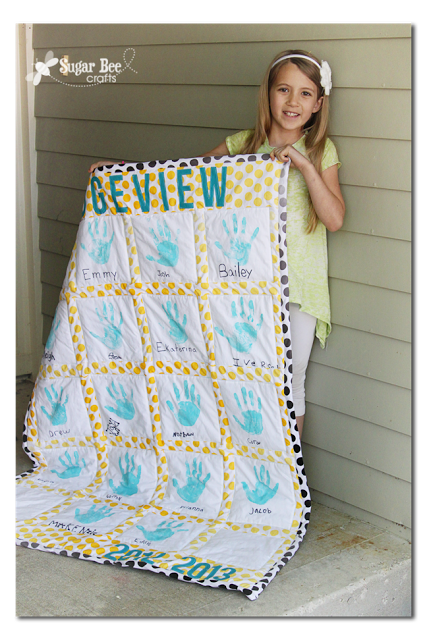
I want to show you the gift that I made for my daughter’s teacher – I love how it came out! A Handprint Quilt Teacher Gift is awesome!! And I’ve got some tips and tricks for you on putting one together – it’s easier than you think!!
This is her first year teaching, so I thought she’d enjoy something to remember her first class. I picture her keeping it in a reading nook in future classrooms – doesn’t that sound great?!
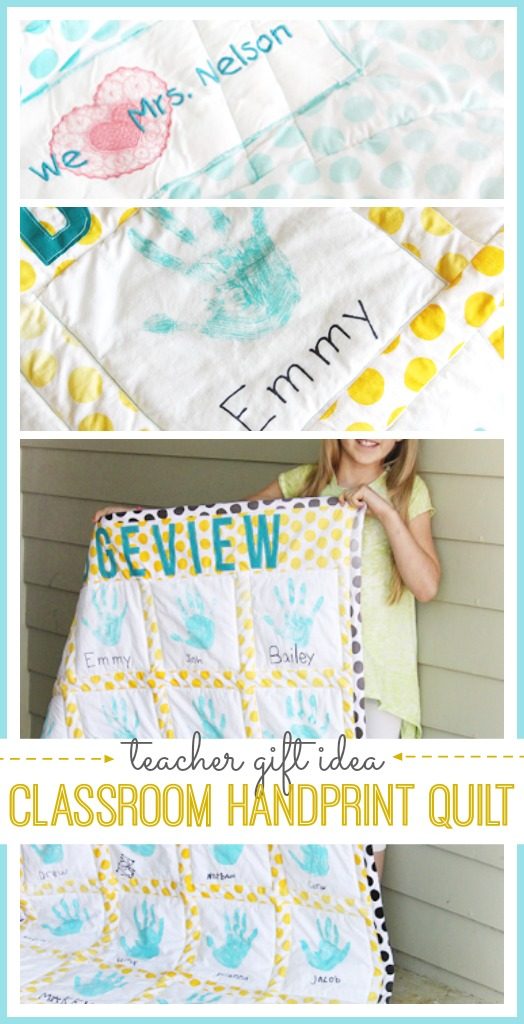
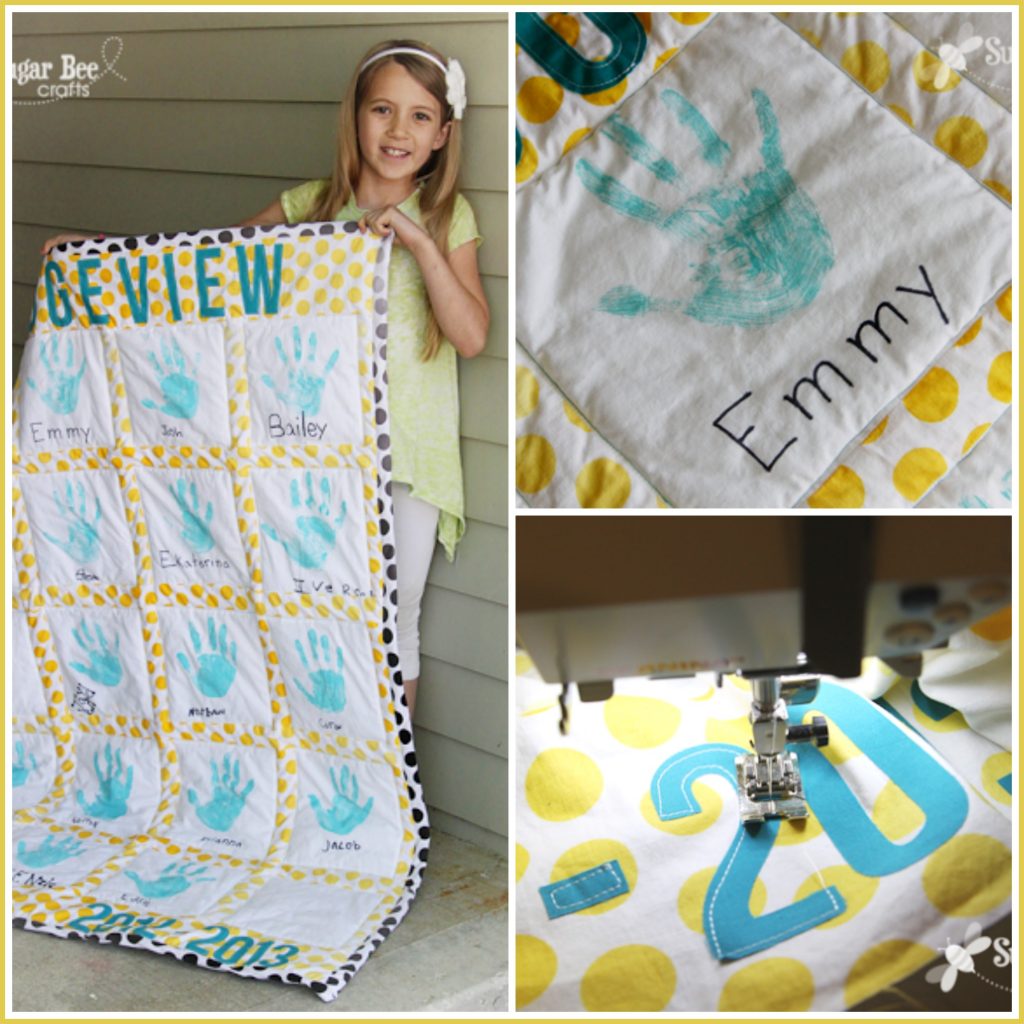
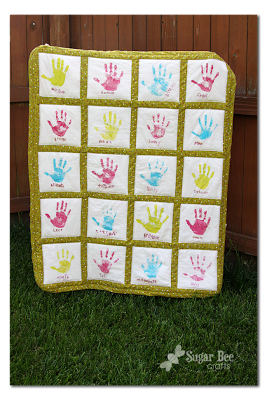
I made one of these a couple of years ago for another first-year teacher – here’s that Handprint Quilt:
Handprint Quilt Teacher Gift
So, a few things about my quilt – –
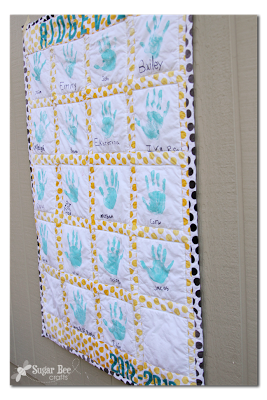
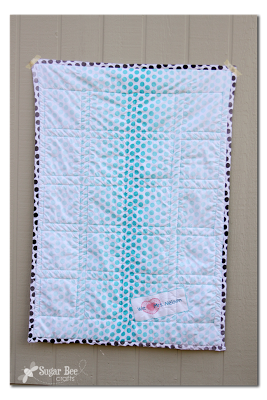
— The FABRIC! besides the hand prints the fabric is the obvious star of the show. It is the Ombre Dot Line from Riley Blake and the pictures just don’t do it justice – it’s awesome. I cut the front pieces so that the yellow stripes are darker towards the center of the quilt, and lighter towards the edges. The back is one piece of the fabric so it show the ombre really well. The binding is also made out of the Ombre Dot and you can see the gradiating color changes as it goes along the edge.
Anyways, back to the quilt – I used:
– 1 yard white
– 1 yard yellow ombre dot (for the front)
– 1 yard black ombre dot (for the binding)
– 1 1/2 yards aqua ombre dot (for the backing)
I also used some scrap teal for the lettering and batting that was “crib size”
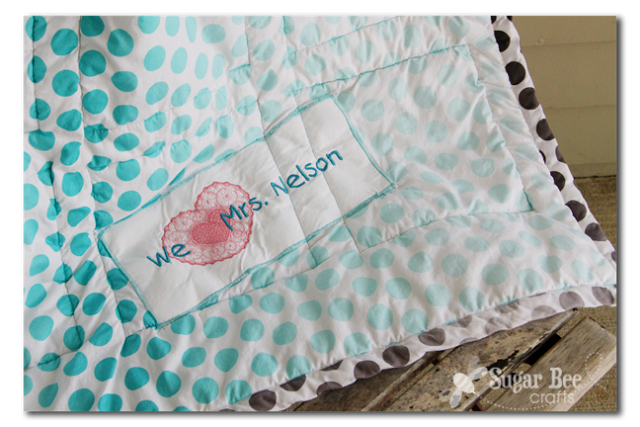
—The BACK!! I just got a new embroidery machine, and of course all my embroidery files are in the format that my old machine reads. So I just used what was built in (normally a “doily heart” isn’t quite what I’d pick) – it was fun to make a quick something with my new machine. I embroidered onto a white rectangle, then zig zagged that rectangle onto the backing before putting the quilt together:
–The QUILTING!! Obviously, I am no pro! But that’s what great – if I can make this, then you can too. Follow the instructions at Capturing Joy on how to put all the pieces together. My squares are 9 inches and I can’t remember how big the strips in between the squares are – I think the strips at the top and bottom are 6 inches wide. After piecing it all together, I “quilted” it – “quilting” is just sewing layers together, so it’s not as intimidating as it sounds. There are lots of fancy ways to quilt, but there are lots of simple ways as well. With my layers of quilt top, batting, and backing, I just sewed slightly inside of each handprint square. That’s it – worked great.
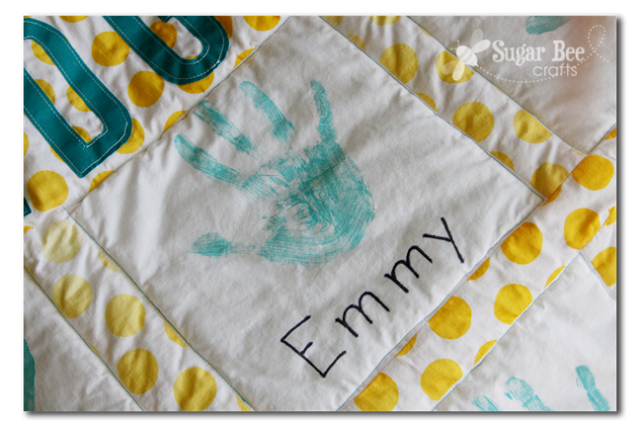
–The HANDPRINTS!! I don’t have pictures of this process, but let me walk you through it. I found a good time to pull the kids out of class. I set up in the hall (brought all my supplies on a cookie sheet) on a table and pulled 3 kids out. I used a foam brush to paint on their hand and then pressed their hand onto precut white squares. I sent them to the bathroom to wash their hand as I moved on to the next kid. When they came back, they wrote their name under their hand. As they went back to class they sent someone else out. It took about 30 minutes to get through the class. The handprints dried quickly so I could carry them out in a stack.
I didn’t have fabric paint in the color I wanted, so I mixed a couple of regular craft paint colors. Then I had some “fabric medium” – it’s by the craft paint, and it turns craft paint into fabric paint. So I mixed in the fabric medium as directed. You let it dry and then heat set it with an iron. These pictures above are from after I ran the quilt through the wash, so obviously it held up.
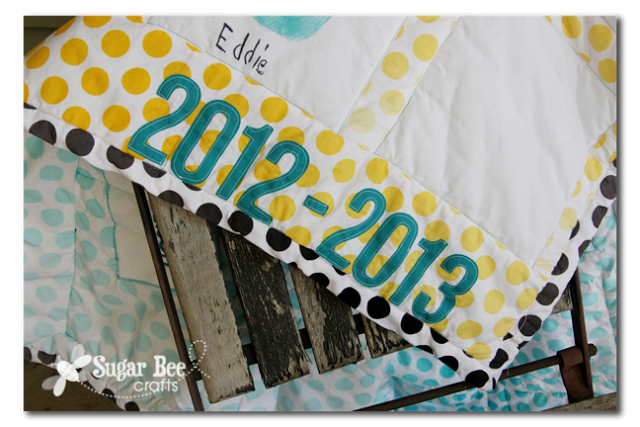
–The LETTERING!!
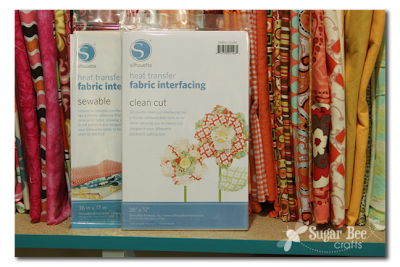
I used my Silhouette to cut out letters out of fabric – you can do that with Silhouette Fabric Interfacing
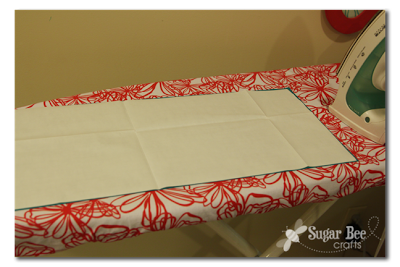
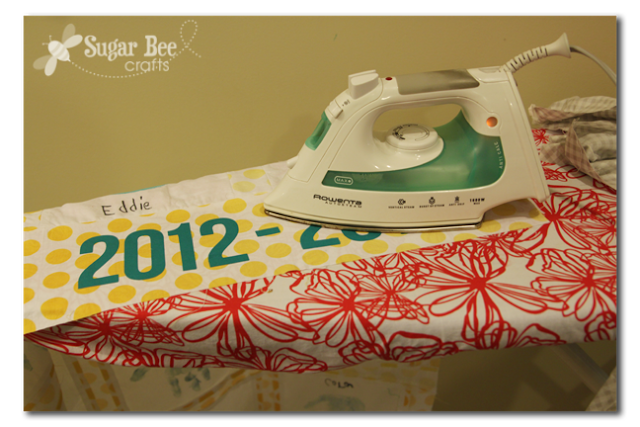
So – you iron the backing on to your fabric:
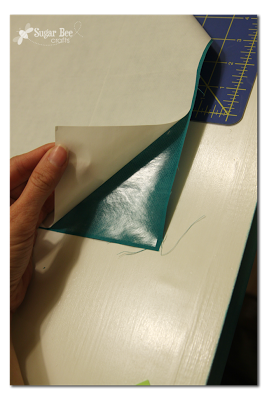
Then peel the paper backing off – it’ll leave the interfacing adhered to your fabric, looking kind of shiny:
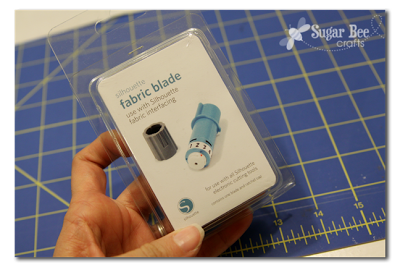
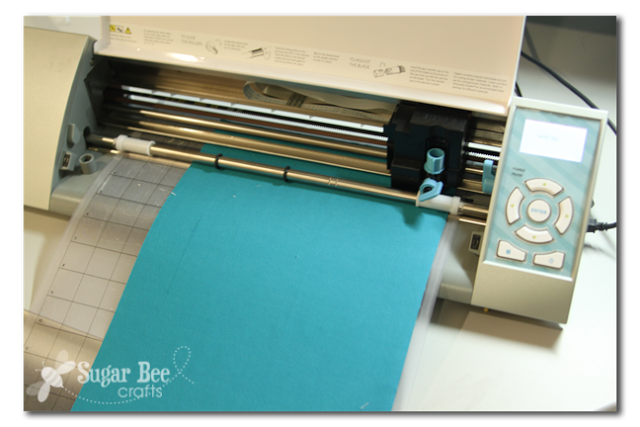
Put it on your cutting mat, interfacing-side down. Then cut your design, using your fabric blade. FYI, the fabric blade isn’t any different than a regular blade, except for it’s color. But you want a separate blade so it’ll be sharp. It’s the same reason you have sewing scissors and regular scissors – keep the things cutting fabric sharp.
See the nice crisp lines – perfect!
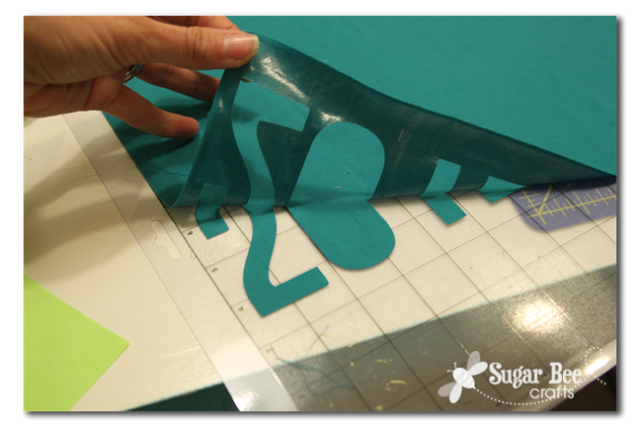
Carefully pull the letters/numbers off the cutting mat. Place them where you’d like them and just iron them on – that will hold them in place.
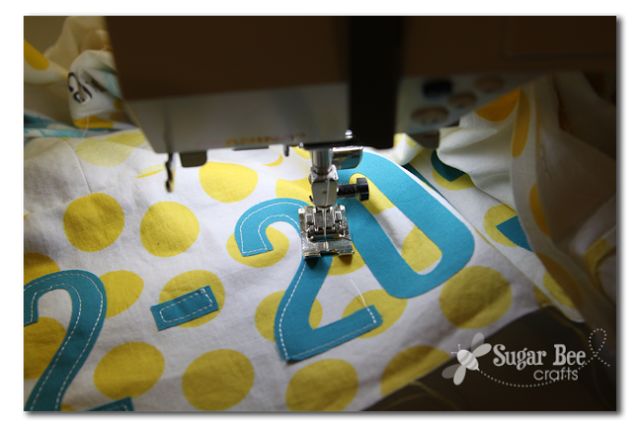
Since this needs to be washed, etc, you’ll want to stitch it on as well. I just outlined the inner edge with stitching to secure the numbers and letters.
That’s it!! If you’re not a quilter, this is a good one to try – it’s just sewing squares into rows – you can do that! And it makes such a fun gift!
A few other quilts that I’ve done:
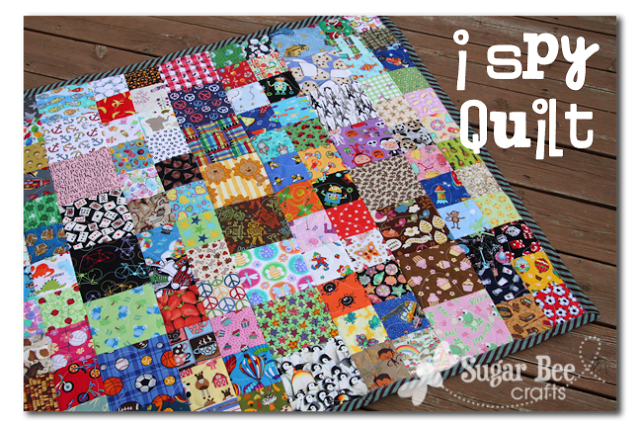
I Spy Quilt (with jean backing – we use this for watching sports, picnics, etc)
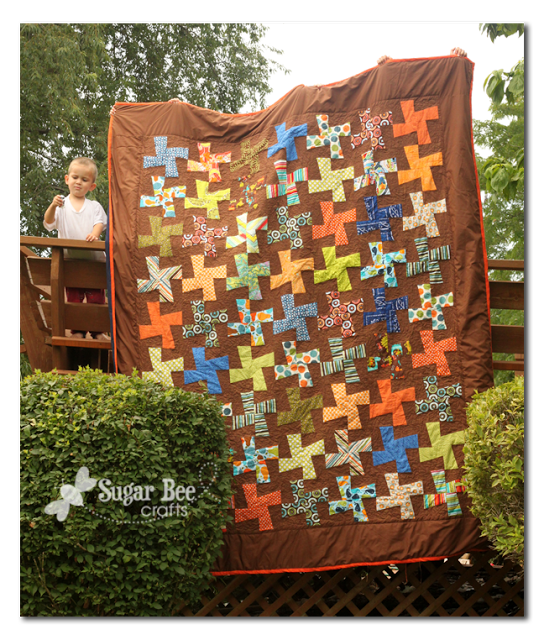
Whirlygig Quilt – (my first big quilt)
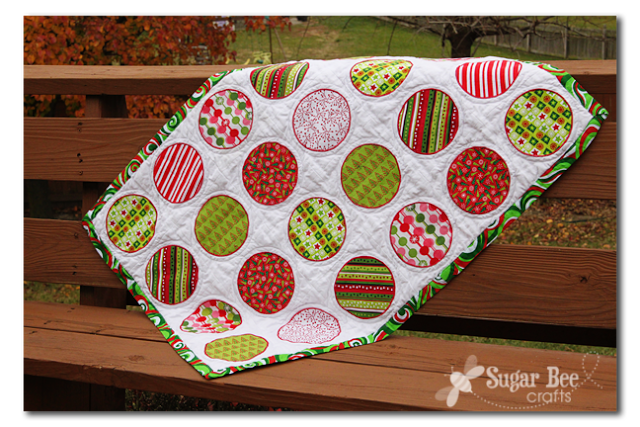
Circle Quilt – this is a holiday one, but you could do any type of circle quilt:
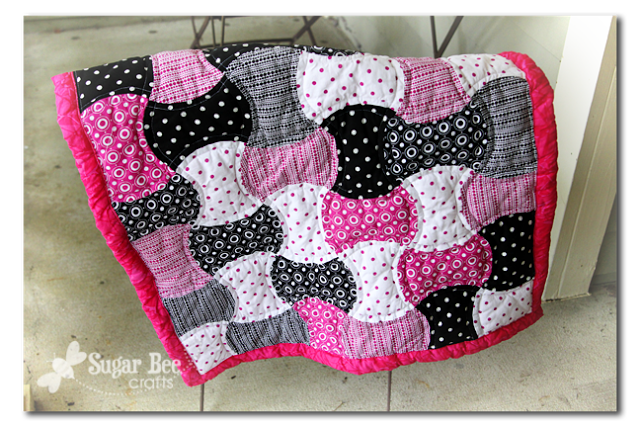
Apple Core Quilt – came together pretty quickly:
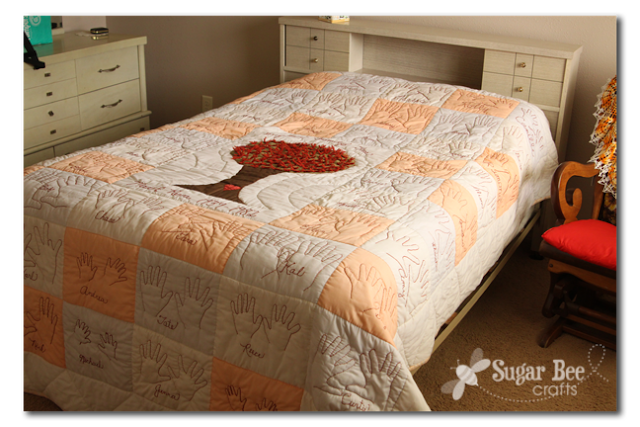
And if you’re into Handprint Quilts, here’s one I love to look at when we’re at Trevor’s grandma’s home:


Very nice quilts!!!
I made a quilt for my daughters 2nd grade teacher. I had all the kids draw a picture of their favorite character, animal, even their own hand print. Whatever they wanted . I had them transposed onto fabric and sewed them all together and put a border around it. The border material had hand prints all over it so it was perfect. Then I sewed plastic little buttons that were shaped like hands just randomly on the quilt.. My daughter is now 20 and her teacher still has the quilt she loves it.