


Hold the pillowcase up to your model to see how long you want the dress. Remember adding the band at the bottom will make it longer.
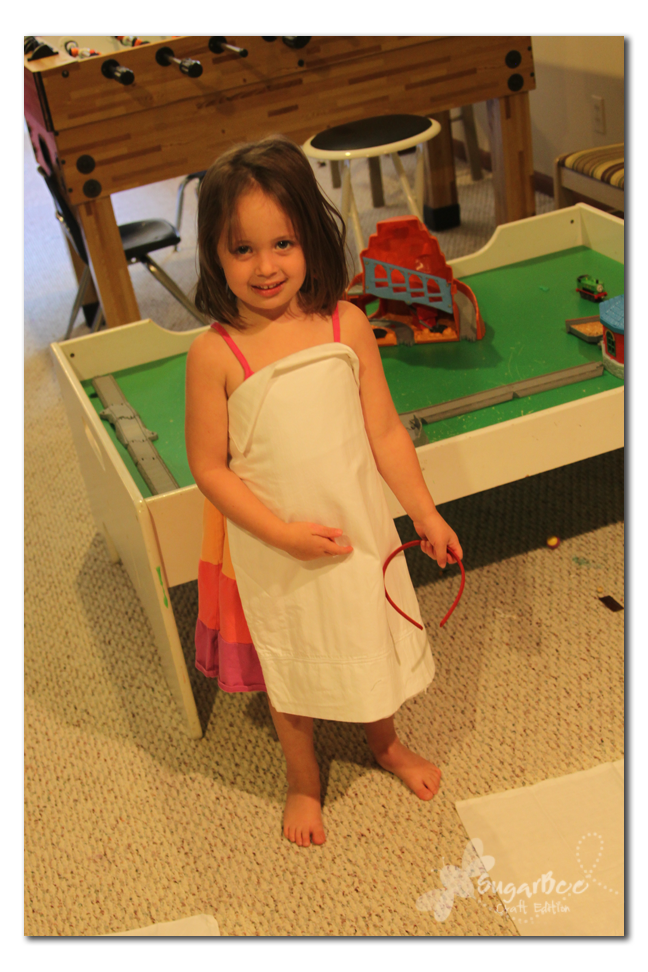
Cut off the top of the pillowcase (the side opposite of the opening) – the part left is how long you want the dress to be.
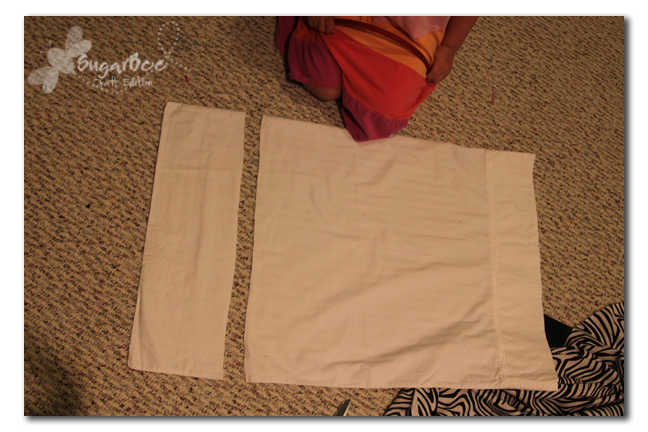
Then cut armholes to look like the picture below. I serged the edge of mine but you could hem it -just finish it somehow. Then fold the top down about 1 inch and sew it to make a casing (the tube that the top ribbon will go through). I detailed these steps in a previous Pillowcase Dress I made, so follow that link for more info.

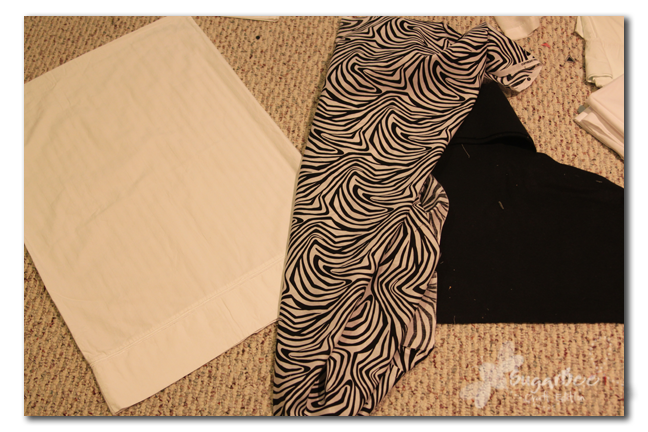
Make a tube of fabric to thread through the casing. Or you can use a black ribbon. For the bottom, I hemmed a strip of fabric and then attached it to the bottom of the pillowcase. I forgot to take pictures of that step.
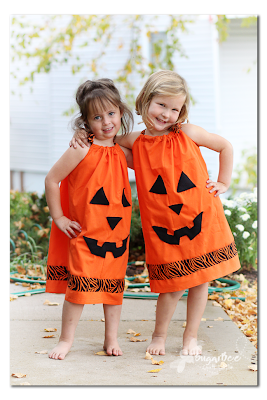
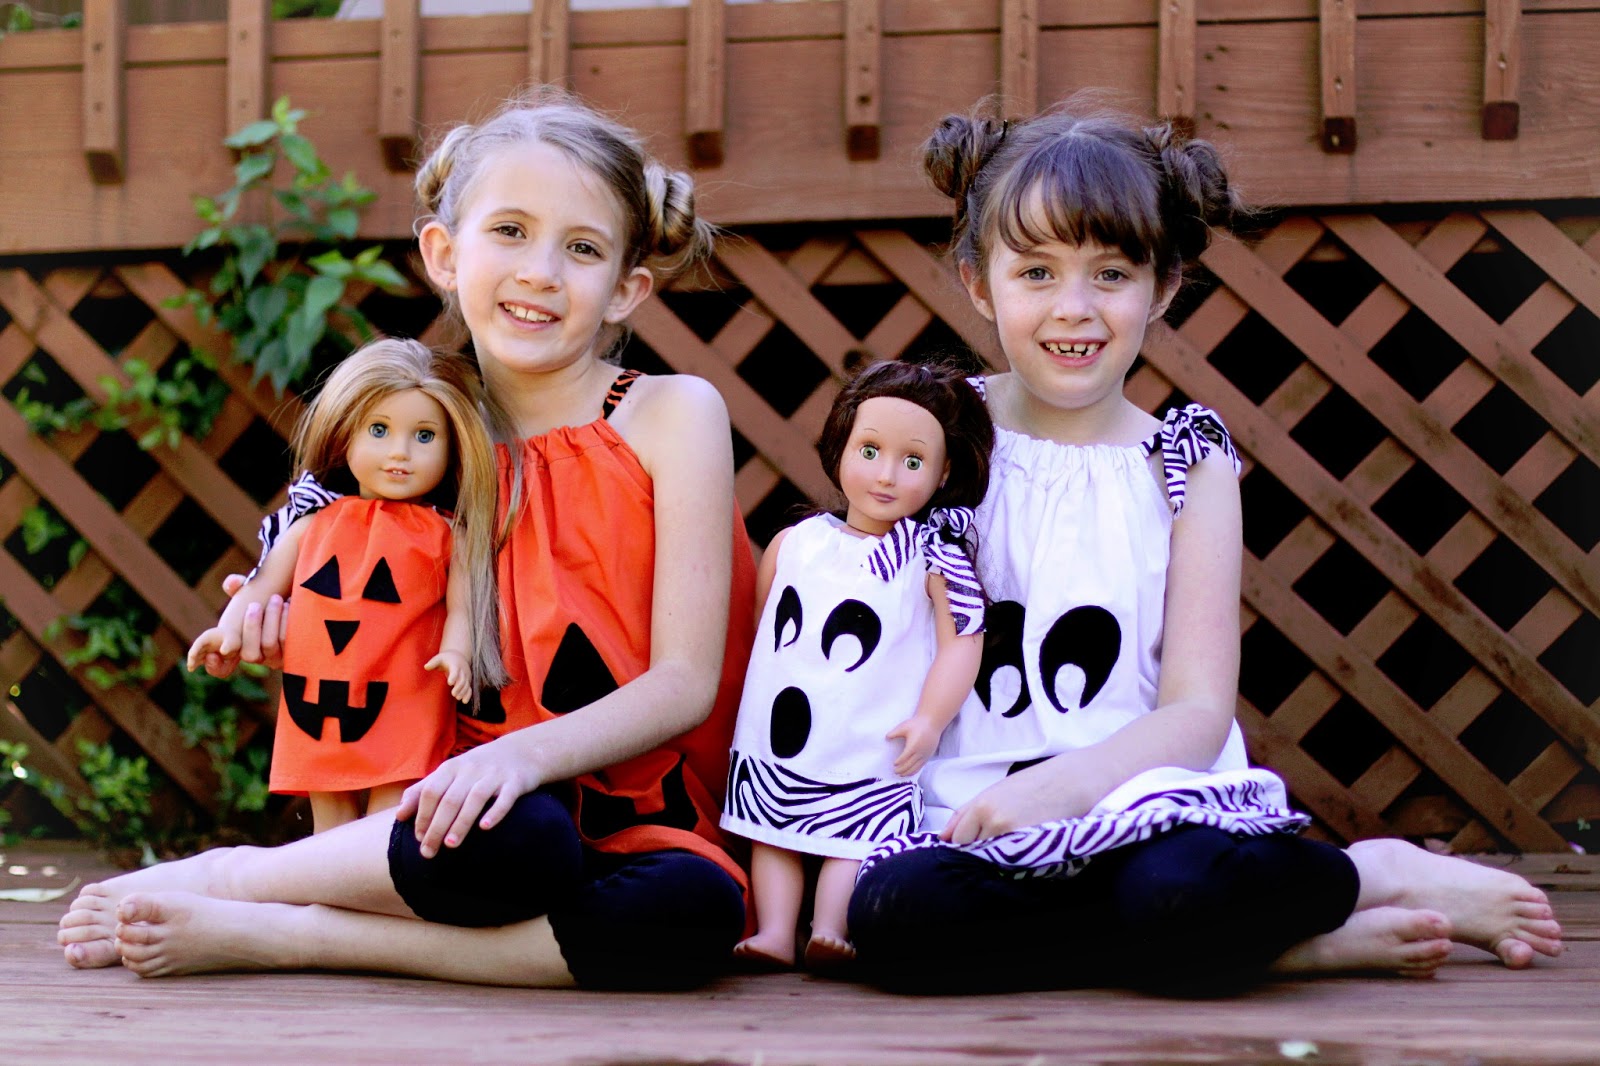
Then cut some eyes and a mouth out of the black – so many options with this step – mean face, small mouth surprise face, crazy face, etc etc…


Then pin the eyes/mouth on and sew around the edges of them to attach them to the pillowcase. That’s it!

This was a quick and easy project – I love when I get something done, start-to-finish, during naptime!
If you are adventurous, you can even make a matching doll version. Details on how to make the NO-SEW matching doll version are here.
Oh my these are adorable!! Thanks for sharing – pinning to make these!
These are SO cute! I want to make the ghost dress for my daughter this year. 🙂
Very cute! My daughter would LOVE one of these! 🙂
Oh my word Mandy; these are so cute! We just found out we are having a girl and I can’t wait to make fun dresses and bows, etc for her! Love your girly ideas! 🙂
Oh my gosh! These are so cute Mandy!! Love them!
Adorable!!!
These are so cutie Absolutely love the matching dolls!
that’s my girls’ favorite part too 🙂
Quite adorable costumes. It reminds me of my childhood 🙂 Just pinned these to my Pinterest board.