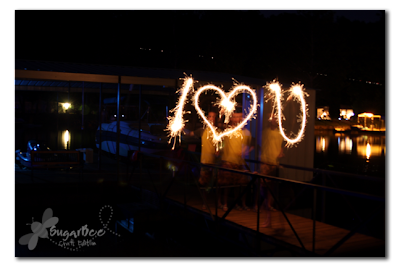
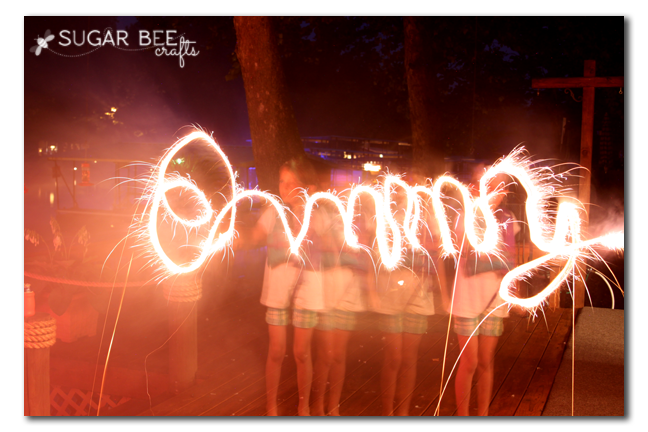
It’s that time of year – – SPARKLERS! it’s a love-hate with the kids – scared of the sparks flying, but also intrigued by them. But my favorite thing about them is to use to to draw with light, which is awesome – have you tried it?? because drawing with light is awesome…
Cool picture, right?? My goal this year is to get one that says “Sugar Bee Crafts” – it’s a challenge to spell all that out before the sparkler runs out, plus you have to write it all backwards, so throw the mental challenge in there too. Oooh, how about this – – first person who can get a light pic of spelling “Sugar Bee Crafts” I’ll send ya a prize of some sort.
So you’re probably going to need to know paint with light. Here we go (remember, I don’t claim to know a lot, so I won’t be using very many technical terms)
I’m not sure if you can do this on a point and shoot camera, but I know it’s easily achieved on a DSLR. You know when you take a picture the shutter opens and closes really fast – sometimes you can hear it: “click-click”. To catch light when it’s dark out, it needs to open and stay open until you’re done. Then you will catch the light and anywhere it moves.
So, grab your camera and a stable place to put it (on a table, tripod, etc) — it can’t wiggle at all because the shutter will be open. Turn your top dial to “M” – that’s full manual – don’t be scared! Then you want to adjust your shutter speed all the way down to “BULB”. Shutter speed setting is called “Tv” (and on Nikons I think it’s “S”) – so you can change that number by spinning that wheel thing on top to the left. Spin and spin it until it says Bulb.
Bulb means that when you hit the button the shutter opens but doesn’t close. To close it you hit the button again. This is where a remote comes in handy, so you don’t shake the camera pushing the button. If you don’t have a remote, put something over the lens (but don’t touch it) while you push the button – that way if you shake it, the camera is still writing black onto the picture. You can use black paper, a baseball hat, your hand, whatever to cover the light coming in. Then once you push the button, move your darkening object and the light will write on your picture.
I thought it’d be neat to have the kids do their names, but it’s too tricky for them because you have to write it backwards – so we wrote their names for the younger ones, but the older two could do it.
Once you write, cover the lens again and then push the picture-taking button again to close your shutter. And voila, done! Cursive works best because you always see the trail of light. To get the I Love You in that first picture with the spaces, my hubby drew the “I” then yelled stop and I covered the lens with my hand – then he scootched over and I yelled go and uncovered the lens for the next letter. That way I covered the lens so you can’t see the light trail from letter to letter.
This is the same techinque people use to get awesome fireworks pictures, but I’ll go into that another time. So, questions?? Are you waiting for it to get dark to try it?? Are you regretting using that last sparkler?? (you could also try this with a flashlight….)


How cool! Thanks for sharing! Hugs and blessings, Cindy
You can also use your photo editing software to flip the image — saves the headache of trying to legibly write backwards with a burning sparkler! 🙂
Genius!!!