


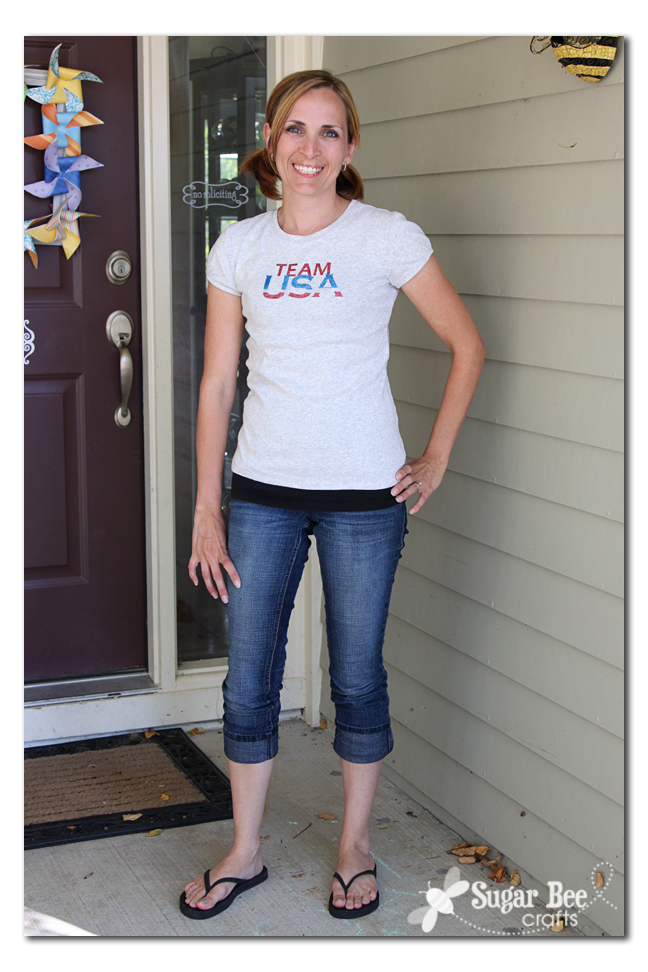
Yes – I just HAD to have a shirt to show off my Olympic Fever – – so here it is – a quick tutorial on how to make a DIY Team USA Shirt!

I know I don’t normally post craft tutorials on Saturday, but hey, I just made this yesterday afternoon, so I couldn’t post it before then. I wore it to an Opening Ceremonies watch party – aka, eating pizza and popcorn at my parents’ house.
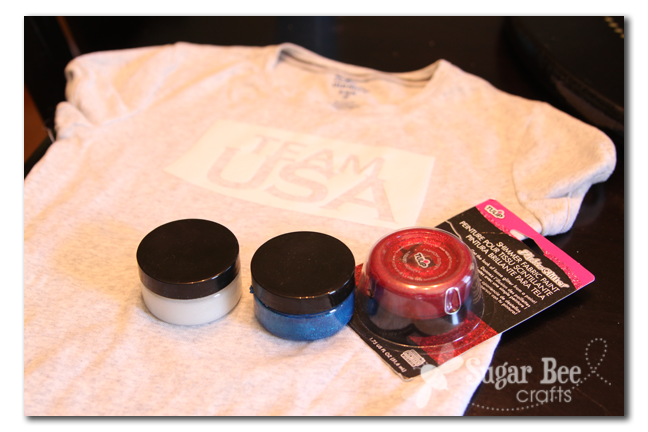
Anyways, on to the tutorial – – first off, I grabbed the shirt on sale at Old Navy a few days ago for $3 – I am always on the look-out for cheap blank shirts – you never know when you’ll need one.
Then I had this paint from Tulip on hand (we used it when we painted shirts) – it was perfect – glitter fabric paint. In Red White and Blue. The White was actually more of a clear with glitter.
So I cut out a design on my Silhouette Cameo, but you can use an exacto knife and hand-cut contact paper – that’s what Kate did – I used her shirt for inspiration.
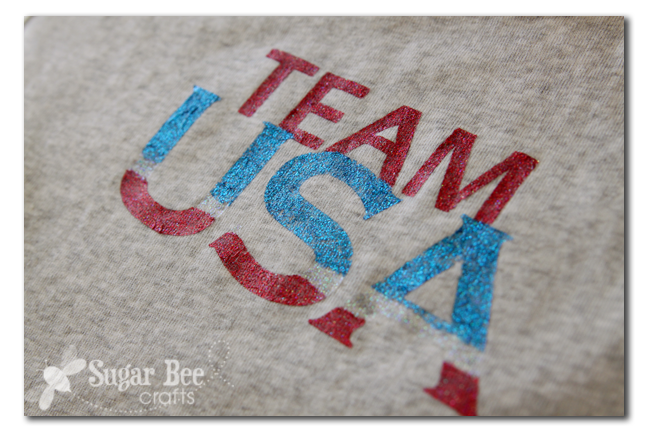
Then I painted over the design/stencil that I had stuck onto the shirt, like so:

I let the paint dry for maybe 30 minutes then painted a second coat. Then I let it dry about an hour in the sun. After that I carefully peeled off the vinyl stencil. The lines from the glitter paper were really crisp and perfect – love that!
Then I put it on for the Olympic Opening Ceremonies – nothing like last minute!
So, if you want a fun Saturday activity today while you watch the Olympics, make yourself a Team USA shirt – you can do it!!


Love! The best craft projects are the impromptu ones.
Love! The best craft projects are the impromptu ones.
Wow! Looks like it came from a trendy shop! Well done!
love it!
Very cool!
So fun!! You are so creative!!
I featured your shirt on my blog today, feel free to check it out: https://www.artsyfartsymama.com/2012/07/pinteresting-features-n-shtuff-42.html
Way to get in the spirit!!!