All crafty people seem to attempt making their own shirts, am I right?! I’ve made many, and today I have some tips if you’re going to attempt to stencil your own tee – you’ve got this! I think DIY Stenciled Tee TIPS are helpful in avoiding a craft fail – –
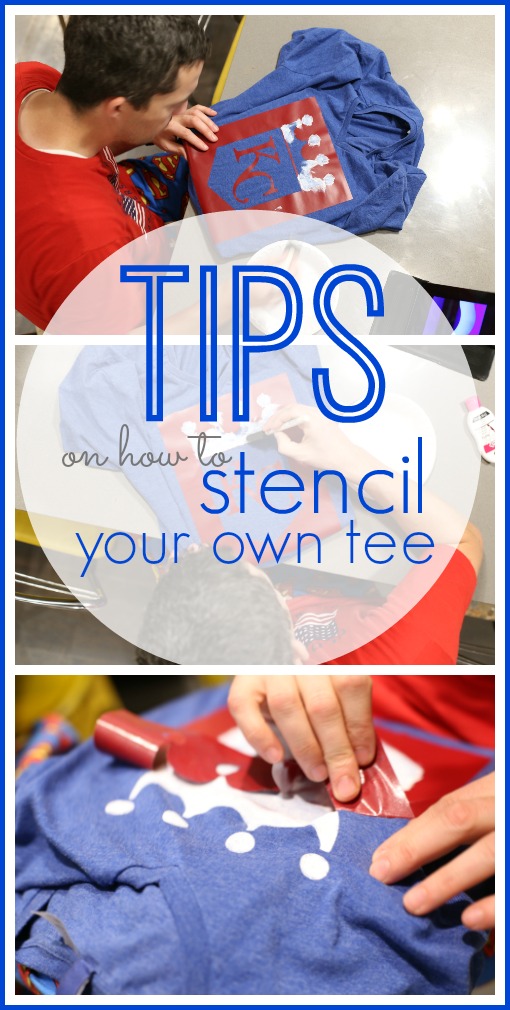
DIY Stenciled Tee TIPS
Tip: grab an old tee you don’t wear anymore, or pick one up from the thrift store. I grab blank shirts at the thrift store all. the. time. and just stock them away for future crafting! When you’re working on an old shirt, or one that you got at the thrift store, the pressure is off because if you mess it up, it’s no big deal. If you spend $10 on a shirt you want to DIY, you really have to get it right the first time!
Tip: cut your stencil out of vinyl or freezer paper. Vinyl will stick and adhere to your shirt. With Freezer Paper, put the bumpy side down on your shirt and iron it, and it will adhere to your shirt. Both of these methods will help secure your stencil and avoid seepage. If you just set a plastic or cardboard stencil on your shirt, you run the risk of paint getting under it.
Tip: use a foam brush. “pounce” or “dab” at your stencil, don’t brush it on. Brushing will push paint under the edges of your stencil – pouncing will keep it on top.
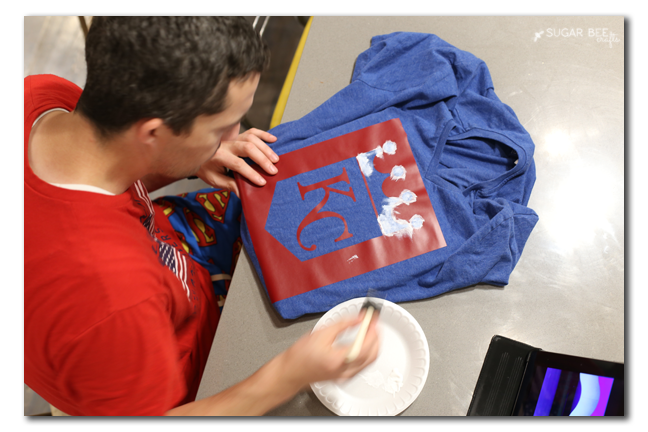
Tip: use fabric paint. It’s specially designed to be flexible and work well on tshirts. You can also use Fabric Medium, which is a clear additive that you add to craft paint to turn it into fabric paint.
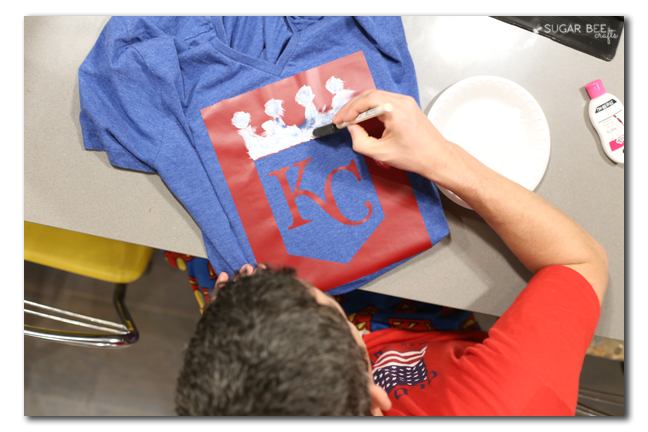
Tip: for a “vintage tee” look, less is more – don’t overdo it on the paint application, and be sure to apply it unevenly, thinner in some spots than others. To make it look worn.
Tip: let the paint dry to the touch before peeling off your stencil. It doesn’t need to be solid try, just enough so that it’s not wet.
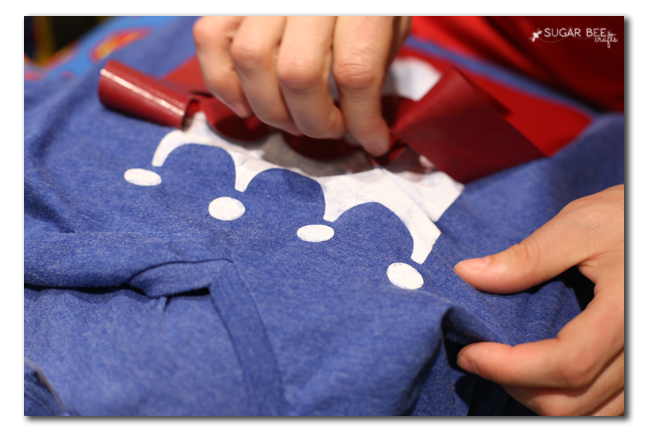
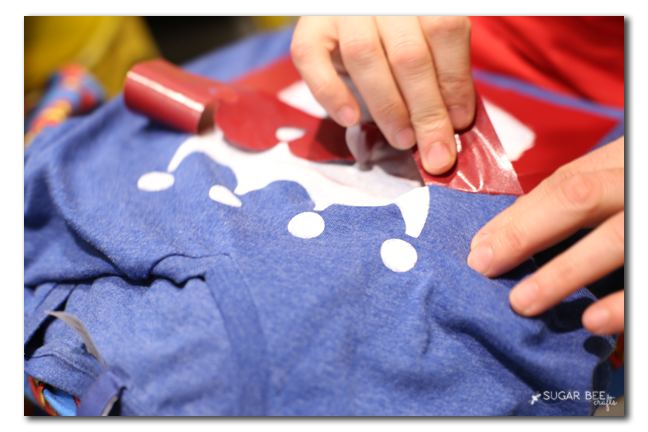
Tip: peel the stencil slowly and “down” the sides of your design instead of trying to lift it up.
Tip: heat set your paint. Place a cloth over your design and then iron it so as to heat set the paint. Your paint bottle will give details about heat setting.
Tip: when washing your tee, wash it inside-out.


To this day, stencils continue to make manual replication just as easy as ever. I’m glad you pointed out something I often forget: dabbing the paint when working on a stencil design is much more effective than brushing and keeps extra paint from working its way under the stencil and potentially ruining the design. Thanks for sharing!
. I’m glad you pointed out something I often forget: dabbing the paint when working on a stencil design
Wow! Looks cool!
Thank you for your tutorial!