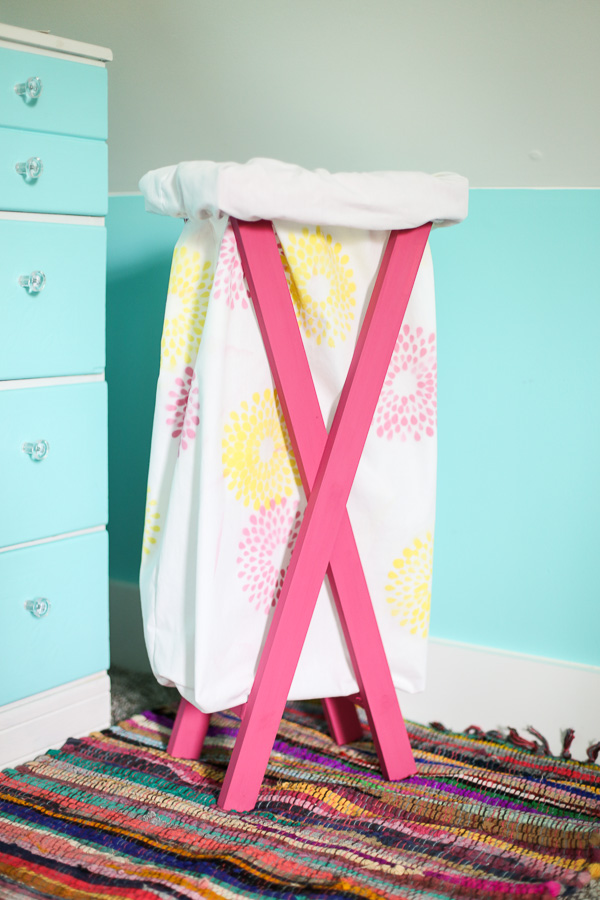
DIY Laundry Hamper – it’s what everyone needs! I’m pretty proud that I made this whole thing, start to finish, building the frame, sewing the bag, and then making it super cute with stencils. This post is in collaboration with I Love to Create and Color Shot fabric paint – and I’m pretty much hooked on it!
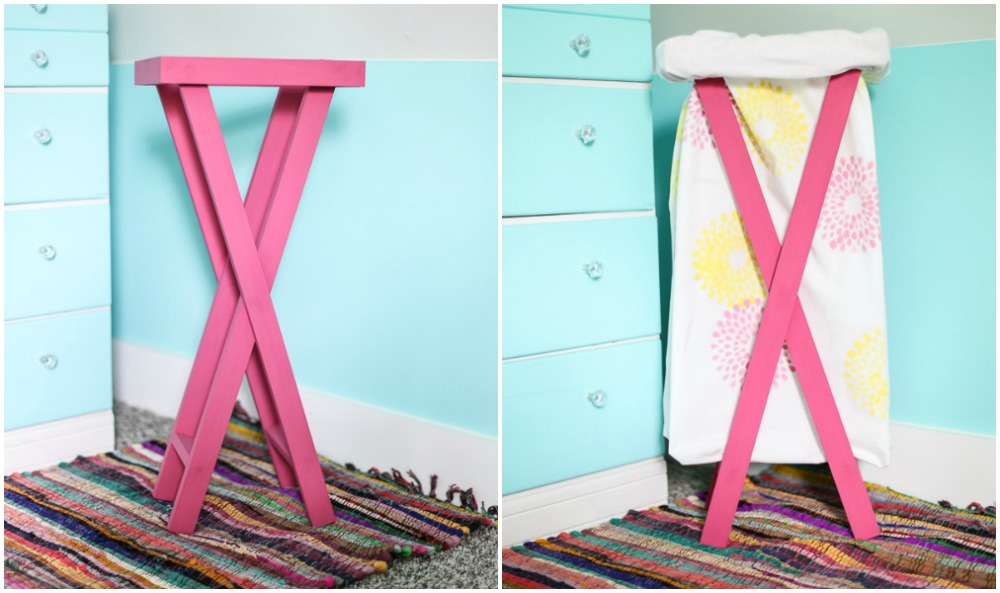
So today I have a quick overview on 3 things: building the frame, sewing the bag, and stenciling the bag. The funnest part is the customization that the Color Shot stenciling provides!
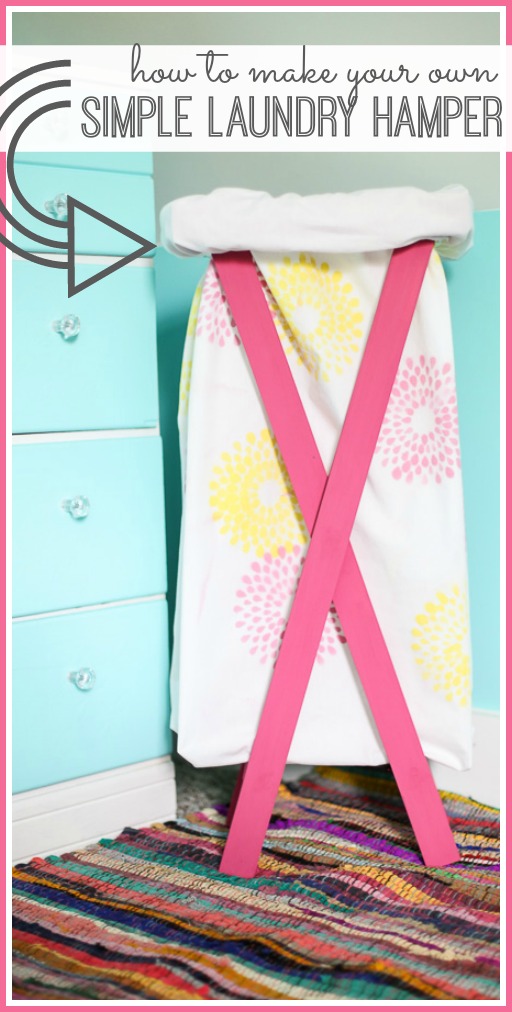
DIY Laundry Hamper – tutorial instructions
You’ll need:
2 1x2x8 ft boards (they’re really inexpensive – I’d guess it’s just a few dollars in wood for this project)
1 old sheet (I love sewing with old sheets – I find them at thrift stores, garage sales, etc, for such a good deal, sometimes $0.50 each!)
Color Shot fabric spray paint (I got the variety pack – loved having several color options!
Laundry Hamper Frame
Remember, I made this all myself!! I sketched out a plan and dove right in. I’m not a master craftsman, so there may be better ways to make it, but this is what I did.
I cut the 2 boards up into all my pieces. You’ll need:
10 in long (x2) for the top frame
8 in long (x2) for the top frame sides
30 in long (x4) for the legs
and then you’ll need 2 more boards, about 7 inches long, as support braces, but I cut those later to make sure they were accurate.
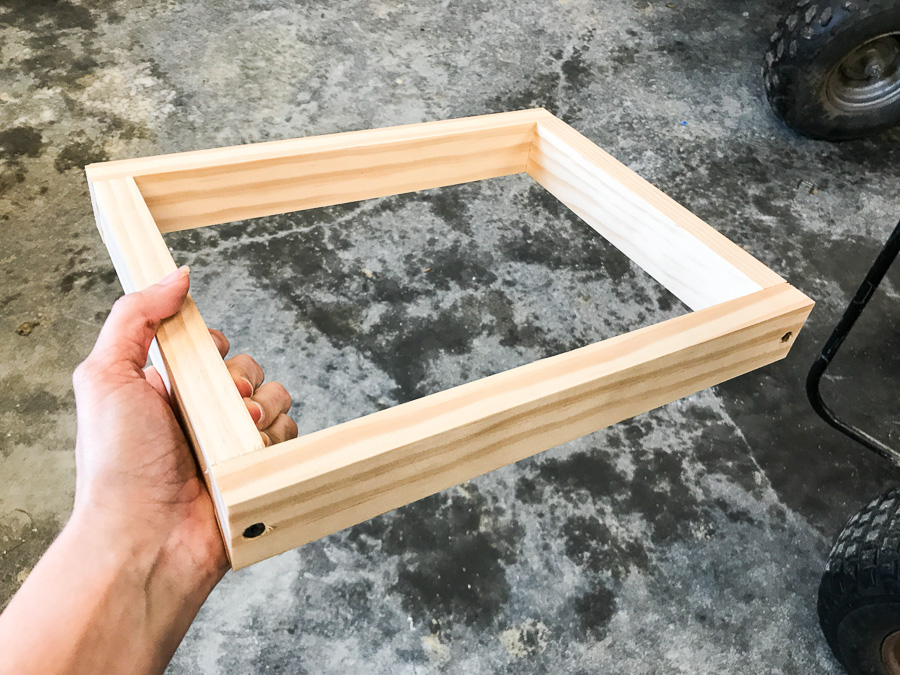
Screw together the top frame, with the shorter pieces inside the longer pieces as shown below:
Find the center of a leg board. Stack 2 leg boards on top of each other and screw them together as shown below. Leave just a little loose so they can “scissor”.
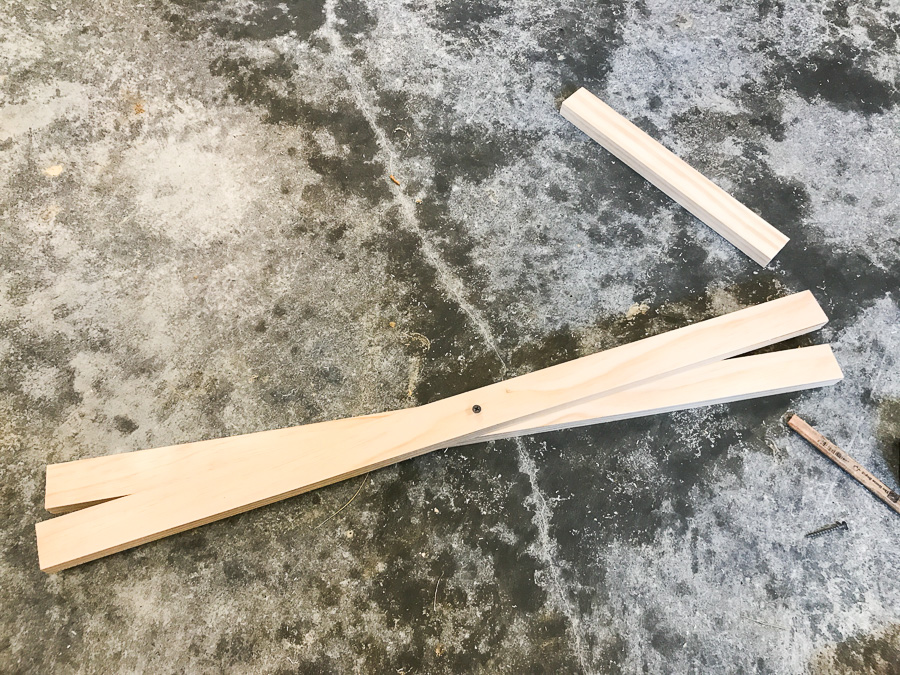
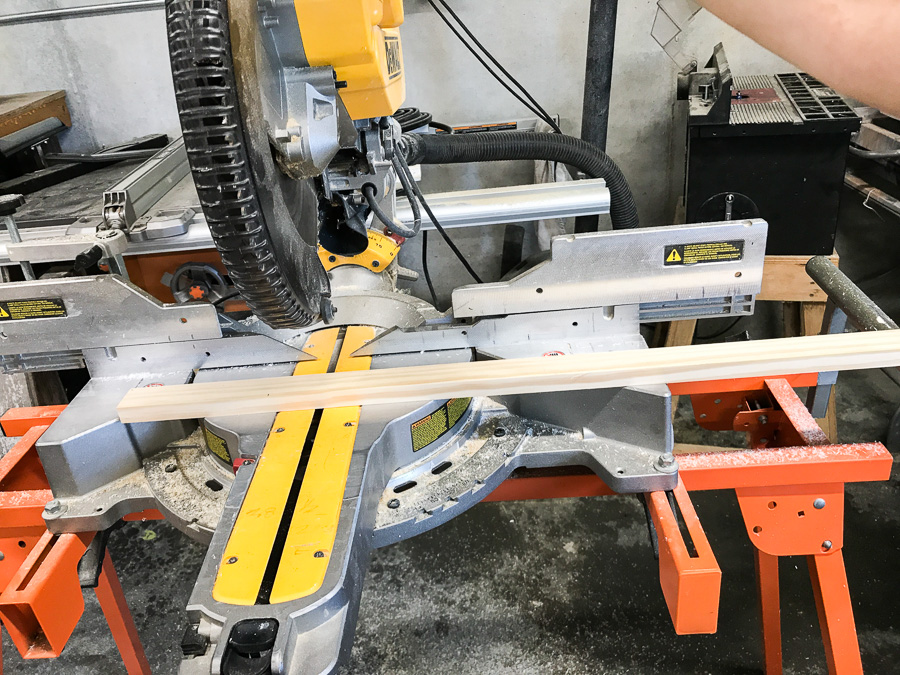
Now, I’m not great with angles, so instead of calculating, I just tried this out and marked a line. I opened up the legs a little and slid them into the frame (on the long edge). You can see below how one corner of the top of the leg will line up, but the rest of the leg will angle up – I marked a line, then went back to the saw and cut that part off so that the legs fit in level. Repeat with all 4 legs.
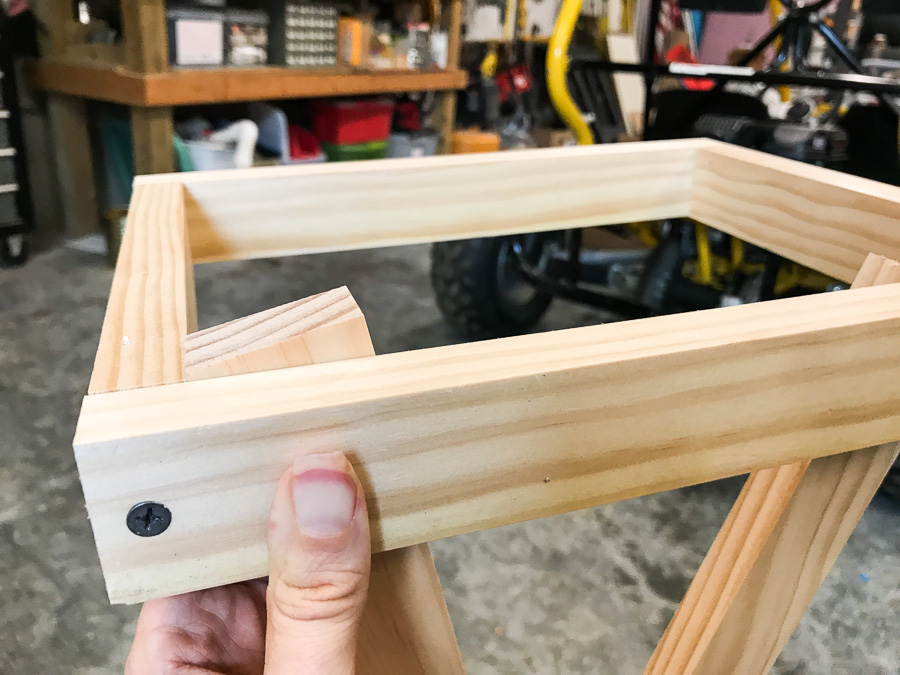
Since the legs scissor, you’ll need to put in a scrap block piece of wood. Then you can attach the top of the legs to the frames. My block split – of course!
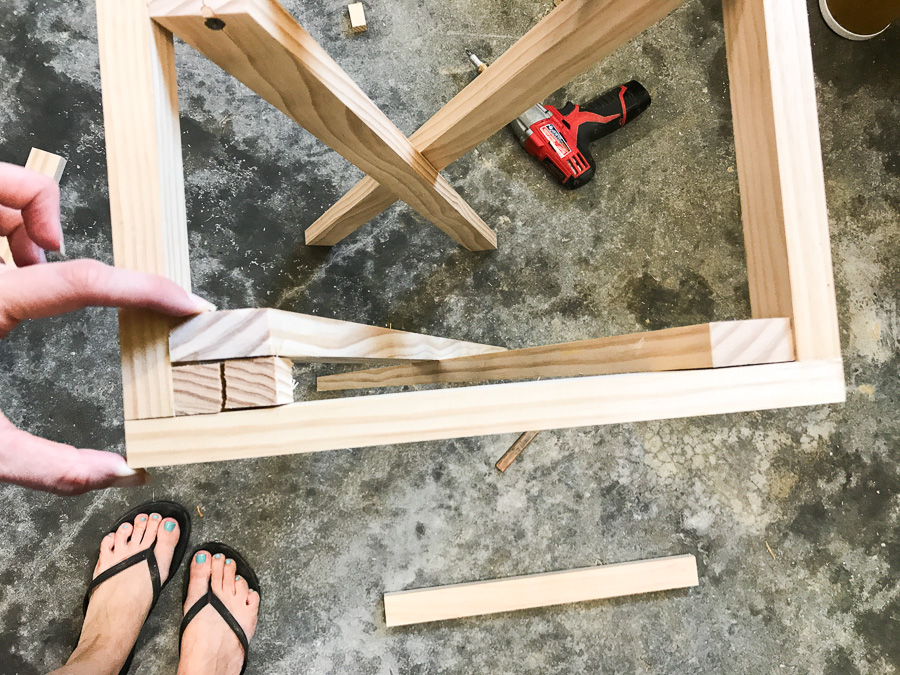
You’ll need bracing boards lowerdown on the legs. I measured the opening between the leg sets up on the top to find the exact length spacing. It’ll be different for each side.
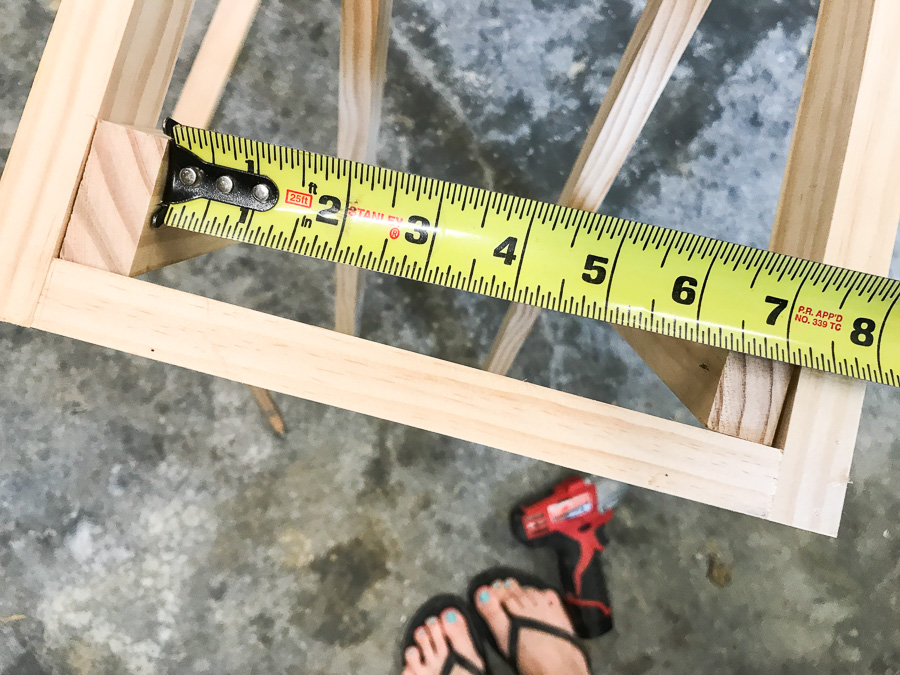
You can see the bracing boards in this picture below:
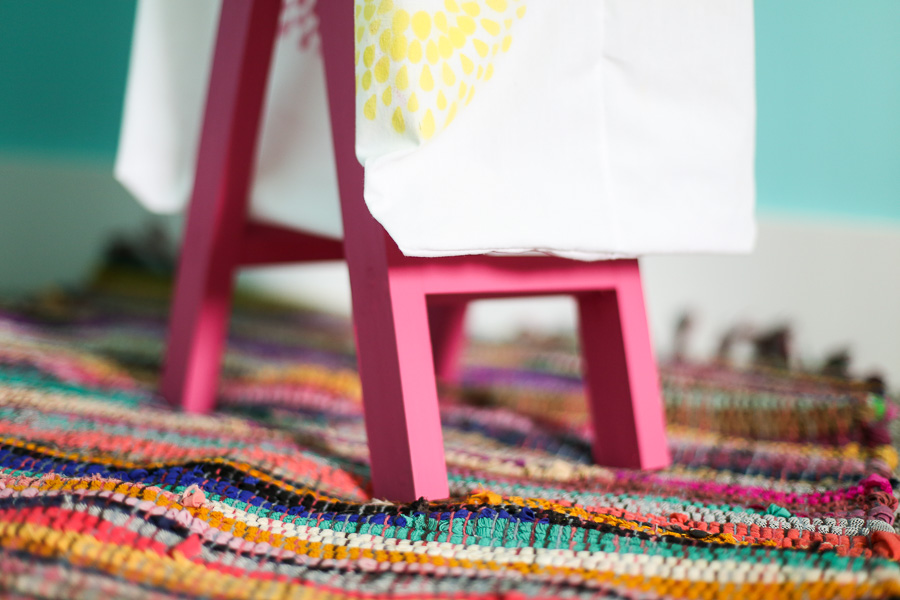
Attach about 6-8 inches up from the bottom. I felt fancy when I was sinking in the screw holes 😉
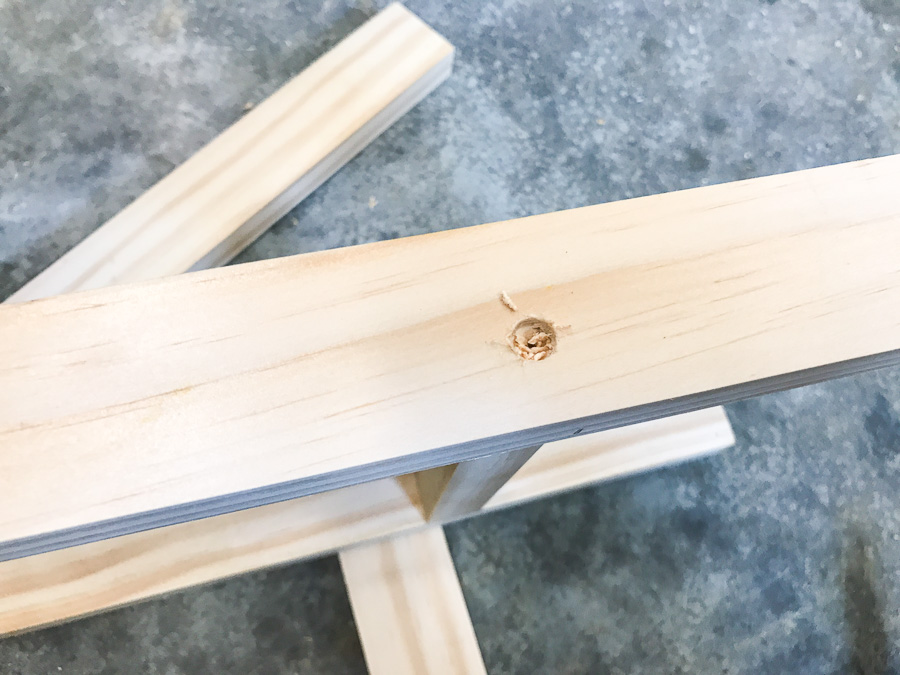
That’s all there is to the building!! Fill in any screw holes with wood filler, let dry, and then paint!
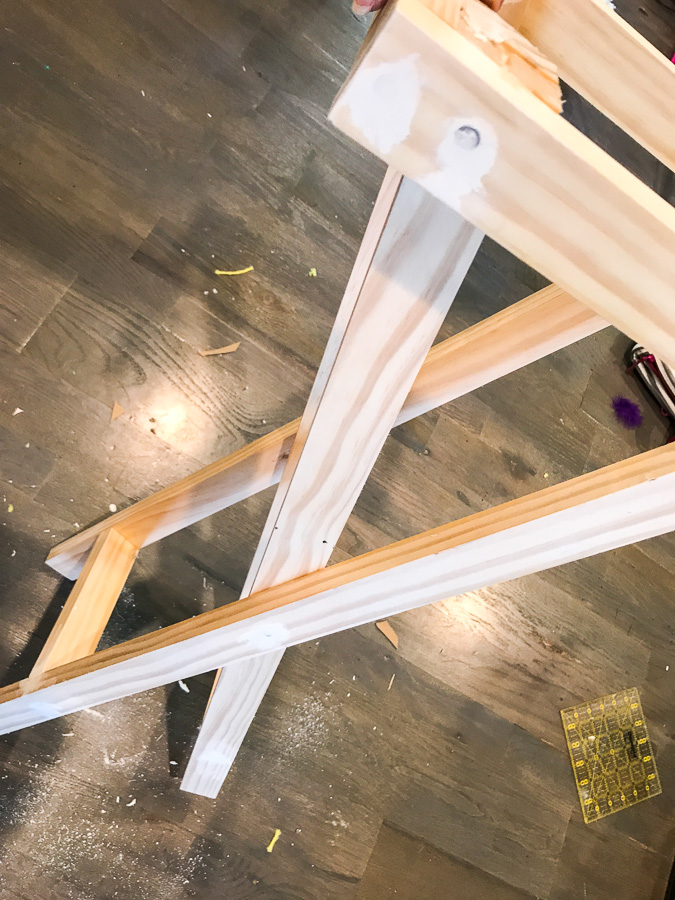
Laundry Bag Construction
Next up sew your laundry bag! So the bummer news is I temporarily can’t find my exact measurements to my bag – I’ll update this when I located them. And of course the pictures for the step-by-step were corrupted on my camera, ugh! But I will walk you through it:
–Cut 2 large pieces of fabric.
–Sew together along side and bottom seams.
–Come in at the bottom of the side seams with box corners (like on this project: box corner bag)
–Sew a casing at the top of the bag and insert elastic to hold the bag onto the frame. See elastic below:
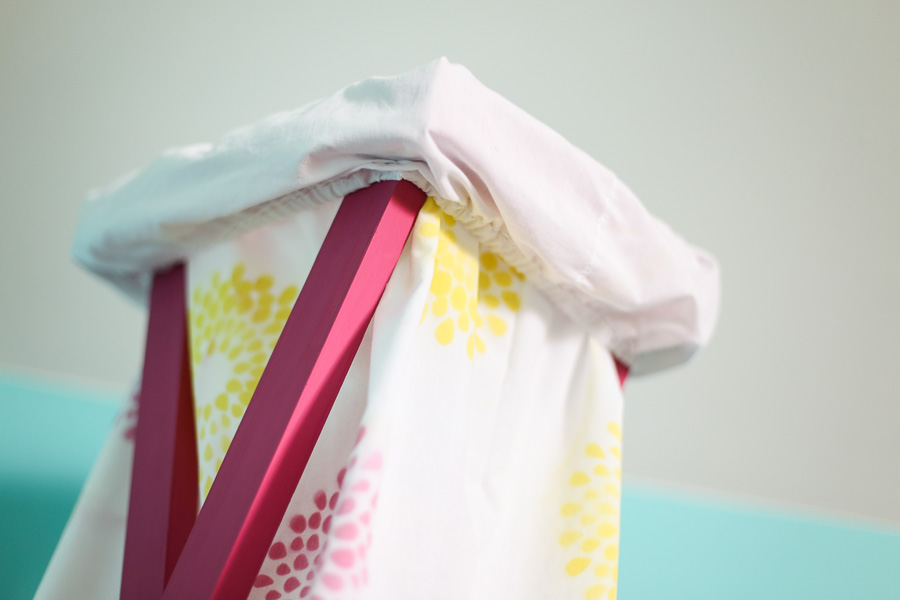
Laundry Bag Color Shot Stenciling
This is the funnest part!! I even have a video for you!
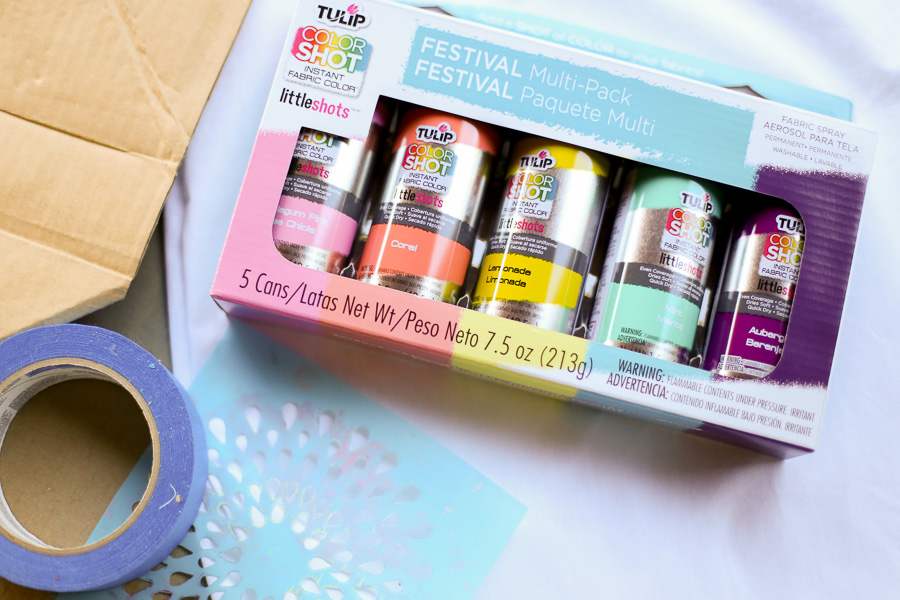
How to spray paint a stencil on fabric:
- Prepare paint area with cardboard. If needed, also have a cardboard insert (so the paint doesn’t leak through to the other side of the project)
- Use painters tape to tape on stencil. Provide enough tape coverage to accommodate overspray.
- Use short even shots of fabric spray paint – it makes it so easy! Follow directions on fabric spray paint can. I used Color Shot fabric color and it was awesome.
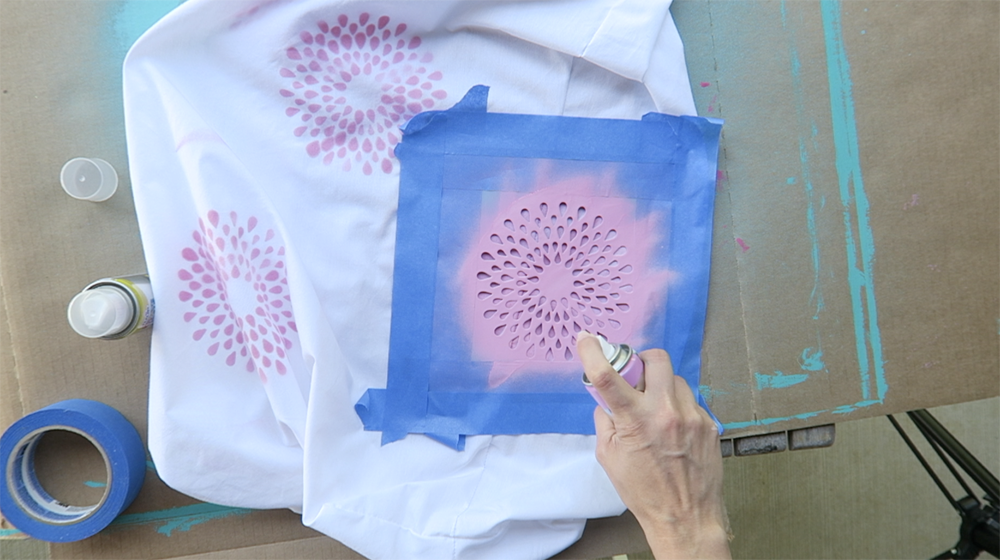
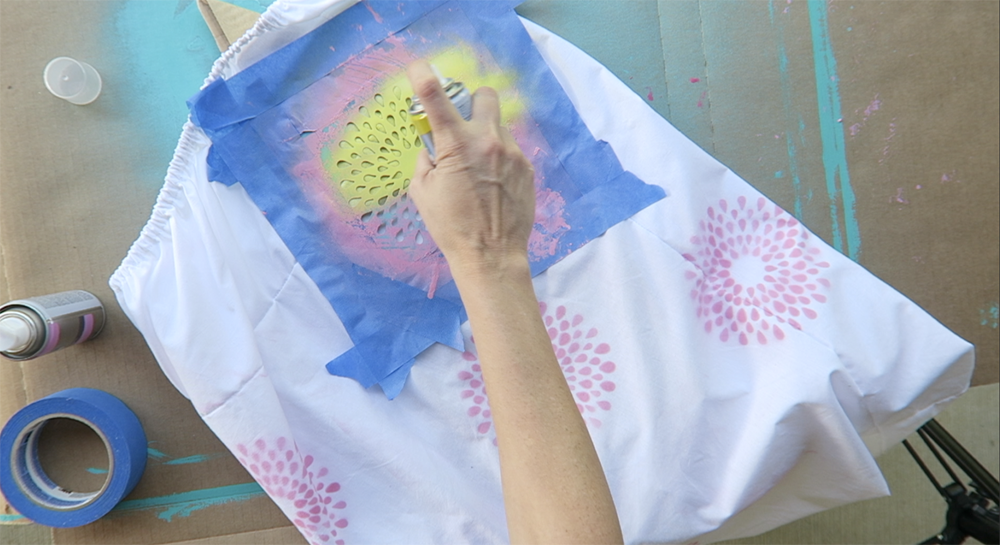
It was fun to layer a couple of different colors of paint.
That’s all there is to a DIY Laundry Hamper!! You can simply slide the bag over the frame, fill with clothes, and then pull the bag out of the frame for easy transporting. Voila!
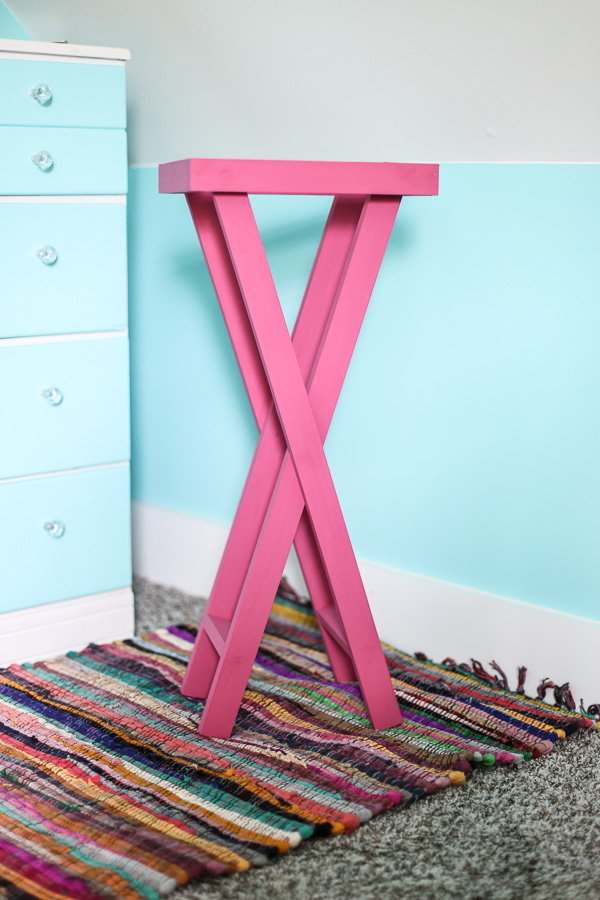


Such a cute project!
I love that it can be personalized for a person’s decor scheme. How fun this would be for a college dorm room!
Randi @ A Fresh-Squeezed Life recently posted…CREATIVE WAYS TO ADD NAVY BLUE TO YOUR HOME DECOR