this is a post as part of my participation on the Expressions Vinyl Blogger team – all opinions are my own
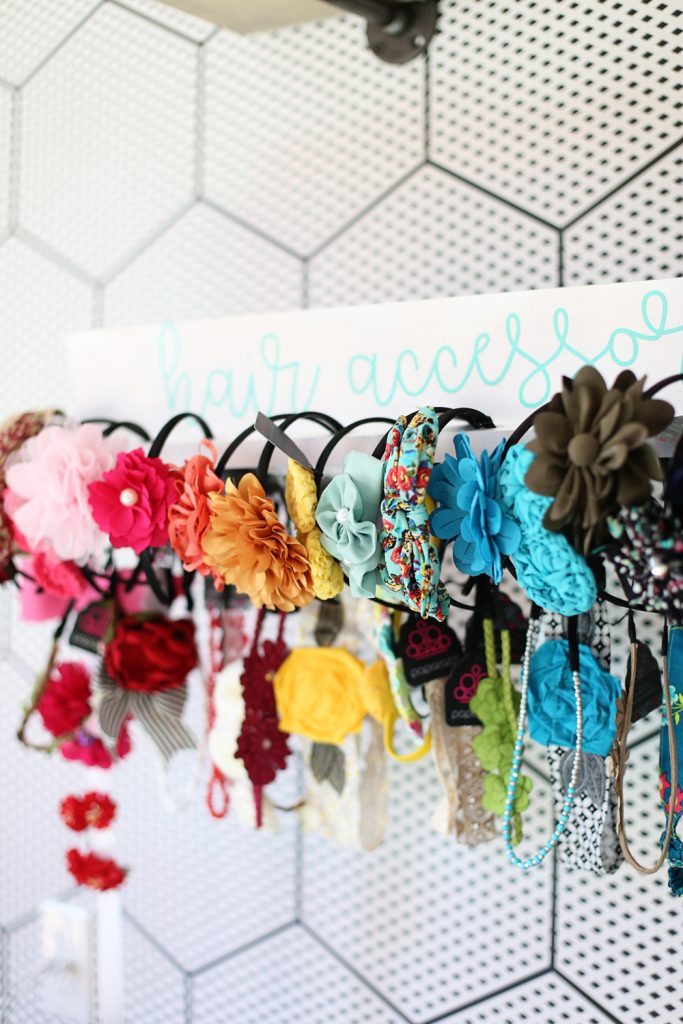
You guys – it’s looming…. that time where we must get organized! And I knew the first place to start – hair accessories – they are EVERYWHERE and needed help asap. This DIY Headband Organizer is the best – I’m kind of in love with it!!
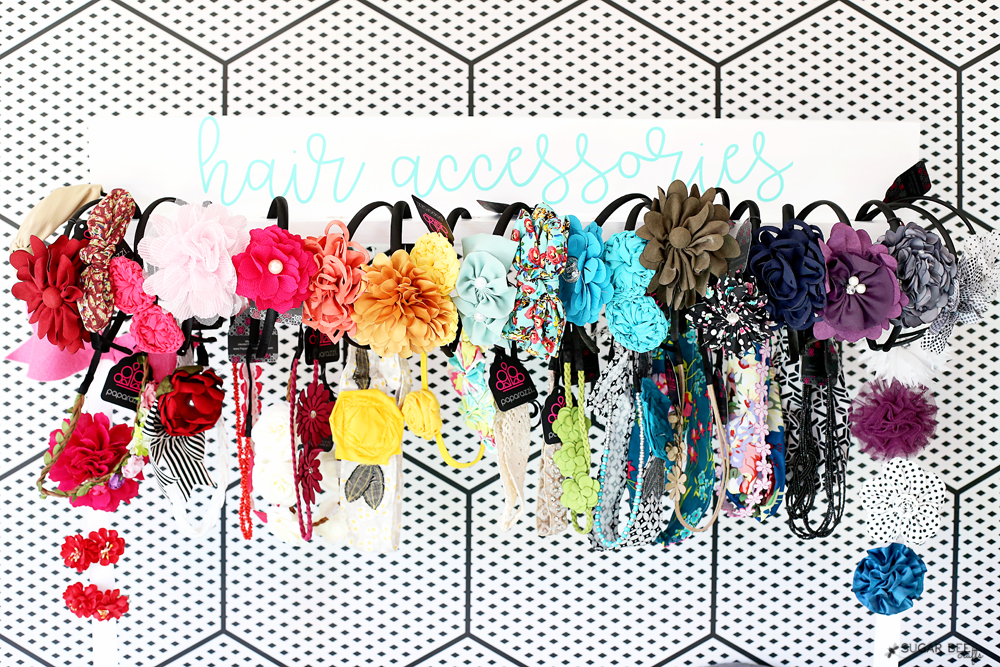
See what I mean – it’s perfection! Regular headbands are so hard to organize, and when you do those loop hanger things, I was sure they wouldn’t get put back. And then there’s the trend of elastic headbands – my girls wear them all the time – so they needed incorporated into the organization as well. I’m so excited that this covers everything – even hairclips!!
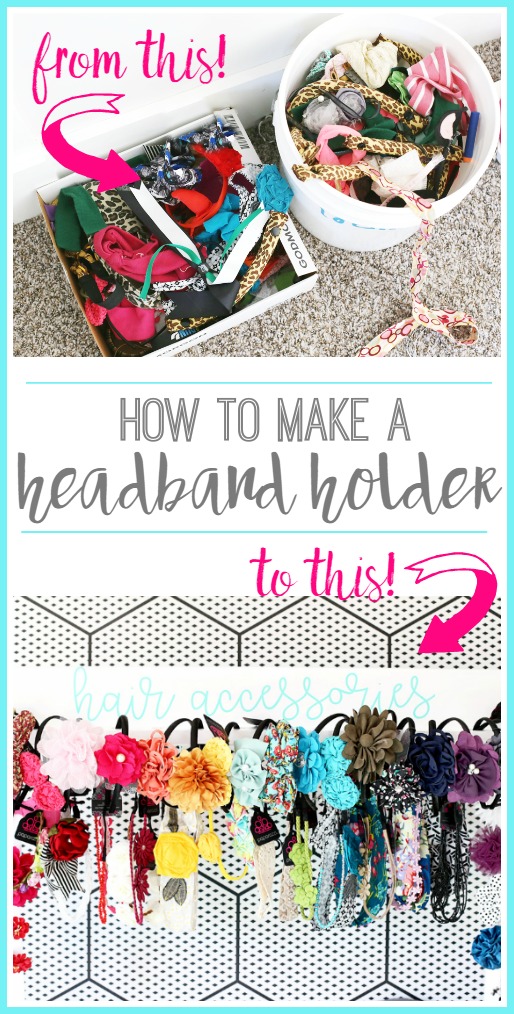
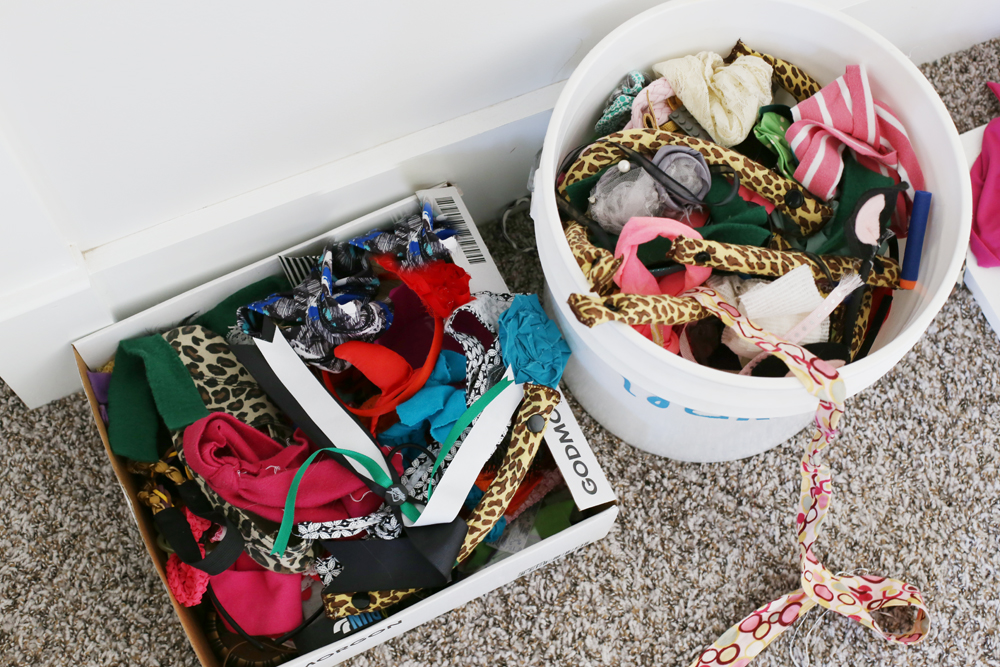
Seriously, this was the before. A bucket sitting the hall. That had overflow into a box. THAT was how they were storing their hair accessories. You can see why I needed to help the situation!
DIY Headband Organizer
You’ll need:
— 1x trim boards – I just used some scrap boards, so really, it can be anything! You’ll need two boards – one for the main back piece (I think mine is a 1 x 8?) and then a skinnier one for the piece with holes in it (mine might be a 1 x3? I think it was cut from another board).
–vinyl – because it has to be cute, of course! I get all my vinyl from Expressions Vinyl – they’re seriously the best!)
–cup hooks
–tools, wood glue, paint, etc
So, I kind of got a little carried away and jumped right into the project without many assembly pics, but I’ll talk you through it.
Assembly
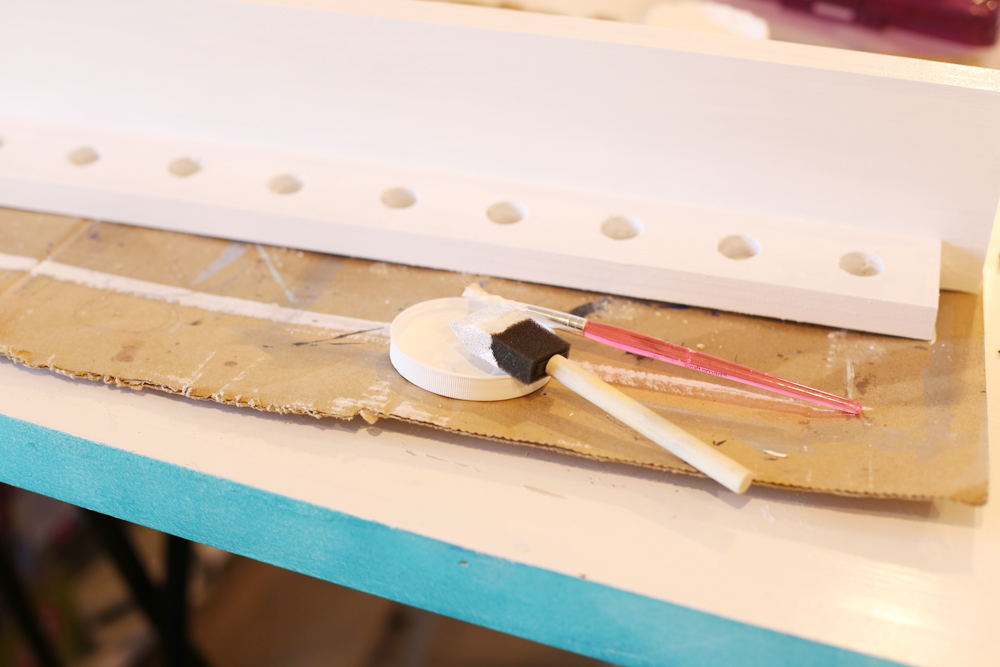
First you’ll want to drill holes all along your skinny board (I attached it to the main board and THEN drilled the holes, and I wish I had drilled them first.) I used a 3/4 drill bit thing to get the size that mine are as shown.
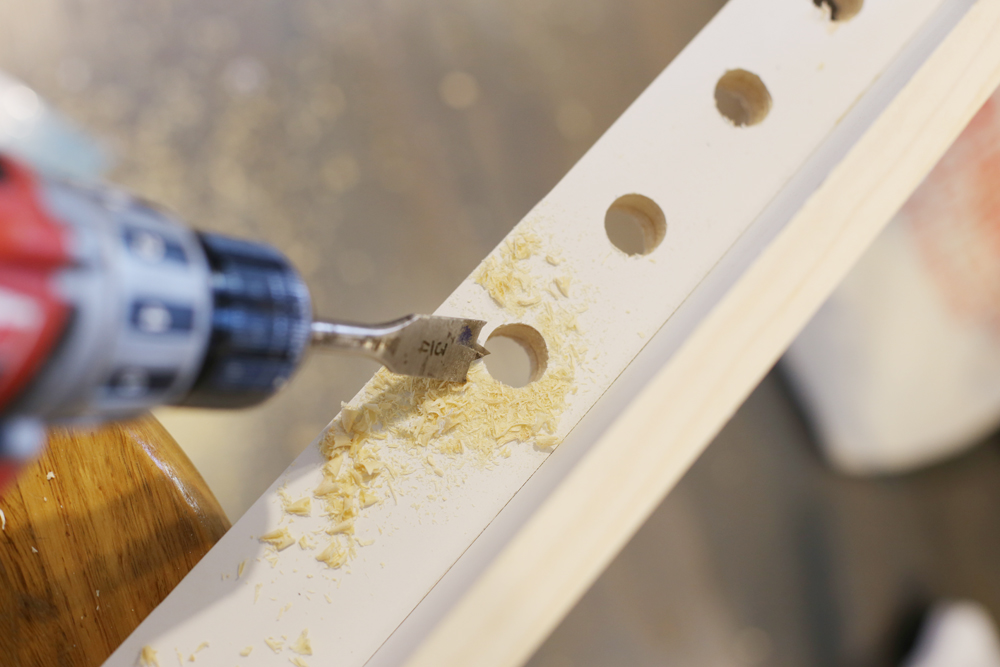
Then you take that board and attach it to the main board using wood glue. I just glued it on, set some heavy stuff on it, and let it dry overnight, and it’s good to go. I glued it towards the bottom of the main board, perpendicular to the board. Then paint whatever color you’d like.
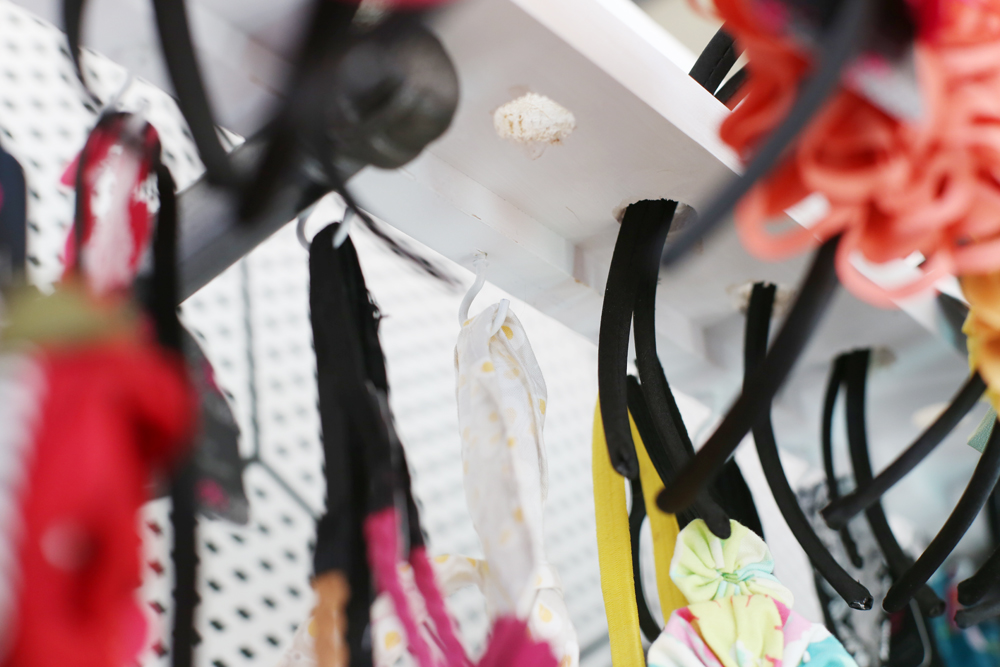
Once it was dry, I twisted in cup hooks all along the bottom, you can kind of see them in the pic below – they are for holding the elastic headbands:
Adhesive Vinyl
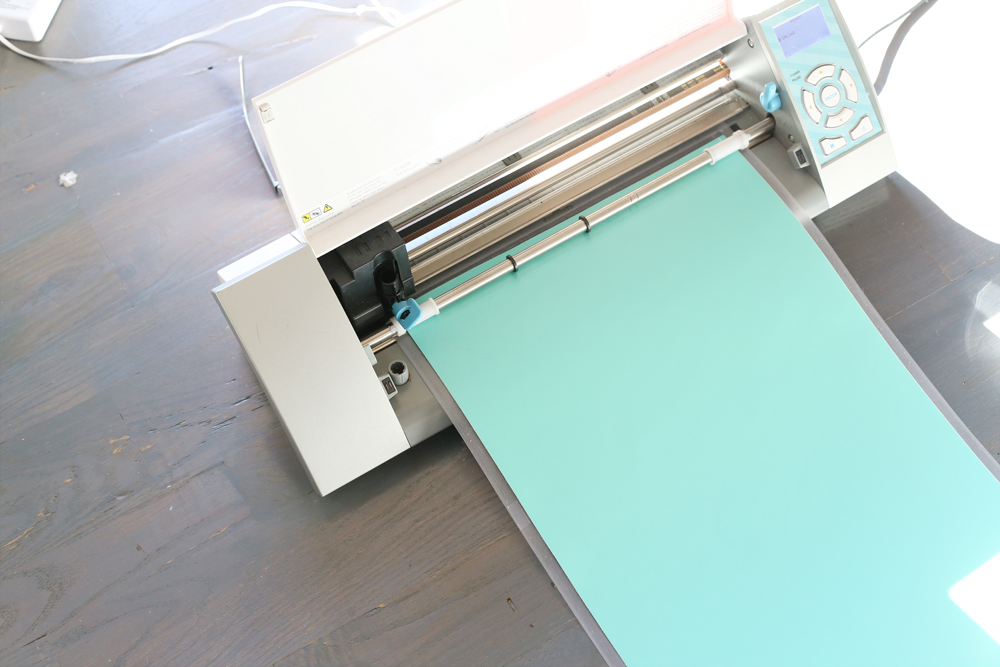
The funnest part is of course adding the vinyl! I cut the words “hair accessories” using my Silhouette machine and the font “better together” (I know you’ll ask! it’s a current favorite of mine!). And I love the minty blue of this adhesive vinyl from Expressions Vinyl – so cute!
Once it’s cut you peel off the unwanted background – it’s called “weeding”. Be sure to pull out the center of letters like “a”, etc.
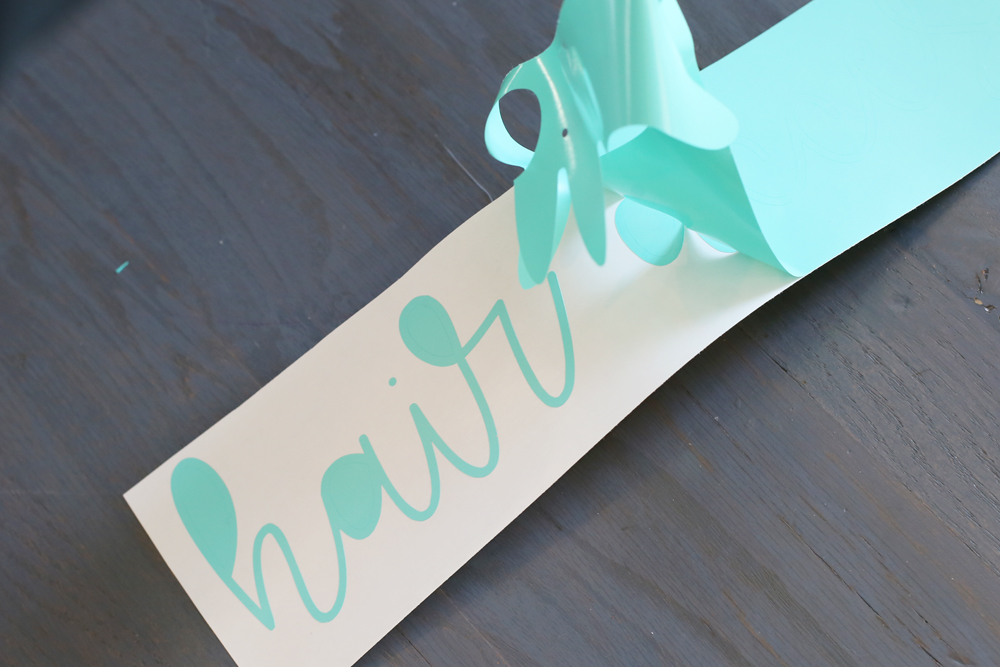
Then you’ll put on transfer tape – it does that just, TRANSFERS your design from the vinyl sheet to your project, holding everything together instead of trying to move letters one-by-one.
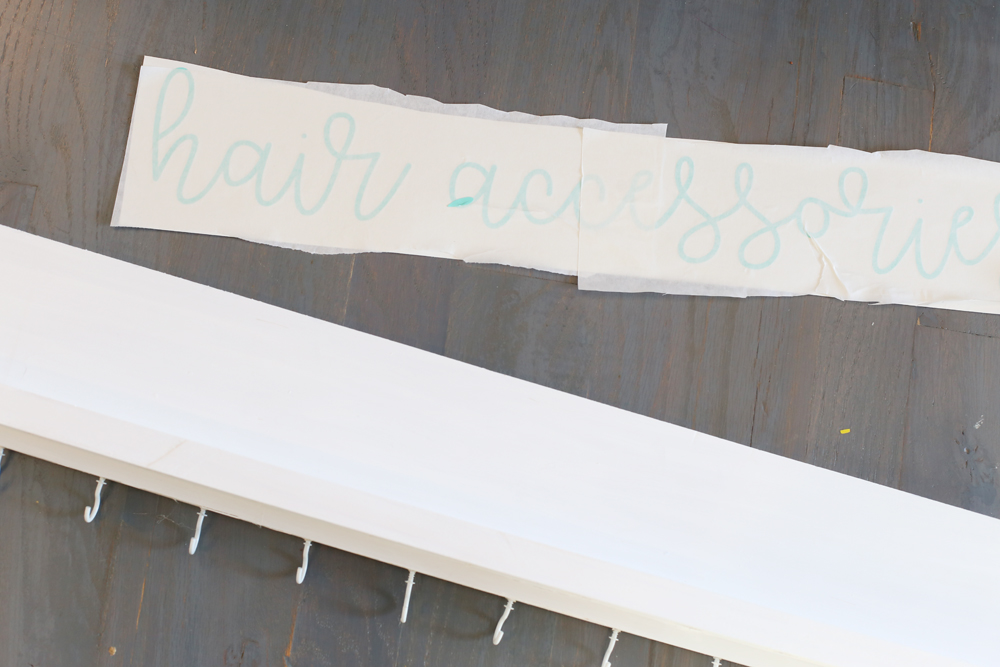
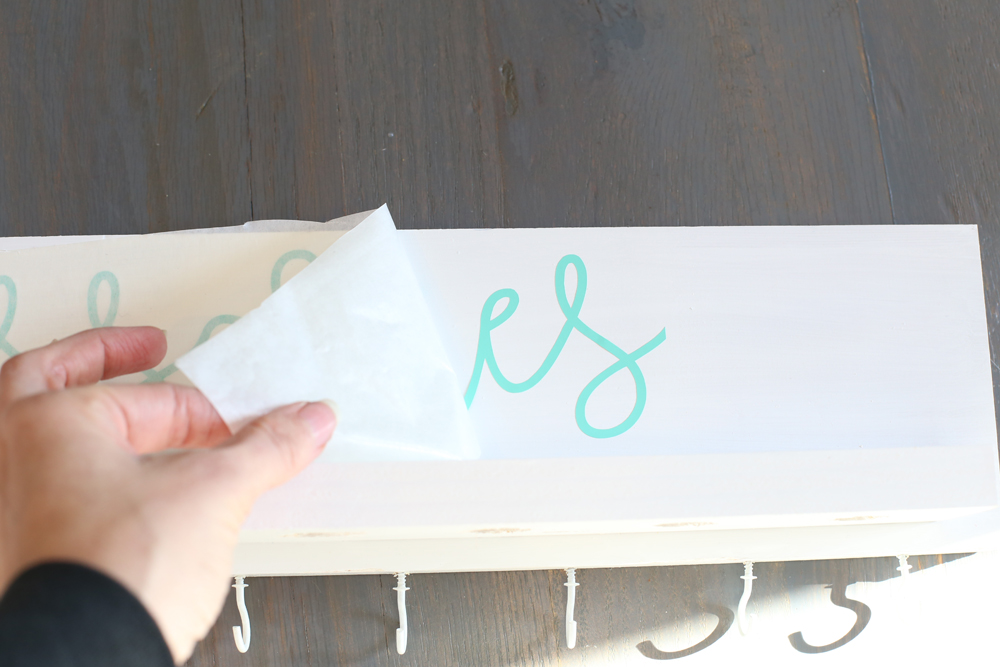
Then you peel of the backing of the vinyl, stick the vinyl to the project, and then peel off the transfer tape. If you need more info on using transfer tape or how to use adhesive vinyl in general, I made a video and post all about the basics of Adhesive Vinyl!
Headband Holder Details
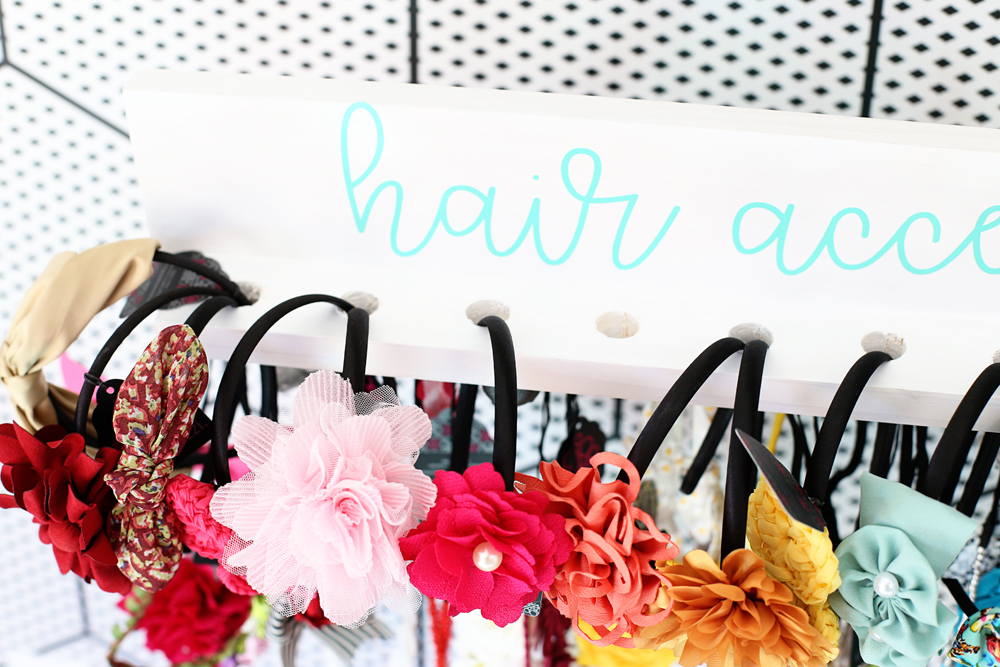
The holes make it so easy to stick headbands in and out. You can fit 2-3 headbands in each hole.
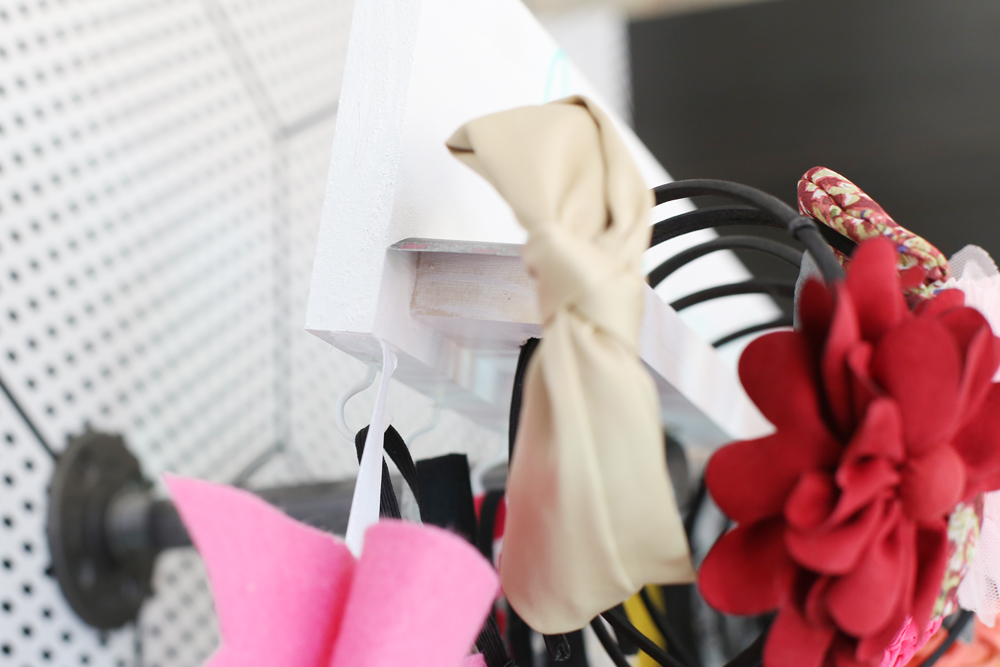
I also used hot glue to attach a ribbon on each end – then hairclips can just clip onto the ribbon.
It’s so perfect!!
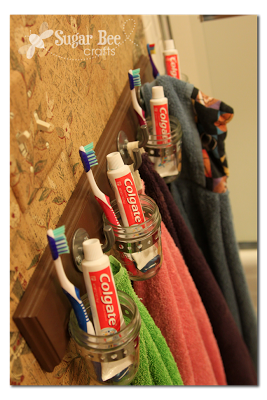
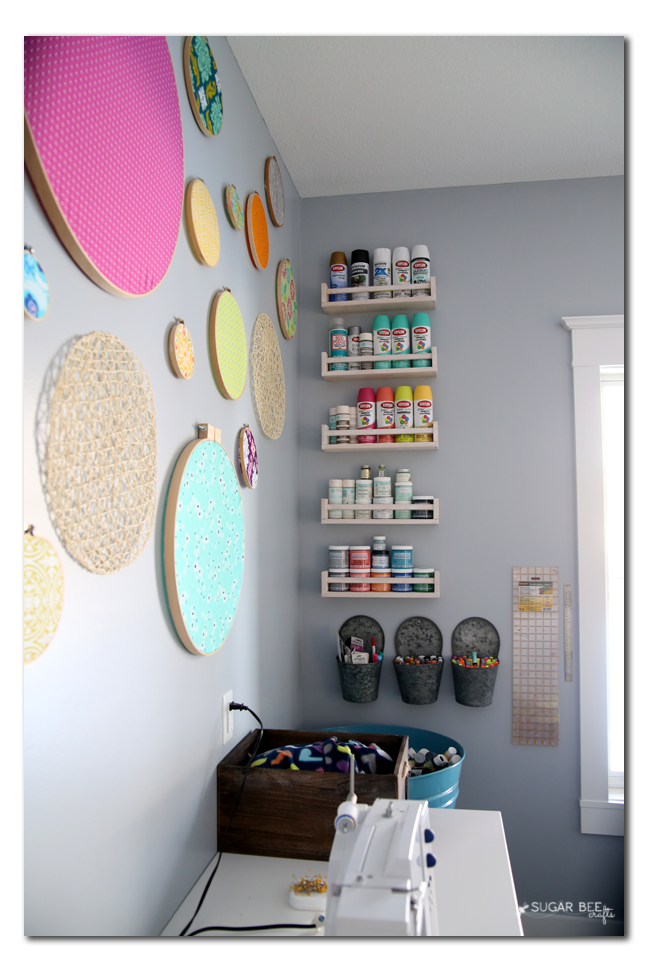
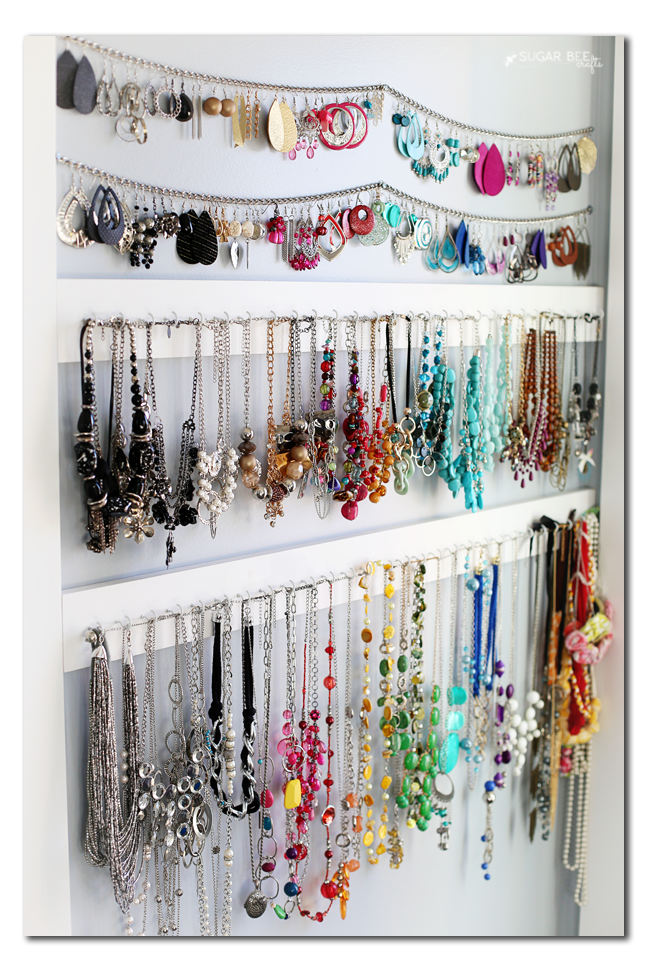
If you love to get DIY organization ideas, you’ll also love:
Bathroom Organization | Craft Room Organization | Jewelry Organization


So cute! This looks so much better!!
Chelsea @ Life With My Littles recently posted…Stocking Stuffers for Babies
I need one of these! We are working with the overflowing basket currently.
been there!!!
Perfect! My hair stuff is EVERYWHERE, so this looks super cute and helpful!
I need this for my daughter! Her hair stuff is everywhere. Our bathroom is messy all the time! Thanks for sharing.