if you know anything about me, you’ll know that I love to craft with vinyl! My go-to is heat transfer vinyl (the kind you iron on) and 98% of the time I use it for tshirts.. so you know that I just couldn’t pass up the challenge to use heat transfer vinyl on a sewing project (and not a tshirt) – – I made this super fun DIY Pom Pom Hello Pillow and am smitten with it! (and you could win some vinyl of your own – head on down the post for that…)
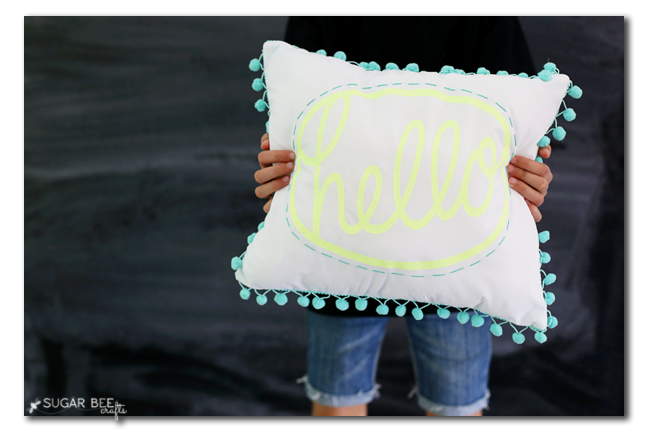
Have you noticed how crazy expensive decorative pillows can be? I’ve been shopping for unique ones lately, and they’re so pricey! So it’s DIY to the rescue – I just love how this came out:
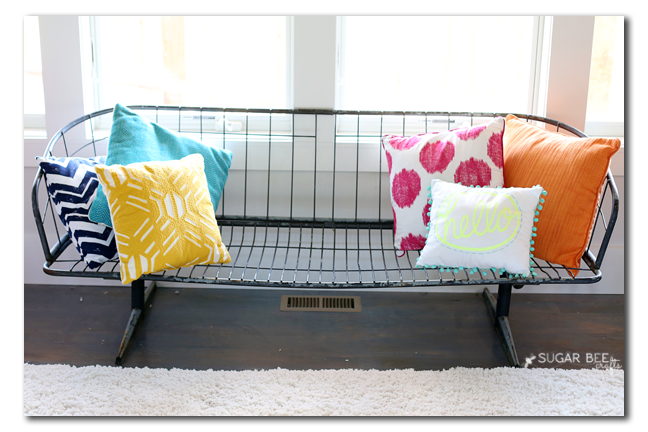
I’m slowly adding to my pillow collection for this AMAZING wire bench I found at an antique shop a few weeks ago – I just love love love it, but it’s not the most comfortable thing, so it needs TONS of pillows. I’m sure I’ll be adding more and more. (Just ignore that my new-ish rug is still fuzzing like crazy.)
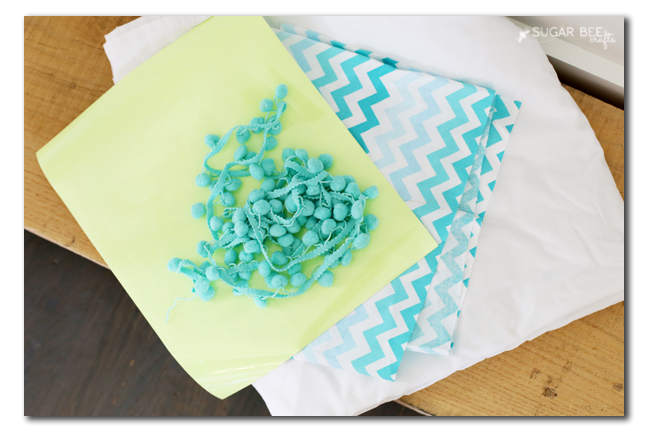
So let’s dive right in to this tutorial! You’ll need: pom pom trim, 2 squares of fabric the size you want your pillow (for the front and the back), and heat transfer vinyl. And basic sewing supplies.
Let’s talk heat transfer vinyl for a second – I love it. You can even just hand-cut it with scissors if it’s a simple design (think monogram or heart, etc). I buy all of mine from Expressions Vinyl (affiliate link, but it really is the best deal I’ve found, with super fast shipping) – when you look in store for vinyl, they have like white and black and maybe gray. Expressions Vinyl has a bajillion colors. And glitter. And NEON glitter, which is what I used for this project. (and right now there’s a big sale, and the free shipping threshold has been lowered, so you’ll want to stock up and ship for free – -also, today’s the last day, but the code BACKTOSCHOOL2015 is good for 15% off the entire order: Expressions Vinyl).
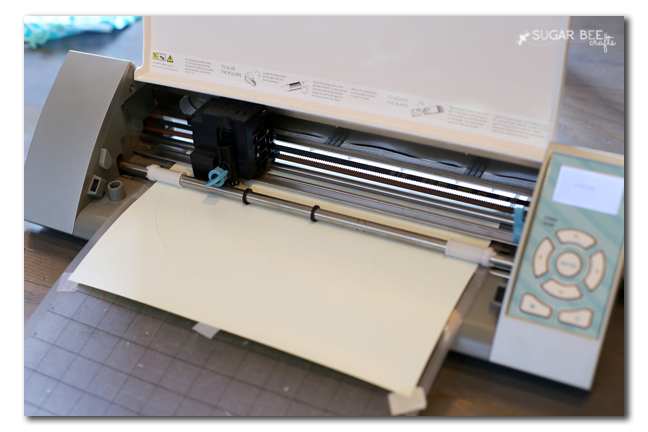
So, once you have your supplies, you’ll want to cut out your design. I use my Silhouette Machine, which I also love. I found this “hello” design in the silhouette online store, so I didn’t even have to design it, I just downloaded and cut it, that’s it. BUT REMEMBER – – > always MIRROR YOUR IMAGE when cutting heat transfer vinyl. You cut it from the back side (so the clear top sheet is placed face-down on the mat) and since it cuts from the back, the image needs to be in reverse. I use the “flocked” vinyl setting to cut glitter heat transfer vinyl, and set it to double cut.
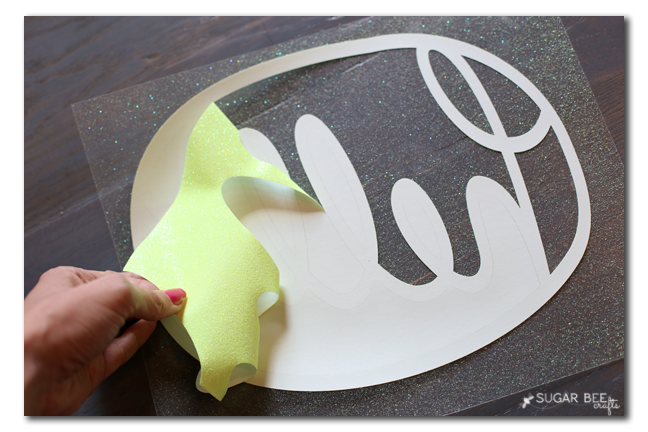
After it’s done, just start peeling away the negative space, the pieces you don’t want in your design – this process is called weeding. Again, it’s on the back side of the image.
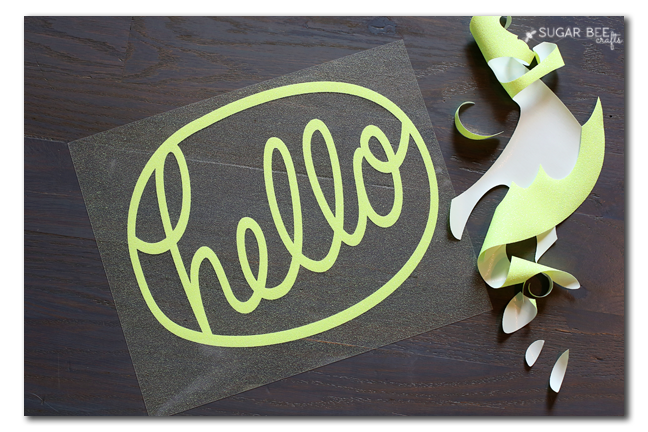
Once you’re done you can flip it over and admire your creation. I so wish you could see the awesome glitter of this vinyl – it’s so hard to capture in a pic, but it’s great!
Ok, next up you need to attach the vinyl to the front panel of your pillow. My front fabric is white (hint: thrift store sheets makes for tons of yardage for cheap – I use them in projects all the time!) – to make sure I had my design centered, I folded my fabric into 4ths, so there’s a middle point, then lined up the design on that.
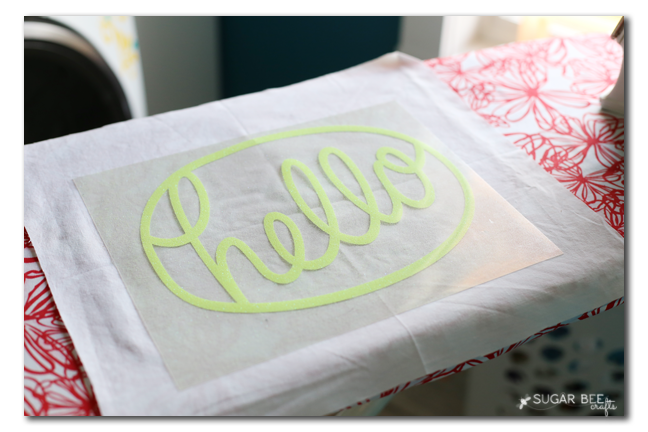
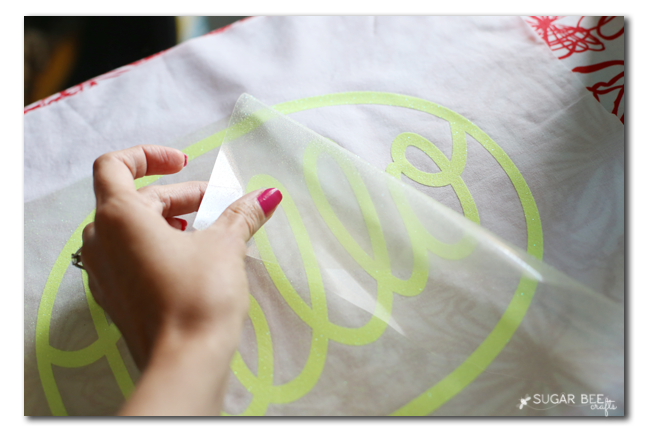
Then you place a cloth/old shirt over it and iron like crazy – it’s all about the pressure, so push and push that heat onto the vinyl, so that you’re really melting the backing into the fiber of the fabric. Once you do that, you can peel up the top clear carrier sheet slowly, and your vinyl is left behind in it’s glory…
Now, this is totally optional, but I wanted to add a bit more of a handcrafted touch to my pillow, so I did a quick running stitch along the outer edge of the circle.
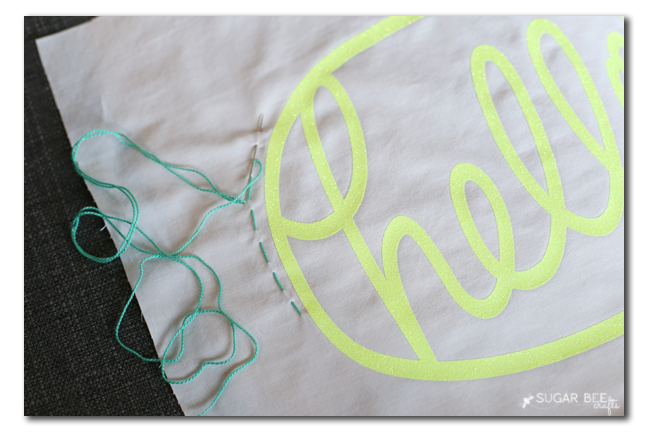
I’m pretty sure I didn’t know what I was doing, so if you’re an embroidery professional, you might want to avert your eyes. But I just tell myself that it gives the pillow character 😉
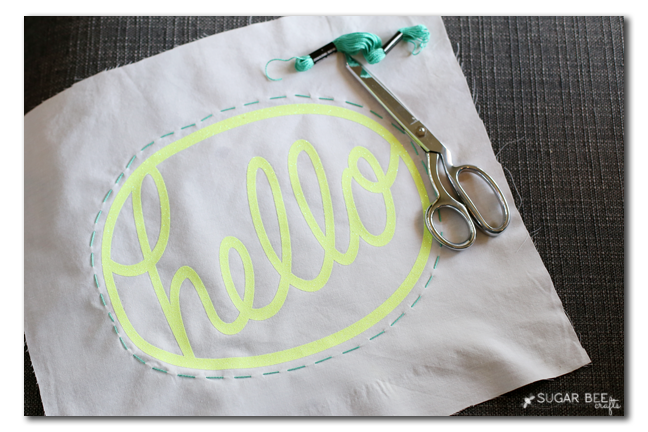
A closer-up view of the imperfect stitches:
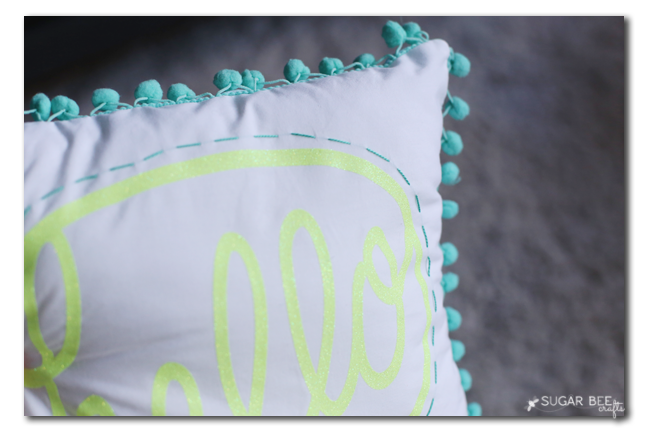
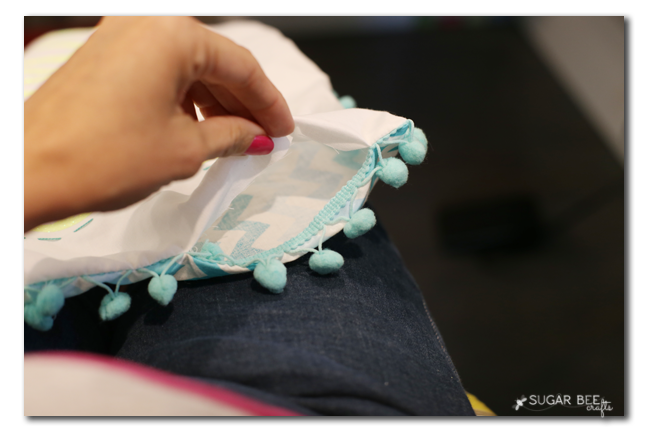
Now that the top is ready, it’s on to pillow assembly! You can sew the pillow and pom poms all together at once, but I don’t love pinning, so I sewed on the pom poms first. Just all the way along the edge of the back panel of the pillow. Make sure the poms are facing it (which might not seem to make sense, but it’s right)
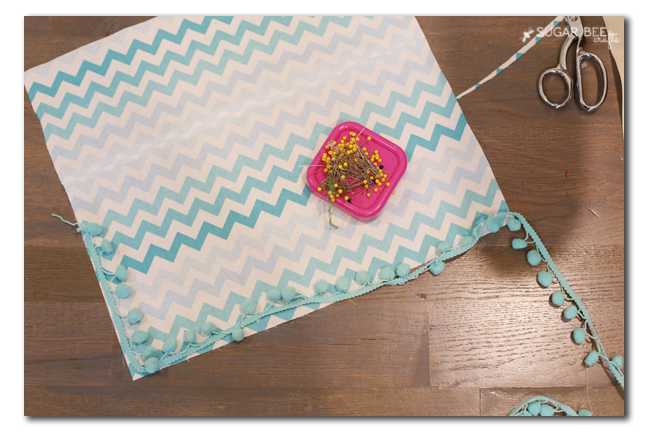
At the beginning and end of your trim, just cross them over each other and let the tails kind of hang off:
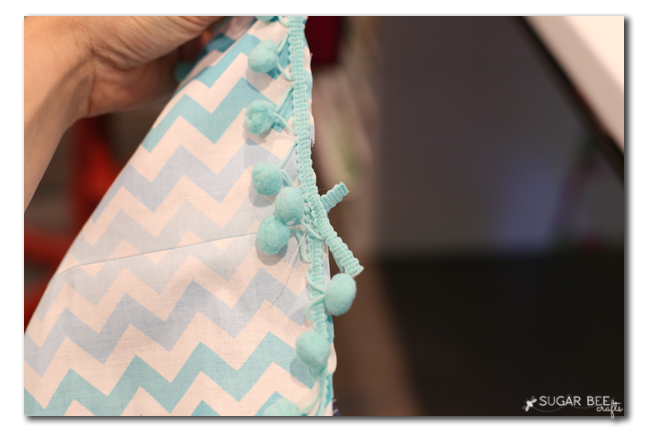
Now that the pom pom trim is secure, I put the front and back pillow panels together, with right sides facing each other, and sewed all along the edge, again making sure the pom poms are in between the two layers. Be sure to leave an opening of about 4 inches.
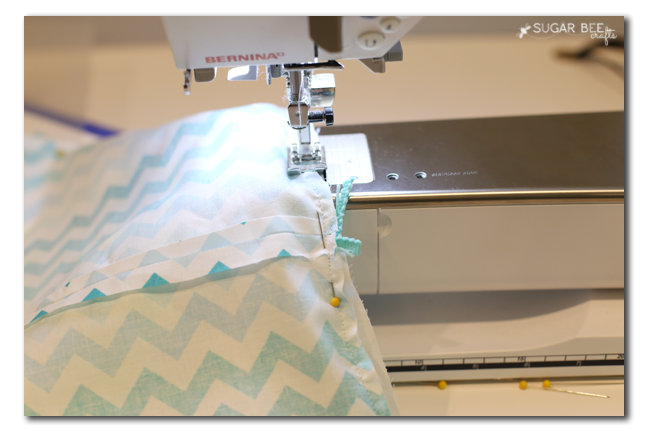
Then you can clip the corners to make it lay a little nicer when it’s right-side out. Then turn it right-side out through that 4 inch hold that you left open.
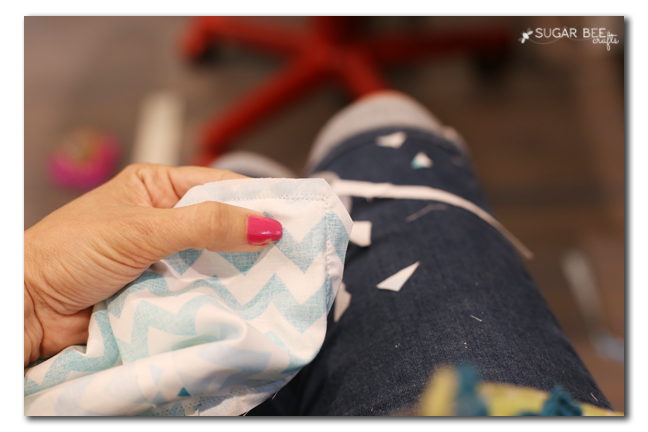
Once it’s right-side out, you can stuff it through that opening. You can never under-fill a pillow, so just keep stuffing.
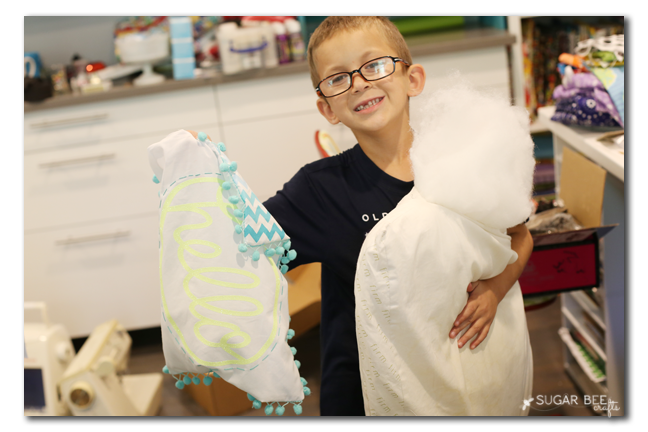
Another thrifty hint: tear open an old pillow and use that. My helper was pretty excited about the whole thing and stuffed most of it himself – finally they’re getting useful in the craft game 😉
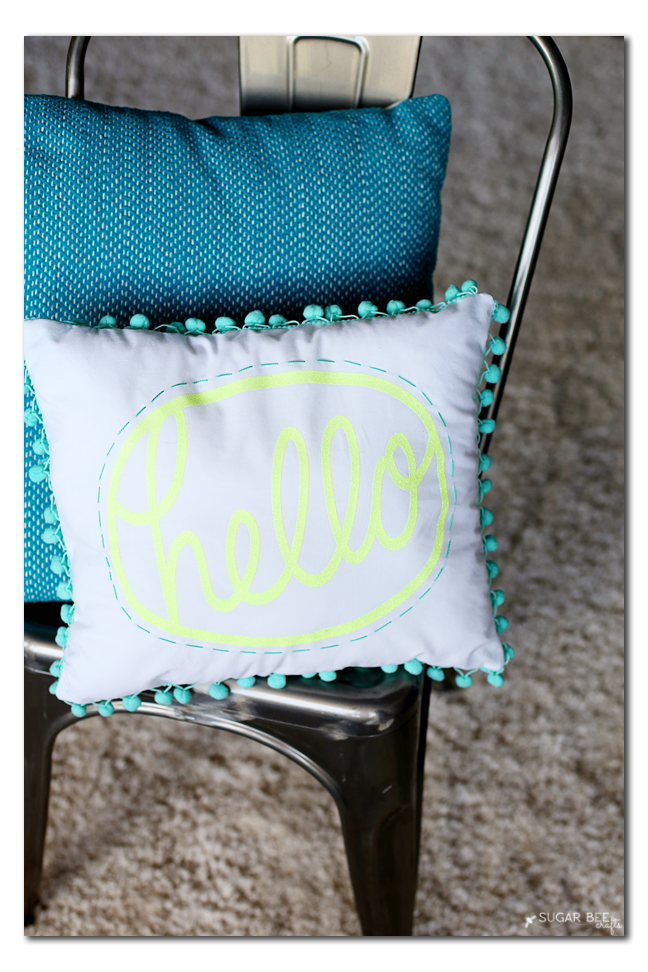
Then you just hand-sew up that opening and you’re good to go – – doesn’t the pom pom trim just take a pillow into a whole league of it’s own?! And some may be excited that chevron isn’t as popular these days, but I will never let it go – I’m a chevron die-hard!
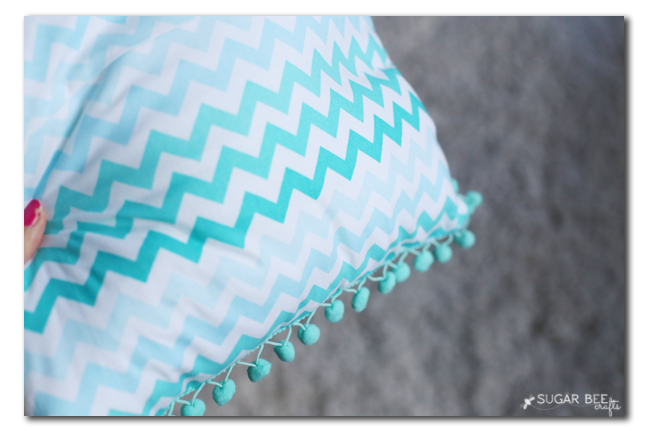
I just really love how this came out!
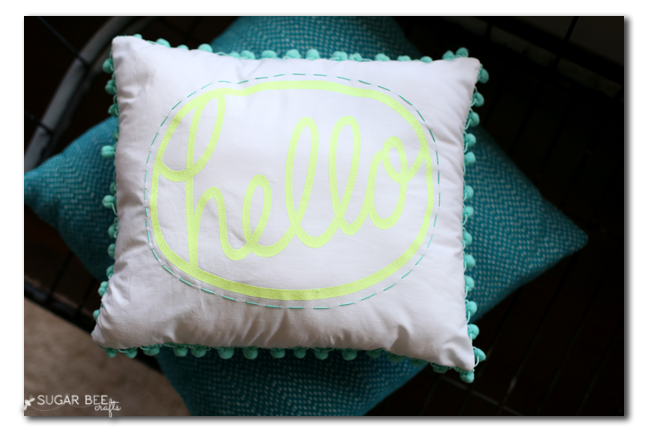
And yeah, a little behind-the-photo shoot pics for ya – – and now you know why they’re cropped so tight 😉
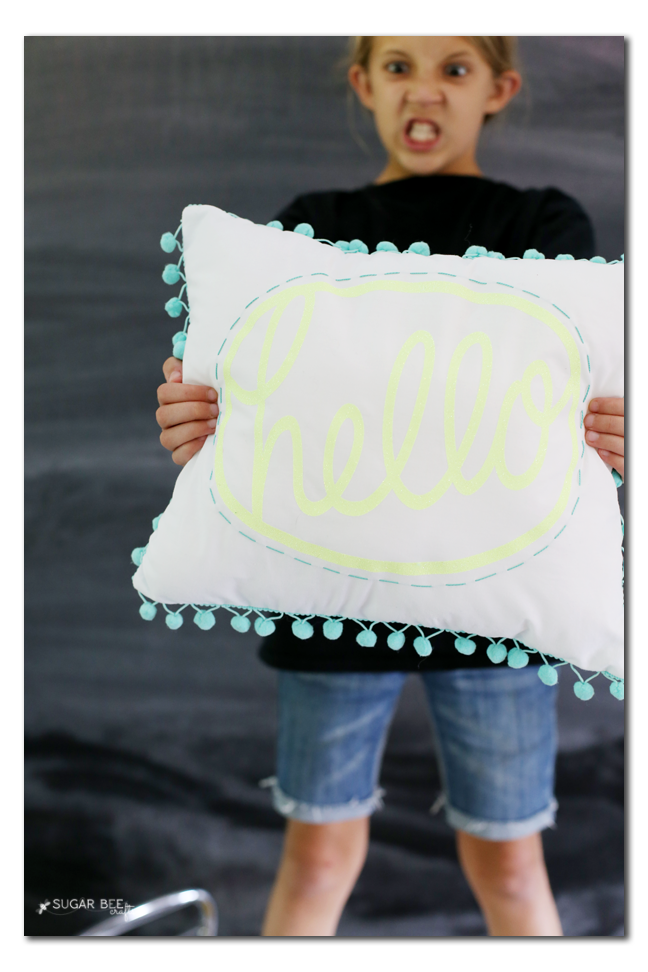
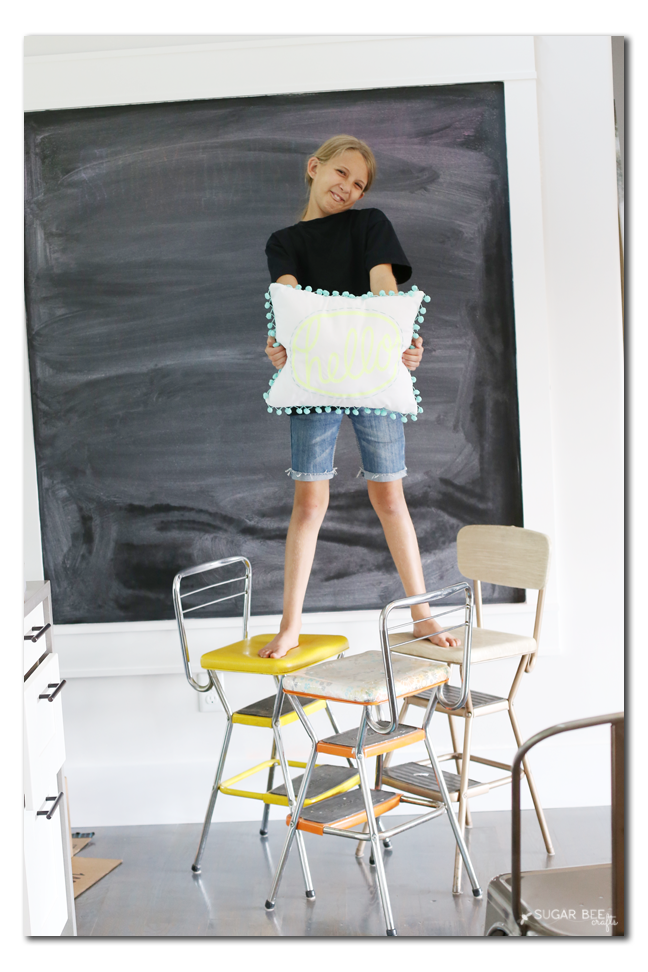
Cause I take those pics above, and get this pic below – – perspective is everything 😉

The exciting part?! TONS of other sewing bloggers are using heat transfer this week – AND there’s a GIVEAWAY for vinyl (which now you realize you MUST have), so go ahead and enter that below – –
Enter to win!
a Rafflecopter giveaway


I simply have to win this, I have never tried HTV and I want to sooooooo bad! Thanks so much for the chance!
How cute! I love the pom pom trim and that iron on vinyl looks amazing, I must get some!
Jess @ Let’s Do Something Crafty recently posted…Make Your Own Kids DIY Guitar