My daughter has been using a chair by her bed as a makeshift nightstand – it was kind of pitiful 😉 So I brainstormed a fun idea to make her a nightstand myself, with minimal effort – the DIY Crate Nightstand idea was born! I am super excited that it came out just as I had pictured it in my mind. My favorite part about this is that it comes together so quickly – something anyone can tackle!
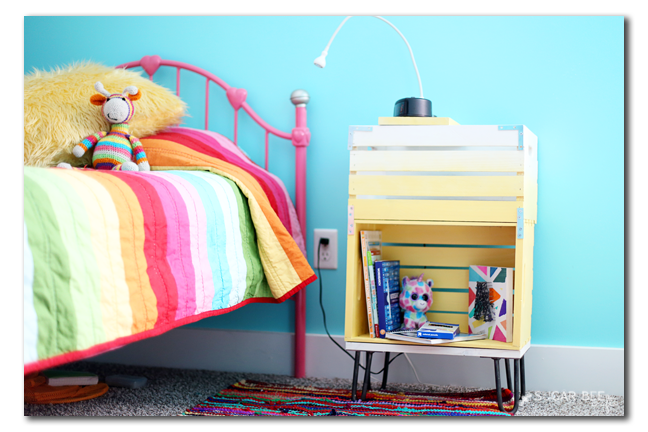
I also made it “ombre” to give it just a little more character, with the dark yellow fading to lighter and then to white. I like how it’s a bookshelf, and a container, and a nightstand, all in one!
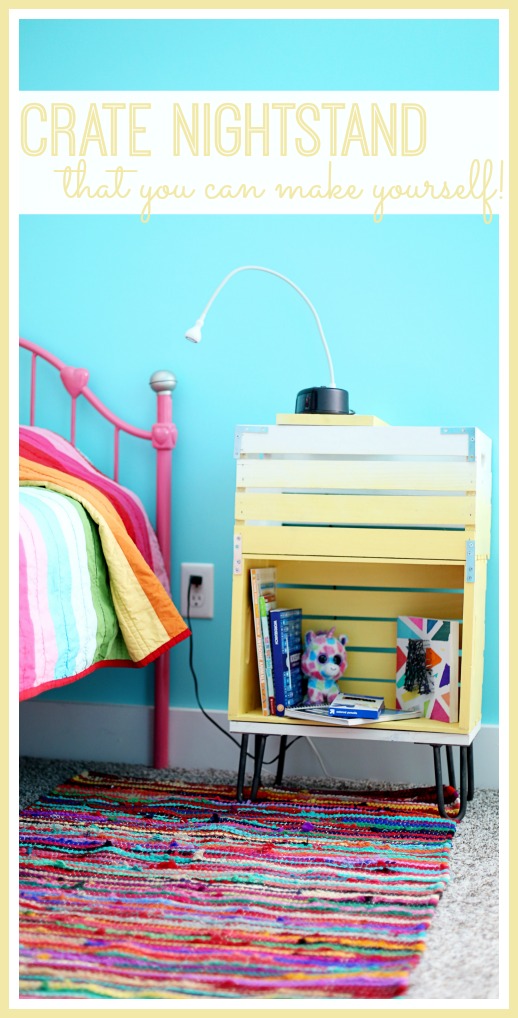
DIY Crate Nightstand
You’ll need:
2 crates (I picked mine up at Michaels, but I’ve seen then other places as well)
paint
scrap wood for the bottom and top
flat metal connector pieces (I’m sure these have a name, but I don’t know what it is!)
optional: hairpin legs (mine were sent to me from American Machinist)
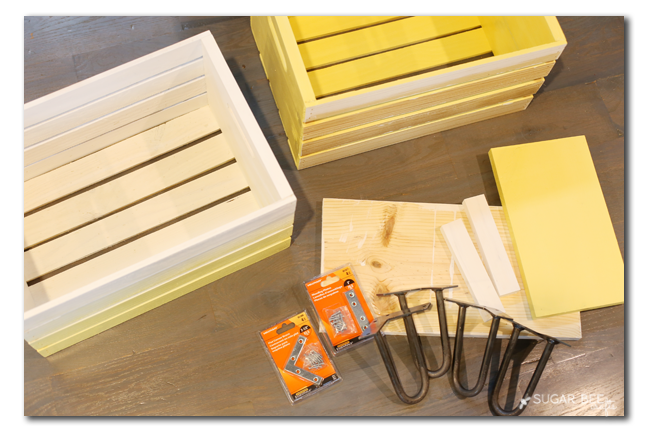
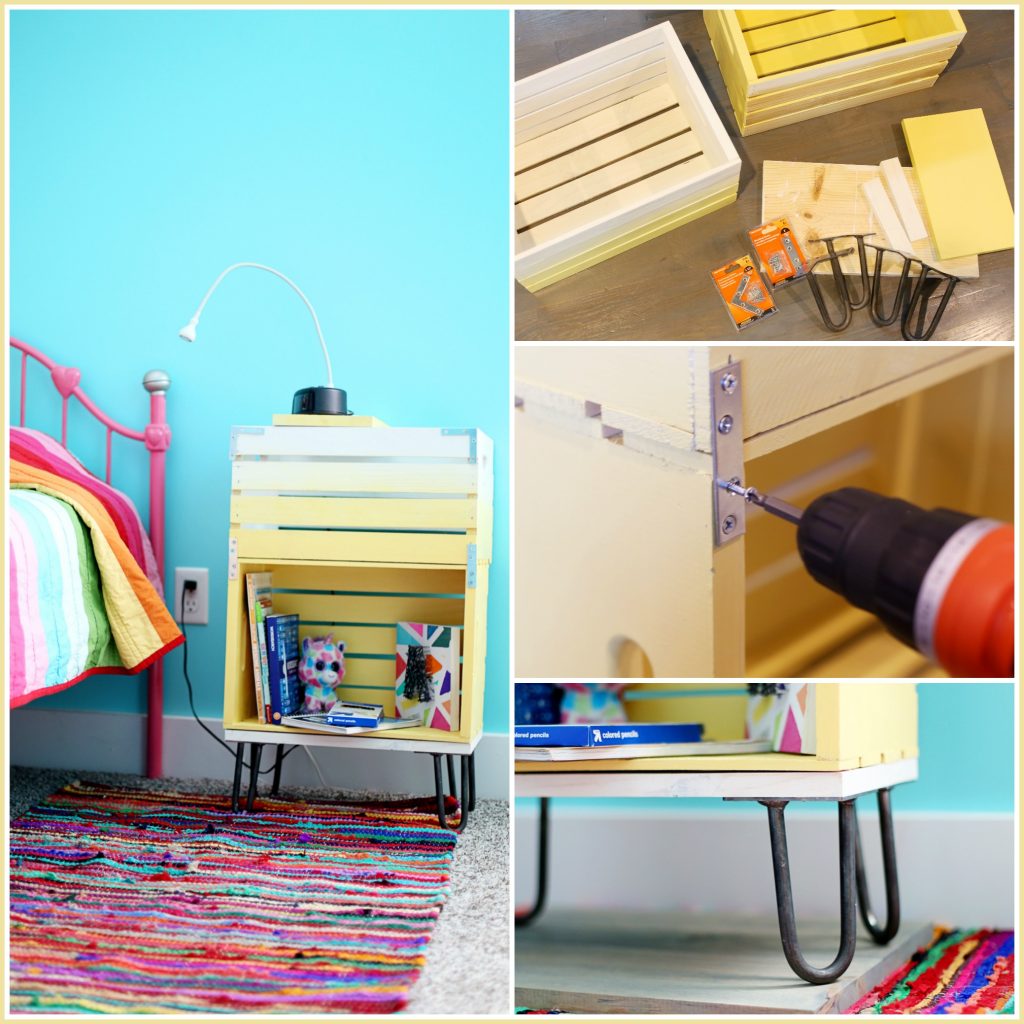
First up you’ll want to paint your crate. I failed to get any pictures of this! I actually did take pics, and video, but only on Snapchat and then I forgot to save it, so bummer! The way I did it, I painted one crate all yellow, using spray paint. A couple of coats. Then with the other crate I painted the top half white and then started at the bottom with the yellow spraypaint, but put it on lighter and lighter as I went up, and only went up about 3/4 the way with yellow.
Next, assembly – again, I didn’t save many pics!! But I’ll walk you through it – you set the bottom crate turned on it’s side. Then the top crate on top of that one. Under the bottom crate is a flat scrap piece of wood, cut the same size as the side (now bottom) of the crate. That way things won’t fall through the crate slats. Since one crate is on it’s side and one isn’t, they don’t match up in the back. I have it up against a wall and it has been fine without extra support to hold the stick-out part. You can see what I mean:
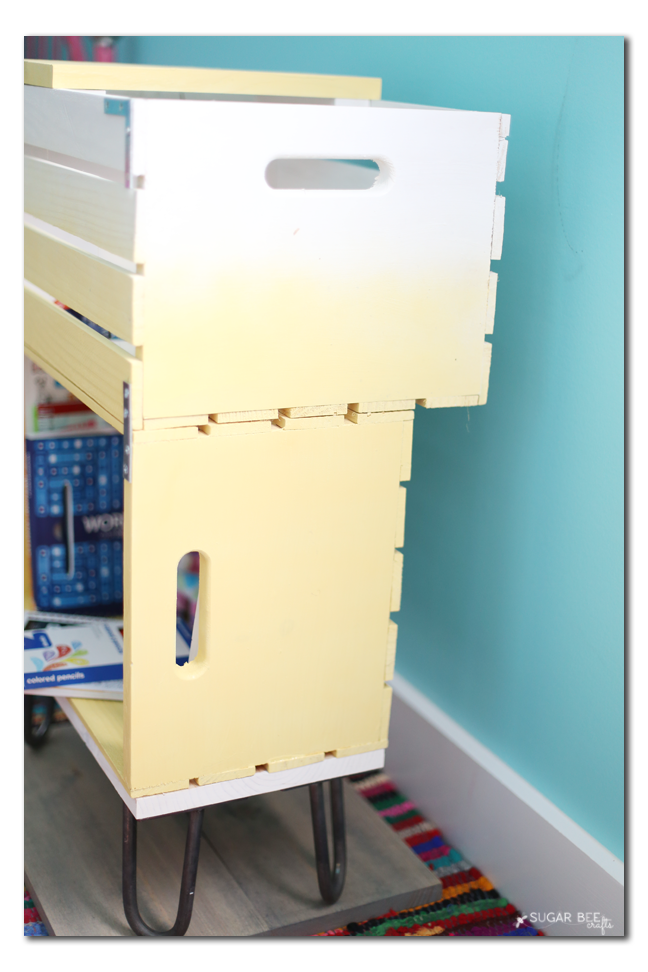
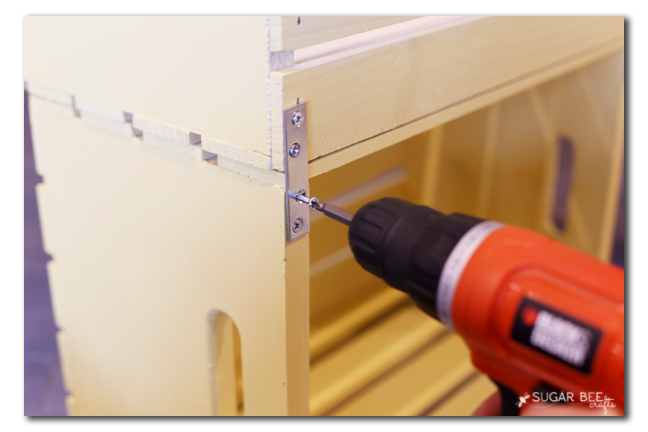
So to connect the two crates I used those flat connector things. Right on the front because I like how they looked. I added some corner ones too at the top, those are purely for looks and don’t hold a funcationable purpose.
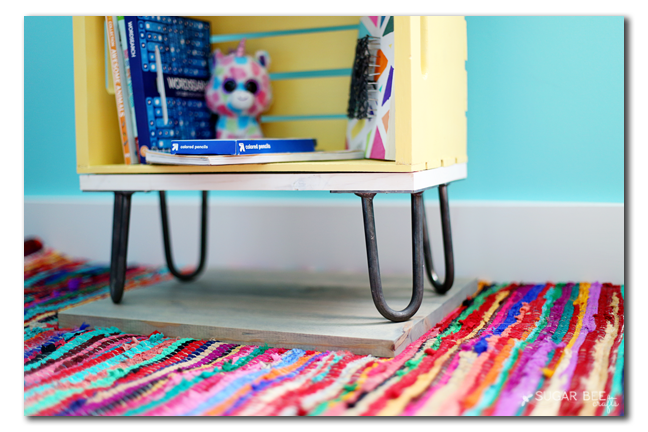
For the hairpin legs, I just screwed them into the bottom board. I made sure to use screws long enough to go through the board and into the sides of the crate. I think the legs really make the whole thing awesome, but you could also just leave off the legs and sit the crate on the floor.
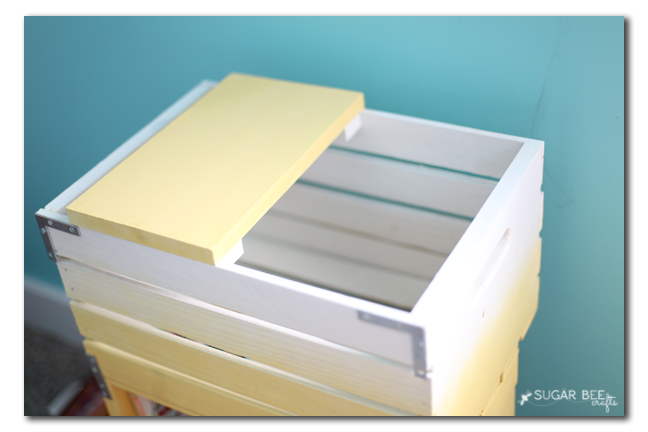
Now, the top crate is stacked so that it’s like a basket. But for a nightstand you want to be able to set things on it, not just in it. Like for example, an alarm clock or lamp. So I cut a scrap piece of wood to fit over the top of the crate. I used wood glue to attach two small blocks to the piece of wood so that they would fit down in the inner edge of the crate (so that the wood top wouldn’t slide off). The top piece of wood then can slide anywhere along the top of the crate since it’s just sitting there, not actually attached.
I really really love how it came out!!
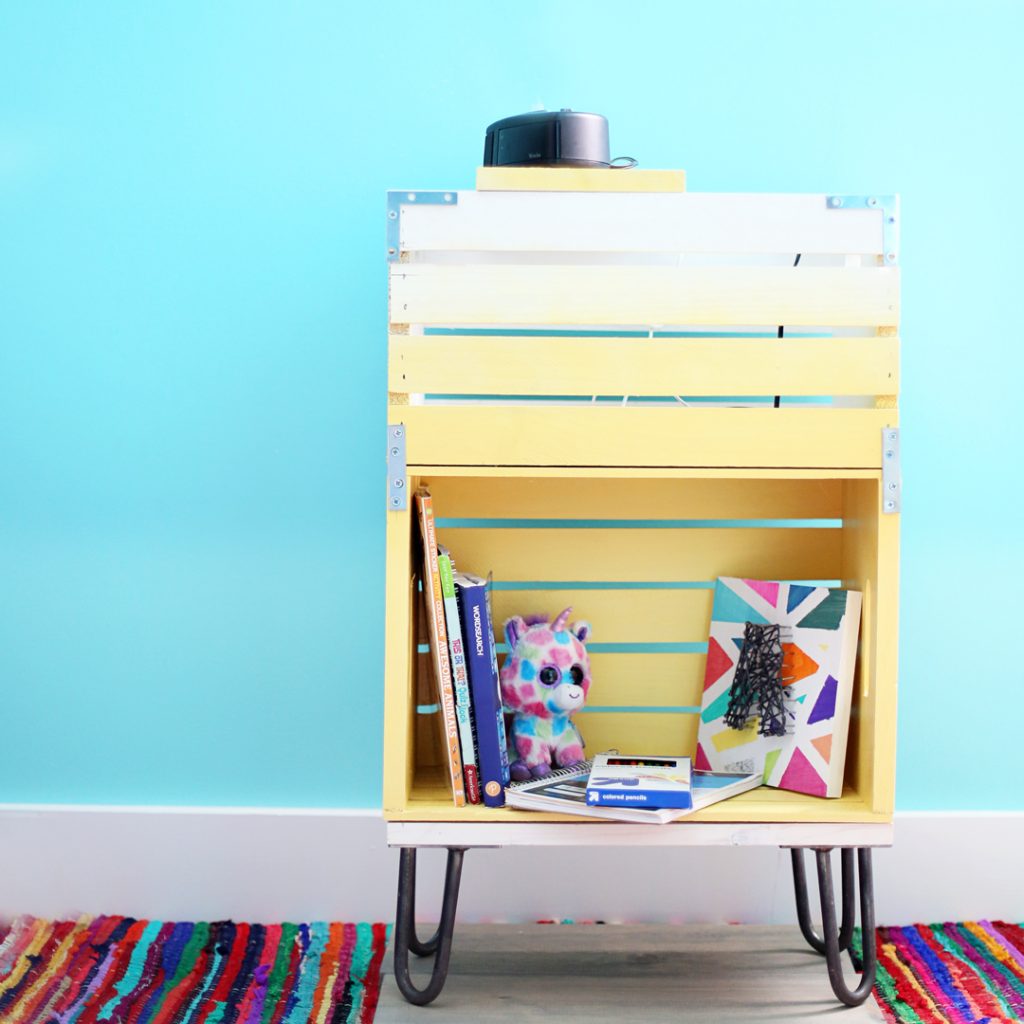
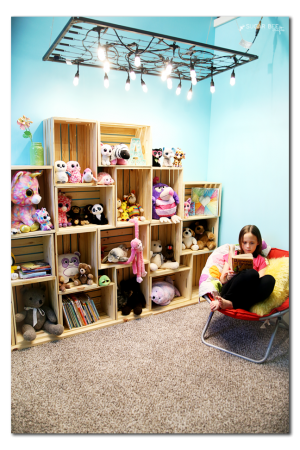
This is the same room where I put together the Reading Nook Crate Bookshelf, so I love how the nightstand ties into that!
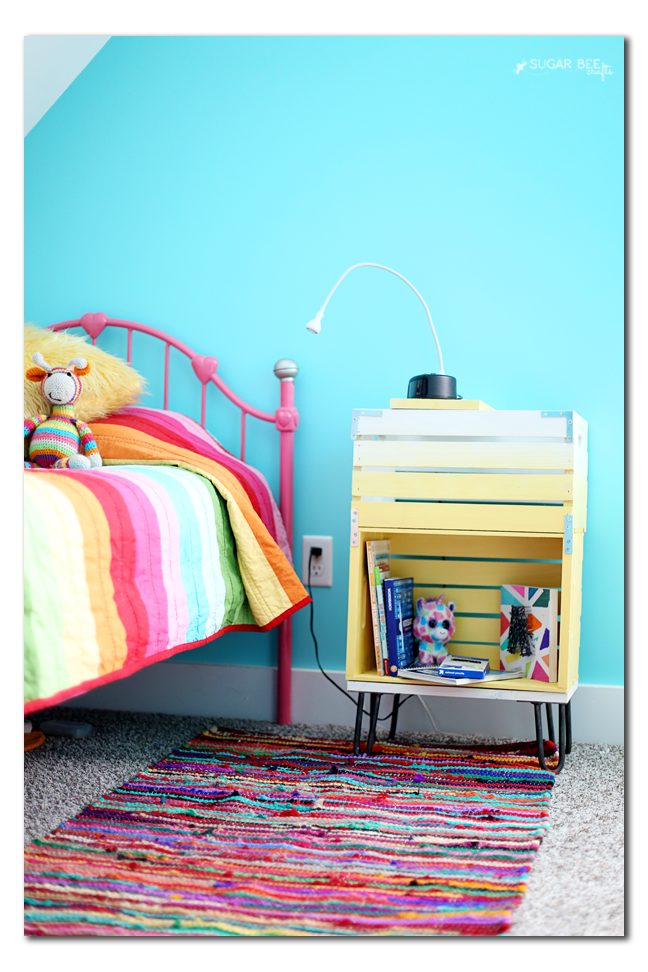
Enjoy making a DIY Crate Nightstand for yourself!!


Cute! And I love the bookshelf, too!
Chelsea @ Life With My Littles recently posted…The Lego Americana Roadshow at the North Star Mall
Well, this is a fun project! And the ombre makes it really stand out!
Randi recently posted…FALLING INTO FALL: GETTING ORGANIZED