Hello new friends! My name is Ariean and today I am visiting from onekriegerchick where I blog about fun DIY decor ideas, yummy recipes, kids crafts and sometimes life in general…
Today, I would like to share with you my DIY Button Monogram.
I have had my eyes on a wooden cutout monogram for some time, but it has yet to fit into my budget. So, I came up with the idea to make one of my own.
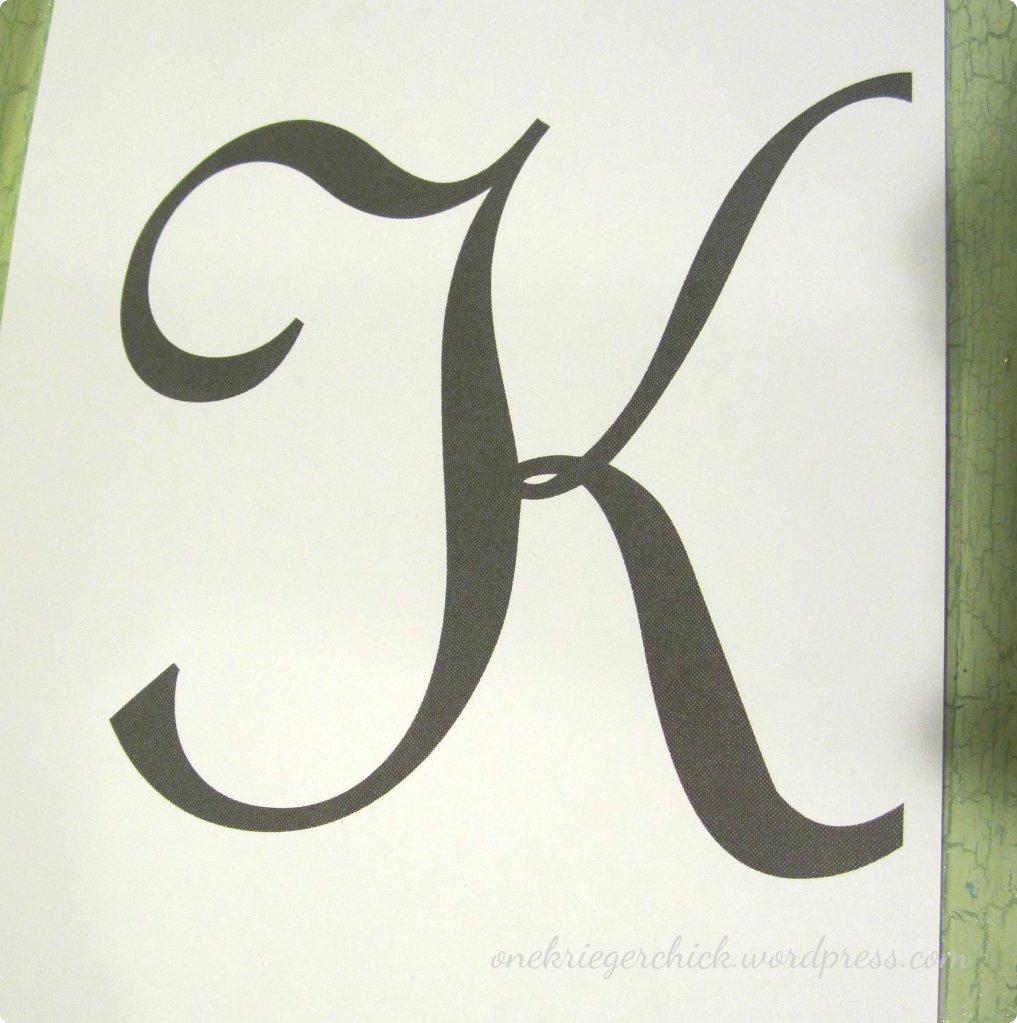
I started on the computer by deciding what font I liked best. After choosing a font in word, I enlarged it to my desired size and printed it out. I ended up using French Script enlarged to 700pt. (This step could be simplified by using a die cutting machine.)
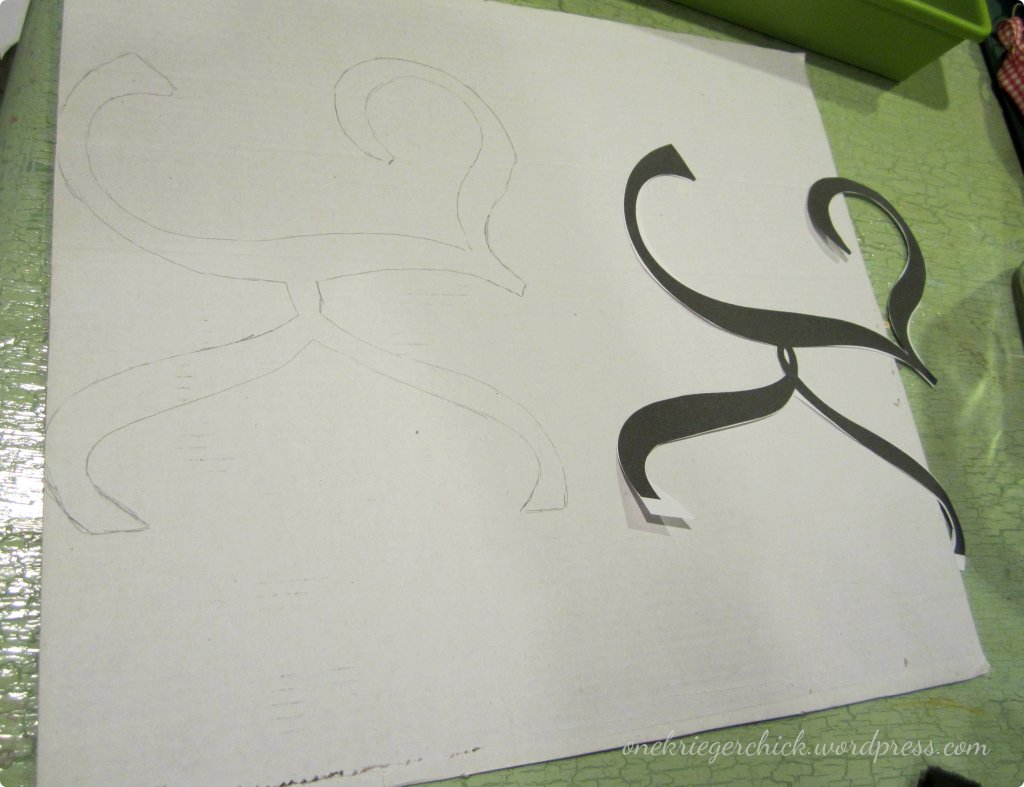
Then, I carefully cut it out and traced it onto a thin piece of cardboard.
The back of a notebook or gift wrap box works perfect.
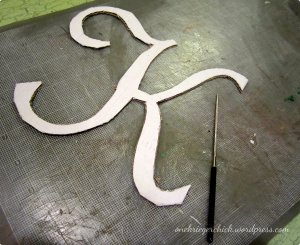
Using an exacto knife, I cut out my monogram.
I smoothed edges with a file to get rid of all the fuzzies. Sandpaper would work too.
Then I painted the front side of the monogram a cream color. You could paint the other side or cover it with felt or a coordinating scrapbook paper.

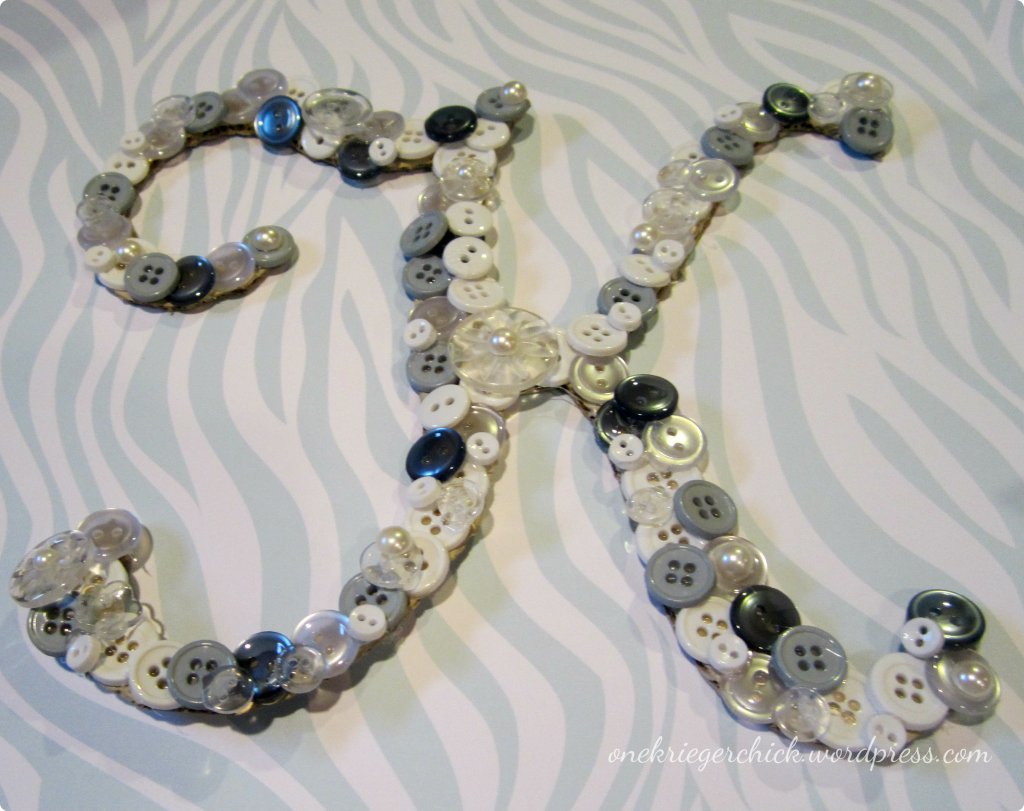
Using a glue gun, I adhered buttons to one side of the monogram knowing that the other side would be against my French doors. I chose neutral shades so I can use it during all seasons.

Loving how it turned out!
I then tied it with a loopy bow to a metal basket, filled it with greenery from my yard and hung it in my dining room.
Ta da! A beautiful, personalized button monogram that will look lovely in my dining room for the holidays but will easily transition to other parts of the house throughout the year.
Hope you take a minute to visit me over at onekriegerchick where I have lots more to share.
Have a creative day!
Ariean
Thanks for checking out this post from www.SugarBeeCrafts.com – – click on over to read it in its entirety – you’ll love it!


love it!! such a wonderful idea to switch up the monogram