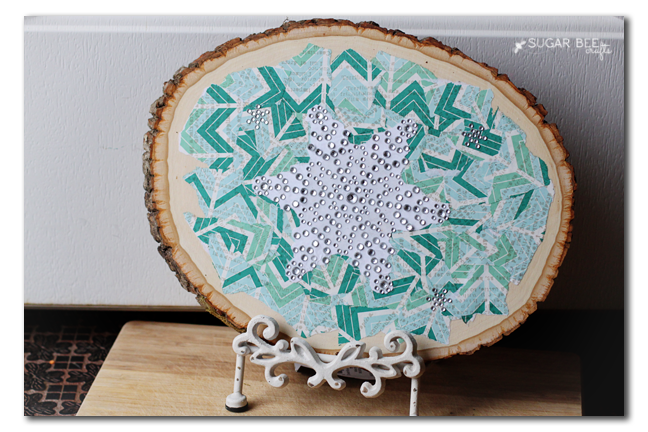
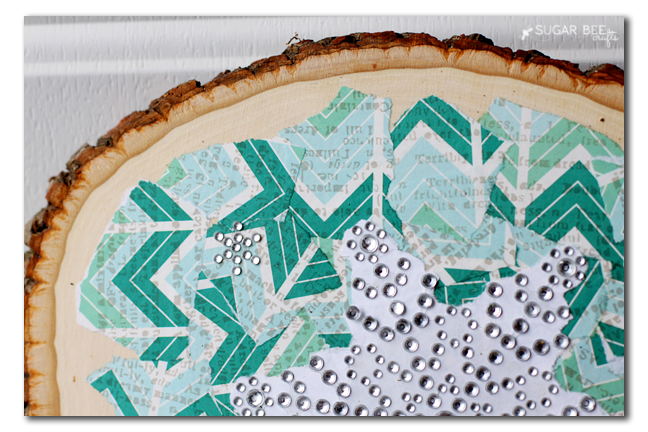
Have you ever tried your hand at decoupage?? I think it’s so fun, and great creative technique. Decoupage is just the art of decorating an objects by gluing on paper cut-outs. That’s it! I wish I could dig up a picture I know I have of my self decoupaging a drink holder when I was in high school – it’s a gem! But anyways, today’s project I want to showcase is a Decoupage Wood Slice for Winter Decor. Did you know you can make decoupage paste with just Elmer’s Glue and water?? It’s true! I am part of the Elmer’s Craft It Crew and am excited to showcase this technique for you.
Let’s just jump right in – -you’ll need:
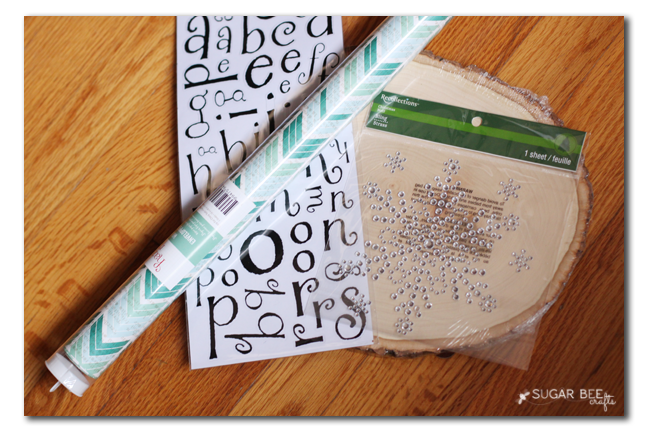
–wood slice (you can find them in the craft stores, or if you know someone to cut one for you from a tree stump, that’s awesome)
–paper – I used wrapping paper I found because I loved the cool, wintery colors and the graphic pattern
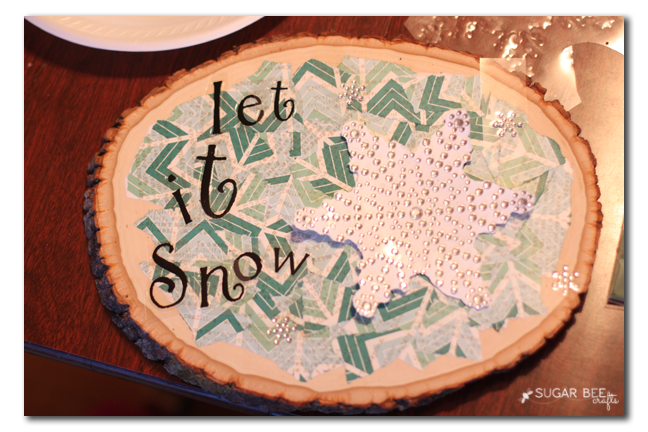
–decorations – I used a rhinestone snowflake sticker and almost used sticker letters to spell “let it snow”, so it’s just whatever you prefer.
–Elmer’s Glue All and water and a sponge brush
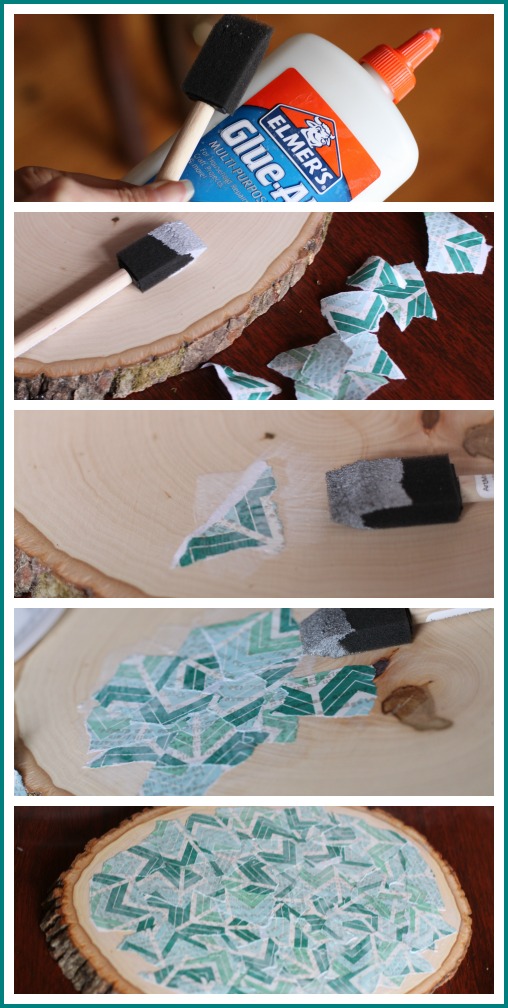
I like the dimension and texture that ripped edges on paper brings, so I ripped my paper in about 1-2 inch pieces. You can also cut it if you prefer. Once that’s done you’ll need to mix up your decoupage paste – Making an excellent and inexpensive decoupage medium is easy with Elmer’s Glue-All and water. To make decoupage medium, use craft stick to mix together three parts Elmer’s® Glue-All® with 1 part water in a paper cup. Stir well. Use sponge brush to spread mixture over surface. Papers may stretch or bubble up initially, so smooth out air from bubbles with finger and then go over area again with foam brush. Minor wrinkling will shrink and flatten as it dries. Let thoroughly dry over night and then spray surface with matte sealer.
Easy, right?! Just 3 parts glue to one part water and stir together. Then you paint it onto your surface, place a piece of the paper onto that spot, then paint over the paper, so there’s glue on both sides. And keep moving around your wood slice until you have the coverage you desire. Here’s a visual for those steps:
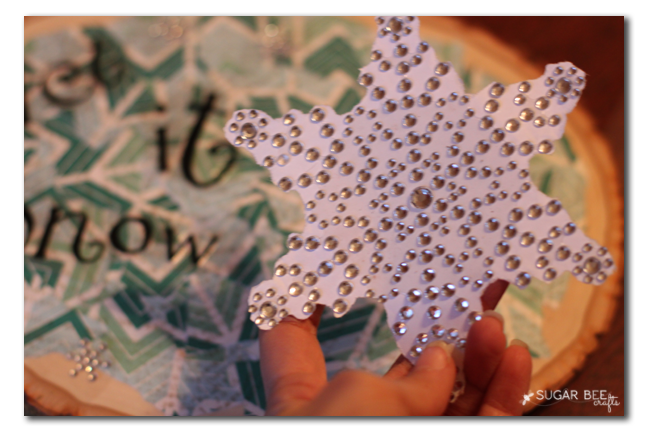
Now, on to the snowflake – I was afraid it would get lost in the fun decoupage background, so I first stuck it to white paper, then I ripped it along the edges of the rhinestones – –
Then I tried to work on layout – as I mentioned, I almost went with words, but then changed my mind.
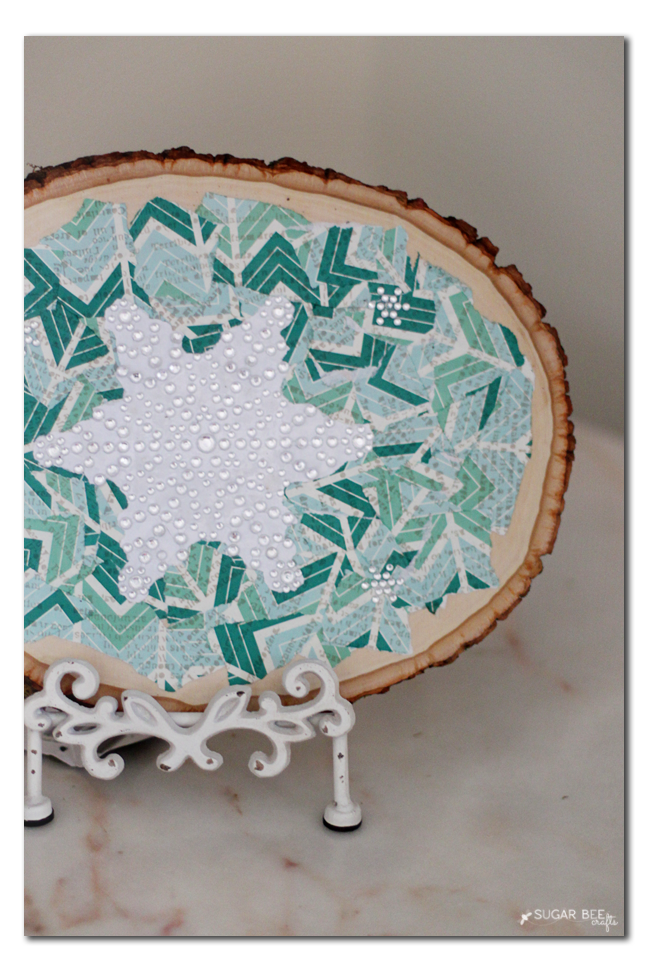
I again used the decoupage paste to attach the snowflake paper and then put a final layer of decoupage paste over everything to seal it all in and make sure everything was attached.
When the holidays are over, you still need fun seasonal decor. I think snowflakes are the perfect winter decor that can last clear in to February. This Decoupage Wood Slice is the perfect addition to any Winter Decor Scene that you’re creating – – enjoy!!
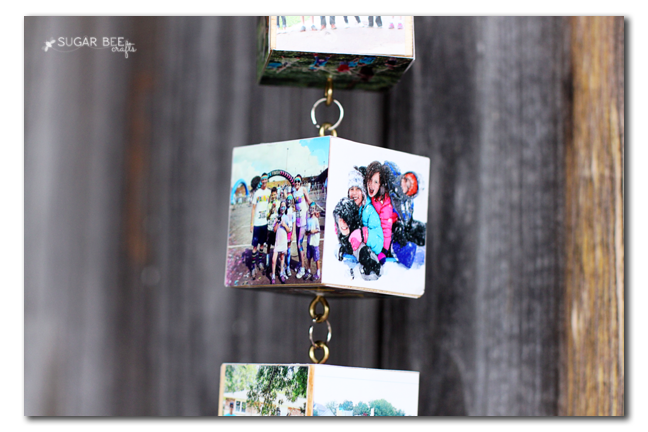
Oh, and come back this afternoon for another decoupage project – this time a photo one…. sneak peek into that…


