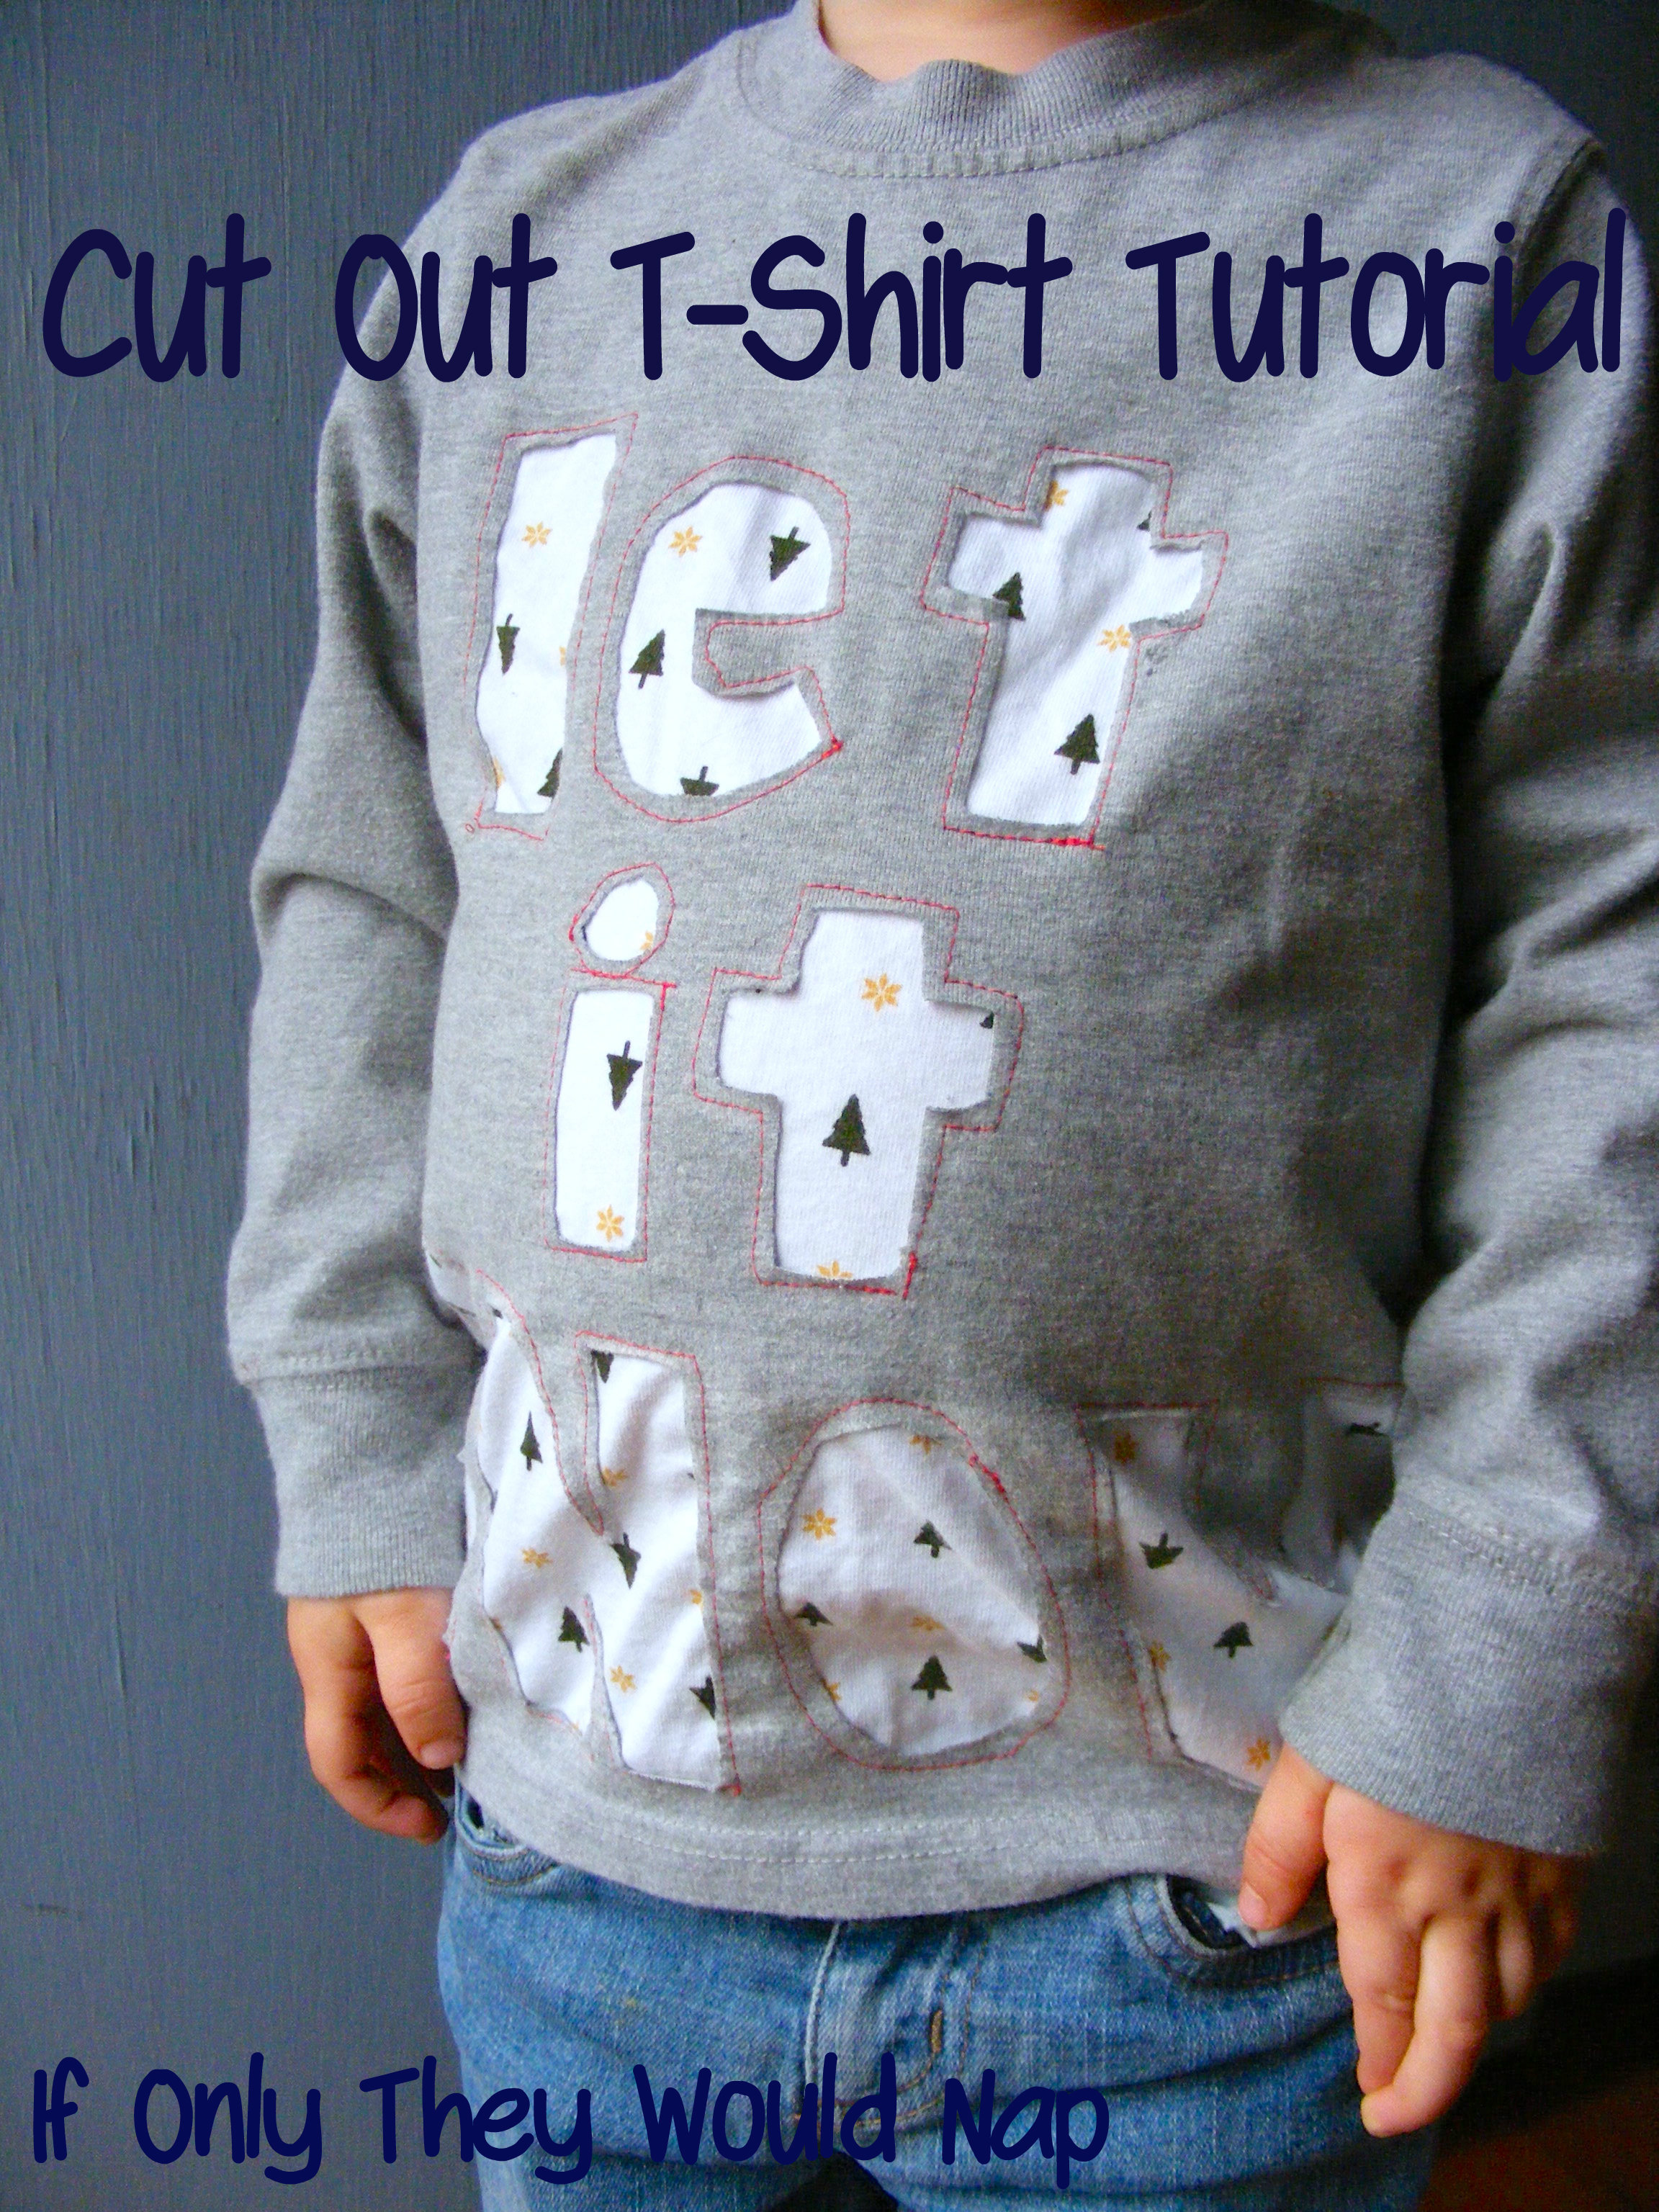
 Hey Sugar Bee friends! I’m Jess from If Only They Would Nap, where I blog about my crazy life and share sewing projects and tutorials. I’ve been married to my hubs for eight years, and I’m a former teacher turned stay-at-home mom to three rad boys (who are much happier than the below photo would suggest, I promise) – plus a baby due at the end of March!
- Plain T-shirt
- Fabric
- Chalk/Water soluble fabric pencil
- Scissors/Rotary cutter
- Cutting Mat/Thick cardboard *optional but highly recommended!
- Sewing Machine
- Thread
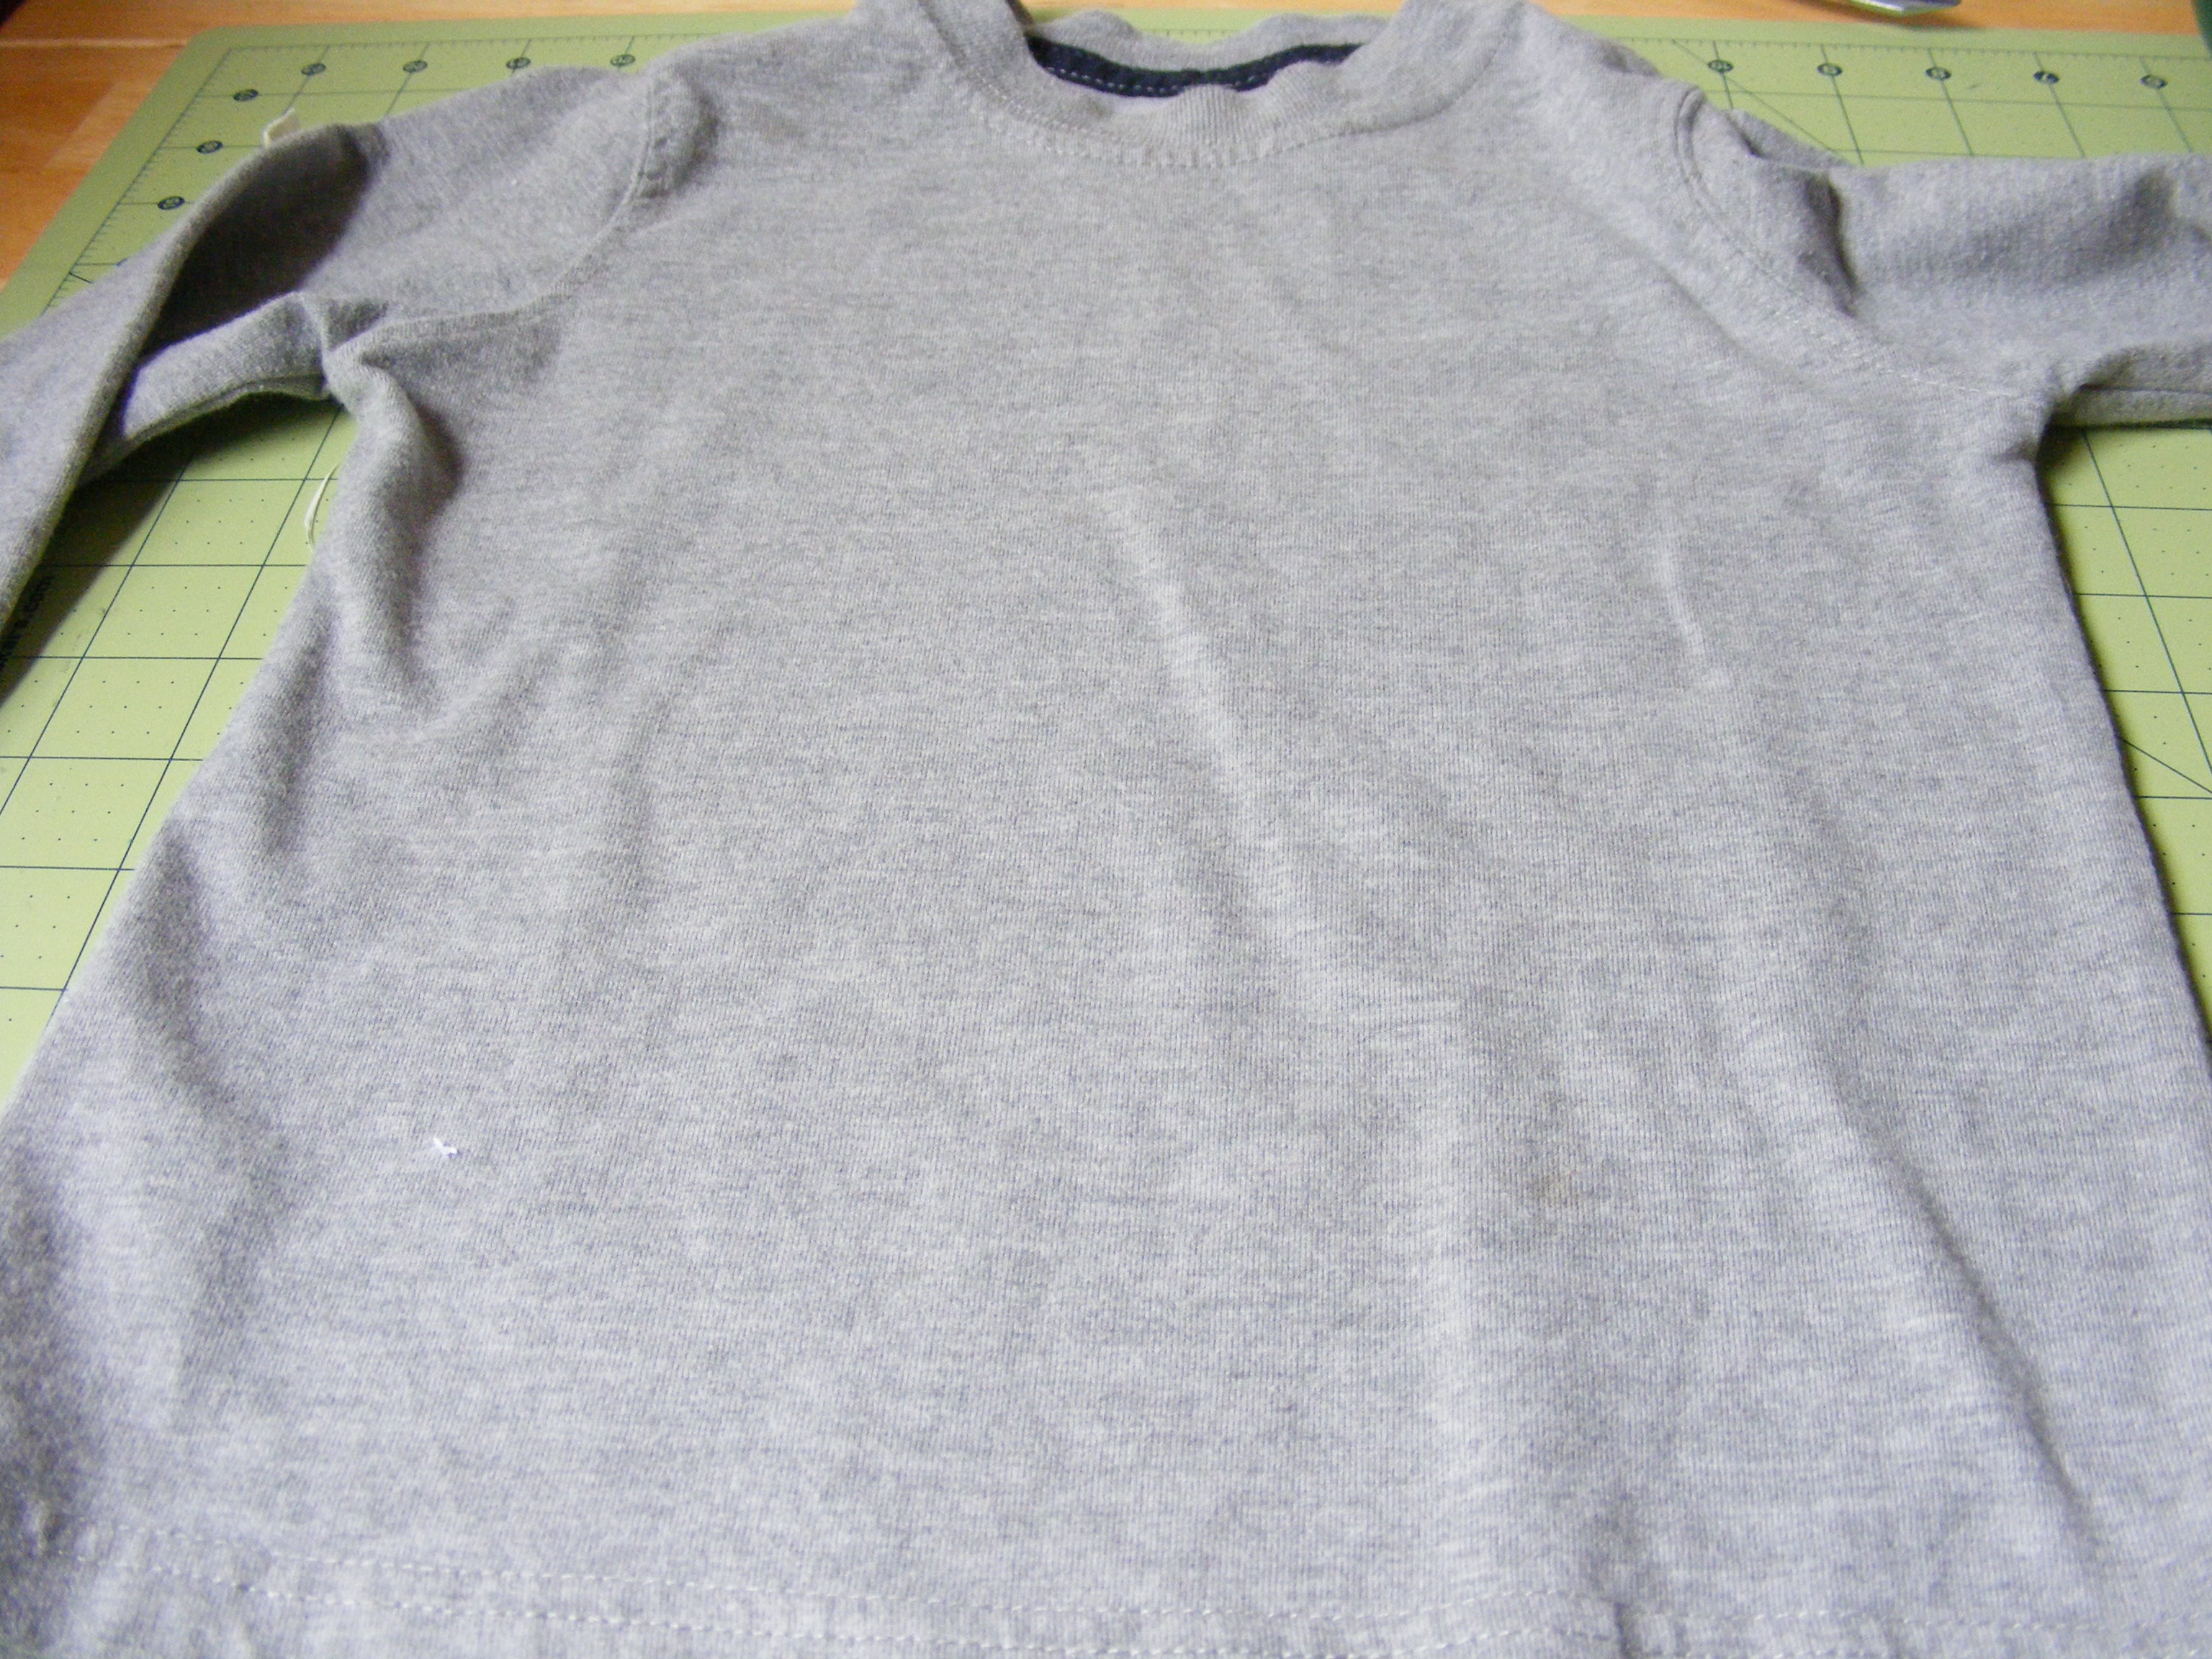 1. Find a plain tee in need of embellishment – this is a great way to use one that has some stains or small holes in it!
 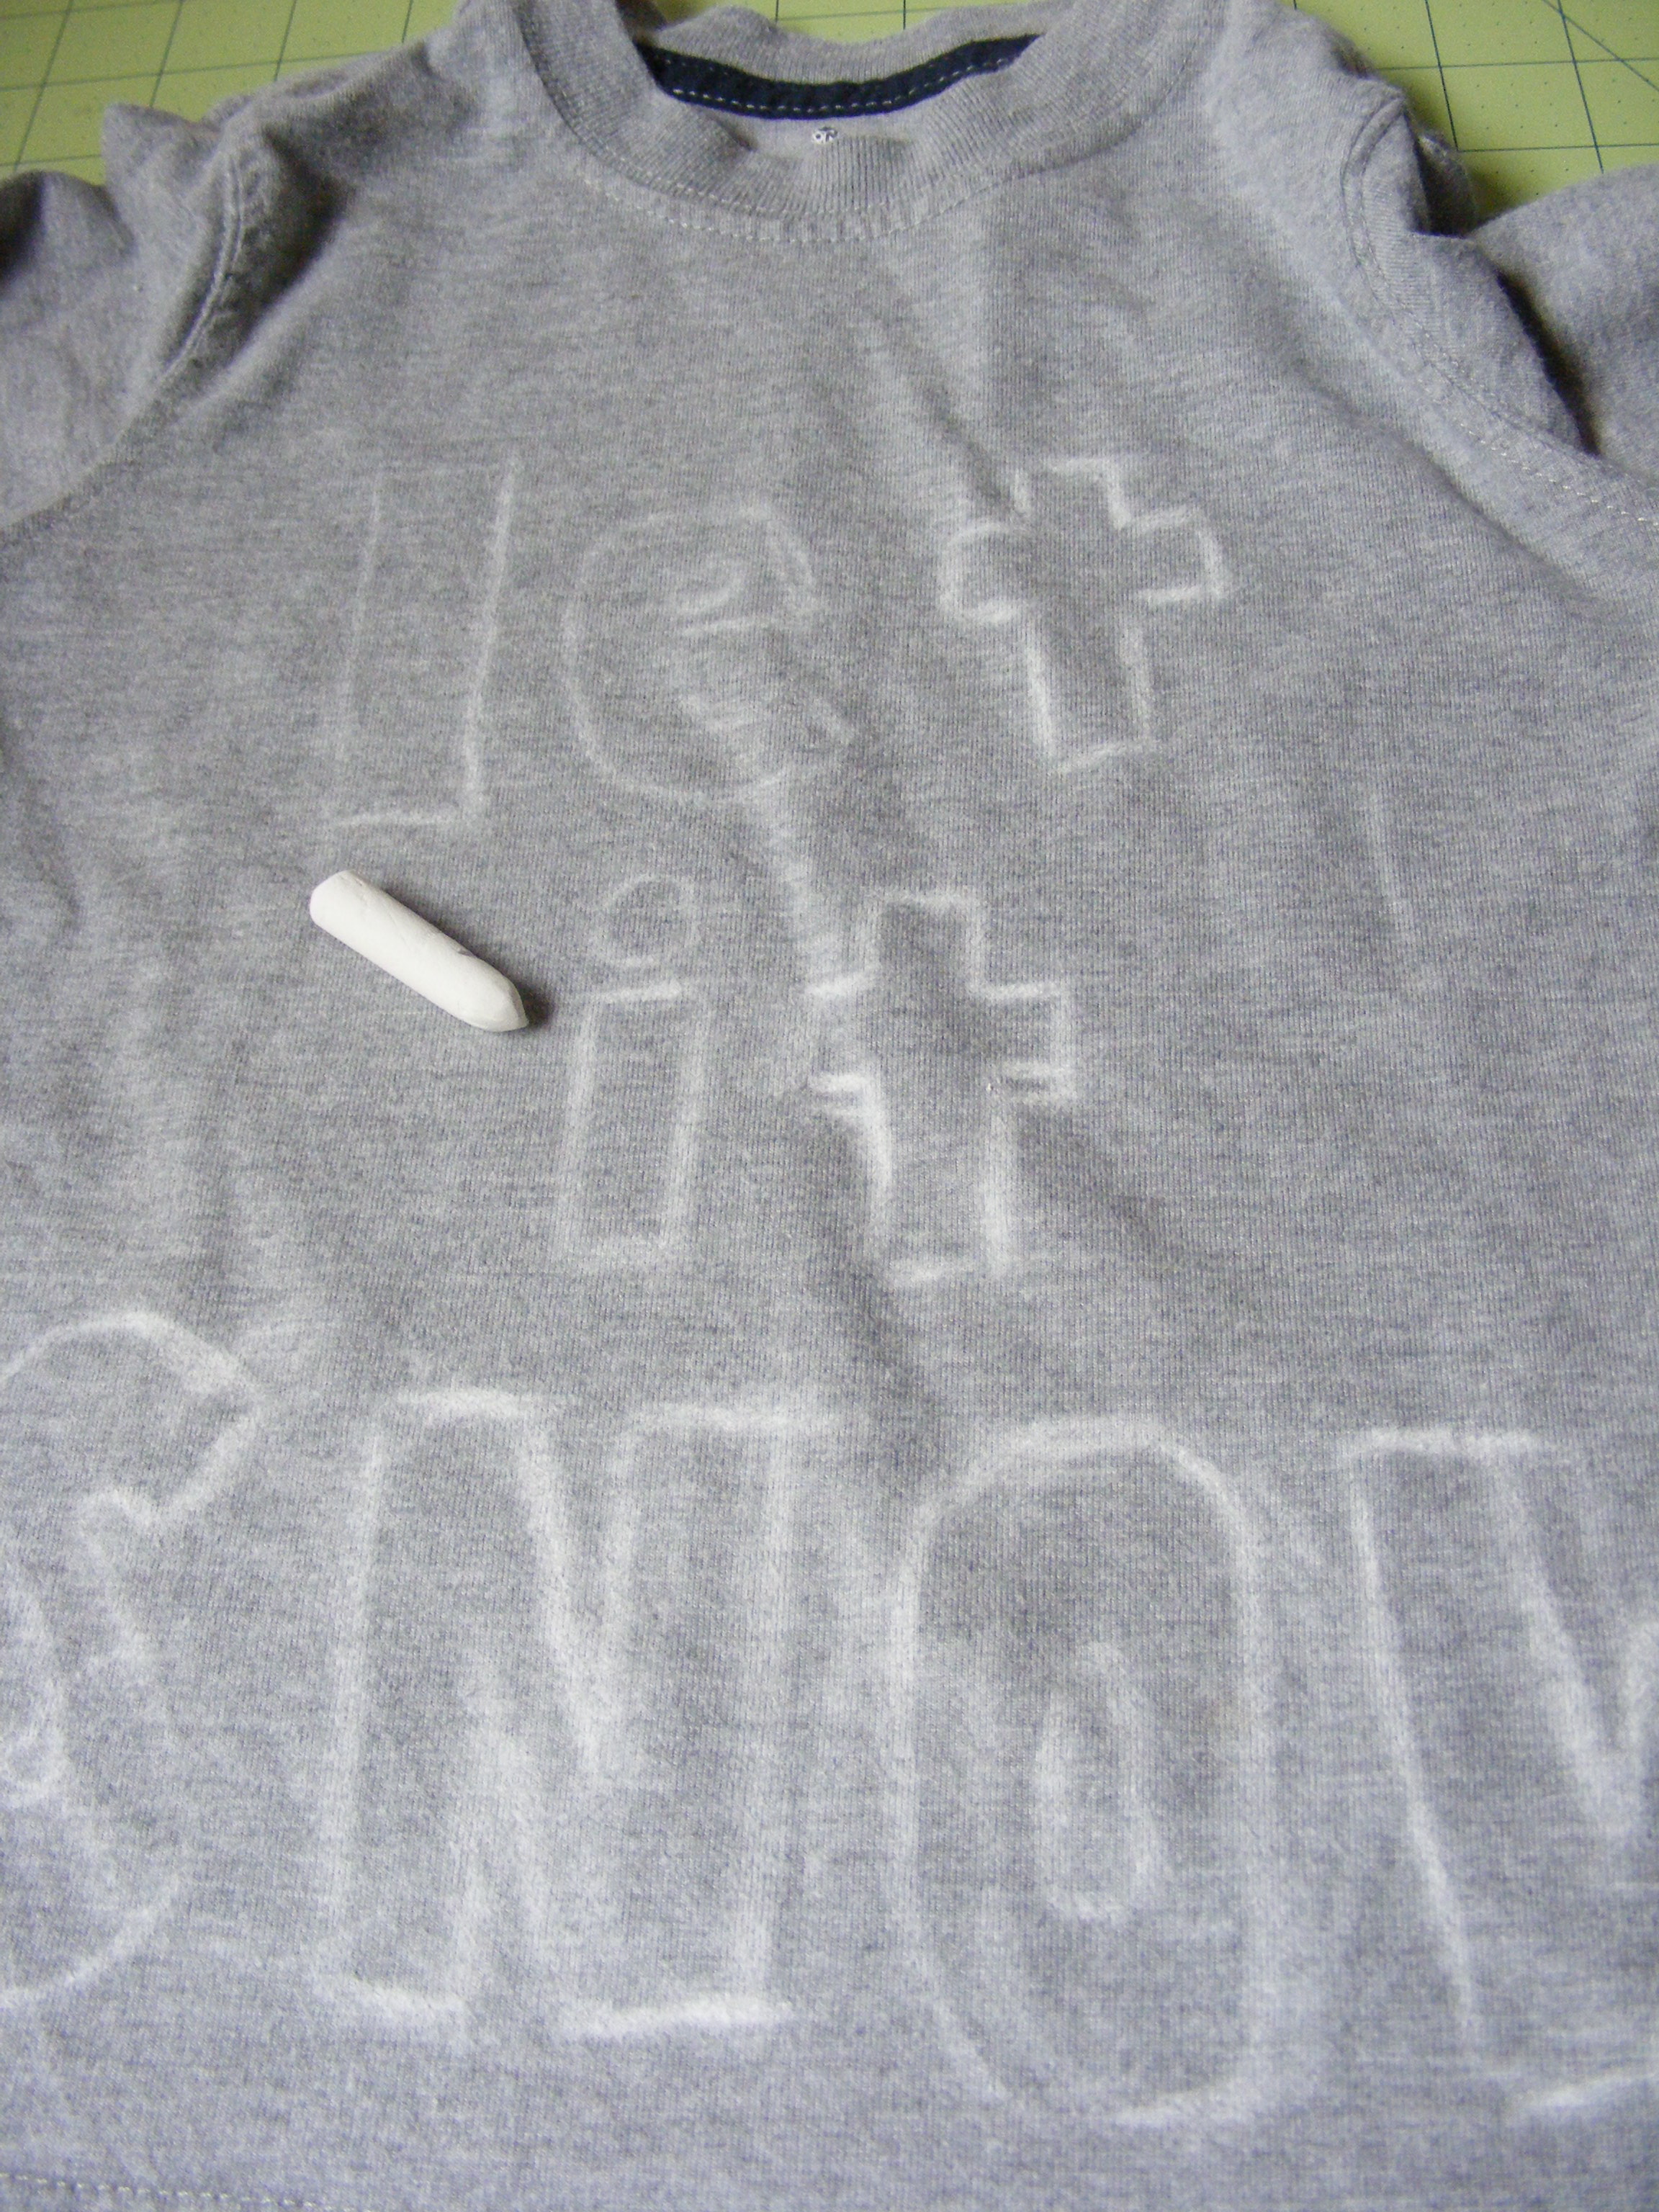 2. Sketch out your design using chalk or a water soluble fabric pencil – it could be words or a picture. I chose the phrase “let it snow” – still holiday-ish, but it can be worn into the New Year.
 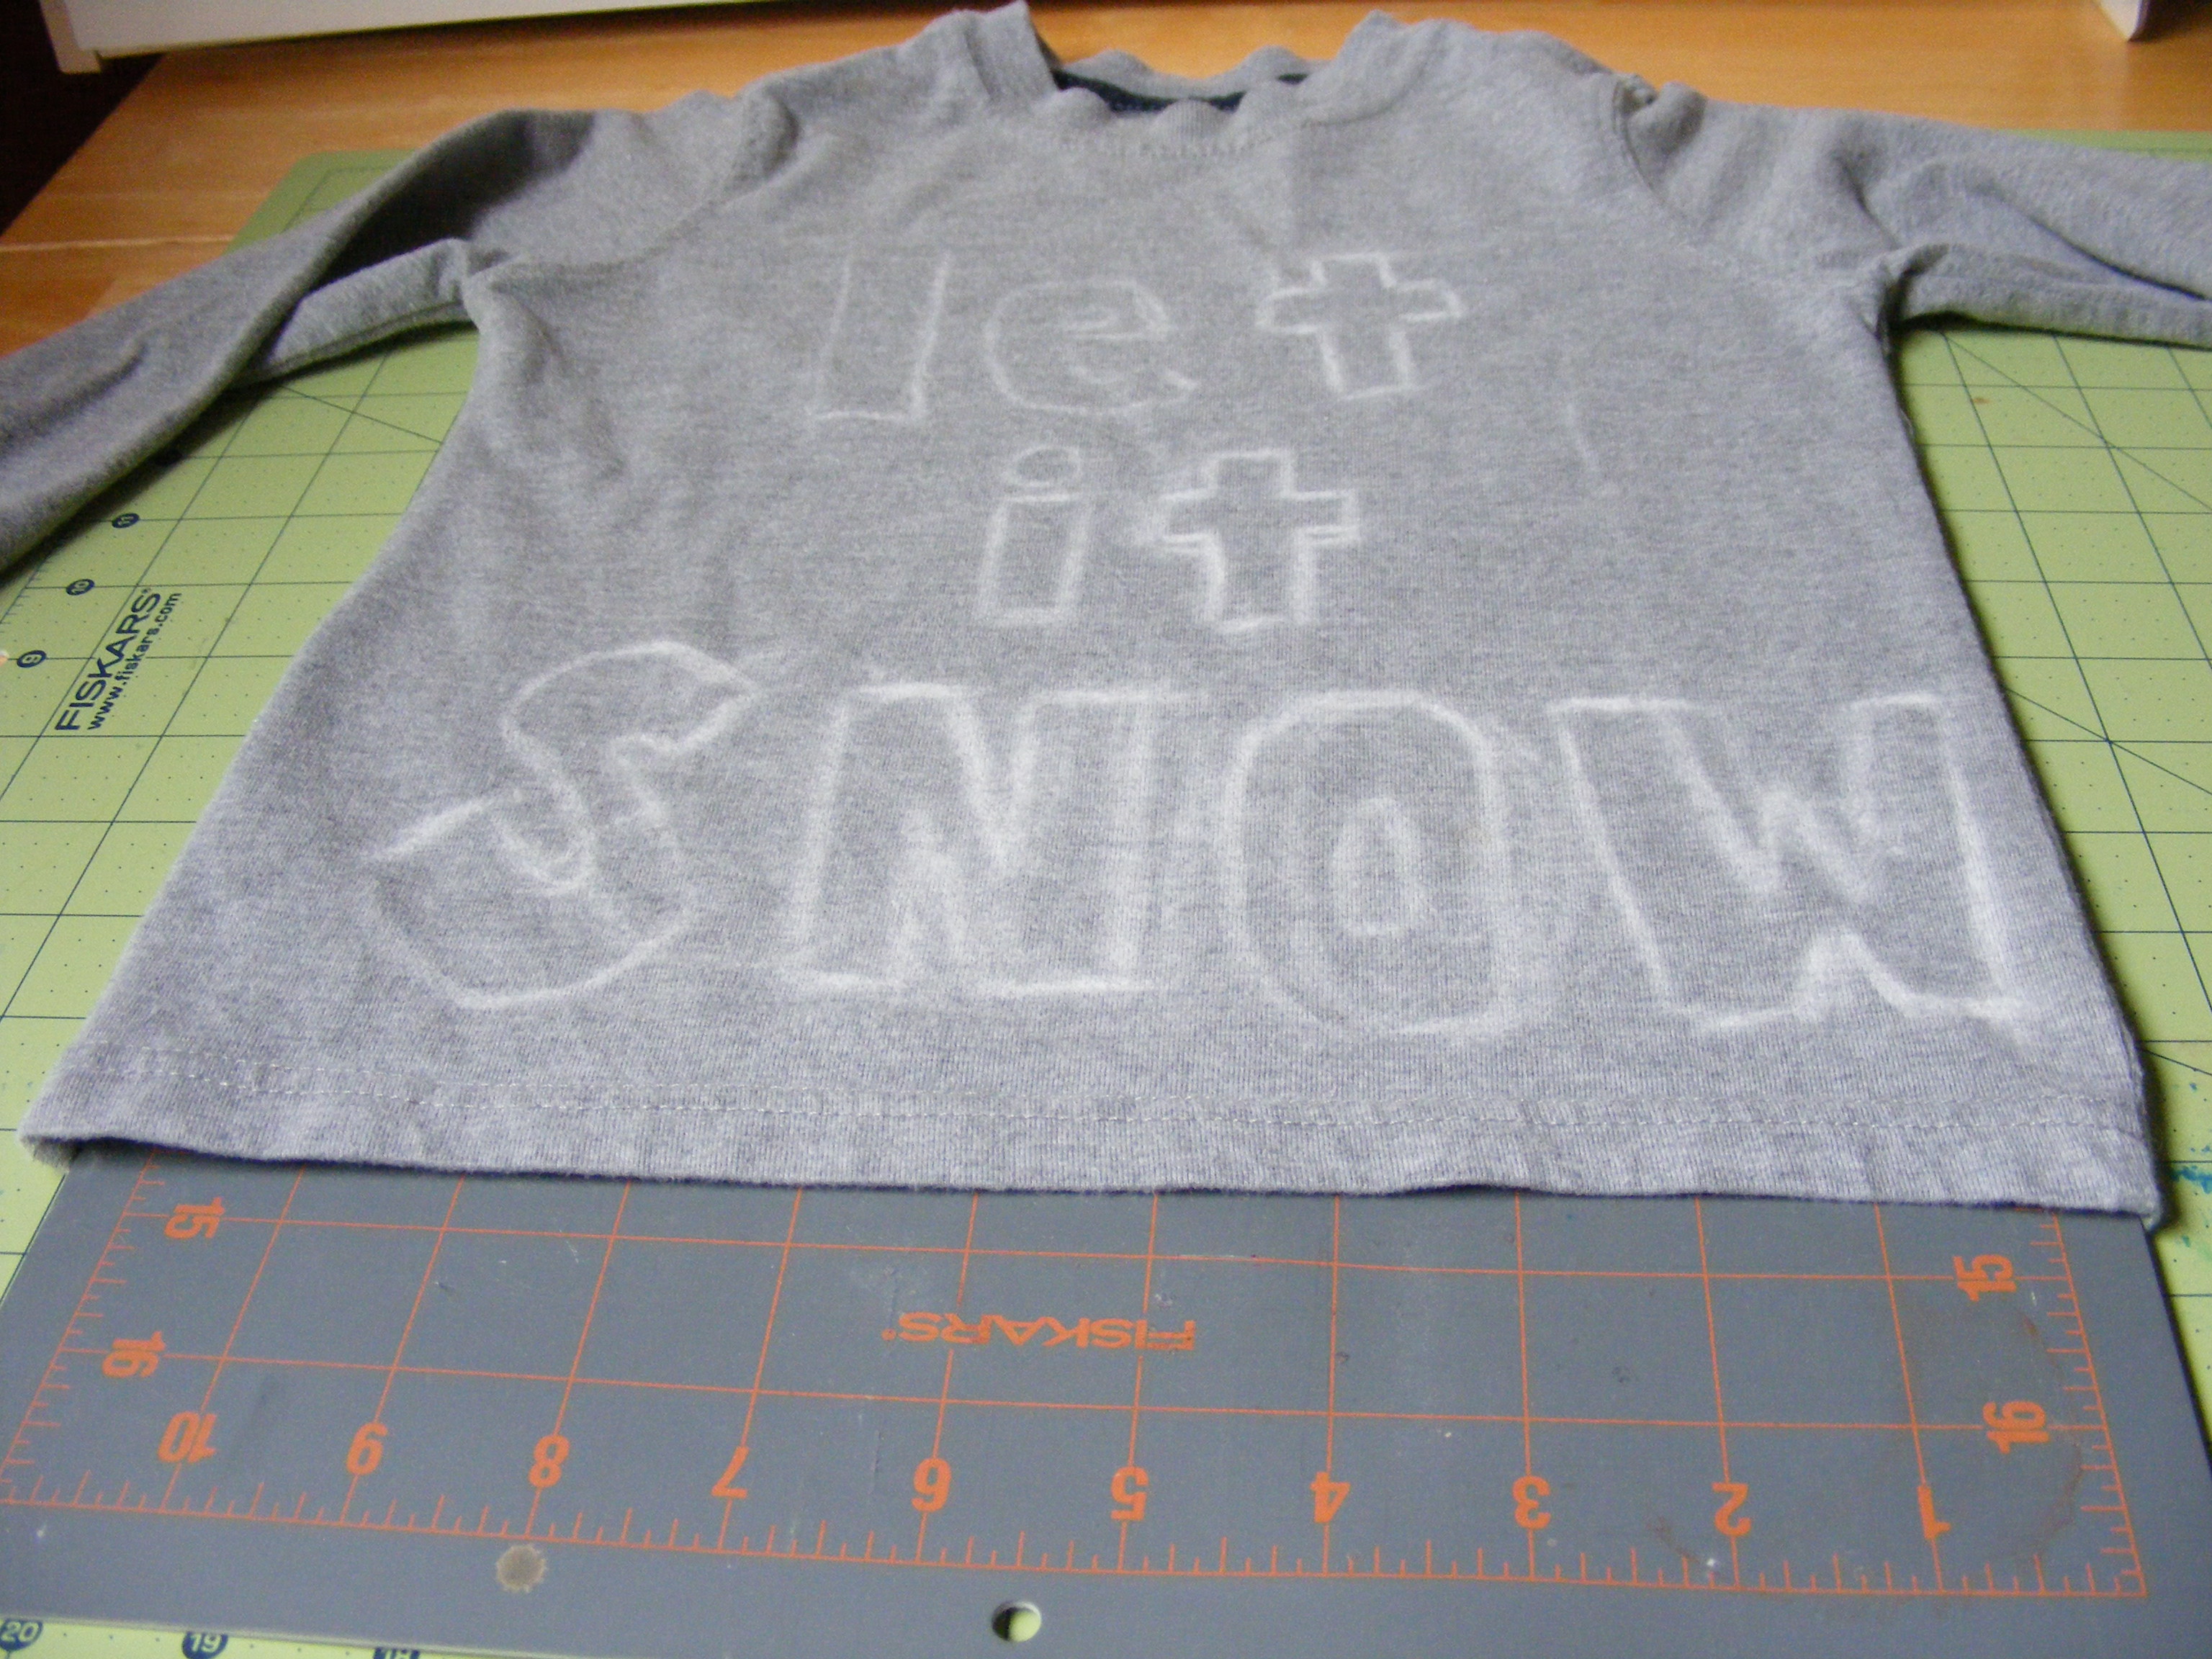 3. To protect the back of your shirt, place a cutting mat or thick cardboard between your shirt’s two layers. If you plan to use a rotary cutter, be sure to use a cutting mat.
 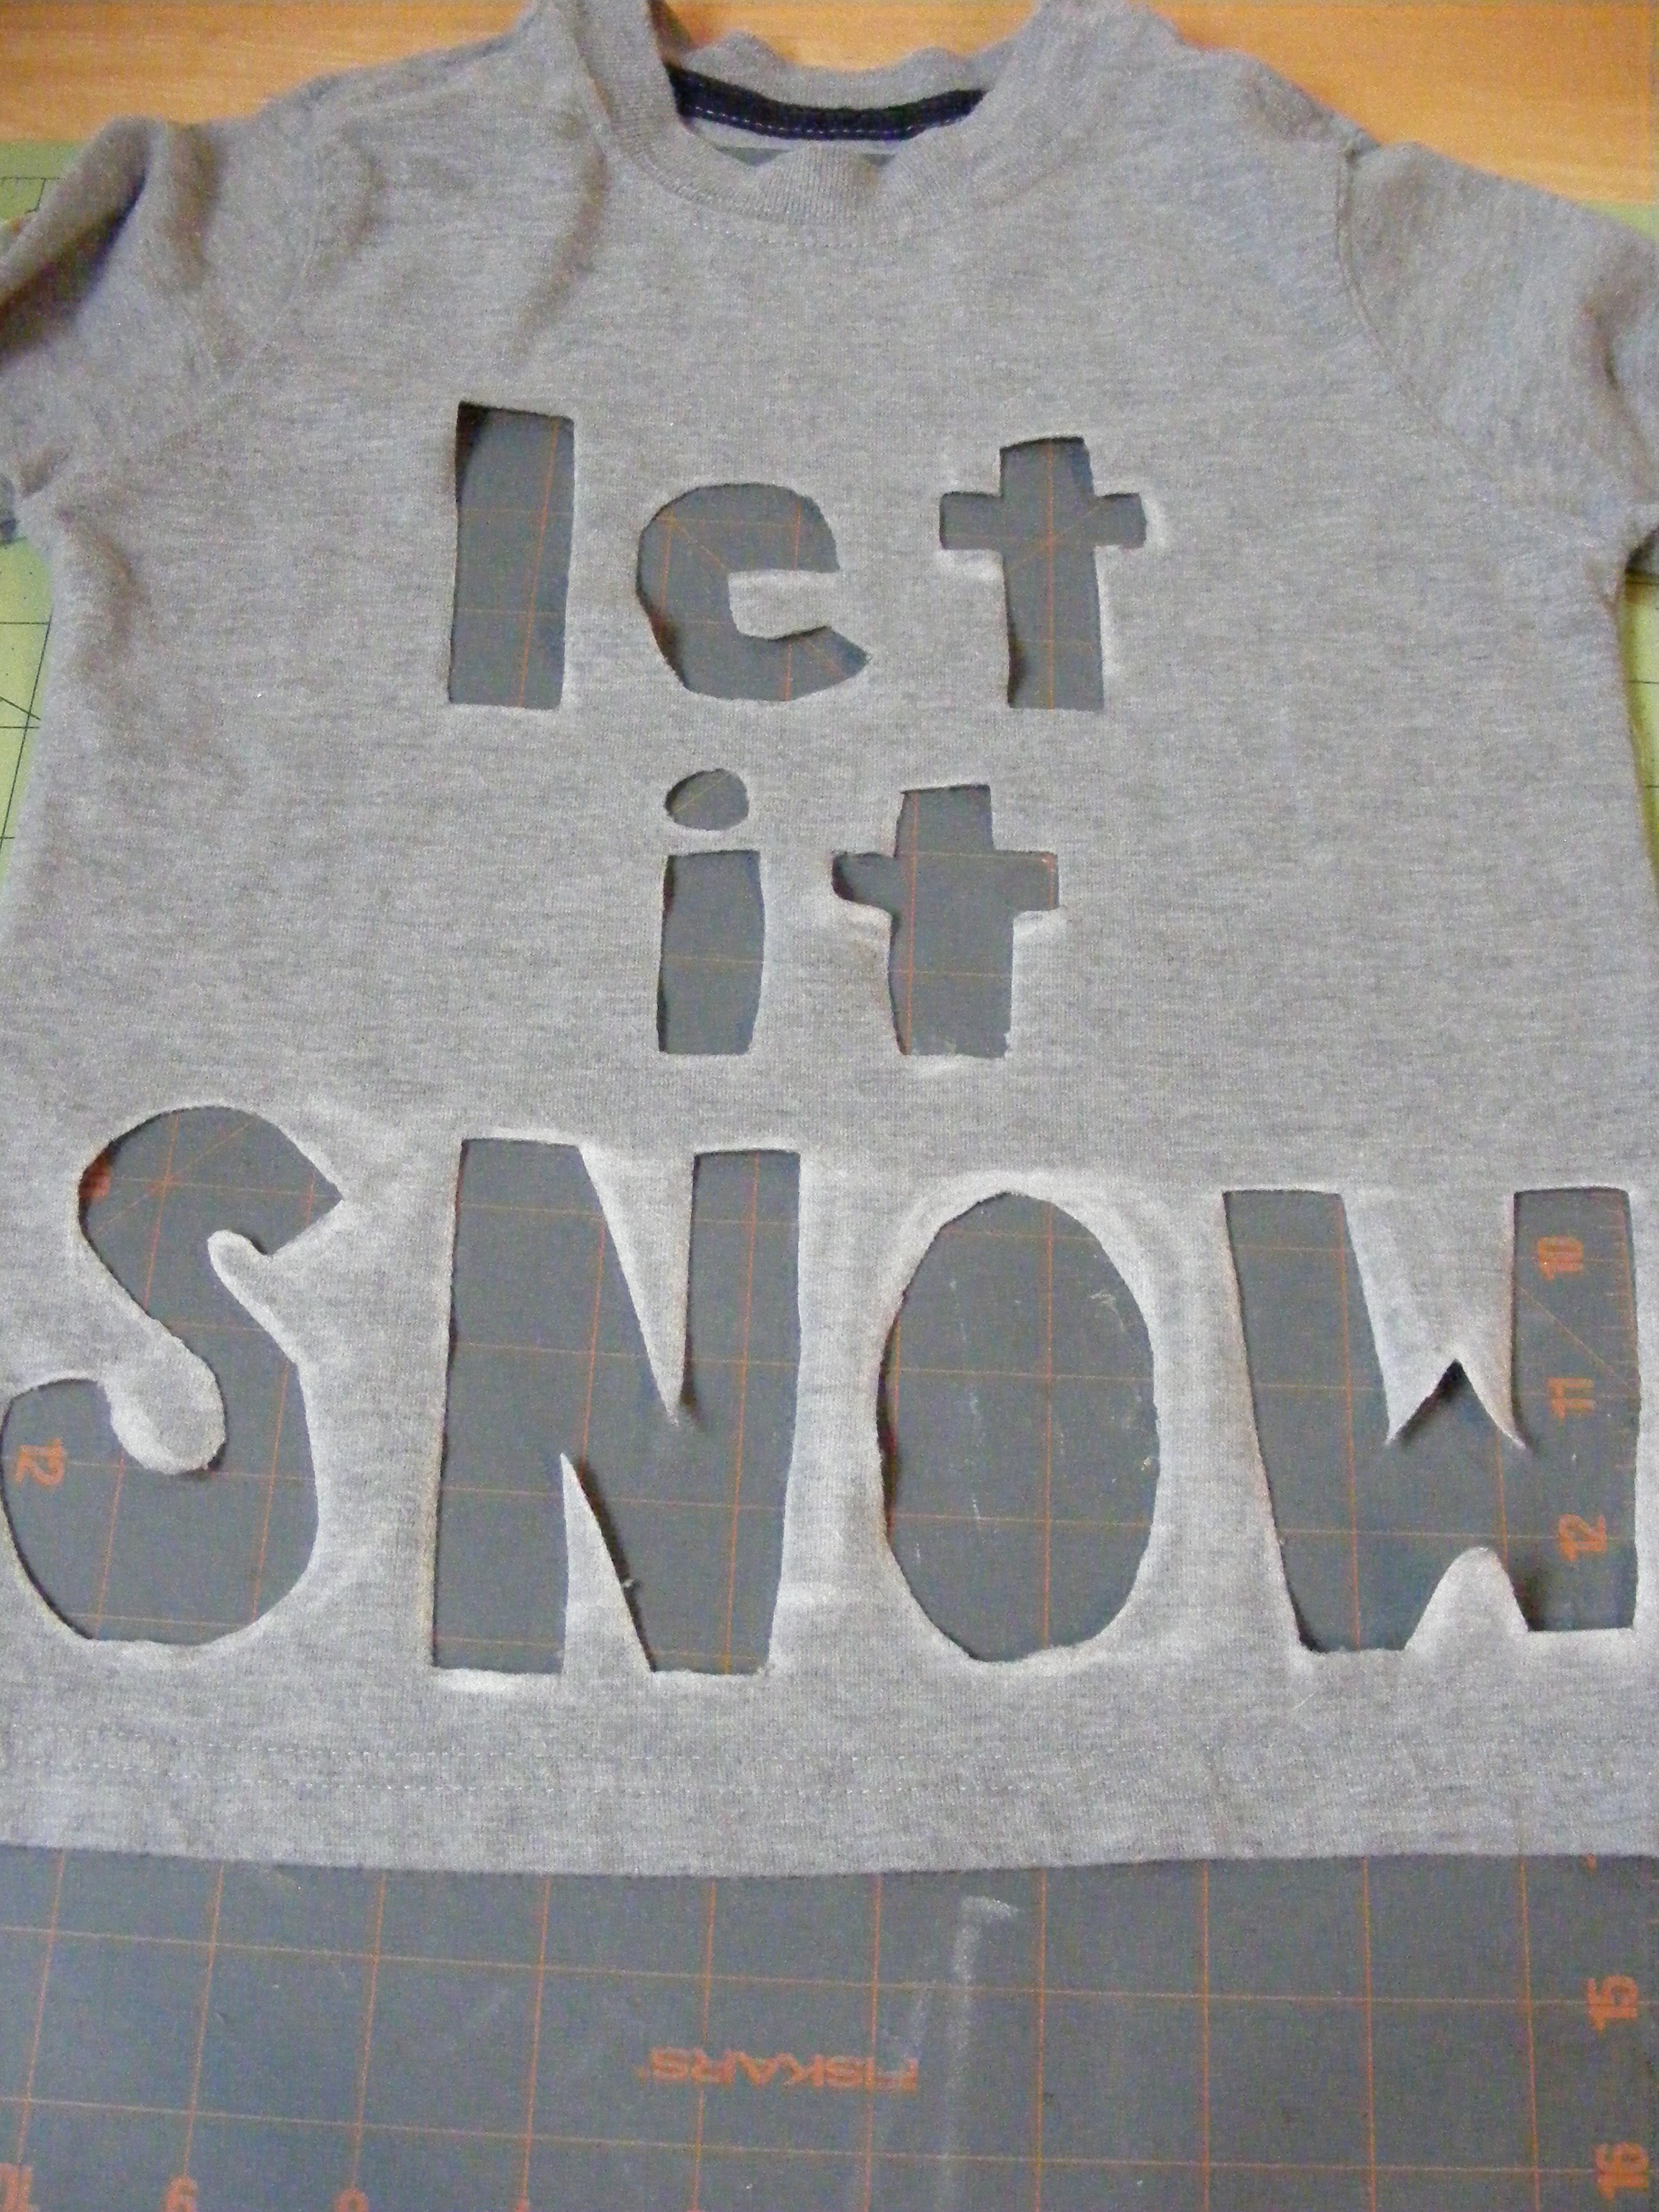 4. Using your scissors (or rotary cutter if your design is fairly simple), carefully cut out your letters/shapes. Go slowly – remember, once it’s cut, it’s cut! You won’t need the scraps you cut away, so don’t worry if you cut into the middle of those.
 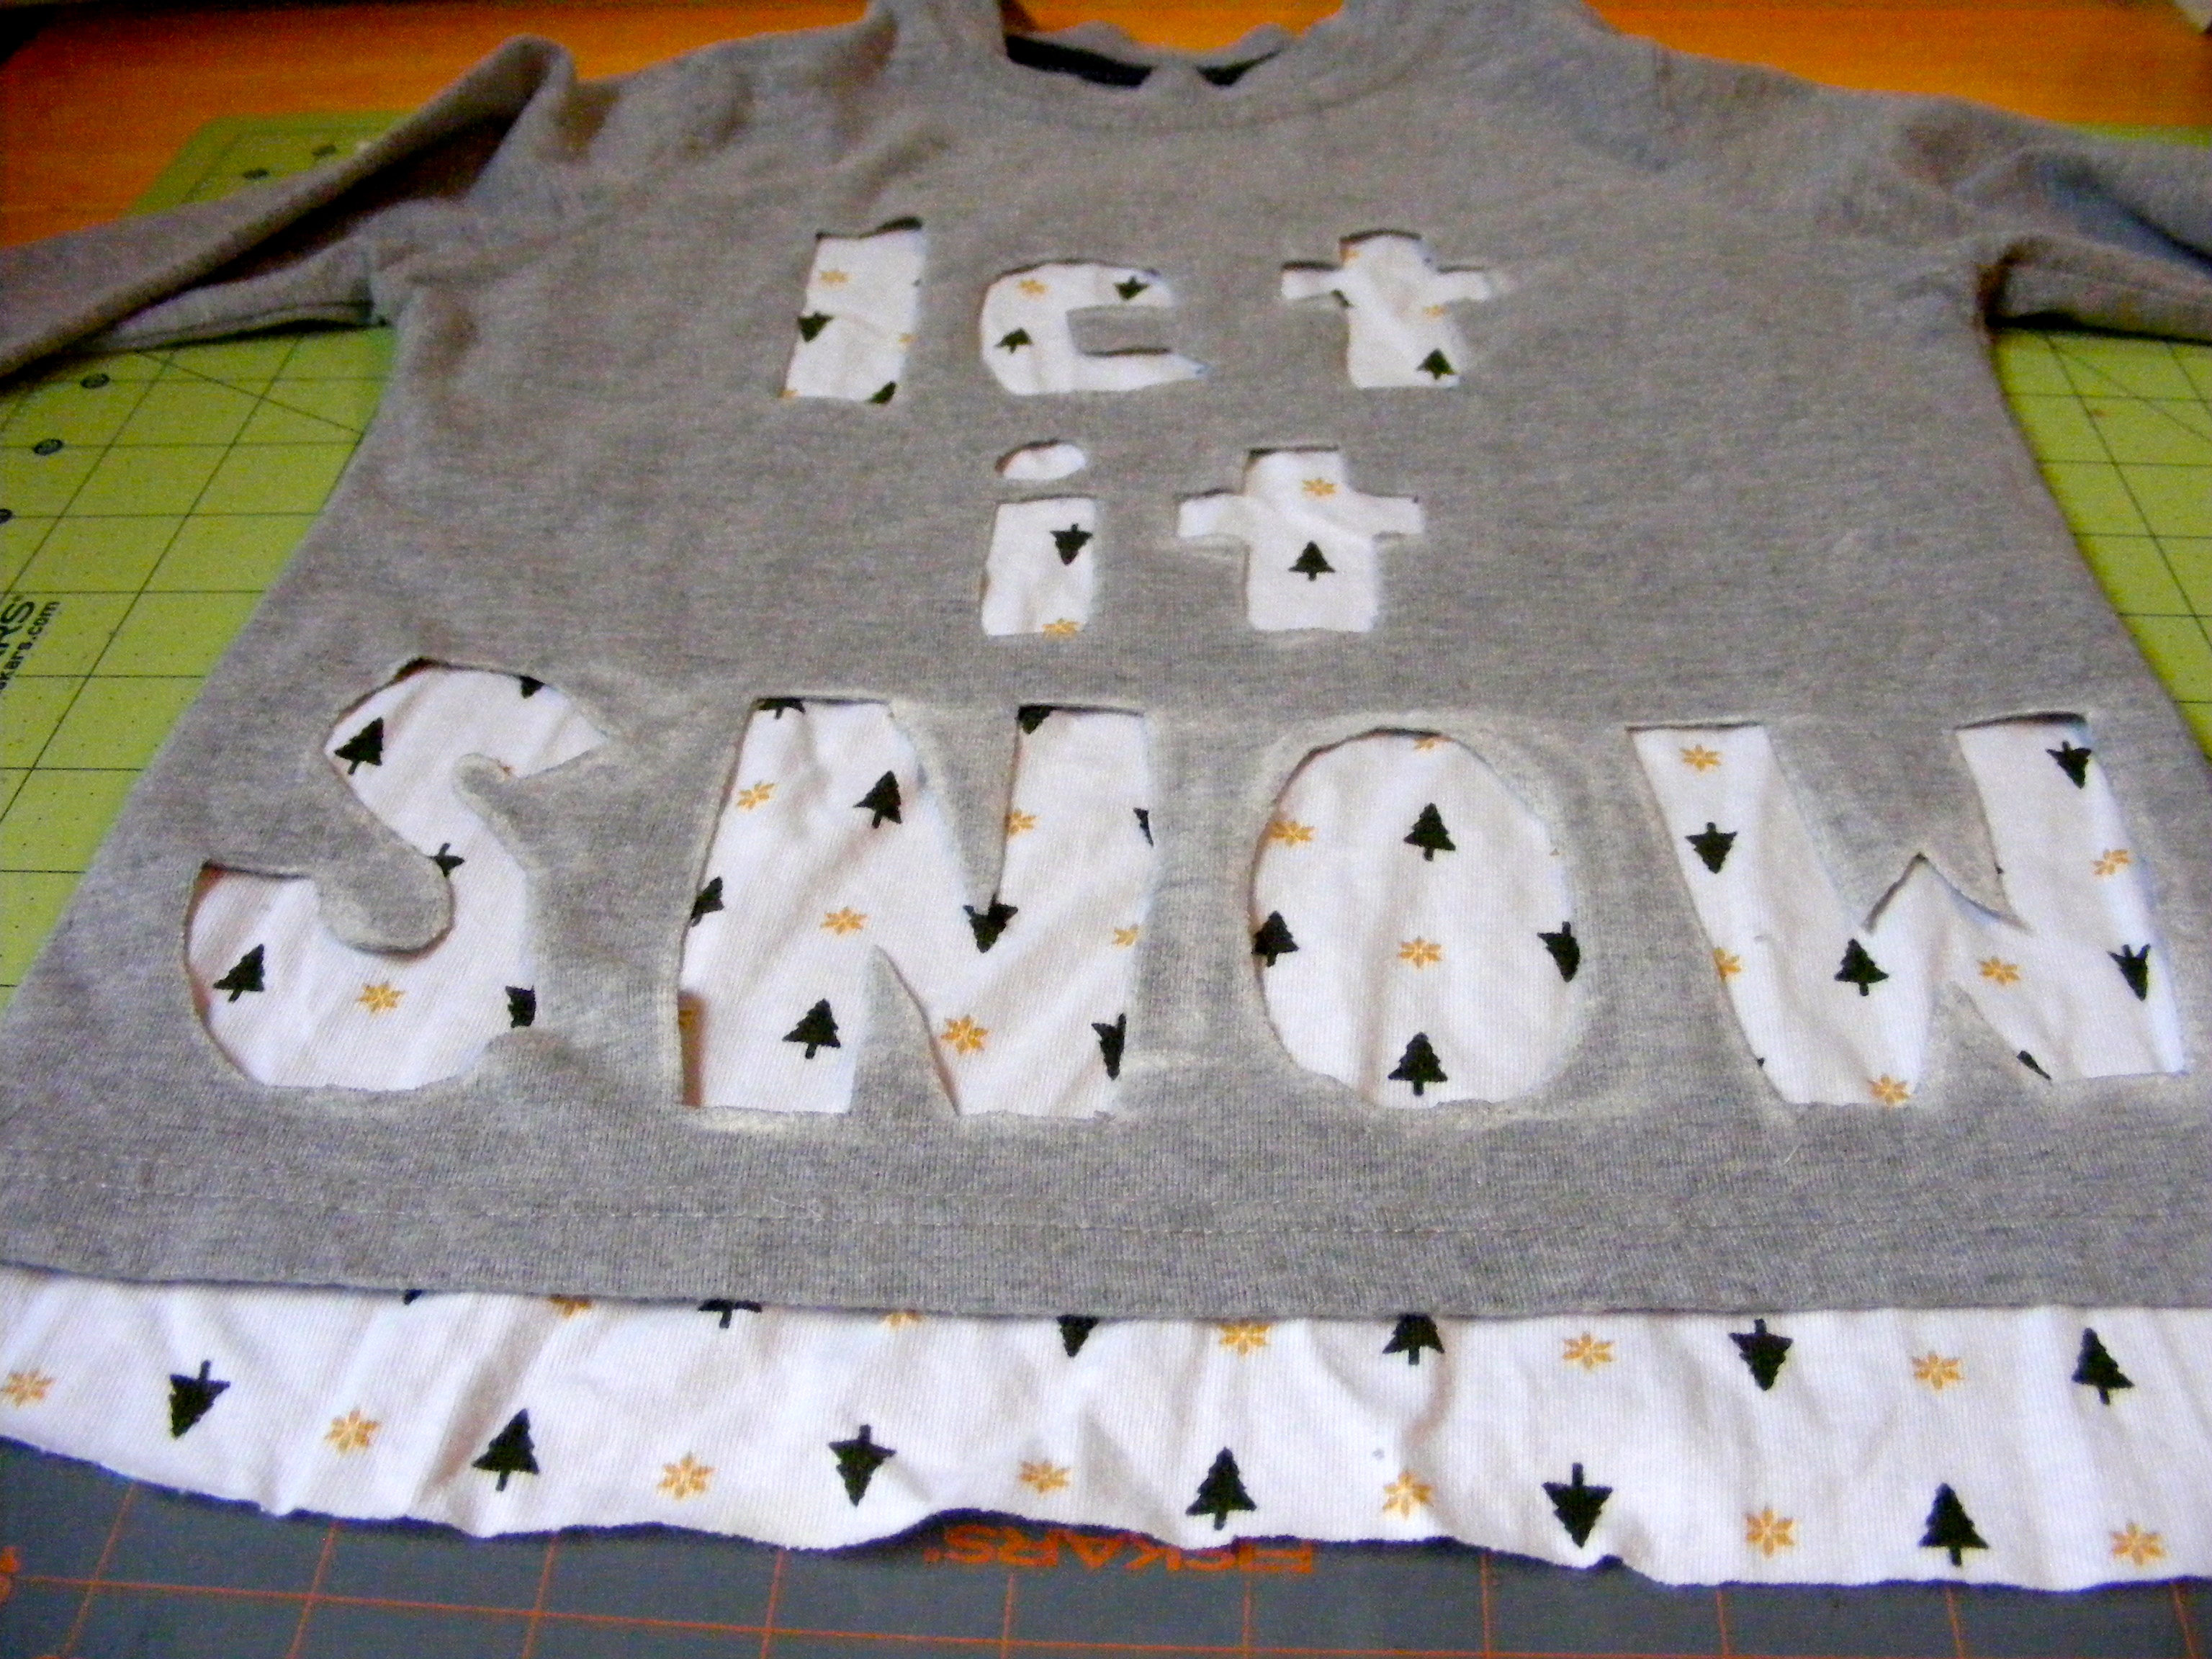 5. Place your fabric inside your shirt. I recommend leaving the cutting mat in place, to assist with the next step. Flatten the fabric and make sure your design is laying the way you want it to look.
 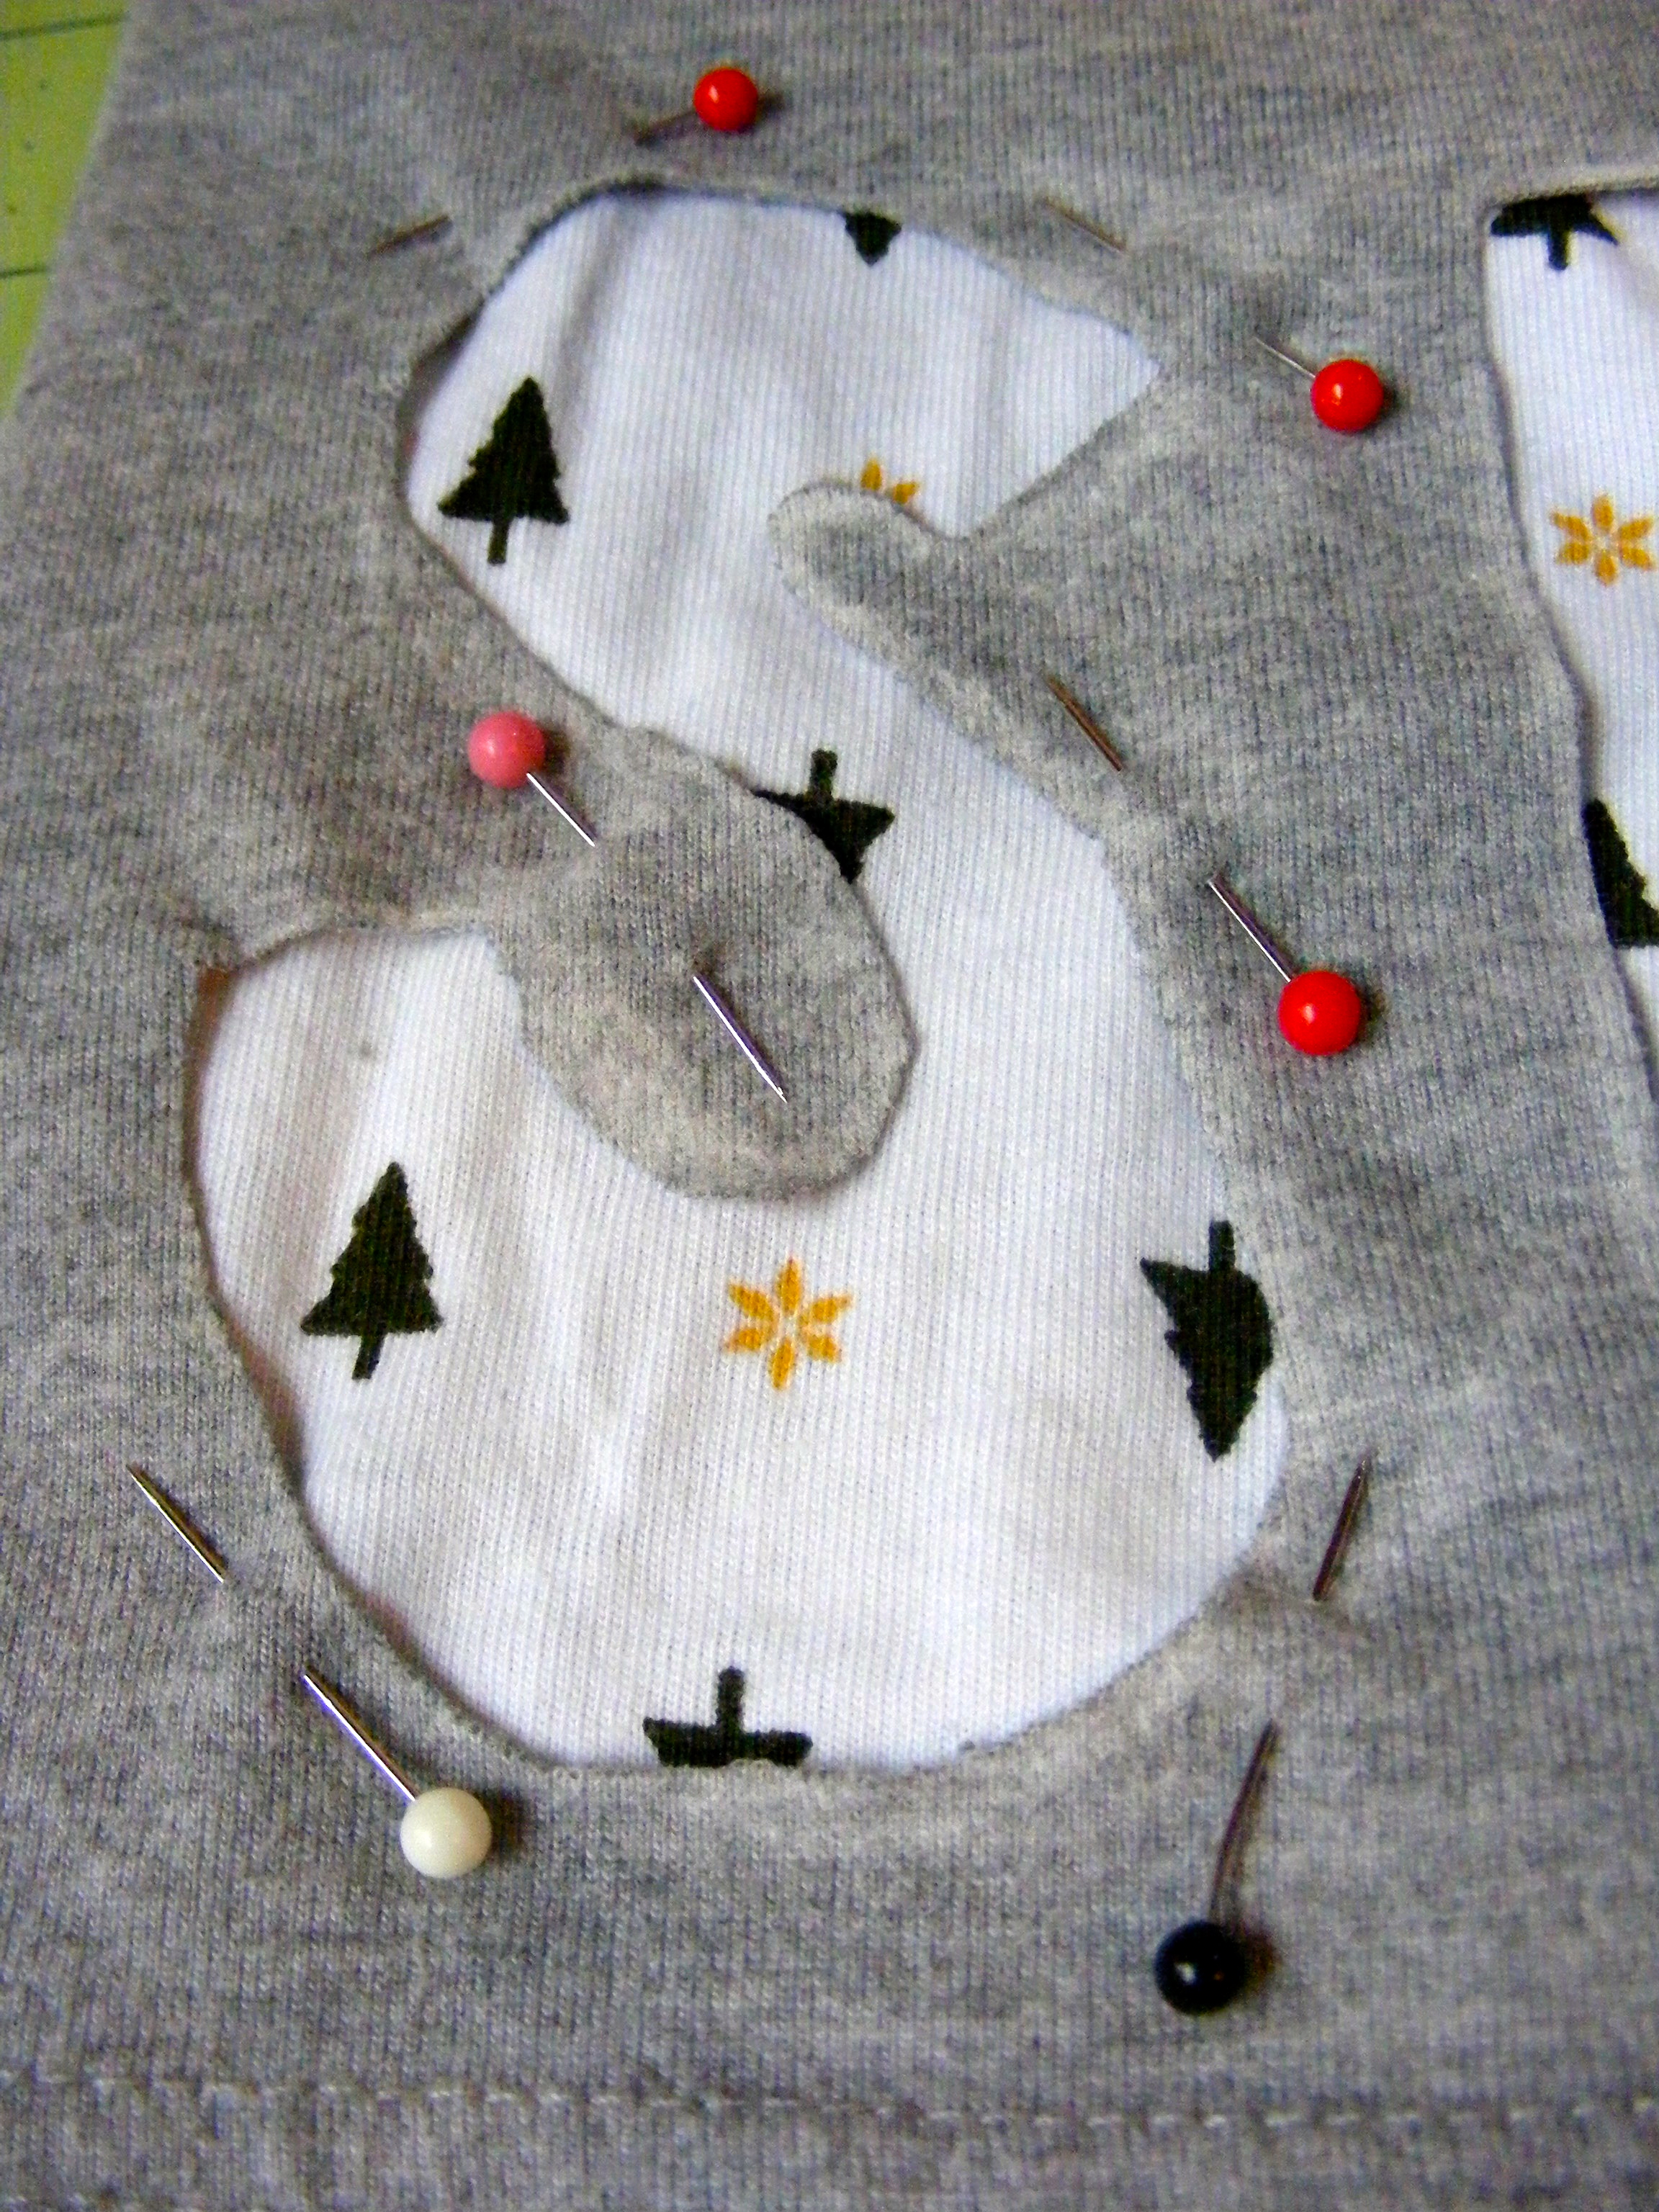 6. Pin around your design. The cutting mat helps to make sure you don’t pin through the back of the shirt. As you pin, try not to bunch your fabric – keep it as flat as possible.
 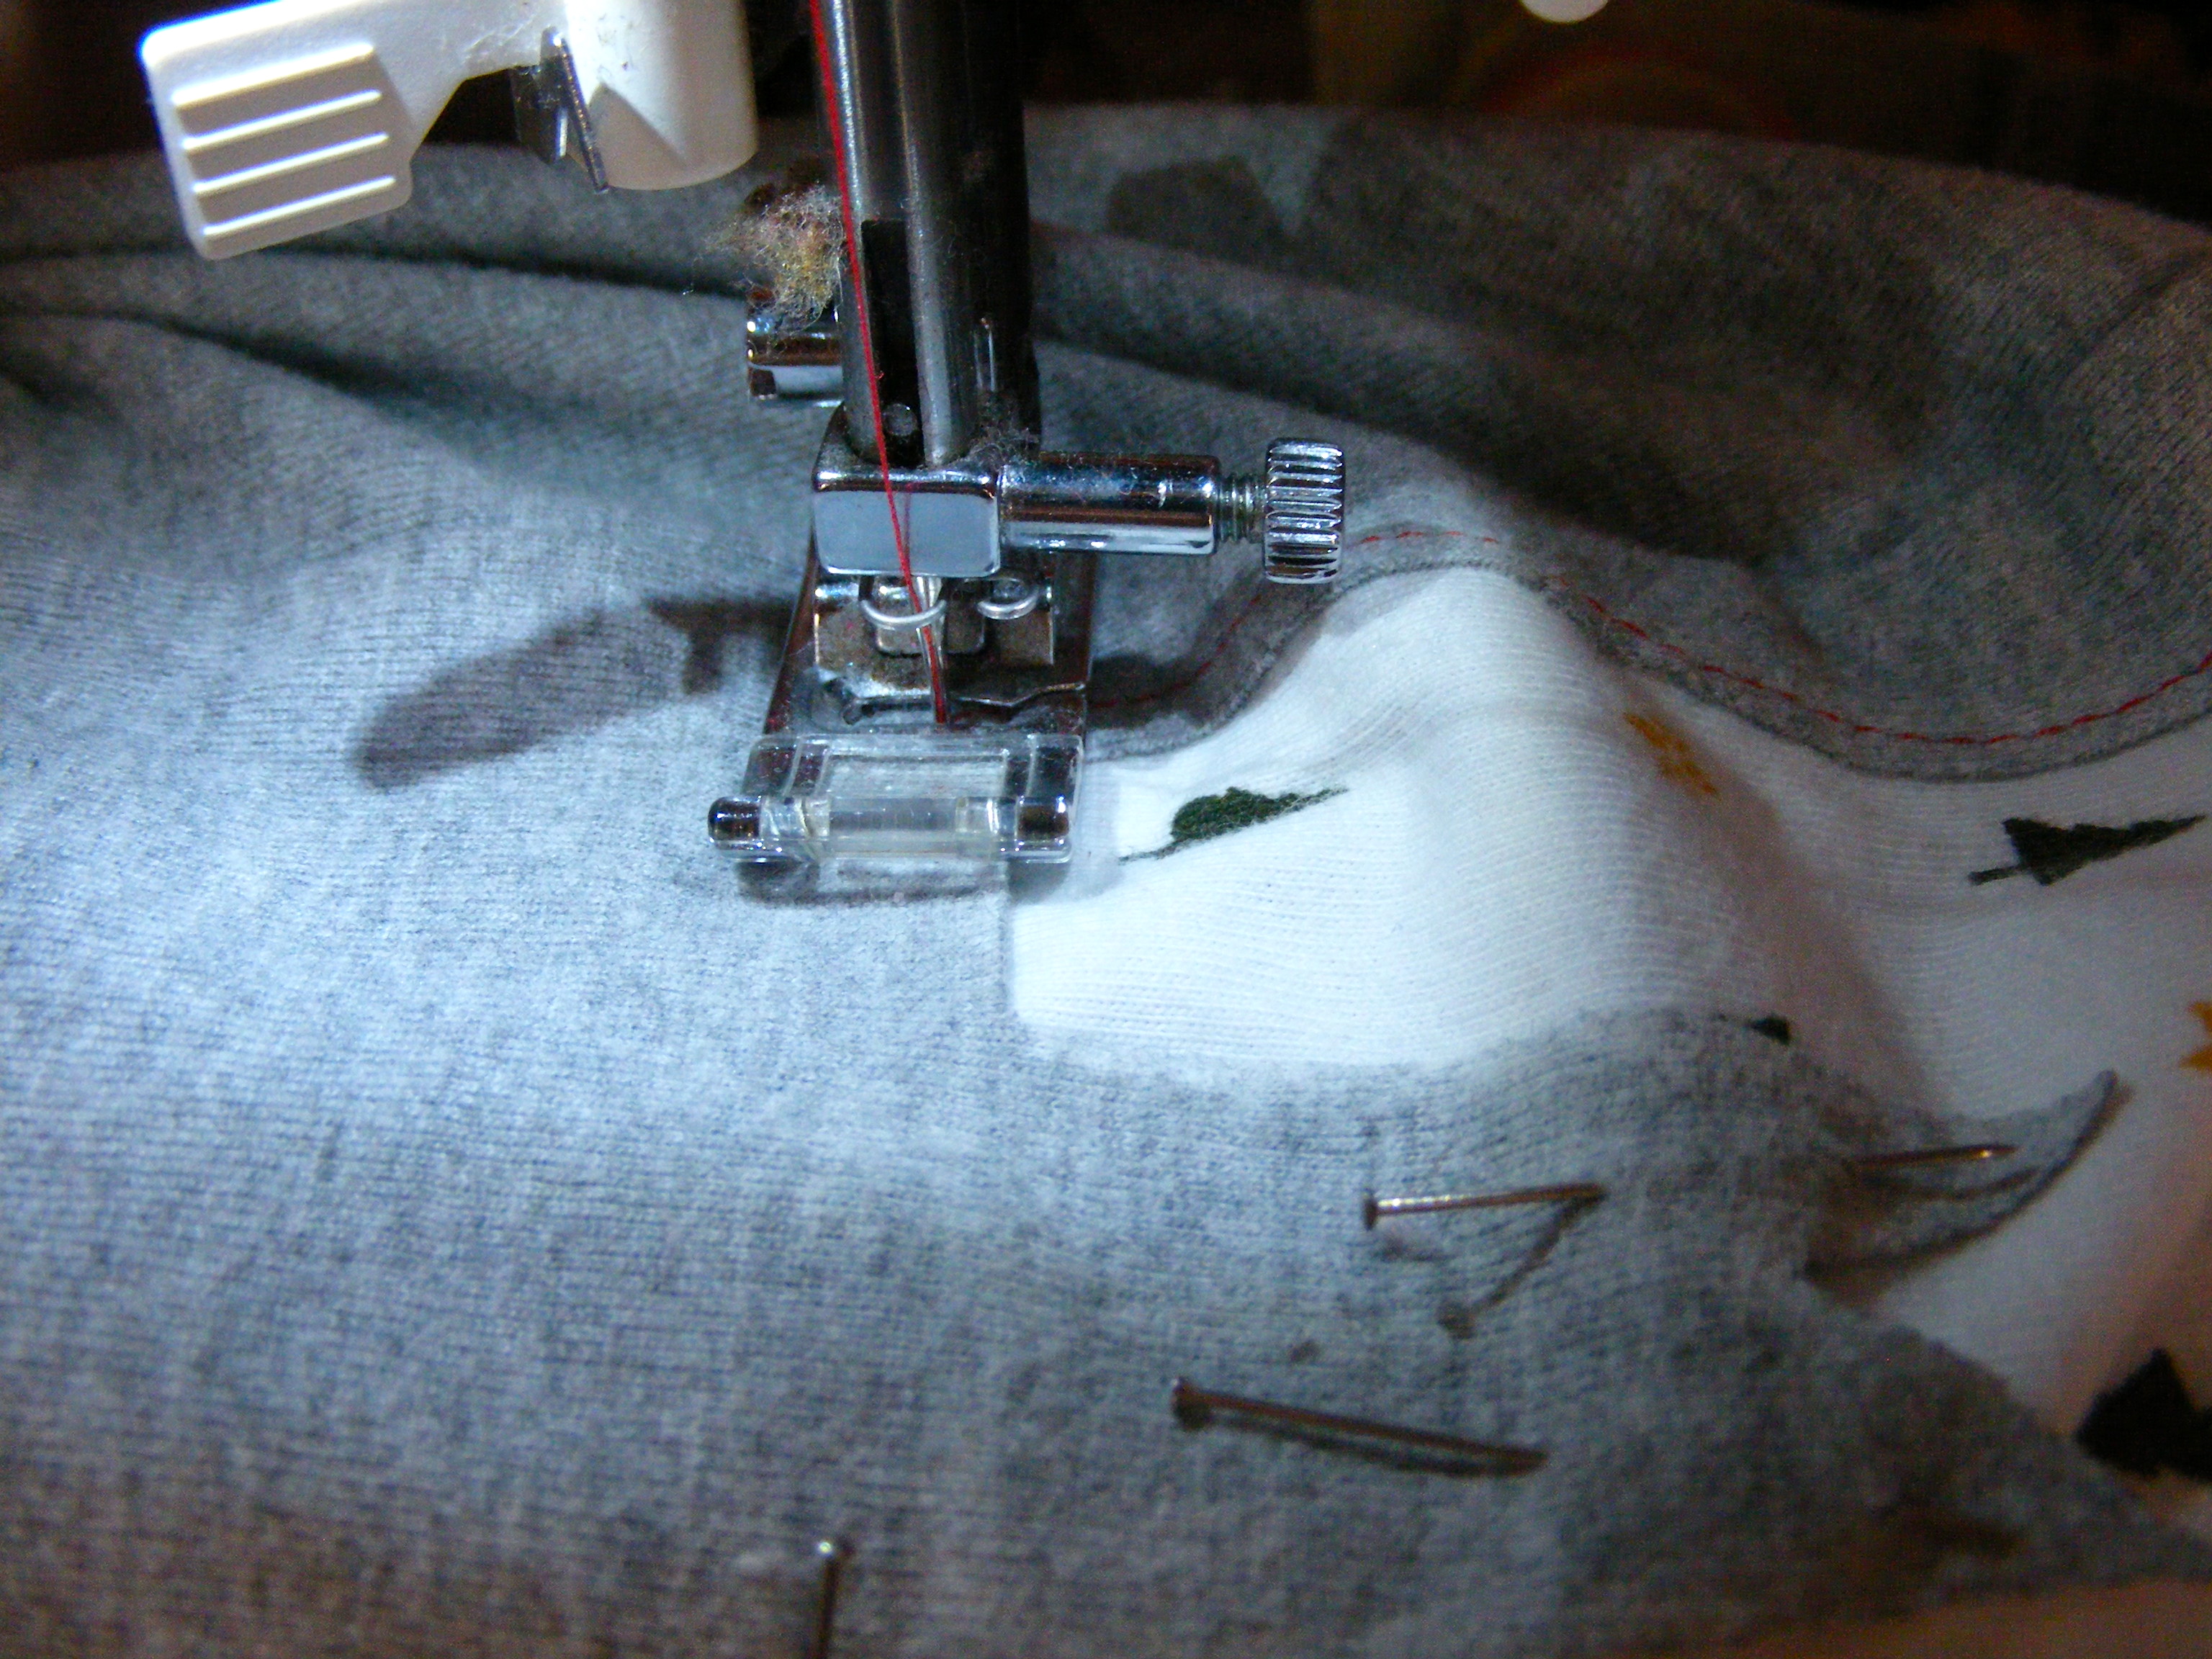 7. Carefully sew around your letters/shapes. You can use a thread that matches your shirt (this is a good choice if you are newer to sewing and don’t want your mistakes to show!), or you can choose a contrasting color like I did. I still had mistakes that show, but it doesn’t bother me at all. 🙂 Make sure you go SLOWLY when you are sewing, especially if your design is not simple. Don’t be afraid to stop a lot. While you’re sewing, make sure the fabric stays in place beneath your cut out design. You don’t want it to shift and leave you with empty space!
 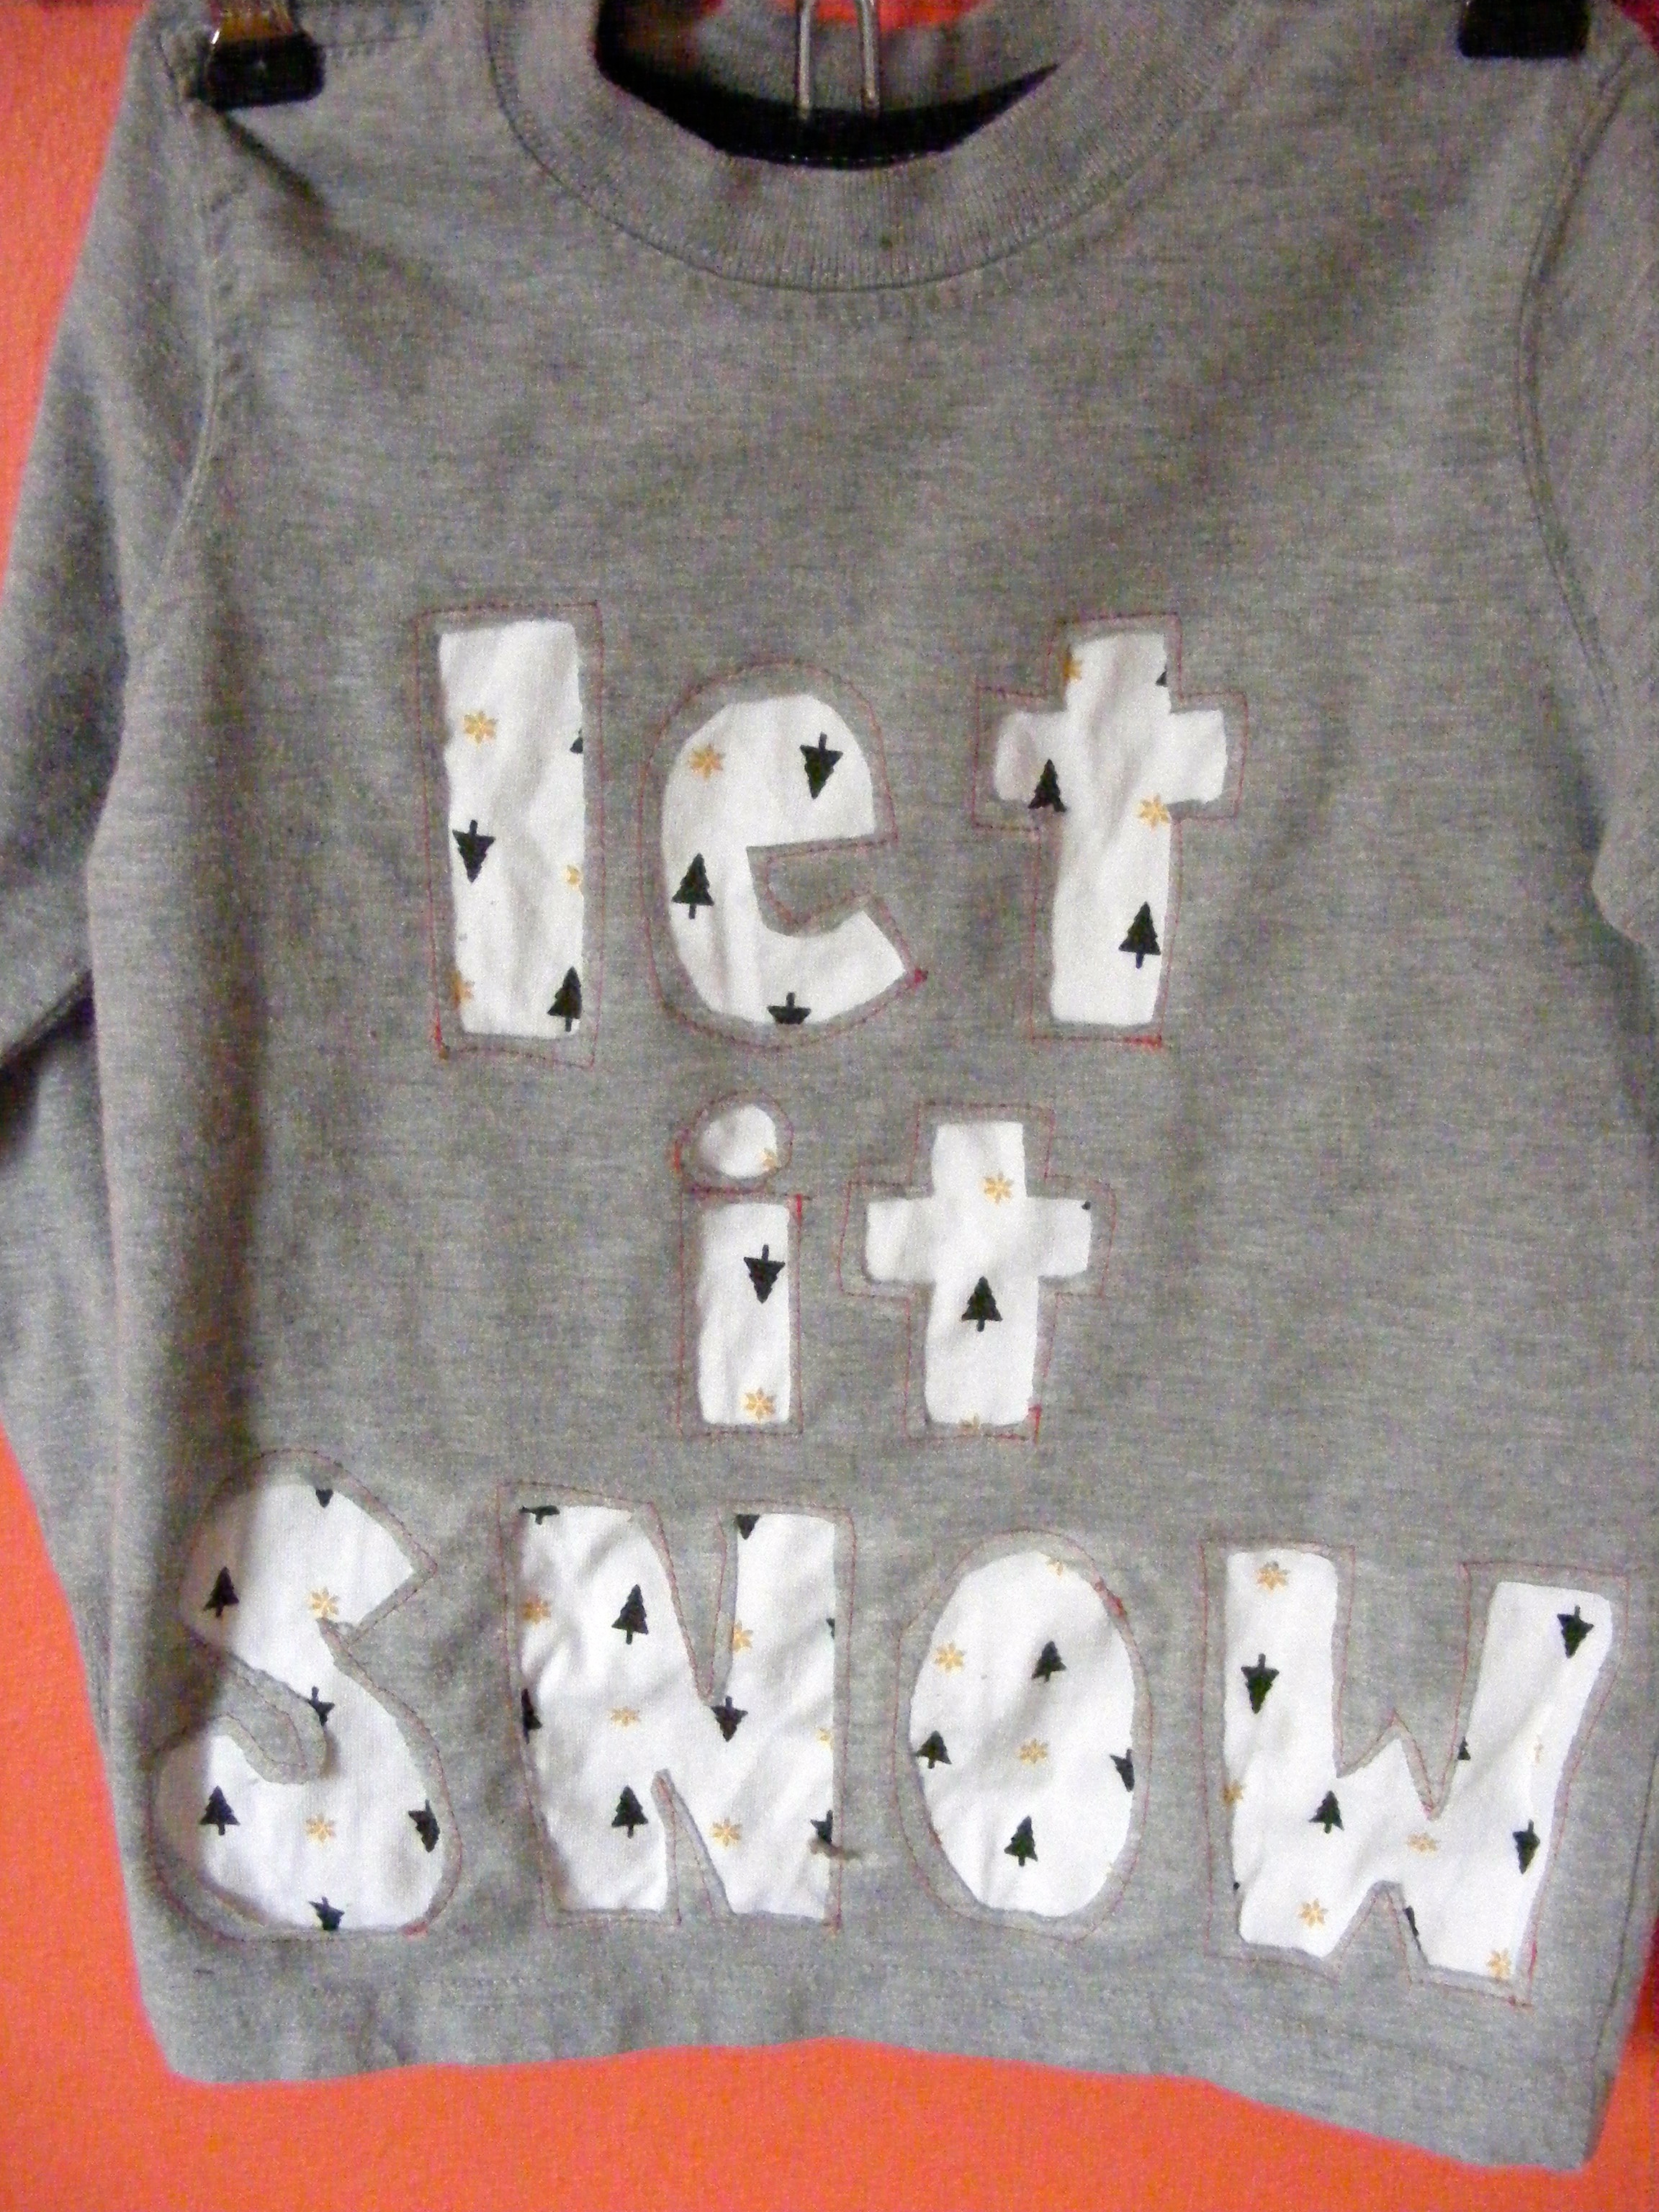 8. Carefully trim away the stray threads and any excess fabric you have behind your design, if you used a very large piece. But be VERY careful not to cut too close to where you sewed on the fabric. You don’t want it to come loose!
 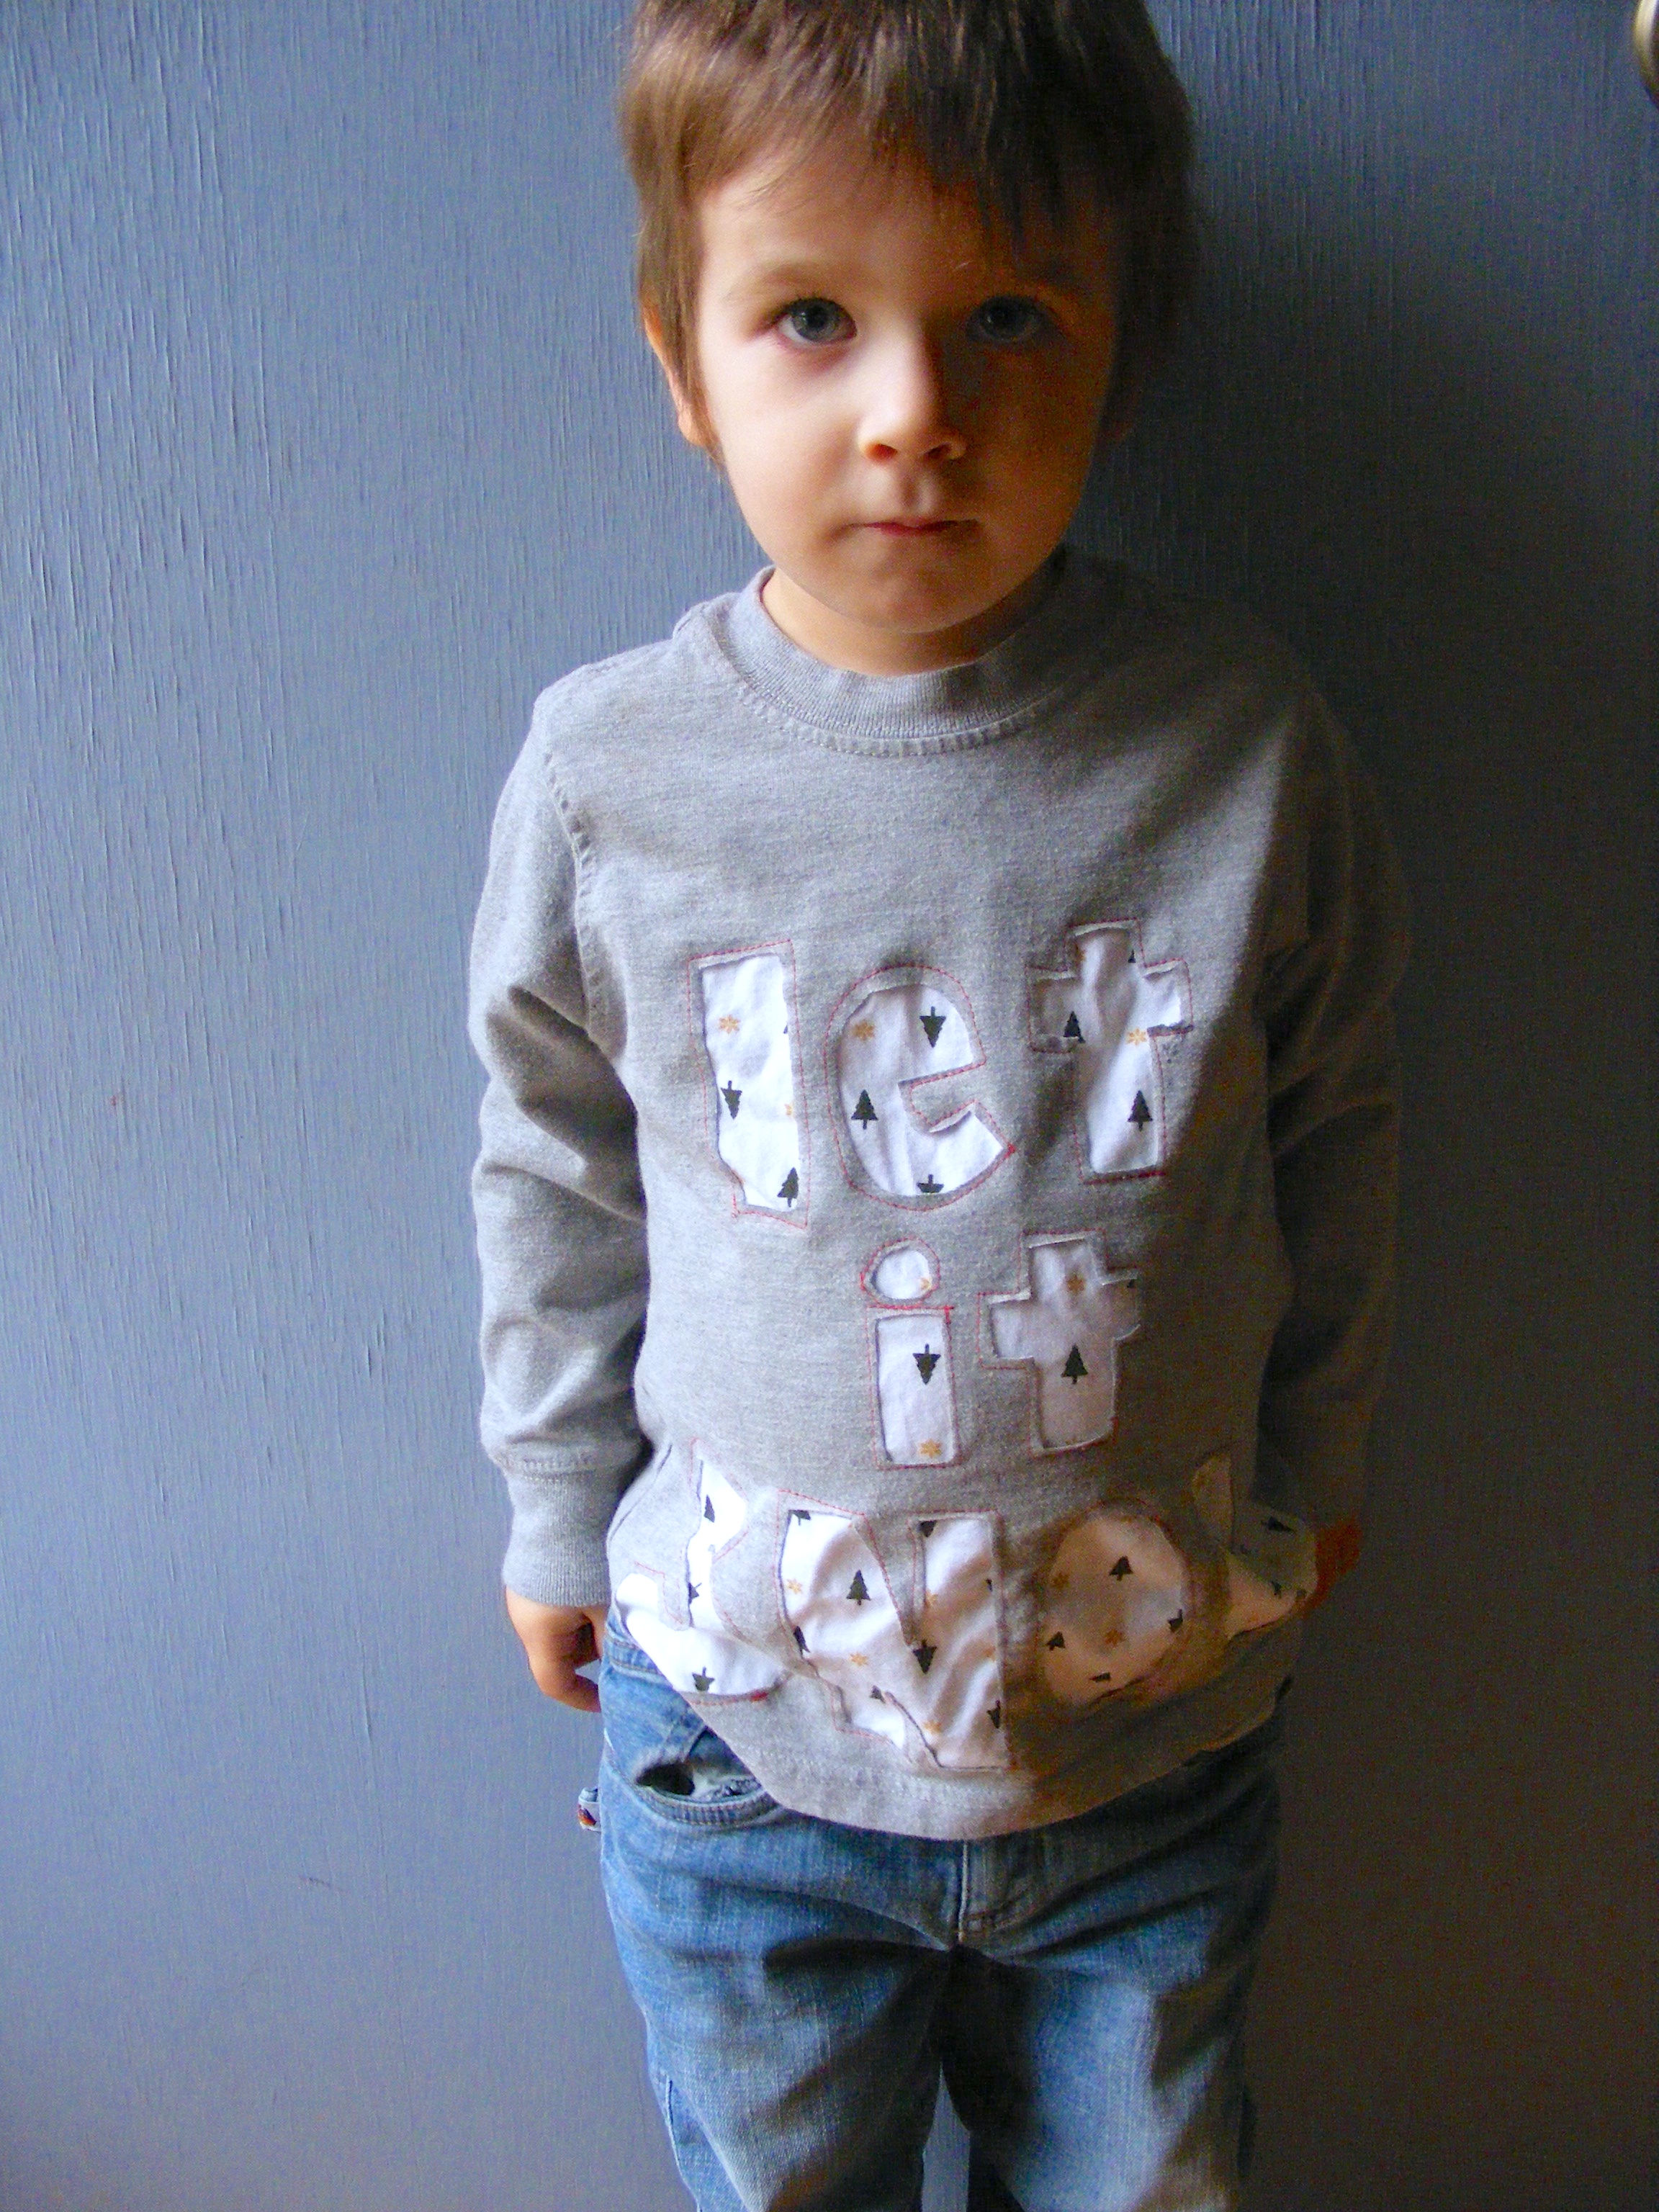 9. Find an adorable child to try it on and then wear it for the next 4 months that it will be snowing. (If you are in a state like Wisconsin, that is!)
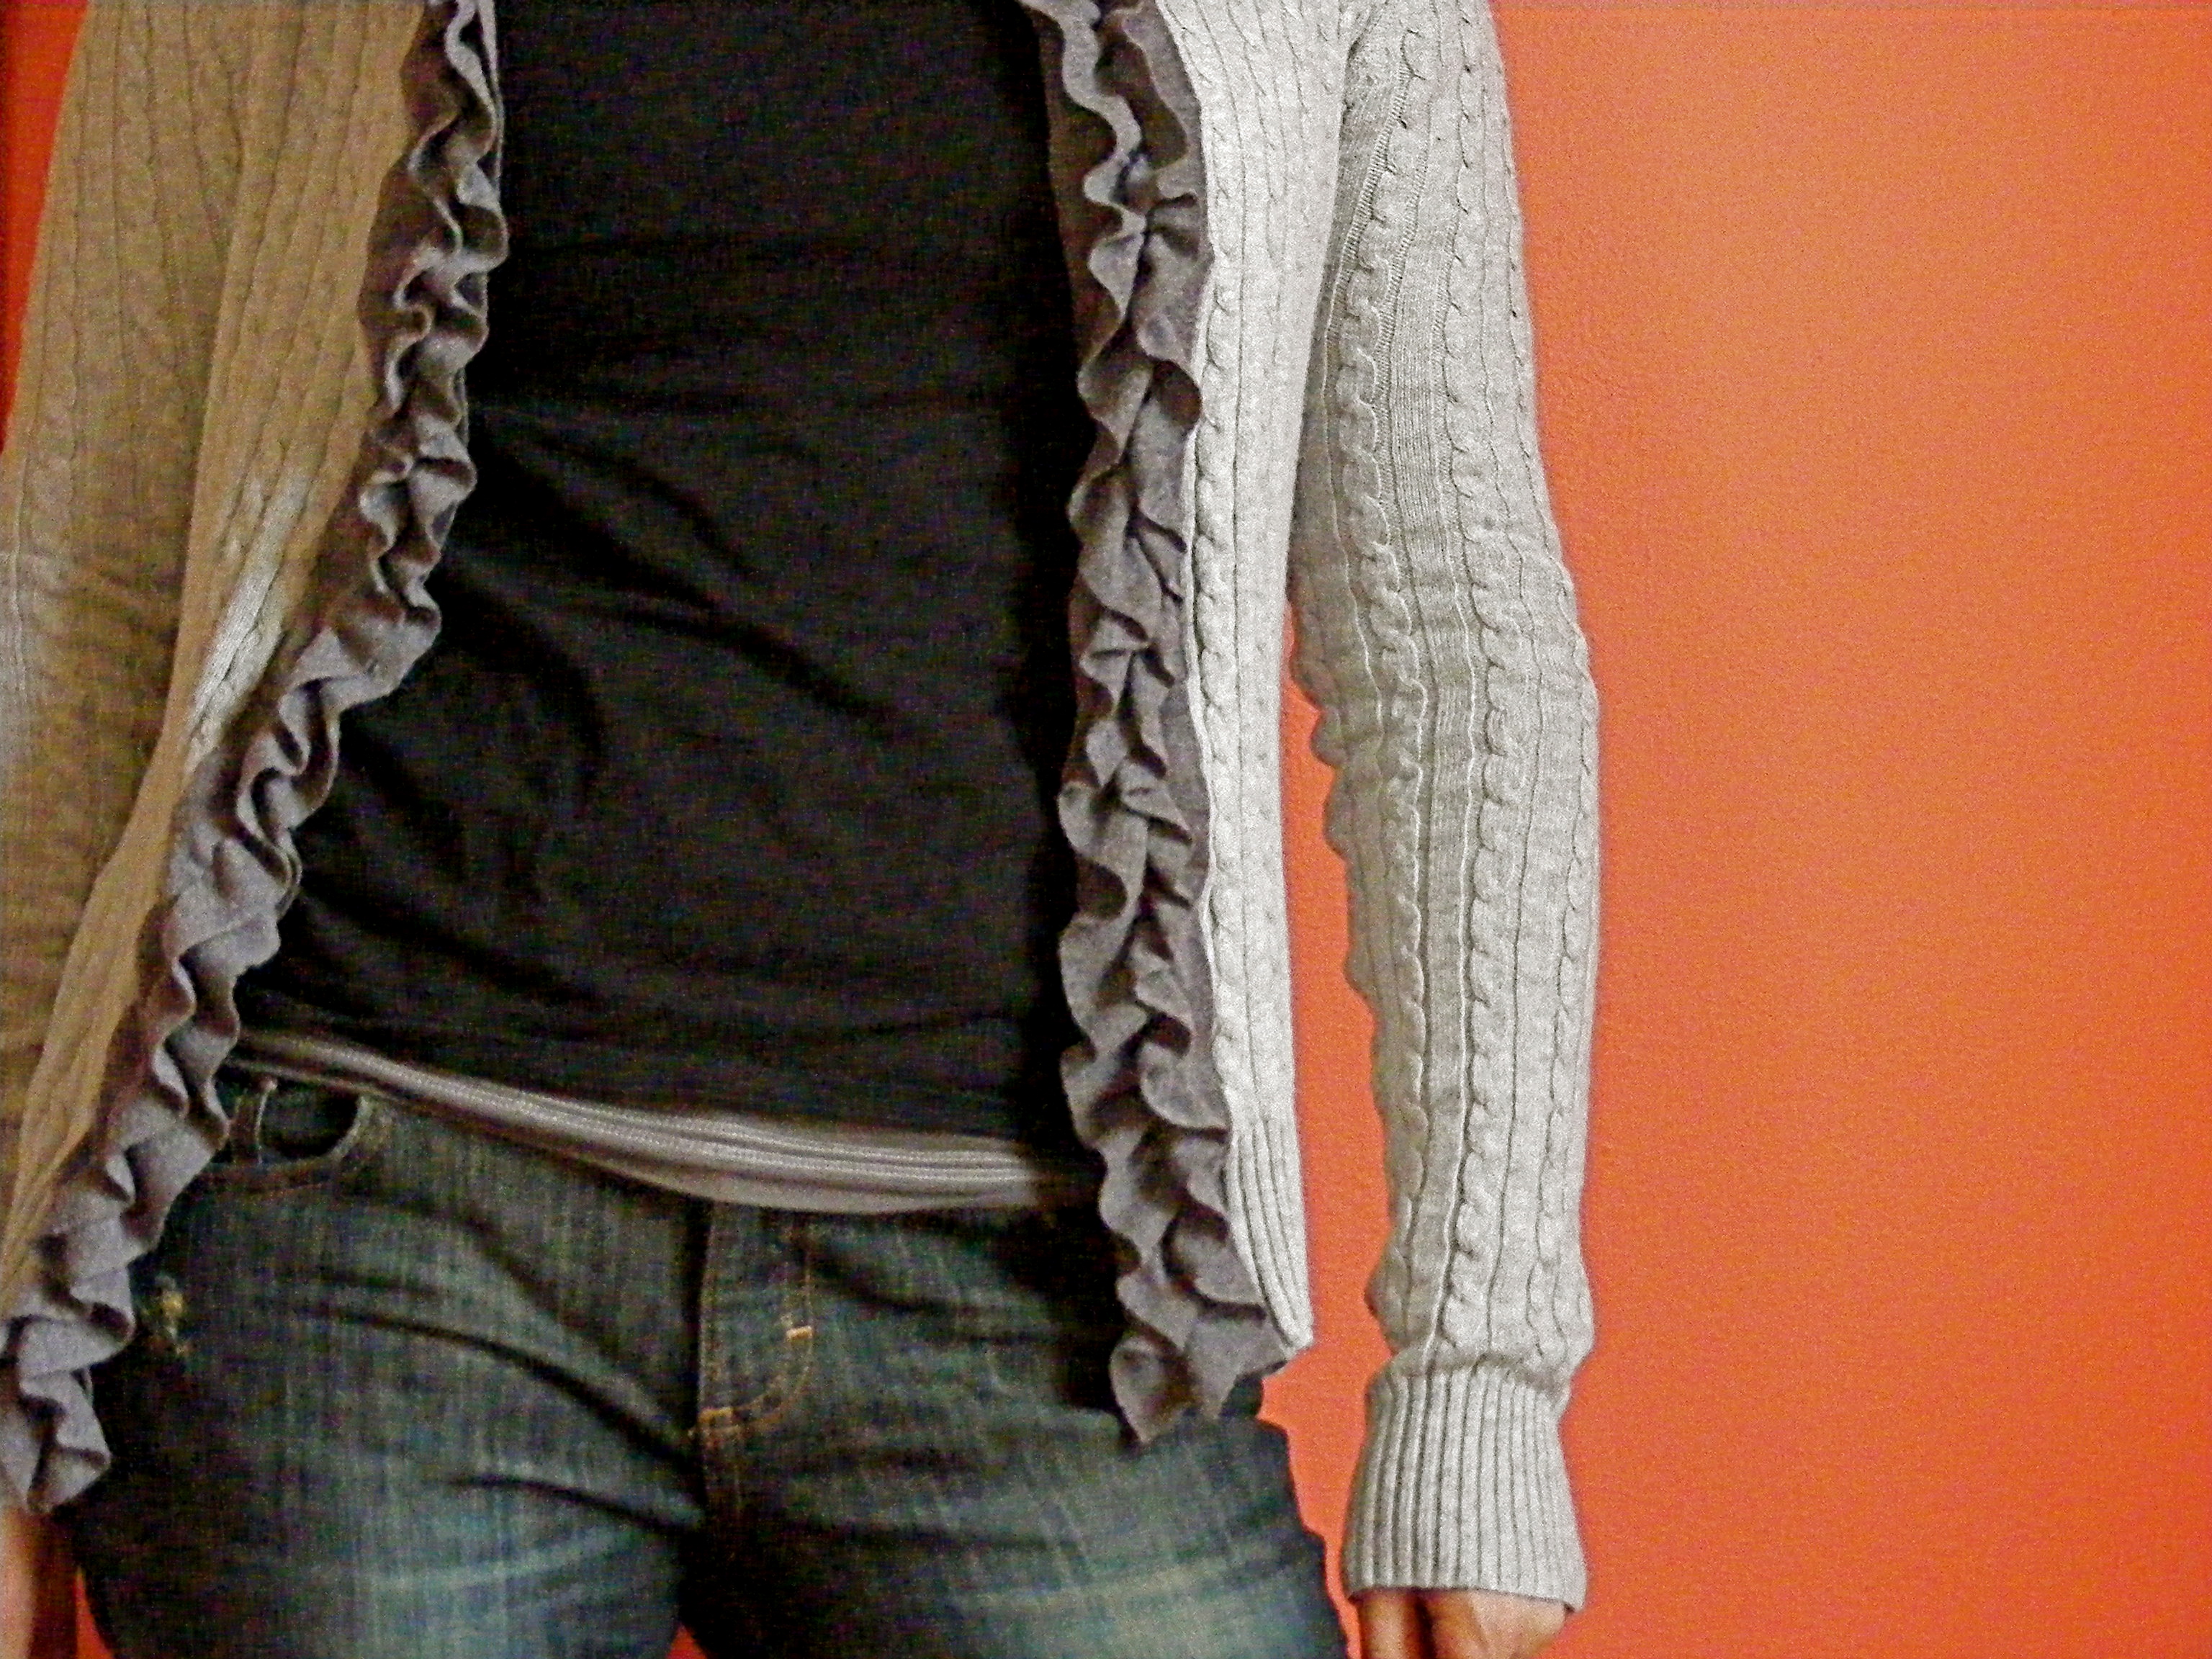
 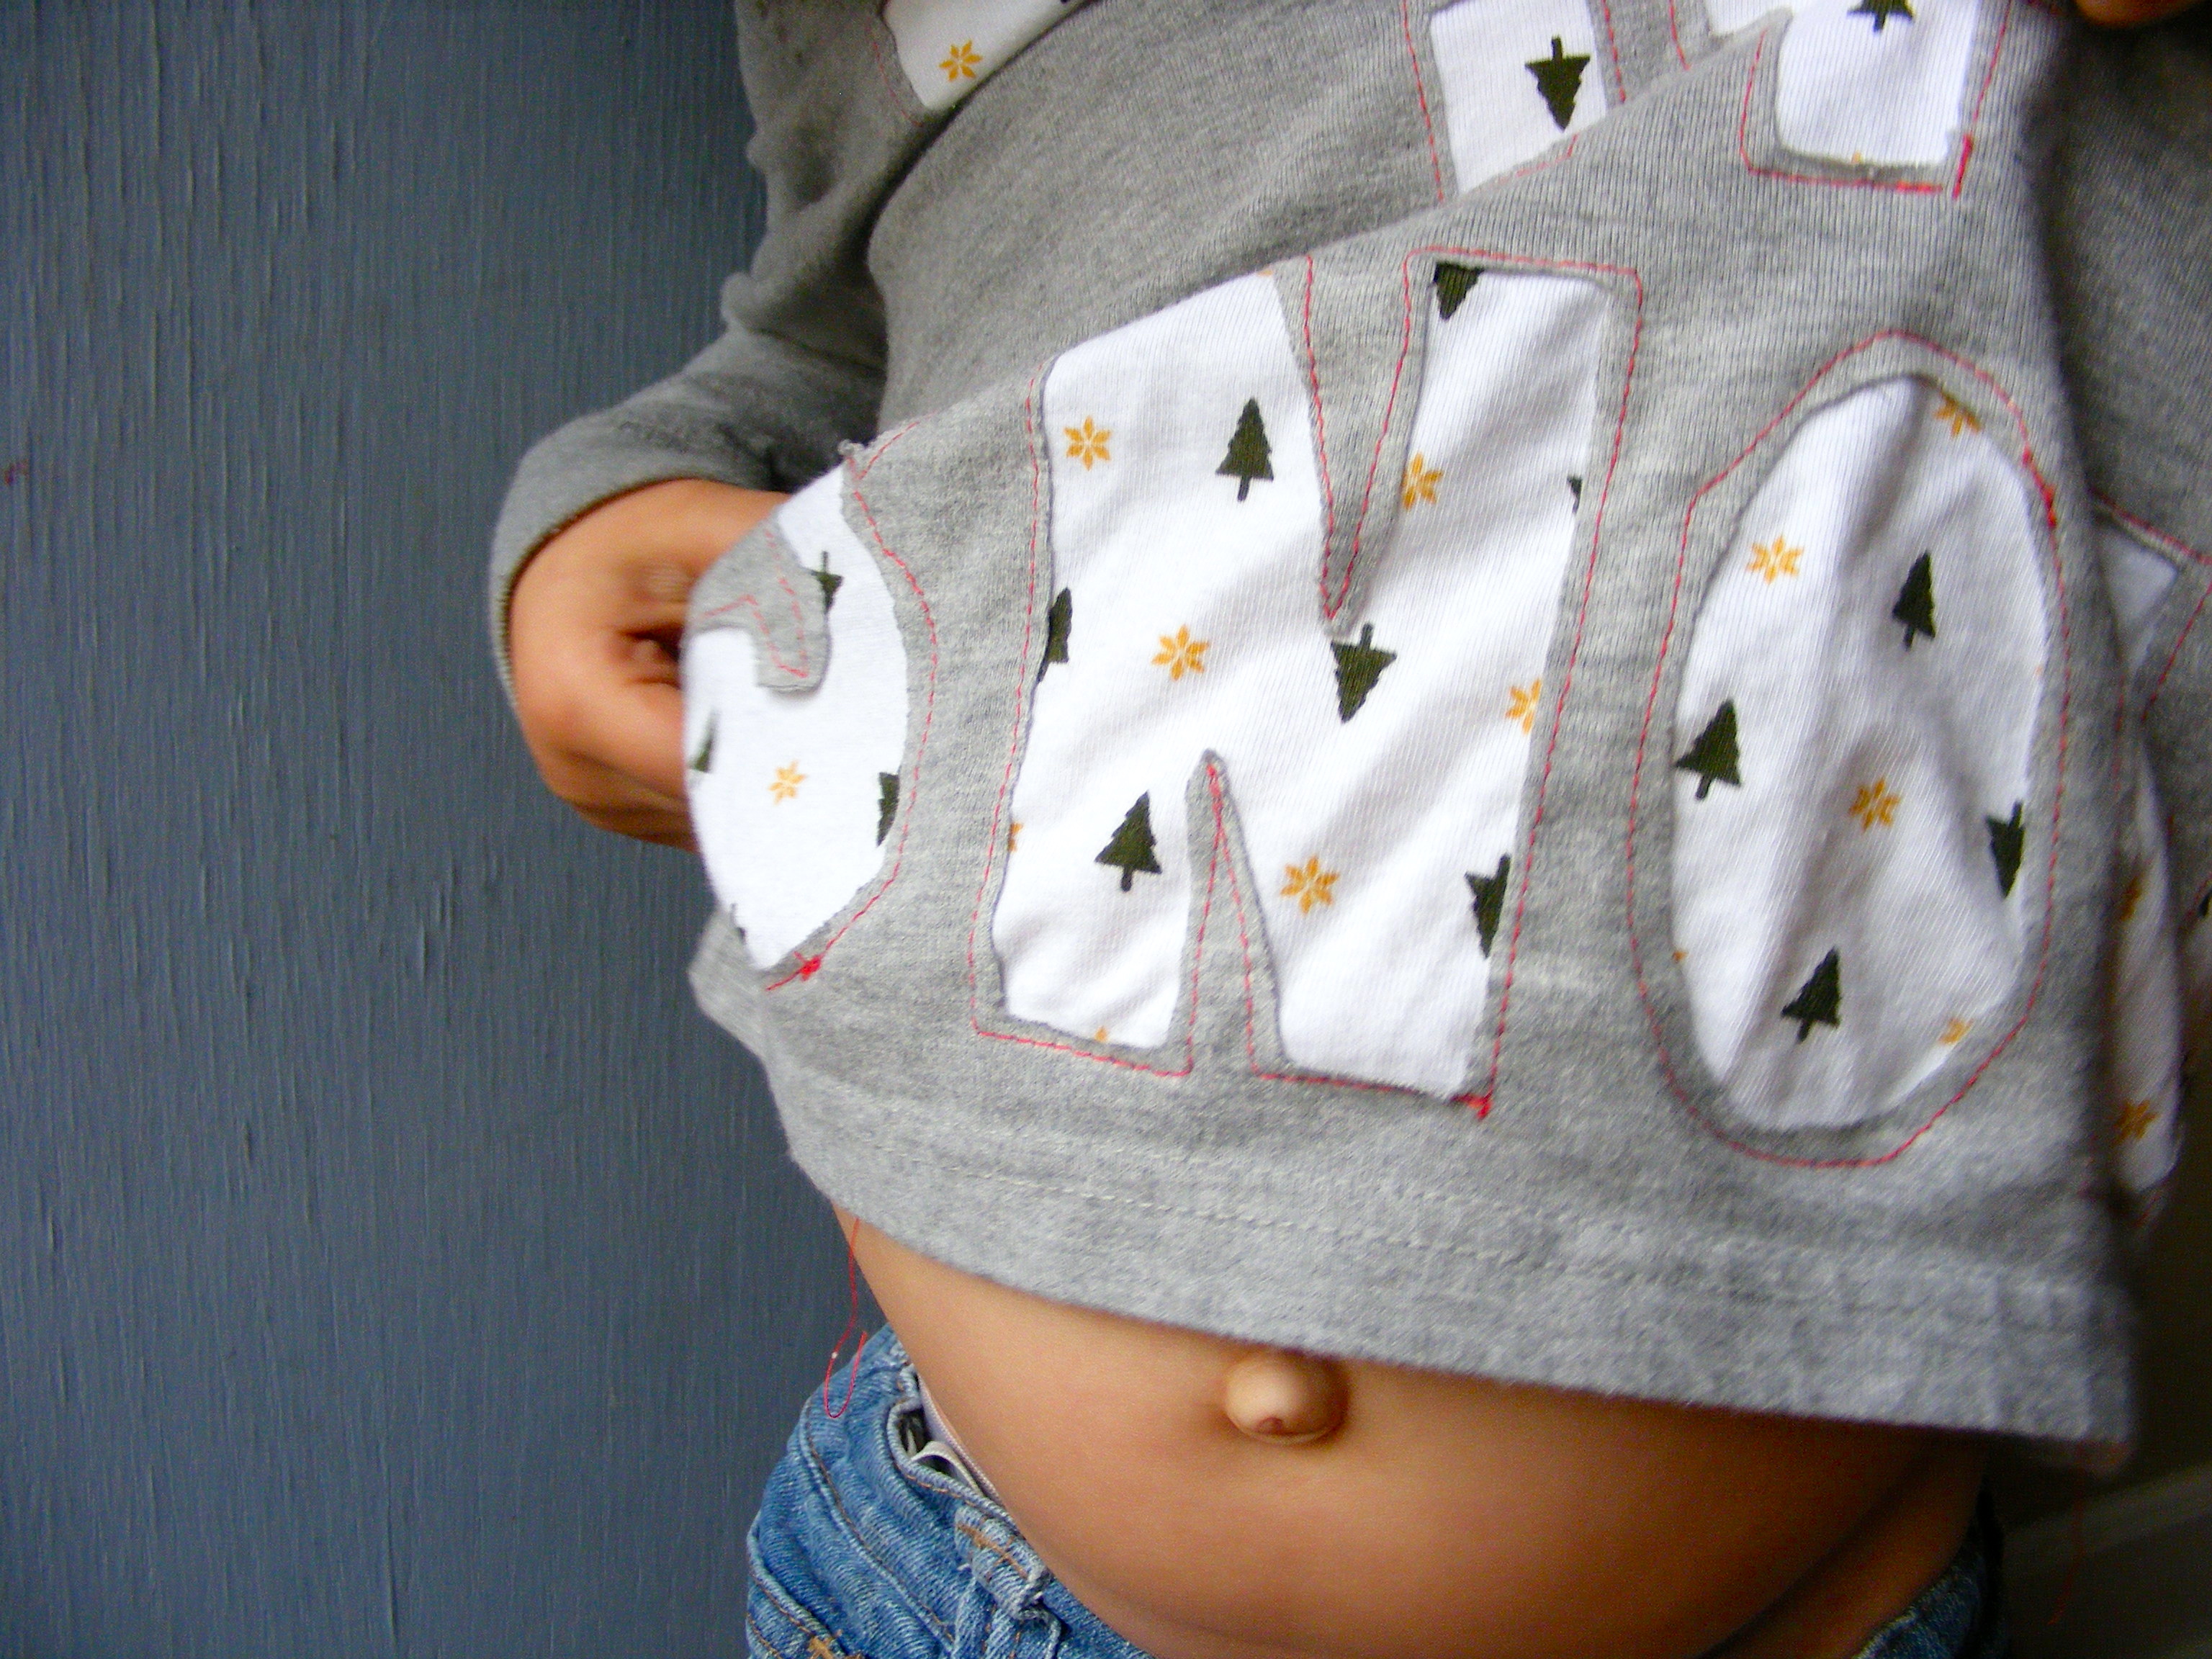 The possibilities are endless! You could do this for any holiday or season of course, or with any shape you like. I’d love to see what you come up with, if you make one! So be sure to pop over to my blog to let me know if you did. And while you’re over, you might want to check out some of my tutorials and projects, like these:




Love this!
Super cute!