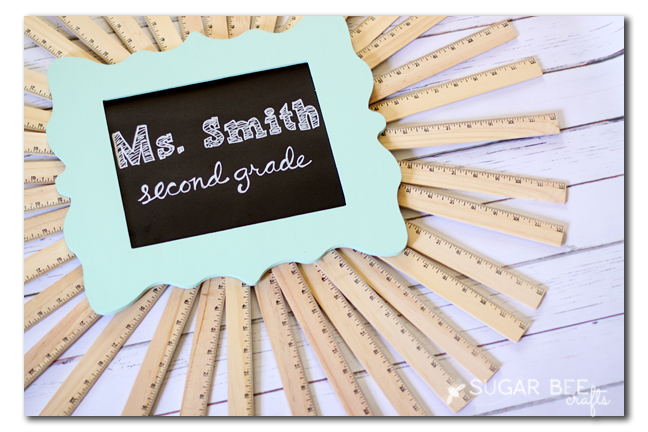
I might be in denial about Back-to-School projects (didn’t summer just start?!) but it’s here almost – my kids go back this week! I know some of you are in prep mode, so I wanted to get this idea out there for you. A fun Classroom Ruler Burst Teacher Sign – to hang on their door, outside the classroom, etc. It would make a great gift for a new teacher – – or if you’re a teacher yourself, you can whip one up for your classroom. It doesn’t take long at all!
The fun pinnable image, if you like collages:
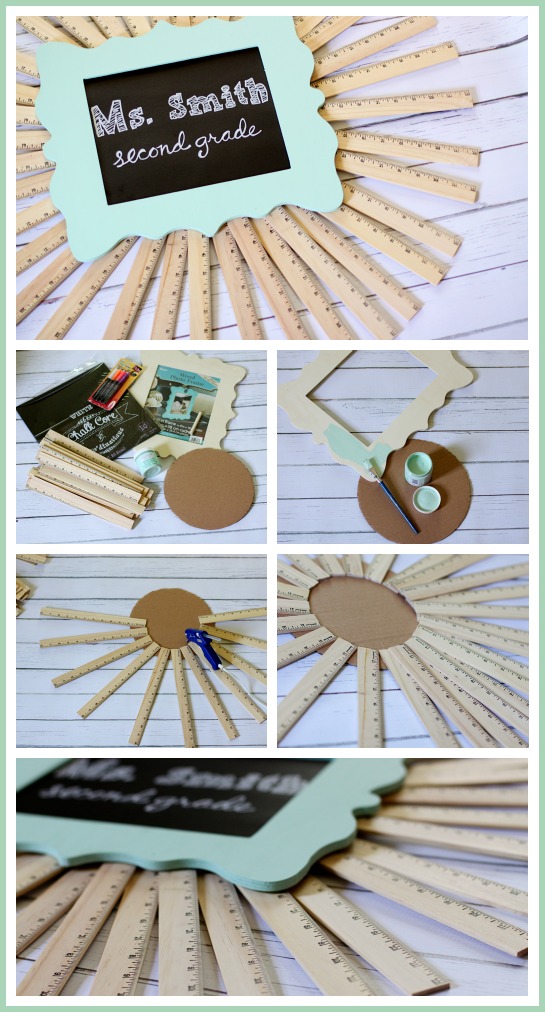
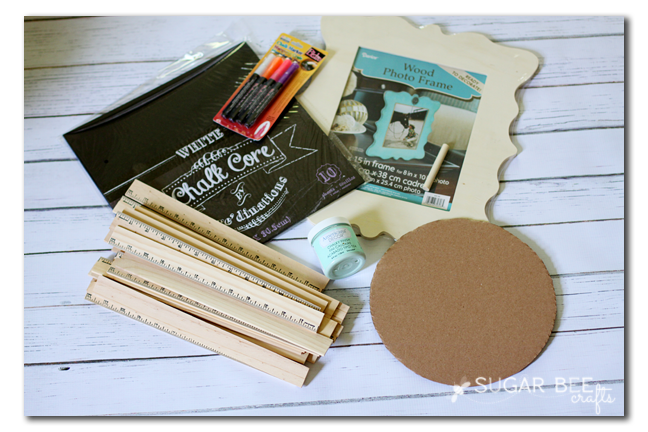
It’s just a few simple steps a few supplies (I was sent supplies from Darice, but all opinions and project idea are my own)
— 8×10 and chalk paint of your choice (I love this “refreshing” color from Deco Art)
–about 30 rulers (grab them cheap at back-to-school sales)
–Chalk Core paper (or just black construction paper) and a white bistro marker (for writing on chalk boards)
–hot glue and a cardboard circle about 9-10 inches in diameter (I traced around a bowl)
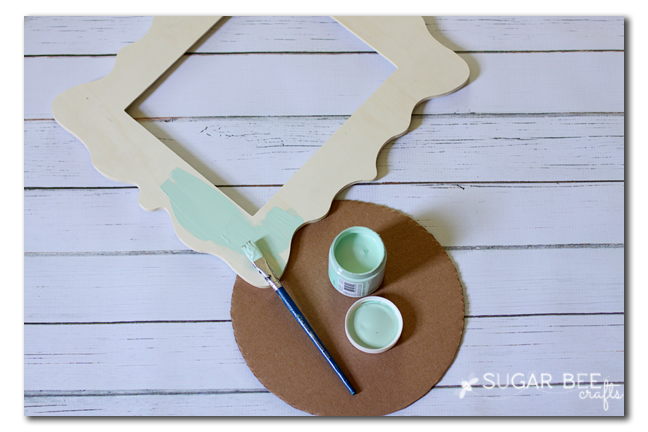
First up, paint your frame. That way it will be dry by the end of the project (the chalk paint is awesome because it dries pretty quickly and covers well without primer)
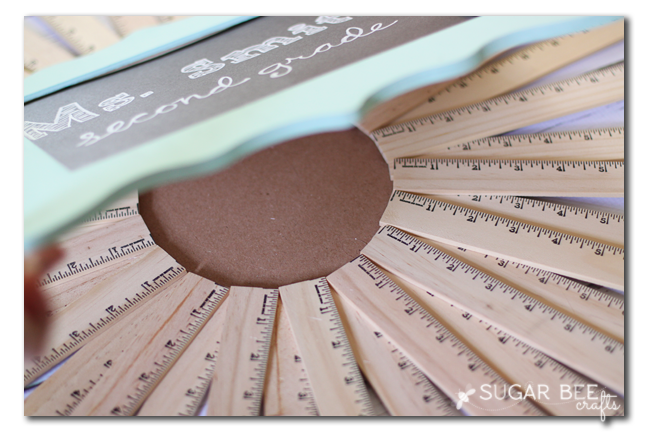
While that’s drying, it’s time to create the “burst” of rulers – think sunburst, with rays shooting out. It doesn’t have to be perfect. Using hot glue, attach the rulers all around the cardboard circle as shown below:
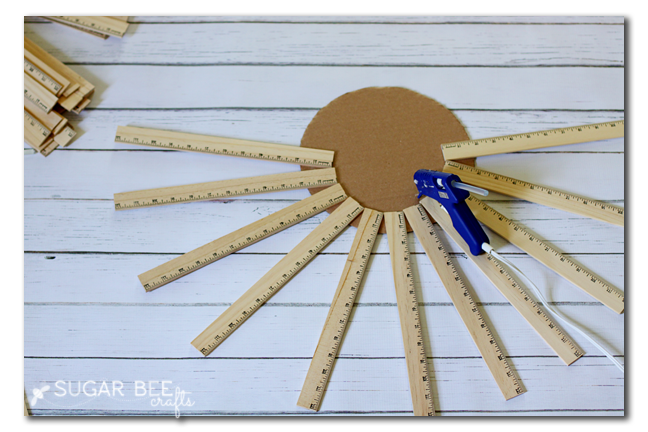
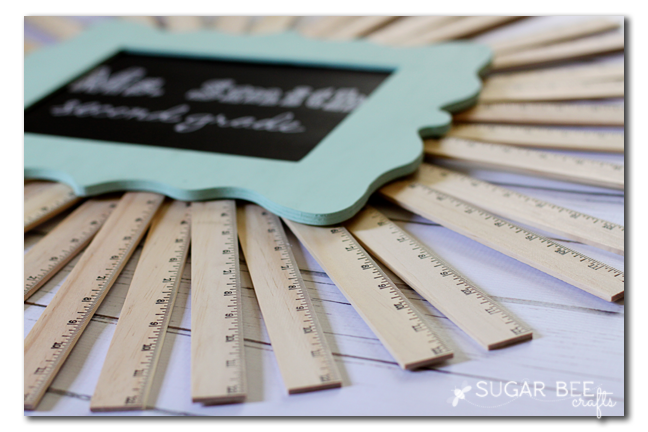
You’ll notice that because of the width of the rulers where they touch, the ends of the burst are pretty spread out. No worries. Go back over with a second layer of rulers, attaching with hot glue right on top of the first layer, but staggering them to fill the gaps, like shown below:
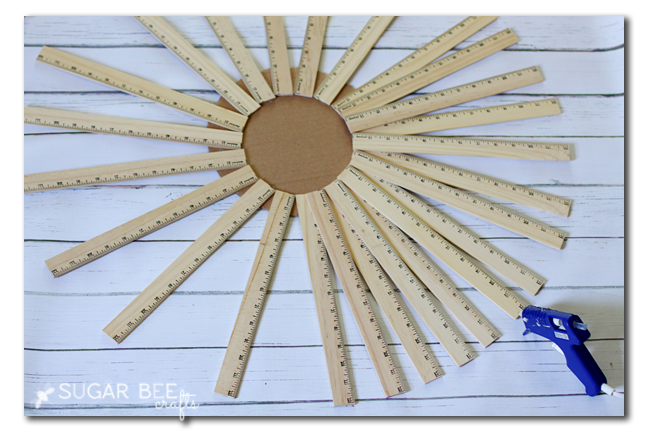
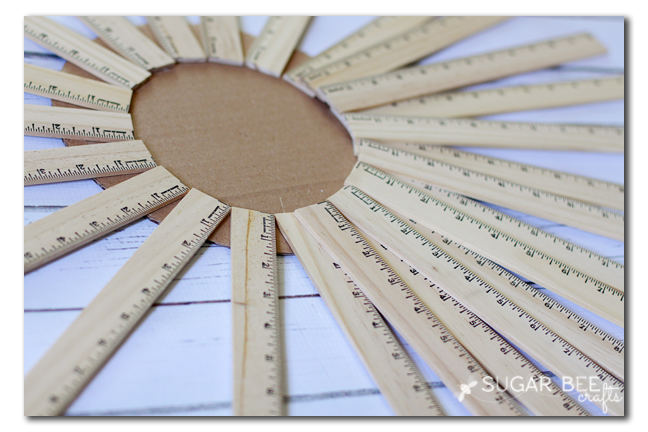
Here’s another view where you can kind of see how they stack on top of each other:
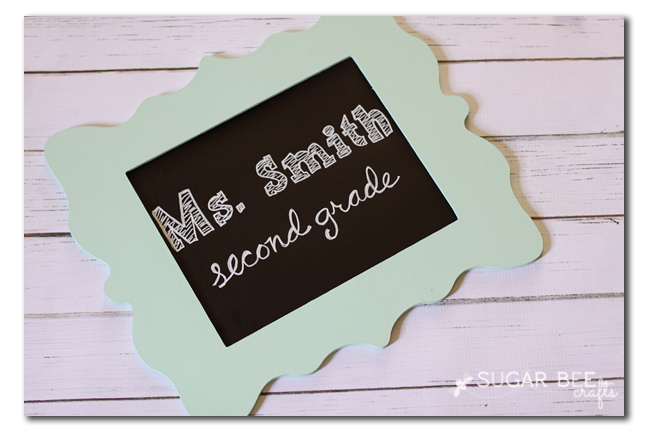
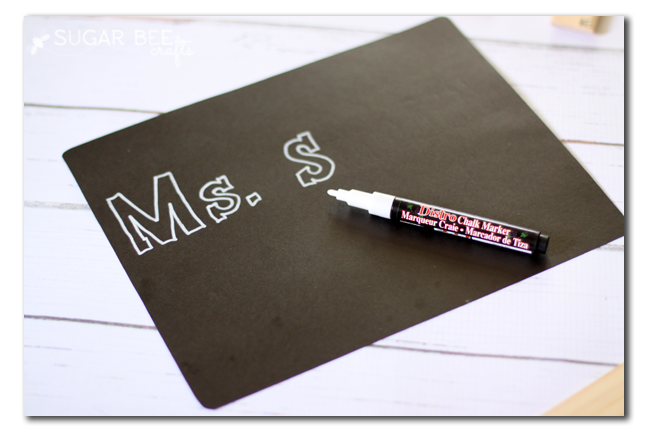
Now, cut the paper to fit your frame and use the bistro marker to write the classroom name on it. I have horrible handwriting and I can never judge my spacing correctly, so I cheated. I printed off what I wanted to write, then set it on top of the black paper and traced the letters, pushing really hard. That way I just followed the trace line indentions when I had the marker out.
About now, your frame should be dry, so go ahead and stick the paper in it:
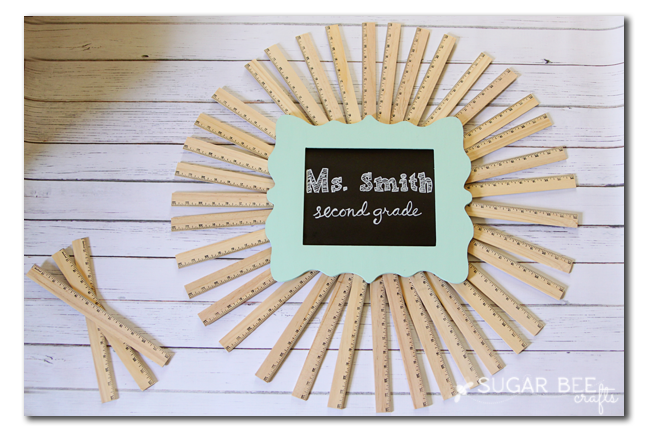
Now, using a generous amount of hot glue, attach the frame over the center of the ruler burst:
That’s it! Step back and enjoy your creation!
There are a couple of ways to hang it if you want. You can just use something like a Command Strip on the back of the cardboard circle and just stick it up on the wall. Or you can hot glue a long loop of ribbon to the back of the cardboard circle and hang it from a door wreath hook. Either way works!
Super fun, super simple back to school project. You can do this – go give it a try!


Love this Mandy!
Another cute idea! I wonder if I could do a smaller version just to hang on our front door during the first week or two of school?
Erin @ the-organized-life recently posted…Back to School: Routines