


This is a sponsored post, but all opinions are my own, and I'm hooked on styrofoam with Make It Fun!
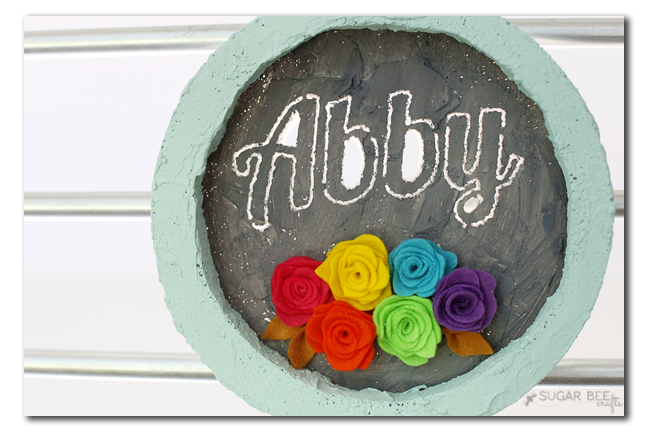
Every time I use styrofoam in a project, I fall in love with it all over again. It’s so versatile, and you can achieve so much with it, yet it’s so easy to work with. It’s the perfection of crafting. For this project I used FloraCraft® Make It: Fun® Foam Discs – – I love all those decor signs you see lately, and I thought it’d be great to try out making a circular one. It would be pretty hard to make out of wood, but that’s why I love foam – so easy! I am kind of in love with how it turned out!
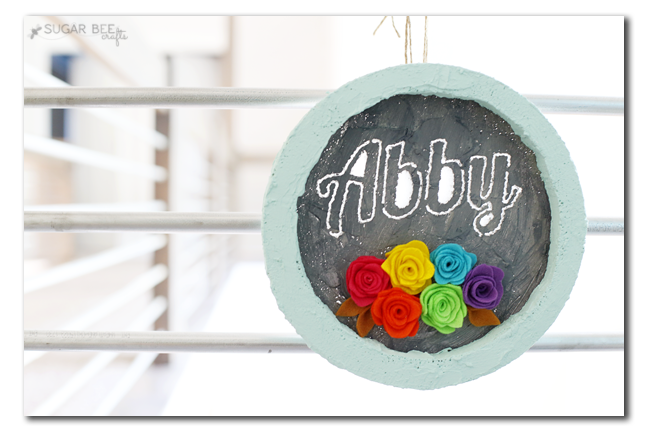
I love how it looks with light shining through it – I actually was going to cut all the letters out completely, but I really liked the look of the outlines so I stuck with that. I love how the foam doesn’t look like foam – it has a faux wood vibe going on.
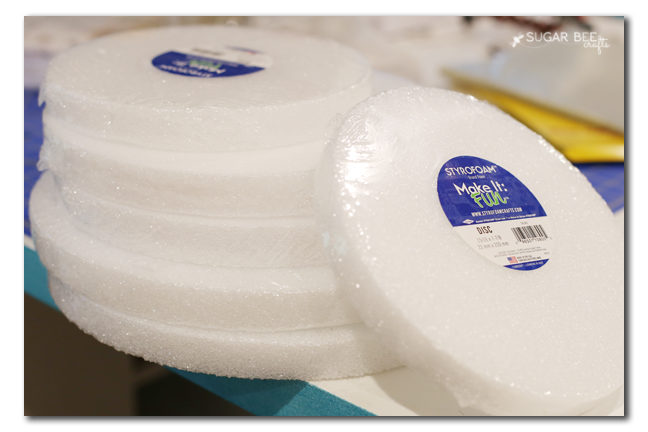
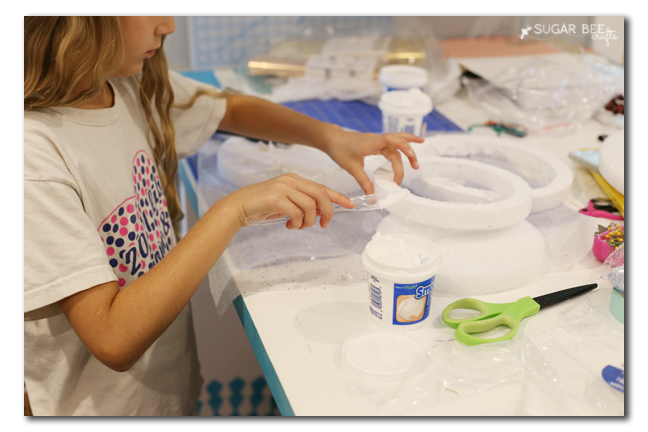
Want to make your own?? Let’s get started! You’ll need 2 Make It: Fun® foam discs of the same size (yes, I made several – more to come later!!) – –
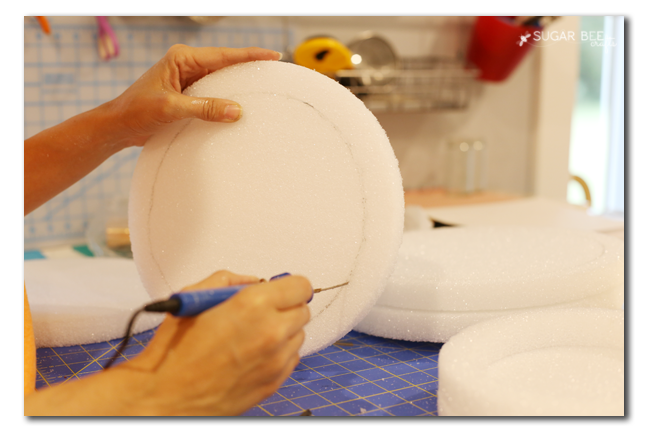
One disc will be the base. The other will be the frame, and it will sit on top of the base. You’ll need to make the frame by cutting a ring – you can mark the line by tracing something circular, like a bowl or the next size down of disc. Then cut along that line. I’m a huge fan of the foam cutter (seriously – I have two!!) – it’s a must-have crafting tool when working with foam – the thin metal rod just melts the foam as it goes, making cutting super easy.
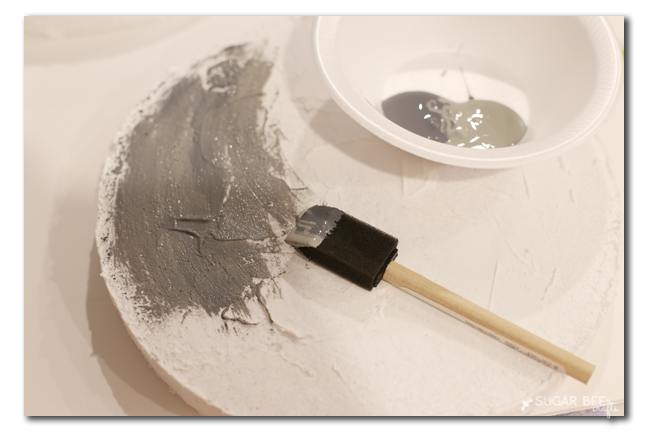
After you have your ring frame and your base, you can use smooth finish to fill in the foam texture. This is optional, but I love how it changes the whole look.
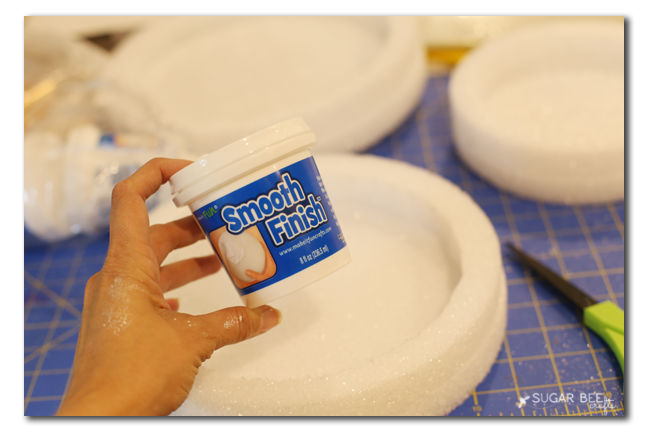
And it’s a great step for kiddos to help with – – just spread it on like butter, but nice and thick. I wanted mine to look plaster-ish, so I left it rough and didn’t try to get it smooth. Then set those aside to dry.
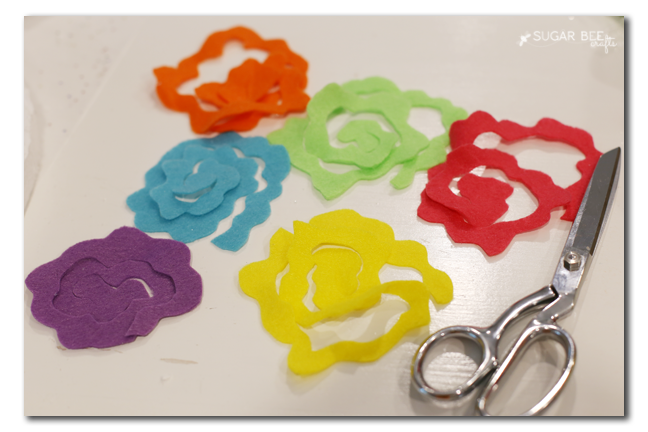
Meanwhile you can make your felt flowers. I’m no pro, and there are TONS of ways to make felt flowers. I just cut circles and then cut them into spirals with a wiggly line.
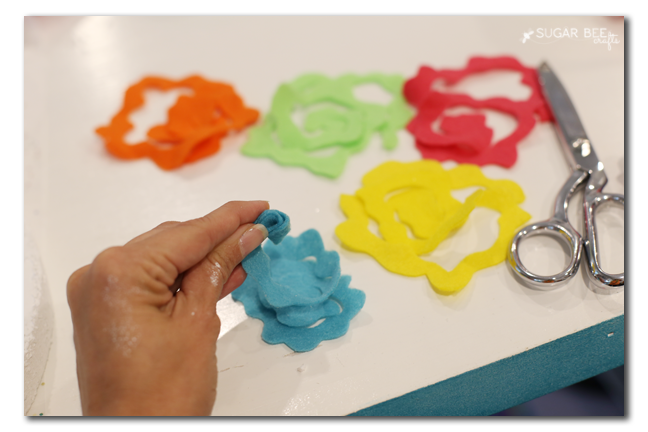
Then you roll up that line from the outside in, securing with hot glue along the way as needed.
Alright, back to the sign. Next up is paint (side note, you can also see the texture I achieved in this pic below). I had a little dark gray and a little light gray paint and painted them at the same time, covering the base. I then painted the rim and outer edge minty.
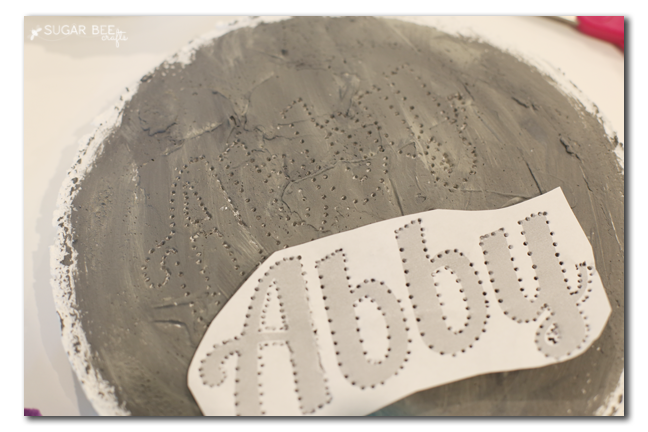
Next up was the personalization. To do this you don’t need anything special. I printed her name off, positioned it on the sign, then used a pen to poke holes all around it.
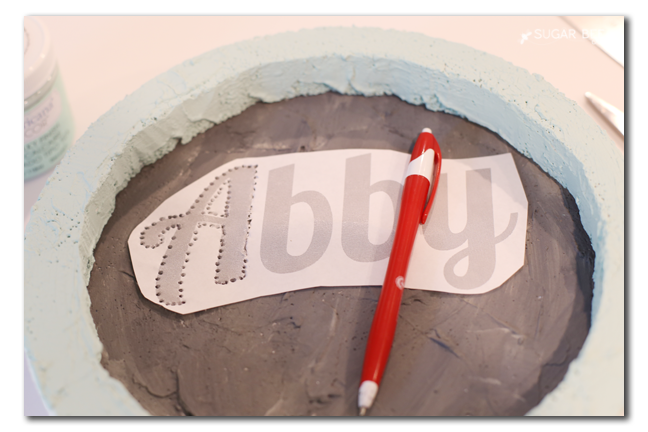
That way when I removed the paper, I could see the outline that I had just traced.
I used my foam cutter to cut along those lines. I was sure not to cut all the way around, leave a spot or two, so the letters could “float. It looked okay on the table…
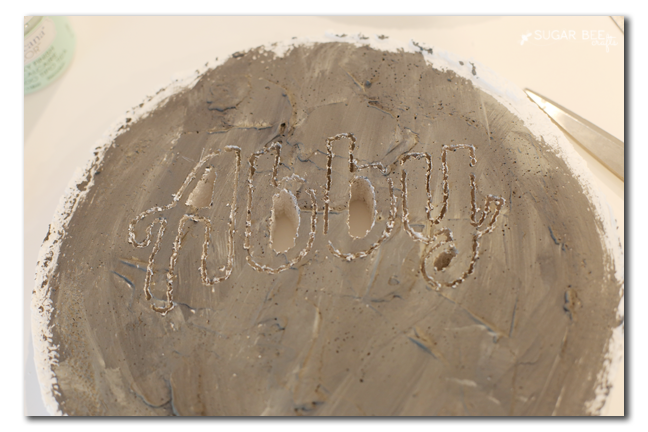
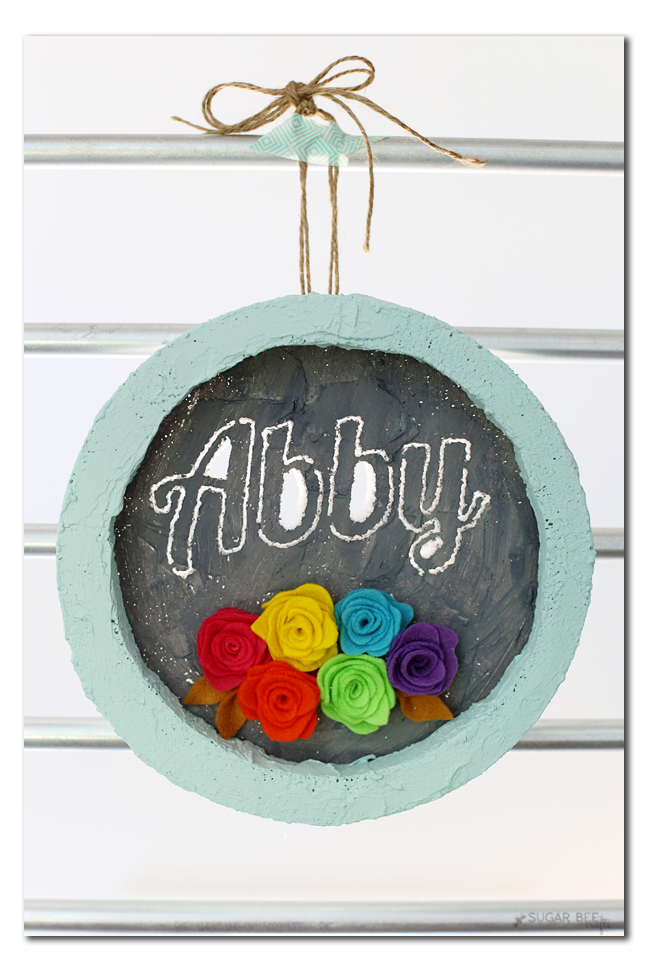
But it is really a wow factor when you hold it up to a window – love it!!

Then you’re just going to use hot glue to attach the rim to the base and add on the flower embellishments. That’s all there is to it!!
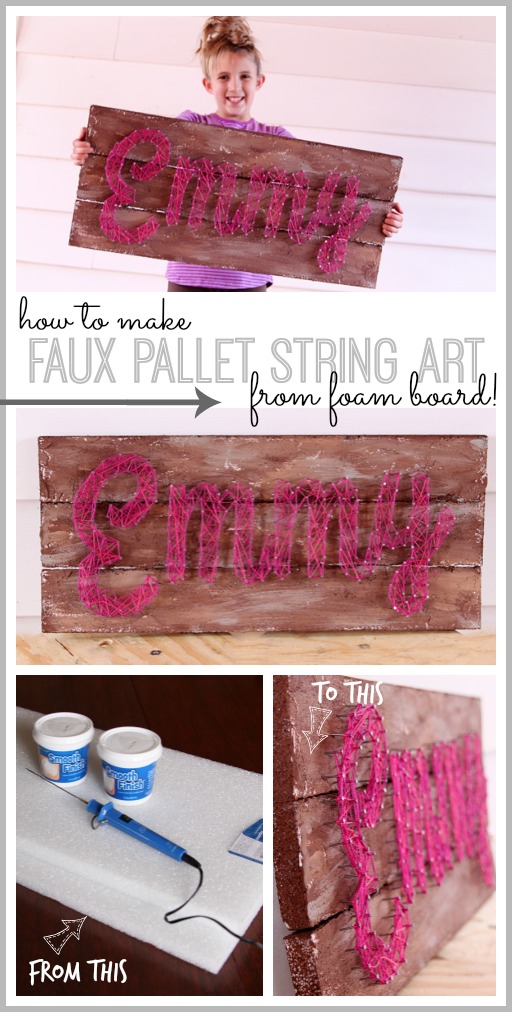
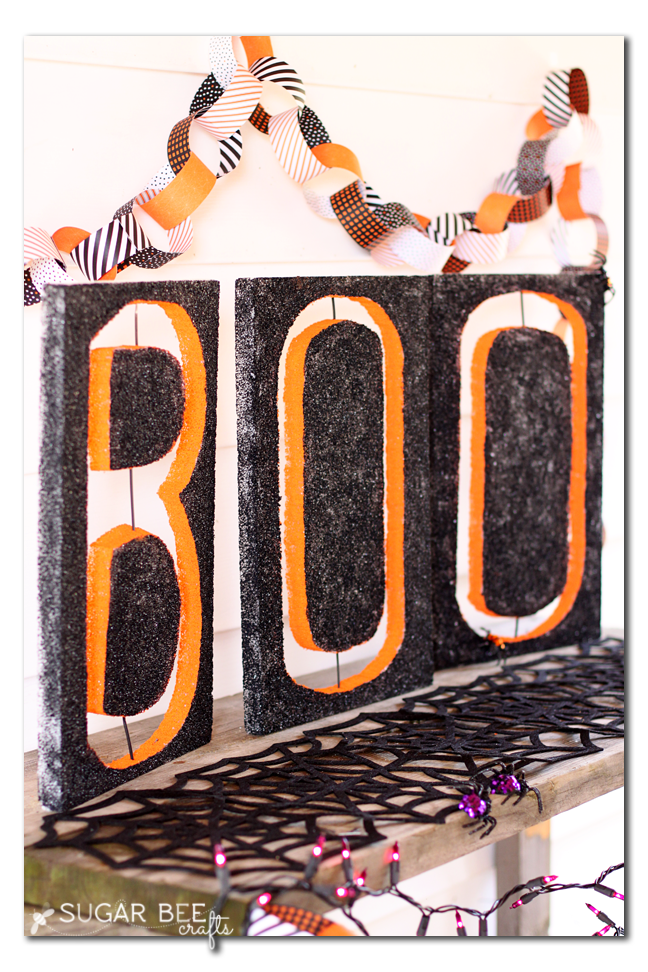
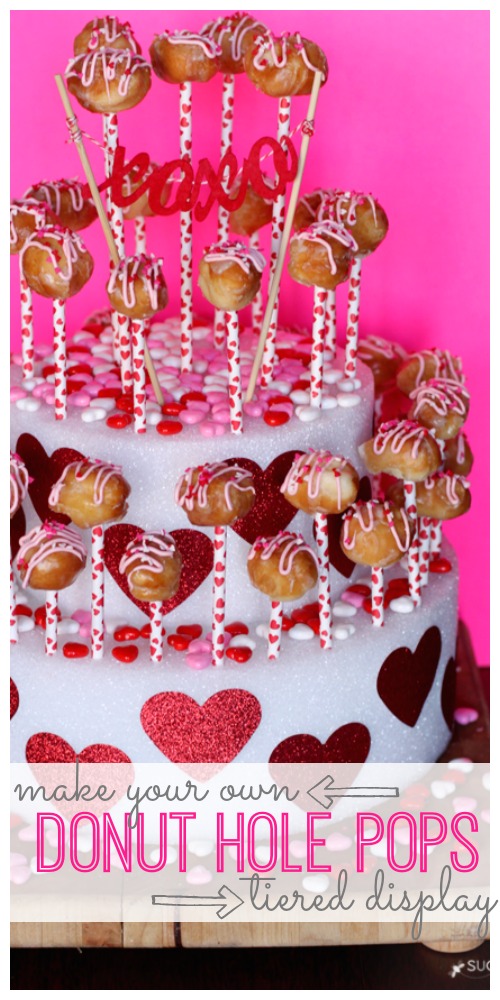
As I mentioned, I really am hooked on Make It: Fun® foam – check out some of my other projects:
Faux Pallet String Art | BOO Letters | Tiered Donut Display
This is such a cute idea, Mandy! Thank you to Abby for helping out, too. I can’t wait to see what else you’ve made.
Sharon recently posted…Natural décor for fall: Four textured, tabletop trees